
Until recently, I’ve never really felt the urge to access the contents of my DIY NAS from outside of my own network. The way that I’ve used my NAS, it has been simpler to use services like Google Drive to have access to my most critical data on my various computers, tablets, and phones.
Between COVID-19 and my new job being 100% remote, I have spent nearly all of my time on my own network. If anything, I have less of a need to access my NAS’s contents remotely. However, I’m hopeful about our vaccination efforts and I’m cautiously optimistic there might be light at the end of that tunnel. My growing catalog of content (primarily video footage) has long since eclipsed what can be stored on Google Drive or Dropbox–and even if I could buy the space, I’d much rather invest the cash into improving my NAS!
![]() In my blog about implementing Tailscale at home, I installed Tailscale on my OpenWRT router and used Tailscale’s relay node feature to allow my other Tailscale nodes to use all of the resources on my network. But SMB’s performance over the Internet isn’t that great, and I wanted to make sure that important content–like my blog–continued to be synchronized across all of the machines that I’d want to be able to access it from.
In my blog about implementing Tailscale at home, I installed Tailscale on my OpenWRT router and used Tailscale’s relay node feature to allow my other Tailscale nodes to use all of the resources on my network. But SMB’s performance over the Internet isn’t that great, and I wanted to make sure that important content–like my blog–continued to be synchronized across all of the machines that I’d want to be able to access it from.
I wound up deciding that I’d try and host my own cloud storage using Nextcloud and access it via Tailscale. This decision was instigated by the shift in what I was asking of my own DIY NAS and encouraged by the numerous questions I’ve been asked about self-hosting cloud storage over the years.
My DIY NAS is running FreeNAS-11.2-U8, has an Avoton C2550 CPU, 32GB of RAM, and a 10Gb NIC. Everything in this article was written in the context of using my NAS. I would expect that the same–or similar–steps would work with different versions of FreeNAS (now known as TrueNAS Core), but your mileage may vary.
Please share your experiences with different versions in the blog’s comments!
Plugin vs. Jail vs. Virtual Machine
The most difficult decision I made was whether to use the Nextcloud plug-in for FreeNAS/TrueNAS, to create a FreeBSD Jail, or to host it within a Bhyve virtual machine. Each option had its own benefits and drawbacks, and I as I explored this topic, I experimented with each of the three options.
- Nextcloud Plug-in: Setting up the plug-in for FreeNAS/TrueNAS was incredibly easy; I had Nextcloud up and running in mere moments. I even briefly exposed my Nextcloud VM to the Internet through my router. I had hoped it would be a simple task (for me) to add the Tailscale client to the jail created by the Nextcloud plug-in, but quickly learned that wouldn’t be the case.
- FreeBSD Jail: Having run into challenges tinkering with the Nextcloud plug-in, I figured I could just install and host my own Nextcloud alongside Tailscale from inside a jail on my NAS. Setting up Nextcloud in this jail was easy–but the Tailscale client wound up being difficult. Tailscale would crash any time I launched it, and I wasn’t having much success debugging it on my own–or finding helpful information to help me stumble through resolving it. Unfortunately for me, I’m simply not a savvy enough of a FreeBSD user to get Tailscale functioning.
- Bhyve Virtual Machine: I would have preferred running Nextcloud and Tailscale in a FreeBSD Jail, mostly because it’s less resource-intensive. But after not having much luck before, I ultimately decided that I would use the Bhyve hypervisor to host a virtual machine. For that virtual machine, I’d choose Ubuntu 20.04 for its operating system. I am a bit much more familiar with Linux vs. FreeBSD and infinitely more capable of finding answers to questions that I run into since Ubuntu is fully supported by both Tailscale and Nextcloud.
Why is Brian hosting the Nextcloud Virtual Machine on his DIY NAS instead of his Homelab server?
This is a good question! All things being equal, I would choose to host Nextcloud on my homelab server. But I’ve made exceptions to this rule before! For example, there are things (Home Assistant, Octoprint, etc.) in my house running on Raspberry Pis that probably should be running in a virtual machine on my Homelab server instead.
Ultimately, the reason my Nextcloud VM is running on my DIY NAS is: all of you! I’m quite grateful that so many people find their way to my blog when researching various DIY NAS topics. I know that hosting your own cloud storage is a huge point of interest in the NAS community, so it made sense to do it in a way that a fellow NAS enthusiast might want to follow!
Besides, I routinely advocate building over-the-top DIY NAS machines with more processing power than a NAS might need. Using that extra CPU power to host a cloud storage VM is a great way to leverage that extra capability.
Creating a Virtual Machine to run Nextcloud and Tailscale
On my DIY NAS, I logged into the FreeNAS interface and created a Virtual machine. I allocated the VM with a single Virtual CPU, 512MB of RAM, created a new 64GB disk image, pointed it to the Ubuntu 20.04 ISO I picked and, started the virtual machine up.
Using the FreeNAS UI’s built-in VNC viewer, I attempted to begin the installation and immediately ran into this error:
Initramfs unpacking failed: write error
Failed to execute /init (error -2)
Kernel panic - not syncing: No working init found. Try passing init= option to kernel. See Linux Documentation/admin-guide/init.rst for guidance.
The culprit to this error was the fact that I only allocated 512MB of RAM (the minimum suggested for Nextcloud) and Ubuntu Server’s minimum hardware requirements list a gigabyte of RAM. Increasing the Virtual Machine’s RAM to a gigabyte moved me past this error.
For the most part, I simply paged my way through the Ubuntu 20.04 Server setup picking primarily default options, naming my server nextcloud and setting up my root username and password. On the Featured Server Snaps screen, I was delighted to see that there was an option for Nextcloud, but as a result of my experimentation I decided to recommend skip over install the Nextcloud Snap at this point.
The installation rebooted the virtual machine, and after the completion of the reboot, the VM was a little annoyed at me and said it wasn’t able to unmount the CDROM and then told me to eject the installation media. My solution for this was probably a bit brutish: I shut down the virtual machine and deleted the CDROM device entirely. A bit crude, perhaps, but still very effective.
I started the Virtual Machine up one more time, confirmed that I was able to log in via FreeNAS’s built-in VNC client, and then switched over to using SSH for the remainder of my work.


Installing and Configuring Tailscale on the Nextcloud VM
On my freshly installed Ubuntu 20.04 virtual machine, the first thing that I set out to do was to get Tailscale up and working. As I had learned from my prior experience with setting up Tailscale on other devices, it was incredibly easy.
I simply followed the few steps from the Setting up Tailscale on Ubuntu 20.04 LTS (focal) documentation and my new virtual machine was up and running without any fuss.
Set up a ZFS Dataset and NFS Share on my NAS to house my Nextcloud Data
My intention all along was to create a dataset on my DIY NAS, to share it with the Nextcloud VM, and then to configure Nextcloud to use that shared path to store all of its data, primarily because what I valued was the data that was being stored and less so the virtual machine. In the long run, having the dataset will save me some storage space (example: space wasted in over-allocating space in a virtual hard drive and saving some administrative work in growing the virtual hard drive as more data is stored on Nextcloud), it enables me to set up ZFS snapshots for my Nextcloud data, and I’m poised to include this Nextcloud dataset among what I’m already backing up on Backblaze B2.
- Created a user/group to grant permissions to access the Nextcloud Data directory as.
- Created a new ZFS dataset on my NAS for the Nextcloud data.
- Set the permissions on the ZFS dataset, setting the User and Group to match what was created in the prior steps.
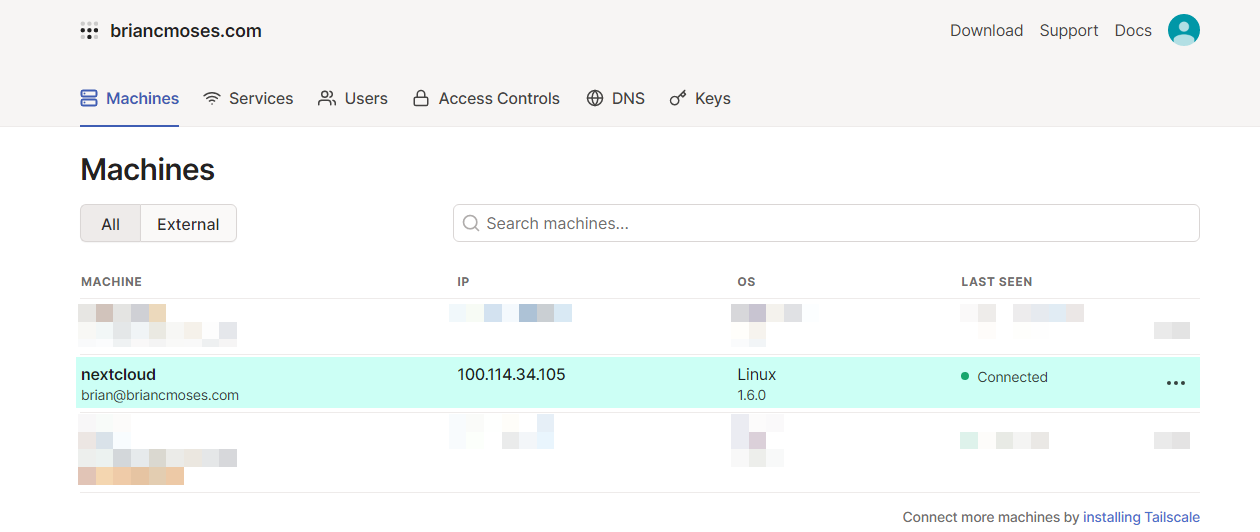
- Created an NFS share, pointed it to the Nextcloud dataset’s path (/mnt/volume1/nextcloud), restricted it to the Nextcloud VM’s hostnames (nextcloud, nextcloud.lan, and nextcloud.briancmoses.com.beta.tailscale.net), and set the Mapall User and Mapall Group to the User and Group created in the first step.


Mount the NFS share to the Nextcloud Virtual Machine
Having created the dataset and NFS share on the NAS, I swapped over to the Nextcloud VM to mount the share. I went through a few different iterations before landing on these steps. I wound up learning that the local directory to mount the NFS share in needed to belong under /mnt or /media thanks to how the Snaps work.
- Installed the nfs-common package on the Nextcloud VM (sudo apt update and sudo apt install nfs-common)
- Created a new Nextcloud data directory (mkdir -p /mnt/nextcloud) on the Nextcloud VM.
- Change ownership to root of the new Nextcloud data directory (sudo chown -R root:root /mnt/nextcloud) on the Nextcloud VM.
- Changed Permissions on the new Nextcloud data directory (sudo chmod 0770 /mnt/nextcloud)
- (Optional) Confirmed that the new NFS share existed, could be mounted, and that files could be viewed/edited/deleted on the Nextcloud VM.
- Validate presence of NFS share via showmount -e drteeth.lan.
- Manually mounted the NFS share via sudo mount drteeth.lan:/mnt/volume1/nextcloud /mnt/nextcloud.
- Created, viewed, and deleted a test file in the /mnt/nextcloud/ path.
- Manually unmounted the NFS share via sudo umount /mnt/nextcloud.
- Set up mounting the NFS share at boot by editing /etc/fstab.
- Executed sudo mount -a to mount the newly added line from /etc/fstab.
Installing the Nextcloud Snap and configuring it to use the custom Nextcloud Data Directory
In my stumbling and tinkering, I deleted everything and started over from scratch a few times. I had made the mistake of too excitedly installing Nextcloud and immediately started using it before figuring out how make it use the network share that I had mounted for its data storage.
But in following the Nextcloud Snap’s directions on changing the data directory to use another disk partition, I wound up overlooking two equally important details:
- I needed to connect the removable-media Snap to Nextcloud.
- The local path to my share needed to exist beneath either /mnt or /media on my Nextcloud VM.
Not understanding these two details had me scratching my head at a couple different points, running into permissions errors, and flailing trying to get Nextcloud working
- Executed the Nextcloud Snap Installation (sudo snap install nextcloud)
- Connected the removable-media to Nextcloud Snap (sudo snap connect nextcloud:removable-media)
- Edited the Nextcloud autoconfig (/var/snap/nextcloud/current/nextcloud/config/autoconfig.php) and updated the directory variable to ‘/mnt/nextcloud’.
- Restarted the Nextcloud PHP Service (sudo snap restart nextcloud.php-fpm)
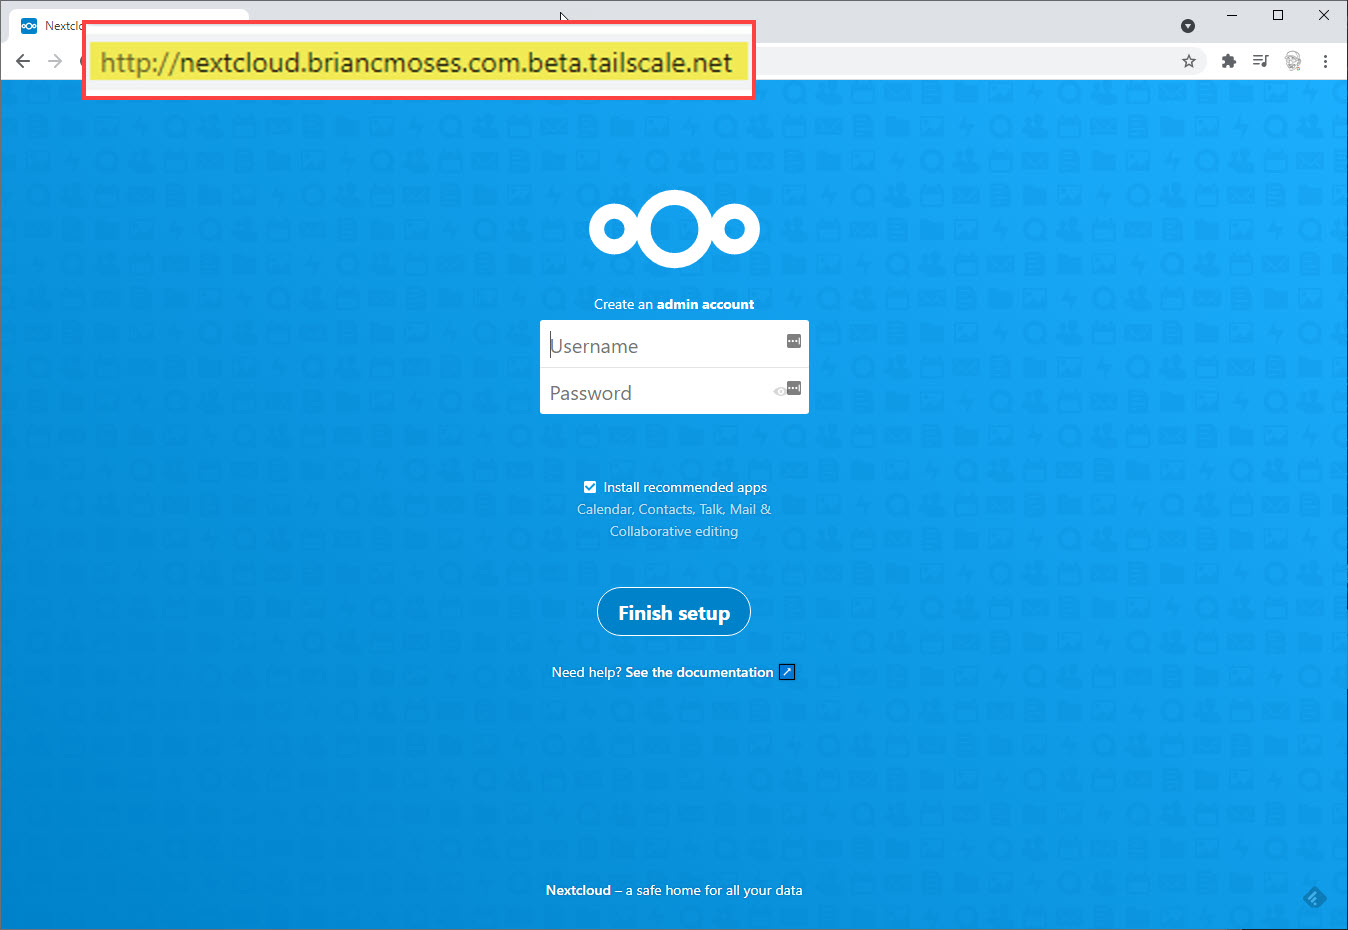
- From my browser I opened the Nextcloud VM’s URL
- I set up the primary administrator’s account in the Nextcloud UI.
Now What?!
The possibilities are really endless! First, I need to get the Nextcloud client installed on my desktop computer, laptop, my phone, and tablet. But after that, I’m curious about using Tailscale’s sharing to maybe provide some cloud storage to family and friends. I’m very interested in untangling my rat’s nest of synchronization tasks and cloud storage providers and relocating my blog’s storage into Nextcloud. The same goes for my recent FPV quadcopter footage, I’d like it to get uploaded to Nextcloud so that I can more easily edit those videos.
Final Thoughts
 This blog was supposed to be mostly about Nextcloud, but I can’t stop raving about Tailscale. Prior to using Tailscale, hosting my own cloud storage solution was going to be too much investment–of dollars and time! The sum total of effort in setting up a VM, configuring up Nextcloud, maintaining SSL certificates, dealing with the opening ports on my firewall, and any fallout from aggravating my Internet service was just too much. Combining Nextcloud with Tailscale eliminated or mitigated the hassles associated with many of those factors.
I’m excited to tinker with Nextcloud, and at the rate that Tailscale keeps announcing new features, I’m excited to see what feature I’ll get to try on this VM next! For the time being, I’m going to prioritize how I can leverage Nextcloud to make my most important data more ubiquitous, but I’m open to any possibilities!
Are you using Nextcloud with your NAS in order to host your own cloud storage? How have you tackled keeping your data synchronized between many devices? Are you interested in Nextcloud–but haven’t yet taken the plunge? What’s standing between you and adoption of Nextcloud? What sort of functionality would you like to see featured in future blogs? Let me know down in the comments below, I’d love to hear your thoughts!