
I spend a good chunk of every year researching, building, and writing about different NAS blogs. While I’m doing this work, every now and then I get bit with a temporary onset of jealousy and selfishness. Each of these NAS builds have been incrementally better than my own DIY NAS machine and each time that urge to keep the new NAS for myself has grown stronger!

Shortly after publishing the 2015 EconoNAS, I decided that the upcoming DIY NAS: 2016 Edition would serve a bit as a prototype for my own NAS upgrade. During the process of building and writing about the DIY NAS: 2016 Edition, I wound up learning a few lessons and made a few tweaks to suit my own needs a bit better.
Affiliate Disclaimer: Some of the links on this website are affiliate links, meaning, at no additional cost to you, I may earn a commission if you click through and make a purchase. I only recommend products that I believe will add value for my audience. Please understand that I have experience with all of these companies' products, and I recommend them because they are helpful and useful, not because of these small commissions.
What’s the same?
Case and Power Supply
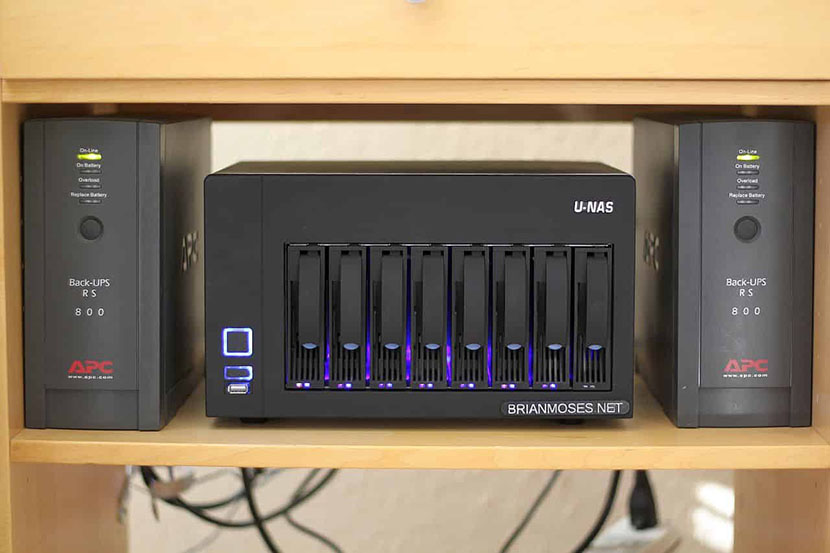
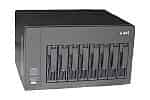 I stayed with the U-NAS NSC-800 (specs). I do absolutely love the features of this case, most of all the case’s eight removable drive bays and its incredibly small footprint. But as much as I love this case, I hated working inside it, especially getting the motherboard finally mounted. Check out my timelapse video assembling the DIY NAS: 2016 Edition into the same case to get an idea of how much fun I had. If you’re building a DIY NAS and you’re tight for space, the U-NAS NSC-800 is worth its price and the effort of getting it into the case!
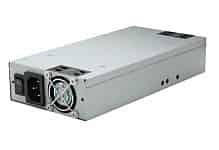 Along with the case, I also stuck with the Athena Power AP-U1ATX30A (specs) to provide the power. It was essentially the best deal on a 1U power supply that I could find which didn’t change in the weeks between ordering components for the two different NAS builds. I initially intended to use Pat’s Spacer Bracket for a 1U Power Supply to provide a bit of (unnecessary?) support to the backside of the power supply, but I actually wound up needing that object redesigned with new features to help solve a challenge unique to my own new requirements. More on that challenge below!
Storage Drives
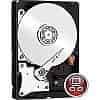 Ultimately, my hard-drive configuration wound up the same as the DIY NAS: 2016 Edition, but this is purely coincidence. A few years ago I bought new hard drives, an additional SATA controller card, and rebuilt my ZFS zpool to hold seven 2TB hard drives in RAIDZ2 configuration. In the last four years, I’ve had 3 drives fail and get replaced with 4TB drives. For my upgrade, I wound up buying replacements for each of the four remaining 2TB hard-drives; a pair of Western Digital Red 4TB NAS hard drives (specs) and a pair of HGST Deskstar NAS 4TB hard drives (specs).
ZIL and L2ARC Cache Drives
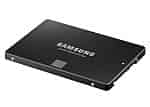 Speaking of storage devices, I ultimately decided to stick with a pair of Samsung 850 EVO 120GB SSD and use them both as ZIL and L2ARC cache devices. Those of you who read the DIY NAS: 2016 Edition may recall I was a bit disappointed with the performance of the NAS with the ZIL and L2ARC cache devices compared to without. Ultimately, I decided that my usage of the NAS at the time didn’t really line up with the benefits that the ZIL and L2ARC provide. It’s also possible that my own gigabit network is the primary bottleneck. If you’ve been keeping up with
 me on Twitter then you’ve probably observed that I plan to be using my NAS a bit differently in the upcoming few months.
What’s Different?
FreeNAS Flash Drive
 Starting off with differences between my NAS and the DIY NAS: 2016 Edition is how I handled the FreeNAS OS drive. As I have for almost every NAS build, I stuck with the low-profile 16GB SanDisk Cruzer Fit USB flash drive (specs). But for my own NAS, I added a second flash drive to mirror the OS on. The SanDisk Cruzer Fit flash drives are inexpensive enough that I’ve slowly acquired quite a collection of them, so it made sense to use one of those extras to add a little bit of additional redundancy to my own NAS.
RAM
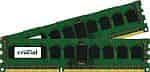 Much like the flash drive, I’m still using the same RAM, but instead of just one 16GB kit (2x8GB) of Unbuffered DDR3 PC3-12800 (specs) I opted for two in order to bring the total amount of RAM up to 32GB. Among the things I learned as part of my understanding of ZIL and L2ARC is that I would’ve seen more performance benefit had I spent those same dollars on more RAM instead of cache devices. For this build, I toyed with 16GB sticks and even potentially 64GB of RAM, but the cost of the suggested 16GB DIMMS (over $300!!!) wound up making it way more pragmatic to buy 32GB (4x8GB) of RAM and also use the ZIL/L2ARC SSDs to supplement performance.
CPU and Motherboard
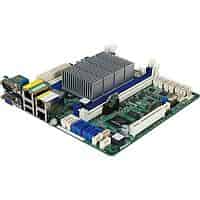 For my own NAS upgrade, I wound up going back to the motherboard from the DIY NAS: 2015 Edition, the ASRock C2550D4I (specs), which is essentially the quad-core little brother of the ASRock C27450D4I that was used in the DIY NAS: 2016 Edition. Originally I had picked the ASRock C2750D4I because I’d wanted to use those additional four CPU cores in order to add a bit more functionality to machine beyond storage. I was hoping that the extra CPU power would enable me to use the NAS to house a few virtual machines.
But then I re-re-re-read Pat’s Homelab Server build blog and rethought my approach. I wound up deciding that an additional machine to host my virtual machines made a bit more sense, hopefully something that I could build with considerable performance for a reasonable price. I hadn’t planned on building that machine until much later this year, but then this article about an affordable dual-Xeon machine got my attention. I finished ordering parts for my own homelab server as I worked on this blog.
I eventually decided that I could go with the ASRock C2550D4I in order to save some money. At the time of purchase, the ASRock C2550D4I was $150 less than the ASRock C2750D4I (specs). I used that money in part to increase the amount of RAM to 32GB and set what little was remaining aside for the parts needed for my homelab server buildout.
Intel recently (2/9/16) disclosed a hardware flaw with the Avoton C2000 family of CPUs as part of their 2016 Q4 earningss call. The flaw is going to require a change in how the Avoton C2000 CPUs are manufactured and probably explains the recent chatter of people having to RMA their C2000-based motherboards. I posted an update in the DIY NAS: 2016 Edition with my thoughts on the matter.
Network
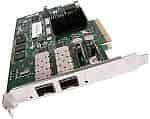 The process of the building, using, and testing the DIY NAS: 2016 Edition led me down the path of feeling I’d reached a point where my Gigabit had potentially become a limiting factor. On top of that, I am also planning on using my NAS for the storage of virtual machines hosted on my homelab machine. Because of this, I decided to build a small 10Gbe SFP+ network between my primary desktop, my NAS, and my homelab server by using either dual-port or multiple NICs and interconnecting each of the machines with twin-axial copper cable. My small little 10Gbe network and how it blew my little network-neophyte mind is a topic of its own blog. Due to the expense of 10Gbe network gear, I wound up trolling eBay for used NICs. I wound up finding that dual-port Chelsio S320e (specs) network cards could be found relatively inexpensively and I bought a lot of 3 cards for $90.
Power Supply Bracket
 Unfortunately, the footprint of that inexpensive dual-port 10Gbe network card was pretty large, large enough that the backside of the network card was bumping into the stack of two Samsung 850 EVO 120GB SSDs mounted in the U-NAS NSC-800. The default mounting method of these SSDs in the NSC-800 wound up preventing me from adding the Chelsio S320e NIC. I wrestled with the case for a few hours trying to find alternative ways of mounting the SSDs to make room, but the NSC-800 is a challenge in this regard since there’s not a whole lot of space to work with.
Ultimately I concluded that I could mount the SSDs and install the NIC in roughly the same spot, but not by using the mounting hardware that came with the NSC-800. Essentially, I decided that the best solution was to make a sandwich out of the NIC, mounting one SSD below it and another above it, but the stocking mounting hardware was insufficient for that goal. In the process of listening to me complain, Pat had a brainstorm–modify the power supply bracket used in the DIY NAS: 2016 Edition by adding some sleeves that the SSD would squeeze into to be held in place.
If you have access to a 3D printer then you can download and print Pat’s Spacer Bracket for a 1U Power Supply yourself from Printables.
FreeNAS Configuration
Since I imported my previous configuration, my configuration should’ve been identical in both the before and after state of my configuration. This is roughly the same configuration that I would’ve made with the DIY NAS: 2016 Edition. However, after a disappointing initial run of benchmarks, I decided to give the FreeNAS Autotune feature a try. Here’s what it says in the FreeNAS documentation, FreeNAS® provides an autotune script which attempts to optimize the system depending upon the hardware which is installed. Because the hardware had changed significantly, I thought it was a good idea to go ahead and enable this feature. As a result, FreeNAS created a few tunables:
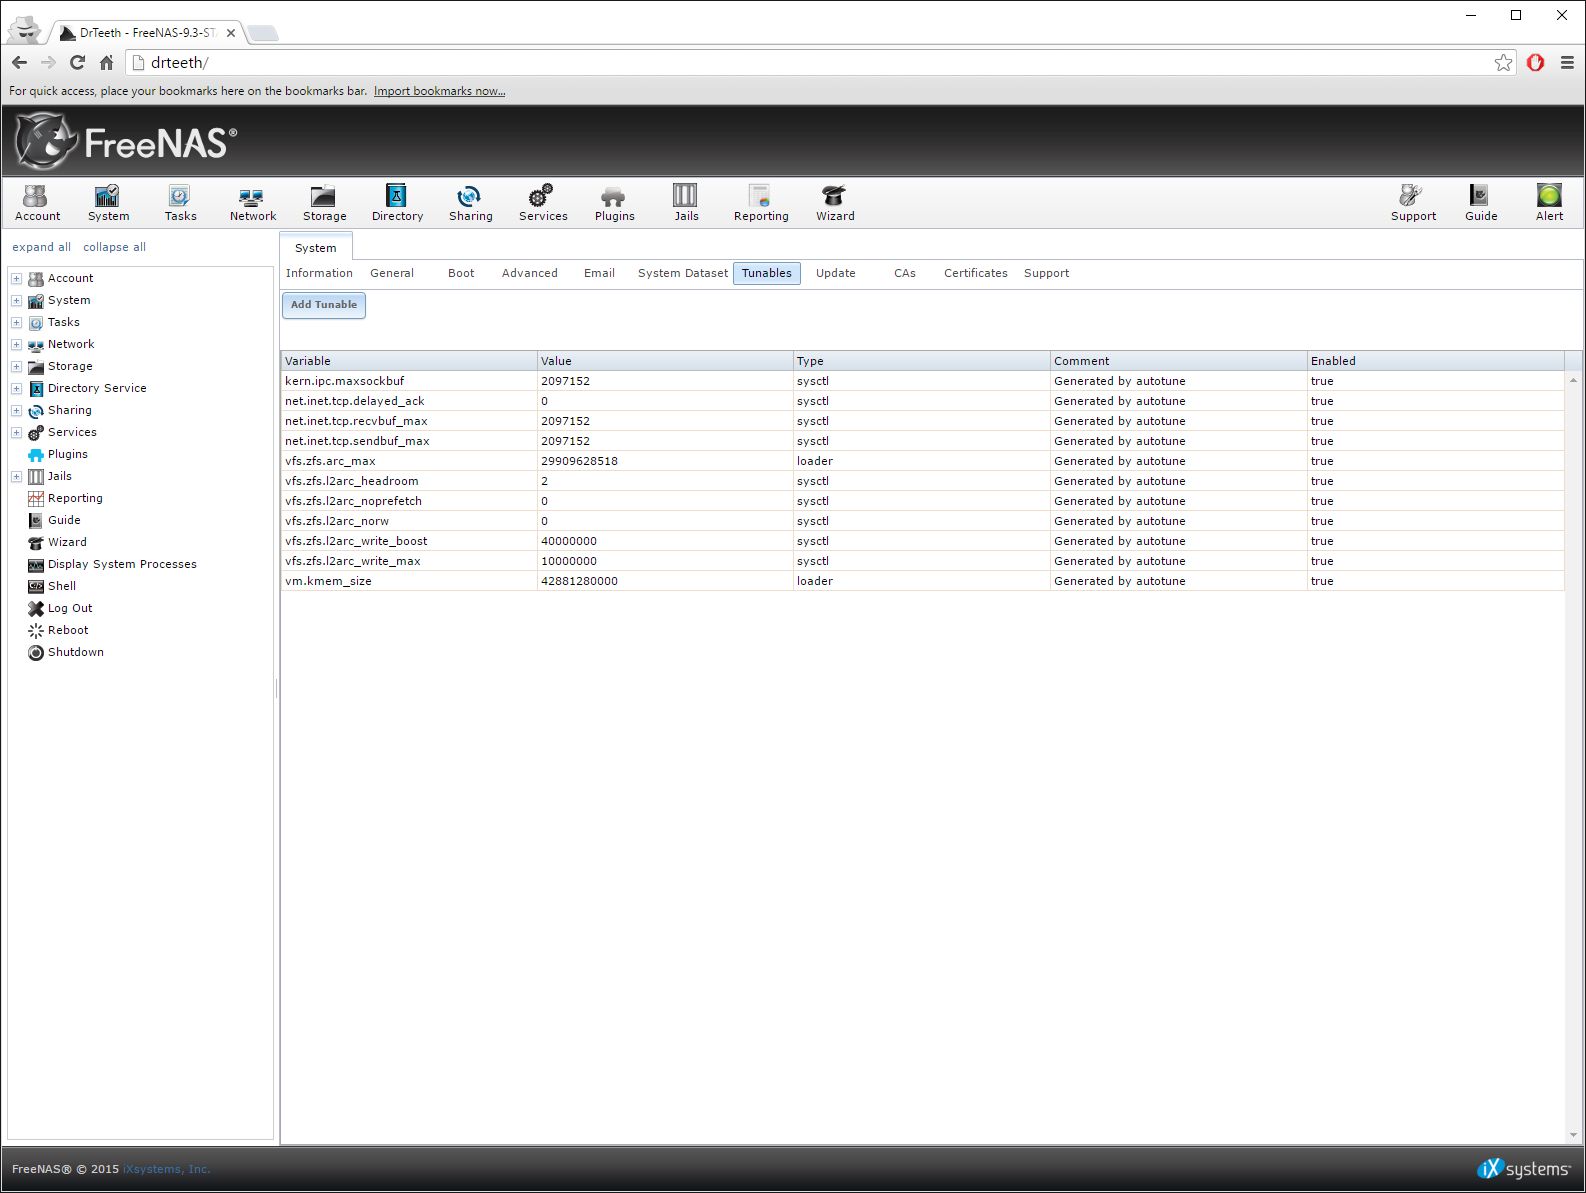
I won’t pretend to have expertise in all of those tweaks that the Autotune made on my behalf, but I suspect that it’s a list of things that a few Google searches will give me a decent idea of why the changes were made and how it benefits the performance.
Parts List
| Component | Part Name | Count | |
|---|---|---|---|
| Motherboard | ASRock C2550D4I | specs | 1 |
| Memory | Crucial 16GB Kit (8GBx2) DDR3 ECC | specs | 2 |
| Case | U-NAS NSC-800 Server Chassis | specs | 1 |
| Power Supply | Athena Power AP-U1ATX30A | specs | 1 |
| SATA Cables | Monoprice 18-Inch SATA III 6.0 Gbps (Pkg of 5) | N/A | 2 |
| OS Drive | SanDisk Cruzer 16GB USB Flash Drive | specs | 2 |
| Cache Drives | Samsung 850 EVO 120GB SSD | specs | 2 |
| Storage HDDs | Various 4TB HDD Models | N/A | 7 |


How Does it Measure up to the DIY NAS: 2016 Edition?
Out of curiosity, I executed the same IOMeter tests as I did in the DIY NAS: 2016 Edition to see exactly how my own NAS measured up performance-wise to the DIY NAS: 2016 Edition, and I also wanted to see the impact of the Autotune as well.
IOPS
Throughput
Overall, I had been expecting that my own NAS would be pretty comparable to the DIY NAS: 2016 Edition, and for the most part, I was right. Surprisingly, my NAS outperformed the DIY NAS: 2016 Edition in sequential writes by a good margin in both IOPS as well as MB/sec. However, for my uses, sequential writes (or reads) isn’t really a very real-world test. IOMeter’s “All Tests” mimics my real-world usage much better than the sequential read or sequential write tests. Within the “All Tests” my NAS benchmarked at about 87% of what the DIY NAS: 2016 Edition scored. I was hoping to be within 10%, but I was close enough that I am pleased with the outcome once you also factor in the additional money I was able to save by going with the ASRock C2550D4I.
What’s Next?
My ultimate goal for the upgrade to my FreeNAS machine is to create a box capable of serving as the disk storage for my yet-to-be-built homelab machine. As far as I’m concerned, I’m pretty certain that my upgraded NAS is up to that task. But I’ve got a couple projects to finish first: building out my poor man’s 10Gbe network and assembling my homelab server.
I’m pretty happy with both the performance of my NAS after all of its upgrades as well as its cost. In comparison to my prior NAS, its performance is light years ahead of where I was at prior to the upgrade. Depending on the test, IOPS and MB/sec for the benchmarks I performed ranged from 60% better to 4500% better. And while its performance lagged behind the DIY NAS: 2016 Edition, it was only by a half-step, and it even managed to out perform the DIY NAS: 2016 Edition in one test.
Hopefully, it’ll be at least another 4 years before I’m upgrading components again except for replacing/upgrading any hard-disk drives which manage to fail between now and the next major upgrade!