I'm Brian, a geek, a tinkerer, and sporadic content creator.
I write blogs and create videos about my hobbies: DIY NAS servers, 3D-printing, home automation, and anything else that captures my attention.

Latest Posts
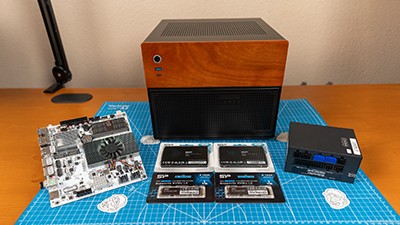

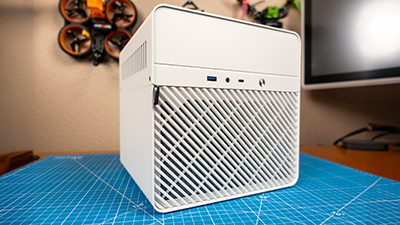
An 8-bay DIY NAS with 10GbE networking, TrueNAS 25.10.0.1, an Intel N300 CPU, 32GB of DDR5 RAM, and a smallish form factor that occupies less than 20 liters of your office space.
A summary our trip to Austin, TX to be a community exhibitor at 2025 Texas Linux fest! Especially the success of the DIY NAS giveaway!
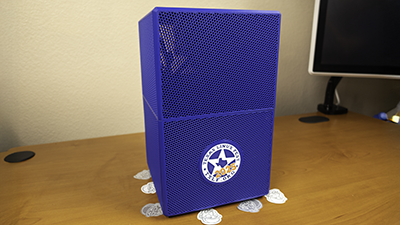
I'm going to have a booth at Texas Linux Fest, so I built a TXLF-inspired DIY NAS that I will give away in a raffle! It has an Intel N150 CPU, 32GB of DDR5 RAM, TrueNAS CE, 4TB of NVME storage, 10GbE networking, and room for six 3.5" drives!
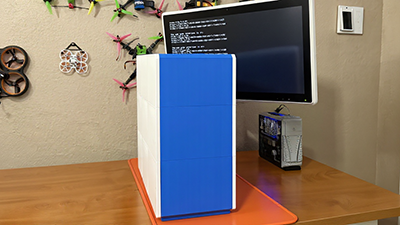
I 3D-printed 12-drive ATX case to use as a secondary Proxmox node in my homelab! It turned out fantastic!

My curiosity about the impacts of the Presidential tariffs incited me to place an order for a Topton motherboard from AliExpress. I will be sharing updates as that orders progresses.

An awesome open source project which enabled me to design and 3D-print a completely customized miniature network rack for my homelab.
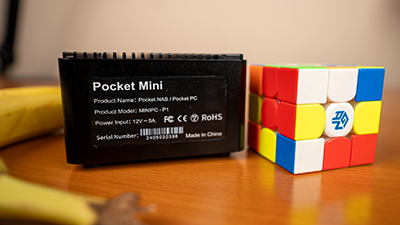
Brian reviews a pocket-sized NAS with an Intel N100 CPU, dual 2.5GbE networking, and room for four M.2 NVMe SSDs.
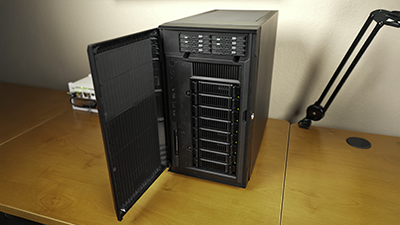
I share what I like and what I dislike about the SilverStone Technology CS382 case after using it for 6 months.
A diminuitive, TrueNAS SCALE machine featuring: 92TB of storage (90TB of HDD, 2TB of SSD), an Intel N100 CPU, 32GB of DDR5 RAM, and 10Gbps networking for under $2,300.