

A few years back, I built my first NAS, and just this past spring, I upgraded my NAS to bring it up-to-date. In between building those two machines, I started a habit of building a new NAS every 6 months (or so) because I continue to find it to be an interesting project to keep repeating and is also rewarding to write about.

One of the things I always lamented about my NAS machines is that I wasn’t really thoroughly utilizing them. There’s plenty of free storage space that’s slowly being nibbled away by my backups of my Windows machines, but I don’t really have any dramatic need for storage beyond backups of a few PCs. No staggeringly large collections of media, or games, or of anything else that I imagine starts to take up quite a bit of space. In discussing this unused storage space, Pat convinced me that I should get off my butt and build a homelab server like he did ages ago, but in my case leverage my FreeNAS box for storage.
Affiliate Disclaimer: Some of the links on this website are affiliate links, meaning, at no additional cost to you, I may earn a commission if you click through and make a purchase. I only recommend products that I believe will add value for my audience. Please understand that I have experience with all of these companies' products, and I recommend them because they are helpful and useful, not because of these small commissions.
What’s a Homelab Server for, Anyways?
I’m probably not the best guy to ask to define what a homelab server is, but I’ll still take a stab at it. Nearly twenty years ago, I remember being envious of a friend’s home office. He had quite the collection of second hand computers from his office fulfilling a variety of purposes. He even had all of his networking equipment set up in something very similar to a Lack Rack. What’d he do with these computers? God only knows! If I recall correctly, he was working on numerous different certifications, and he used all of that hardware to practice and prepare for his tests.
Fast-forward to today, and we have the computing power to do all that on a single machine thanks to virtualization, and this purpose is at the core of what a homelab server is. Effectively, what people are doing is using a single machine to emulate all those secondhand servers that my friend had in his spare bedroom.
Technically my DIY NAS machine could be used as a homelab server; the latest version of FreeNAS is running atop FreeBSD 10, which features the bhyve hypervisor for hosting virtual machines. Right up until I upgraded my NAS this year, I was quite interested in the possibility of running my various virtual machines along-side FreeNAS. Ultimately, Pat wound up convincing me that separate hardware was the better direction for me to go in.
Important Features and Functionality
So, what exactly did I need a homelab server for in the first place? My initial reason is pretty silly–I wanted to show off by using my NAS as the primary storage of other machines! I built a series of three two-node 10Gbe networks here at the house which interconnect my primary desktop PC, my NAS, and now my homelab server. Just for the sake of doing it, I’ve wanted to host a machine’s (virtual or otherwise) primary storage on my NAS and then get faster performance than your typical platter hard-disk drive. The fact that I can do that affordably at my house is a bit mind blowing, and I really wanted to see it in action.
On top of that, I had some practical uses that I want want to dedicate virtual machines to:
- Dedicated OctoPrint machine for my “new” 3D printer (a future blog topic)
- A better test web server for working on my blog
- A multimedia server that pushes content to my different FireTV and Chromecast
- Home Automation using openHAB
I’m not unfamiliar with virtual machines. I’ve personally tinkered with a number of different virtualization packages over the years: VMWare, VirtualBox, Kernel Virtual Machine, etc. And professionally, it’s been over a decade since I worked directly with machines that weren’t being virtualized.
I cobbled together a few key requirements that I wanted my homelab server to have.
- Free or Open Source: Seems pretty straightforward. Who doesn’t like free things?
- Manageable via some Web Front-end: FreeNAS spoiled me by mostly making it unnecessary to spend effort at the command-line. I’d really like to be able to manage my Virtual Machines much like my NAS, via some sort of web front end.
- Enterprise-quality Hardware: I mostly wanted this for bragging rights, but I’d also like the platform to be rock-solid stable.
- Intelligent Platform Management Interface (IPMI): This goes hand-in-hand with the above requirement but it’s way more practical. I’ve enjoyed being able to manage my NAS via the IPMI interface on the ASRock C2550d4i motherboard and I think an IPMI interface is also a must-have for my homelab machine.
Hardware
CPU
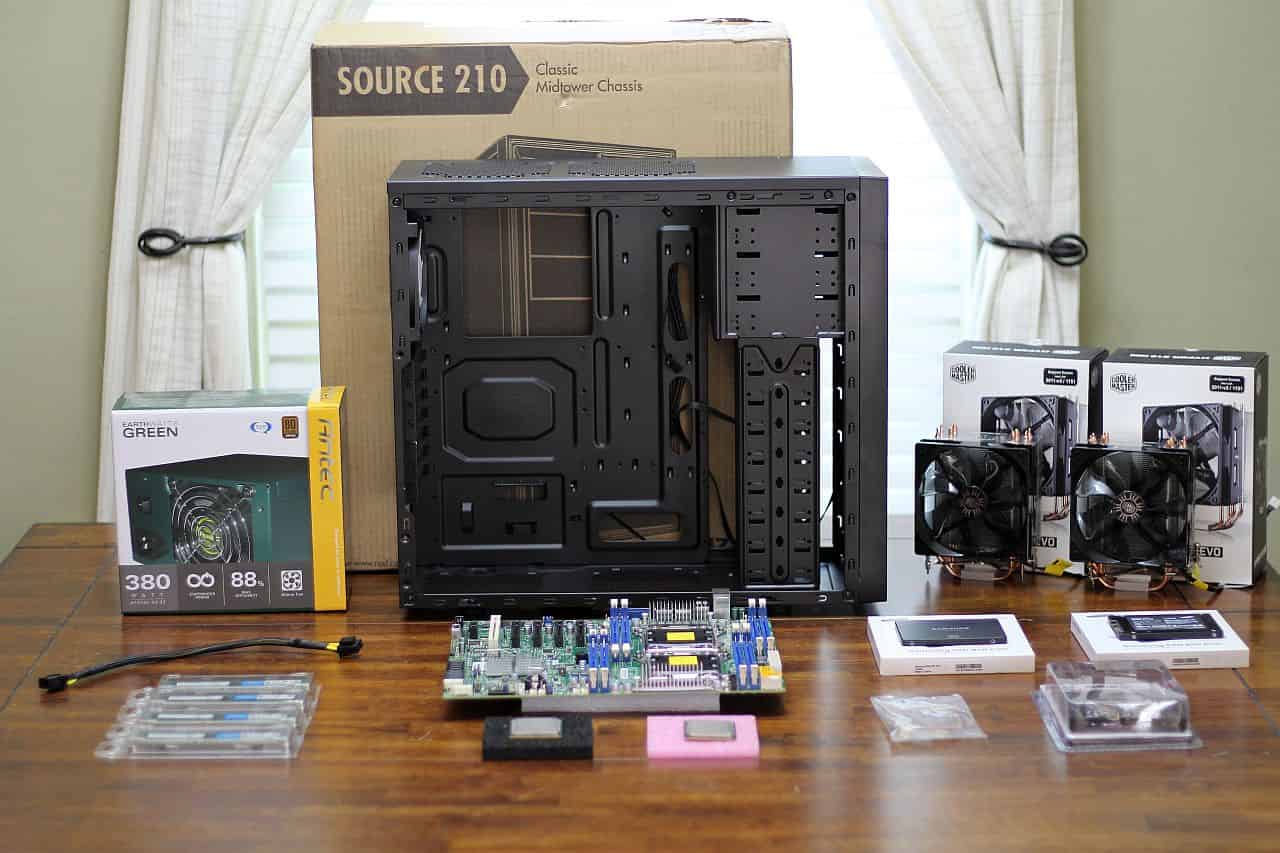
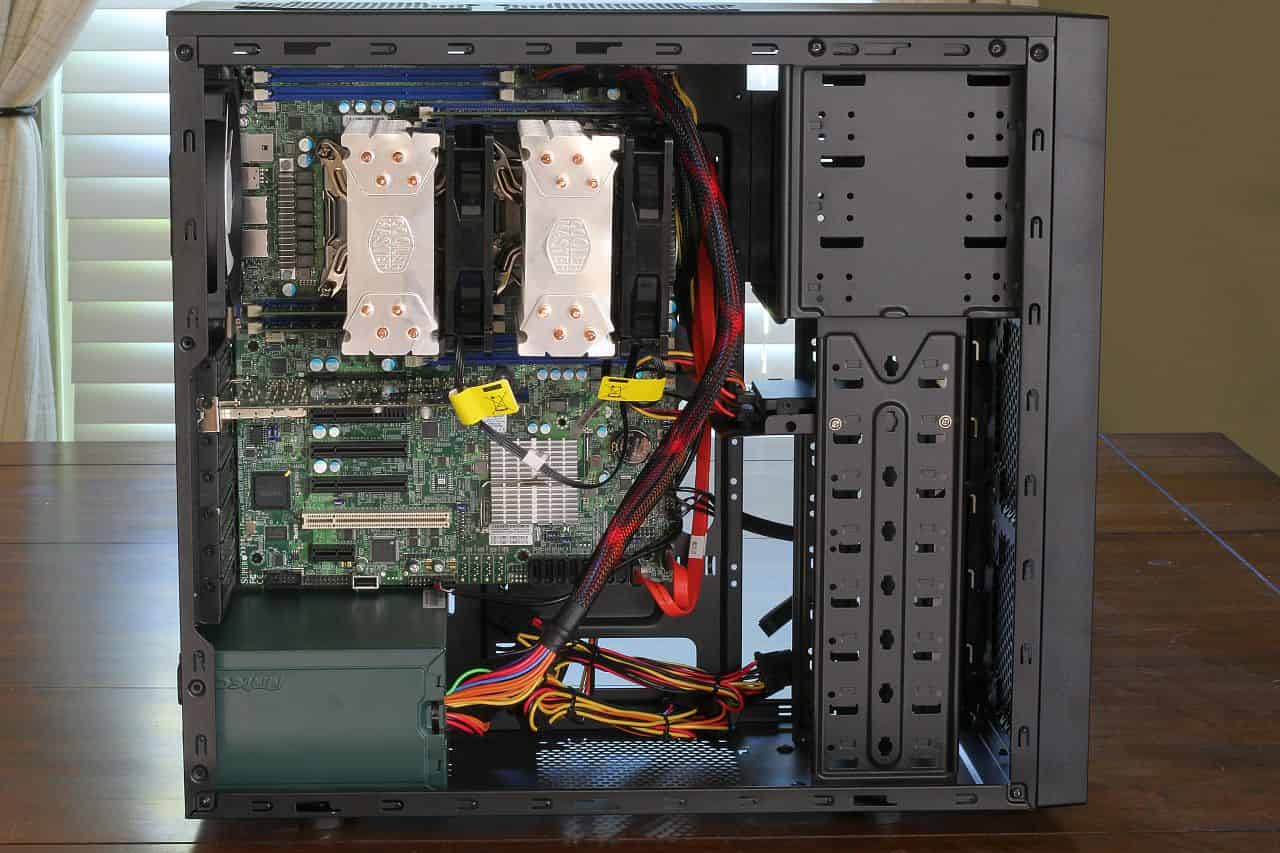
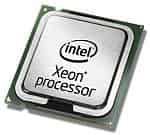 For the CPU, I picked out a pair of Intel® Xeon® Processor E5-2670 CPUs (specs). The inspiration for this selection came from an article I’d read recently: Building a 32-Thread Xeon Monster PC for Less Than the Price of a Haswell-E Core i7. In this article, I learned that the market is flooded with inexpensive used Intel® Xeon® Processor E5-2670 CPUs. The premise of the article is that you could build a very robust primary workstation of the Xeon E5-2670, but after researching the CPU prices on eBay, I knew I’d found the right CPU for my homelab machine–it made “two” (Haha! Dual-CPU pun!) much sense to build a dual-Xeon machine. Having 16 cores, capable of running up to 32 threads up at 3.3GHz for around $100, it was an incredible value and perfectly suited for my homelab server. To cool each of the Xeon E5-2670 CPUs, I picked out a Cooler Master Hyper 212 EVO (specs). It’s a CPU cooling solution that I’ve been happily using now for quite some time which also had my utmost confidence for this build.
Motherboard
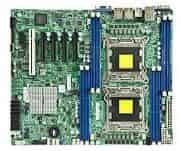 The CPU might have been extremely affordable, but dual-CPU motherboards that accepted it are still quite expensive. I tinkered around eBay, hoping that I could find a good source for inexpensive motherboards that’d run the CPUs I picked, but I didn’t have much luck. Instead, I opted for a new motherboard. Using the criteria above, I eventually decided on the Supermicro X9DRL-IF (specs). Aside from the dual LGA-2011 sockets and support for my inexpensive Xeon CPUs, I was also pretty excited about the fact that there were 8 total DIMM slots supporting up to 512GB of memory, numerous PCI-e slots, 10 total SATA ports, and dual Intel Gigabit network onboard.
Memory
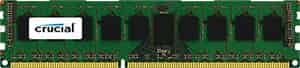 Memory wound up being my second largest expense, coming in just over $200. I wound up picking 4 Crucial 8GB DDR3-1600 ECC RDIMMs. I’m guessing that 32GB is a pretty good starting-off point for my adventures with different virtual machines. There are an additional 4 slots empty on the Supermicro X9DRL-IF motherboard, so adding additional RAM in the future would be quite easy. Hopefully some day the market will be flooded with inexpensive DDR3-1600 ECC DIMMs like it was with Xeon E5-2670s. If that happens, I’ll look to push my total amount of RAM towards the maximum supported by the Supermicro X9DRL-IF motherboard and CPU.
Network
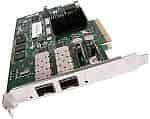 I planned my homelab server, my NAS upgrade, and my inexpensive 10Gb Ethernet network all simultaneously. In addition to the two onboard Intel Gigabit connections on the Supermicro X9DRL-IF, I also wound up buying a dual-port Chelsio S320e (specs) network card. I talk about it in quite a bit more detail in my cost-conscious faster than Gigabit network blog, but each of the ports on the card are plugged into my NAS or my primary desktop computer.
Storage
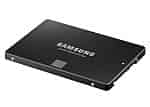 The bulk of my storage is ultimately going to come from my FreeNAS machine, but for the sake of simplicity and a bit of a performance boost, I decided to put a pair of Samsung SSD 850 EVO 120GB SSDs (specs) into the machine and placed them in a RAID-1 mirror.
Case, Power Supply, and Adapters
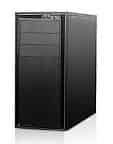 As I have many times when being frugal in the past, I decided to use the NZXT Source 210 (specs) for my case. The Source 210 is getting harder and harder to find at the great prices I’ve grown accustomed to finding it at, but I was able to find it at a reasonable price for this build. It’s inexpensive, well made, fits all of the components, and has lots of empty room for future expansion.
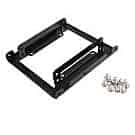 Of all the praises that I heap on the NZXT Source 210, I discovered it had one shortcoming that I didn’t account for–it lacked 2.5” drive mounting solutions. I was briefly tempted to break out my black duct tape and tape my two Samsung SSD 850 EVO 120GB SSDs inside the case, but I eventually decided to just pick up a 2.5” to 3.5” adapter tray that could hold both SSDs instead. Perhaps if I’d been willing to spend a few more dollars on a case, I would have found something that had some built-in 2.5” drive mounts for my SSDs, but I’m still quite happy with the Source 210.
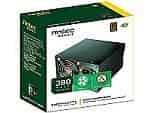 Choosing a power supply was an interesting decision. My gut said I’d need a humongous power supply to power the two Intel® Xeon® Processor E5-2670 CPUs. But at 115W TDP for each CPU and hardly any other components inside the homelab server, I began to reconsider. Based on some guesswork and a little bit of elementary-school-level arithmetic, I was expecting to be using no more than 250-275 watts of power. Ultimately, I wound up deciding that the Antec EarthWatts EA-380D Green (specs) would be able to provide more than enough power for my homelab server.
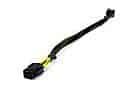 The one flaw in my selection of the Antec EarthWatts EA-380D Green is that it lacked the dual 8-Pin 12-volt power connectors required by the Supermicro X9DRL-IF motherboard. When shopping for power supplies, I couldn’t find a reasonably priced or reasonably sized power supply which came with two of the 8-pin 12-volt connectors. Instead of paying too much money for a grossly over-sized power supply, I wound up buying a power cable that adapted the 6-pin PCI Express connector to the additional 8-pin connector that I needed. The existence of this cable is ultimately what allowed me to save quite a few dollars on my power supply by going with the Antec EarthWatts EA-380D Green.
Final Parts List
| Component | Part Name | Count | Price | |
|---|---|---|---|---|
| CPUs | Intel® Xeon® Processor E5-2670 | specs | 2 | $99.98 |
| Motherboard | Supermicro X9DRL-IF | specs | 1 | $341.55 |
| Memory | Crucial 8GB DDR3 ECC | specs | 4 | $211.96 |
| Network Card | Chelsio S320E | specs | 1 | $29.99 |
| Case | NZXT Source 210 | specs | 1 | $41.46 |
| OS Drives | Samsung 850 EVO 120GB SSD | specs | 2 | $135.98 |
| Power Supply | Antec EarthWatts EA-380D Green | specs | 1 | $43.85 |
| CPU Cooling | Cooler Master Hyper 212 EVO | specs | 2 | $58.98 |
| GPU to Motherboard Power Adapter Cable | PCI Express 6-pin (male) to EPS ATX 12V 8-pin (4+4-pin) female | N/A | 1 | $7.49 |
| SSD Mounting Adapter | 2.5" to 3.5" Drive Adapter | N/A | 1 | $3.98 |
| Total: | $975.22 | |||
Software
Operating System
![]() For my homelab machine’s operating system, I wound up choosing the server distribution of Ubuntu 16.04 (aka Xenial Xerus). I chose this version largely because it includes the ZFS file-system among its many features. The inclusion of ZFS interests me because I’d like to start using ZFS snapshots and ZFS Send in order to act as a backup for my NAS. I’m always keeping an eye on hard drive prices, so the next time I see a good deal on some large drives, I may add three or four of them to my homelab server for this purpose.
For my homelab machine’s operating system, I wound up choosing the server distribution of Ubuntu 16.04 (aka Xenial Xerus). I chose this version largely because it includes the ZFS file-system among its many features. The inclusion of ZFS interests me because I’d like to start using ZFS snapshots and ZFS Send in order to act as a backup for my NAS. I’m always keeping an eye on hard drive prices, so the next time I see a good deal on some large drives, I may add three or four of them to my homelab server for this purpose.
Virtual Machine Management
Hypervisor
My experience managing virtual machines is pretty limited. In the past, I’ve used Virtual Box and VMWare on Windows machines to host virtual machines mostly out of curiosity. In my various professional positions, I’ve used plenty of virtual machines, but I’ve never been on the teams that have to support and maintain them.
![]() When it came time to pick what I’d be running on my homelab server, I deferred to Pat’s endless wisdom from his own homelab experience and I wound up electing to use KVM (Kernel Virtual Machine). I thoroughly appreciate that it is open source, that it has the ability to make use of either the Intel VT or AMD-V CPU instruction sets, and that’s it capable of running both Linux and Windows virtual machines. But ultimately, I wound up picking KVM because I have easy access to plenty of subject-matter expertise–as long as I can bribe him with coffee and/or pizza.
When it came time to pick what I’d be running on my homelab server, I deferred to Pat’s endless wisdom from his own homelab experience and I wound up electing to use KVM (Kernel Virtual Machine). I thoroughly appreciate that it is open source, that it has the ability to make use of either the Intel VT or AMD-V CPU instruction sets, and that’s it capable of running both Linux and Windows virtual machines. But ultimately, I wound up picking KVM because I have easy access to plenty of subject-matter expertise–as long as I can bribe him with coffee and/or pizza.
Virtual Machine Manager
Because I’m enamored with the ability to do almost all of my management of my NAS via the FreeNAS web-interface, I was really hoping that I could find something similar to act as a front-end to KVM. My expectation is that I’d be able to complete a significant percentage of the tasks required for managing the virtual machines through a browser from any of my computers. And for anything else, I intend to have a Linux virtual machine running that I can remote into and use Virtual Machine Manager to do anything that I can’t do easily through the web interface.
Ultimately, I wound up deciding to give Kimchi a try. Initially, I was pretty excited, since Kimchi was available within Ubuntu’s Advanced Package Tool. However, what I found for the first time ever was that it didn’t “just work” like every other apt package I’d installed before. In fact, it took Pat and I quite some time to get Kimchi up and running using the apt package. And once it was actually running, we found it to be quite slow. Finally, I was a bit bummed that the version in the apt package was decidedly older (version 1.5) than what was out on the Kimchi page (2.10) for download. Instead, I wound up following the directions on the Kimchi download page to install it manually, and to my surprise I was able to pull up the Kimchi interface in a browser and do some management of the virtual machines.
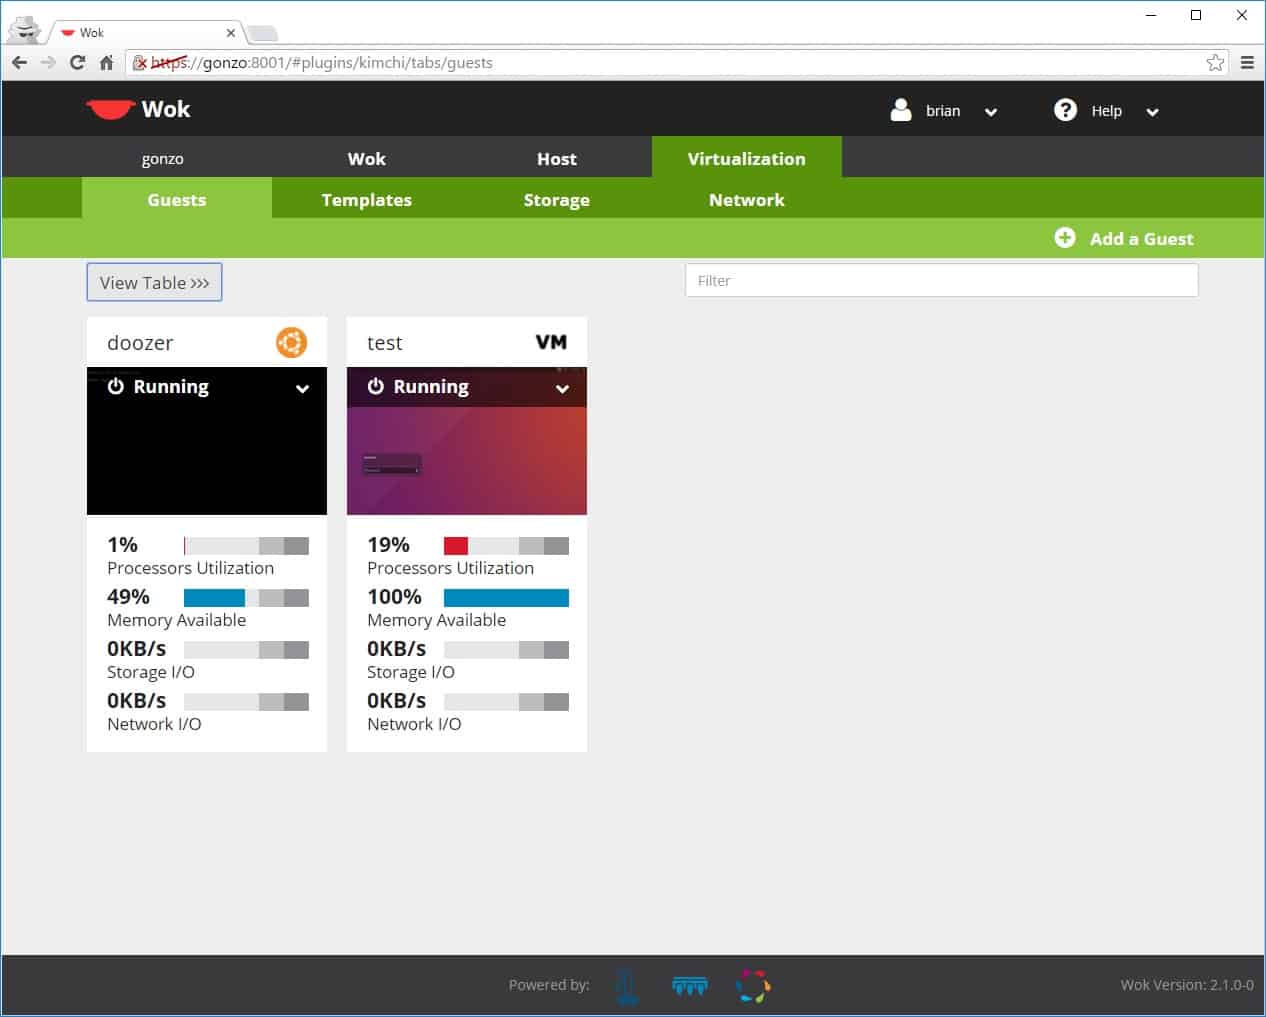
I found the Kimchi web interface to be handy for some basic virtual-machine configuration and remote-access to the virtual machines. However, tricky configuration, like passing a USB device—my 3D printer—through to a virtual-machine just couldn’t be done via the Kimchi interface. For that kind of virtual machine management, I am planning to use something like MobaXterm on my Windows desktop to access an Ubuntu Desktop virtual machine that has virt-manager on it. It’s a tiny bit more complicated than I would’ve liked, but I’m still pretty happy with the amount of functionality that Kimchi provides via the web-interface.
DHCP
I’m a big fan of DHCP servers, primarily because I’m lazy and dislike manually configuring static IP addresses. I already had to manually configure six different network interfaces in building out my inexpensive 10Gb ethernet network, and I wasn’t really looking forward to having to continue doing that for each and every new virtual machine. Setting up a DHCP server to listen on my 10Gbe links between my homelab server would make it a bit easier on me when spinning up new virtual machines.
Conclusion
At the beginning of the year, I really wanted to have a single server at my house to take care of both my NAS and homelab needs. But as I thought about it more, I found that concept to have some constraints I found less than ideal. I’m still very pleased with FreeNAS, but ultimately, I thought there were more options available so that I wasn’t constrained to using a hypervisor that ran on FreeBSD. Furthermore, I’m a big fan of having the ability to do maintenance on one set of hardware without simultaneously impacting both my NAS and my hosted virtual machines.
For just under $1,000, I wound up building a homelab server featuring dual-Xeon E5-2670 CPUs (2.6GHz, octo-core), 32GB of RAM, two dedicated 10Gb links (to my NAS and desktop PC), and a mirrored SSD for the host’s operating system. As it stands right now, this machine is probably overkill for what I need. Pat’s inexpensive and low-power homelab machine is probably more in tune with my actual needs, but I relished the chance to build a cost-effective dual-Xeon machine.
What’s Next?
I need to finish putting together my OctoPrint virtual machine and get working on designing and printing things in the third dimension, which is surely to be a source for many upcoming blogs. After the OctoPrint virtual machine is sorted out, I am going to tackle some sort of media-streaming virtual machine. In the future, I’d like to leverage the fact that Ubuntu 16.04 is now shipping with the ZFS file system. I wouldn’t mind buying a few large HDDs and begin using my homelab hardware as a destination for snapshots from my NAS. If you had 16 cores at your disposal in a homelab server, what other purposes would you have for it? What great idea am I currently overlooking?