
I recall griping at Pat one day he was over for dinner that I wished everything had an IPMI interface or that nothing did. Only two of the computers at my house have an IPMI interface, all the rest did not. When the DIY NAS: 2020 Edition was burning in, I had to get up and go into the other room to see what it was up to, but I didn’t think it was worth the price premium to move up to a motherboard which included IPMI among its features.
Pat nodded in agreement and remarked, “There’s this neat project, Pi-KVM, that lets you build a cheap IP-KVM out of a Raspberry Pi! You should check it out.” We talked about different possible uses for it and then got busy repairing a quadcopter or playing some video games.
- Part One: Pi-KVM: an inexpensive KVM over IP
- Part Two: Pi-KVM: Controlling a 4-port KVM and setting up Tailscale
A few days later, I recalled this conversation later when wracking my brain for a Christmas gift idea for Pat and immediately decided then that I’d build a Pi-KVM for Pat. As a bonus, I’d get to play with his Christmas present a bit before deciding if I wanted to build one of my own!

KVM over IP (IP-KVM)
A KVM (or KVM switch) is basically a device that allows you to share a keyboard, video, and mouse between two computers. For a very long time, I had my own DIY NAS, primary workstation, and work laptop all plugged into a KVM switch. Whenever I needed to use one of those three computers, I’d hit a button and the KVM would switch me between the three computers.
An IP-KVM is very similar: you plug the IP-KVM device into the keyboard, video, and monitor of a computer but then you access it over a network. The keyboard, mouse, and display that you’re using aren’t actually plugged into the remote computer.
Both a KVM and IP-KVM are superior to remote access (TeamViewer, Remote Desktop, VNC, etc.) because you’re accessing the actual hardware remotely. You’re able to see the machine POST, access the BIOS, and watch it load the operating system. Most remote access options require the operating system to be up and running first. In enough scenarios, that’s simply not enough.
IPMI
The most controversial parts of my DIY NAS build blogs is how frequently I recommend consumer-grade hardware. When people advocate for using enterprise hardware, the two reasons that resonate the most to me are support from the manufacturer (potentially including longer warranties) and that most server-grade motherboards have an IPMI interface.
Simplifying things a bit–maybe tremendously–IPMI is quite similar to having a built-in IP-KVM incorporated on the motherboard. The motherboard has a dedicated network interface that gets plugged into a switch and assigned an IP address by your router. Using a web browser or an IPMI client, you’re able to access this interface and interact with the hardware as if you were sitting in front of the computer with a keyboard, mouse, and monitor plugged into it.
The DIY NAS: 2016 Edition was the first motherboard I used with an IPMI interface. That feature (among others) helped convince me to use the same motherboard when I upgraded my personal NAS later the same year. That upgrade also meant that I was able to retire my KVM switch and all of its cables. When I built my homelab server, I made sure to pick a motherboard that included an IPMI interface. Since then, you know how much I’ve successfully used those IPMI interfaces? Almost zero!
Thankfully, I’ve rarely actually needed to use the IPMI interfaces. Both machines have been tremendously stable and do their jobs without much interaction from me. However, each time that I have attempted to access their IPMI interfaces, I have run into minor issues. When I encountered these difficulties, I simply reverted to old behavior and grabbed my spare monitor and keyboard from my closet for the following reasons: it’s less effort, and the IPMI’s web interfaces have been pretty terrible.
When I bought an extension for my desk, a new switch for my 10Gb network, and moved around both my DIY NAS and homelab servers, I decided to just leave the IPMI interfaces disconnected and removed the network cables on each machine. It’s almost like I knew that a couple months later, I would be tinkering with something I liked way better than any IPMI interface that I’d used.
Pi-KVM
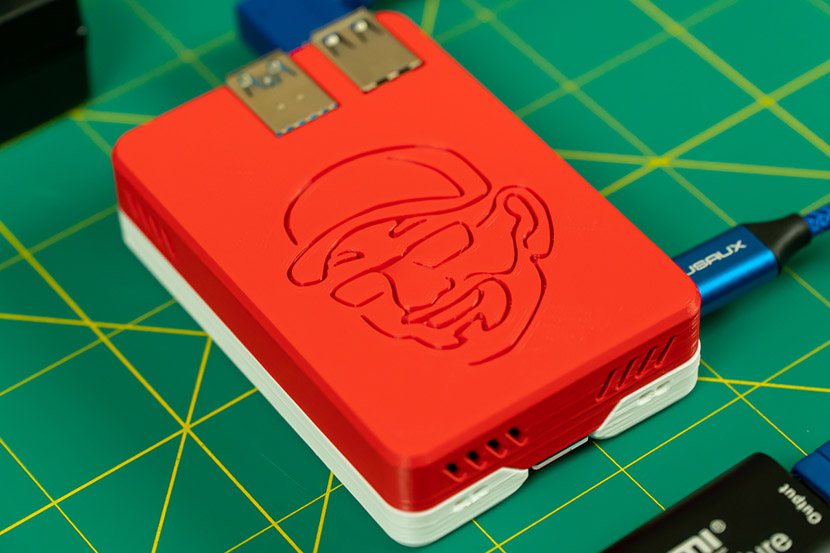
![]() So what’s Pi-KVM all about anyways? It’s an open-source project for building your own IP-KVM. So far, Pi-KVM has been through a couple different hardware variations. All of the hardware variations have been built around different Raspberry Pi models and a varying amount of do-it-yourself electronics. The current hardware version (v2) can be built around either a Raspberry Pi 4 Model B (2GB or higher) or a Raspberry Pi Zero W. Depending which Raspberry Pi option you pick, you’ll also need a video-capture device and some USB cables/adapters.
So what’s Pi-KVM all about anyways? It’s an open-source project for building your own IP-KVM. So far, Pi-KVM has been through a couple different hardware variations. All of the hardware variations have been built around different Raspberry Pi models and a varying amount of do-it-yourself electronics. The current hardware version (v2) can be built around either a Raspberry Pi 4 Model B (2GB or higher) or a Raspberry Pi Zero W. Depending which Raspberry Pi option you pick, you’ll also need a video-capture device and some USB cables/adapters.
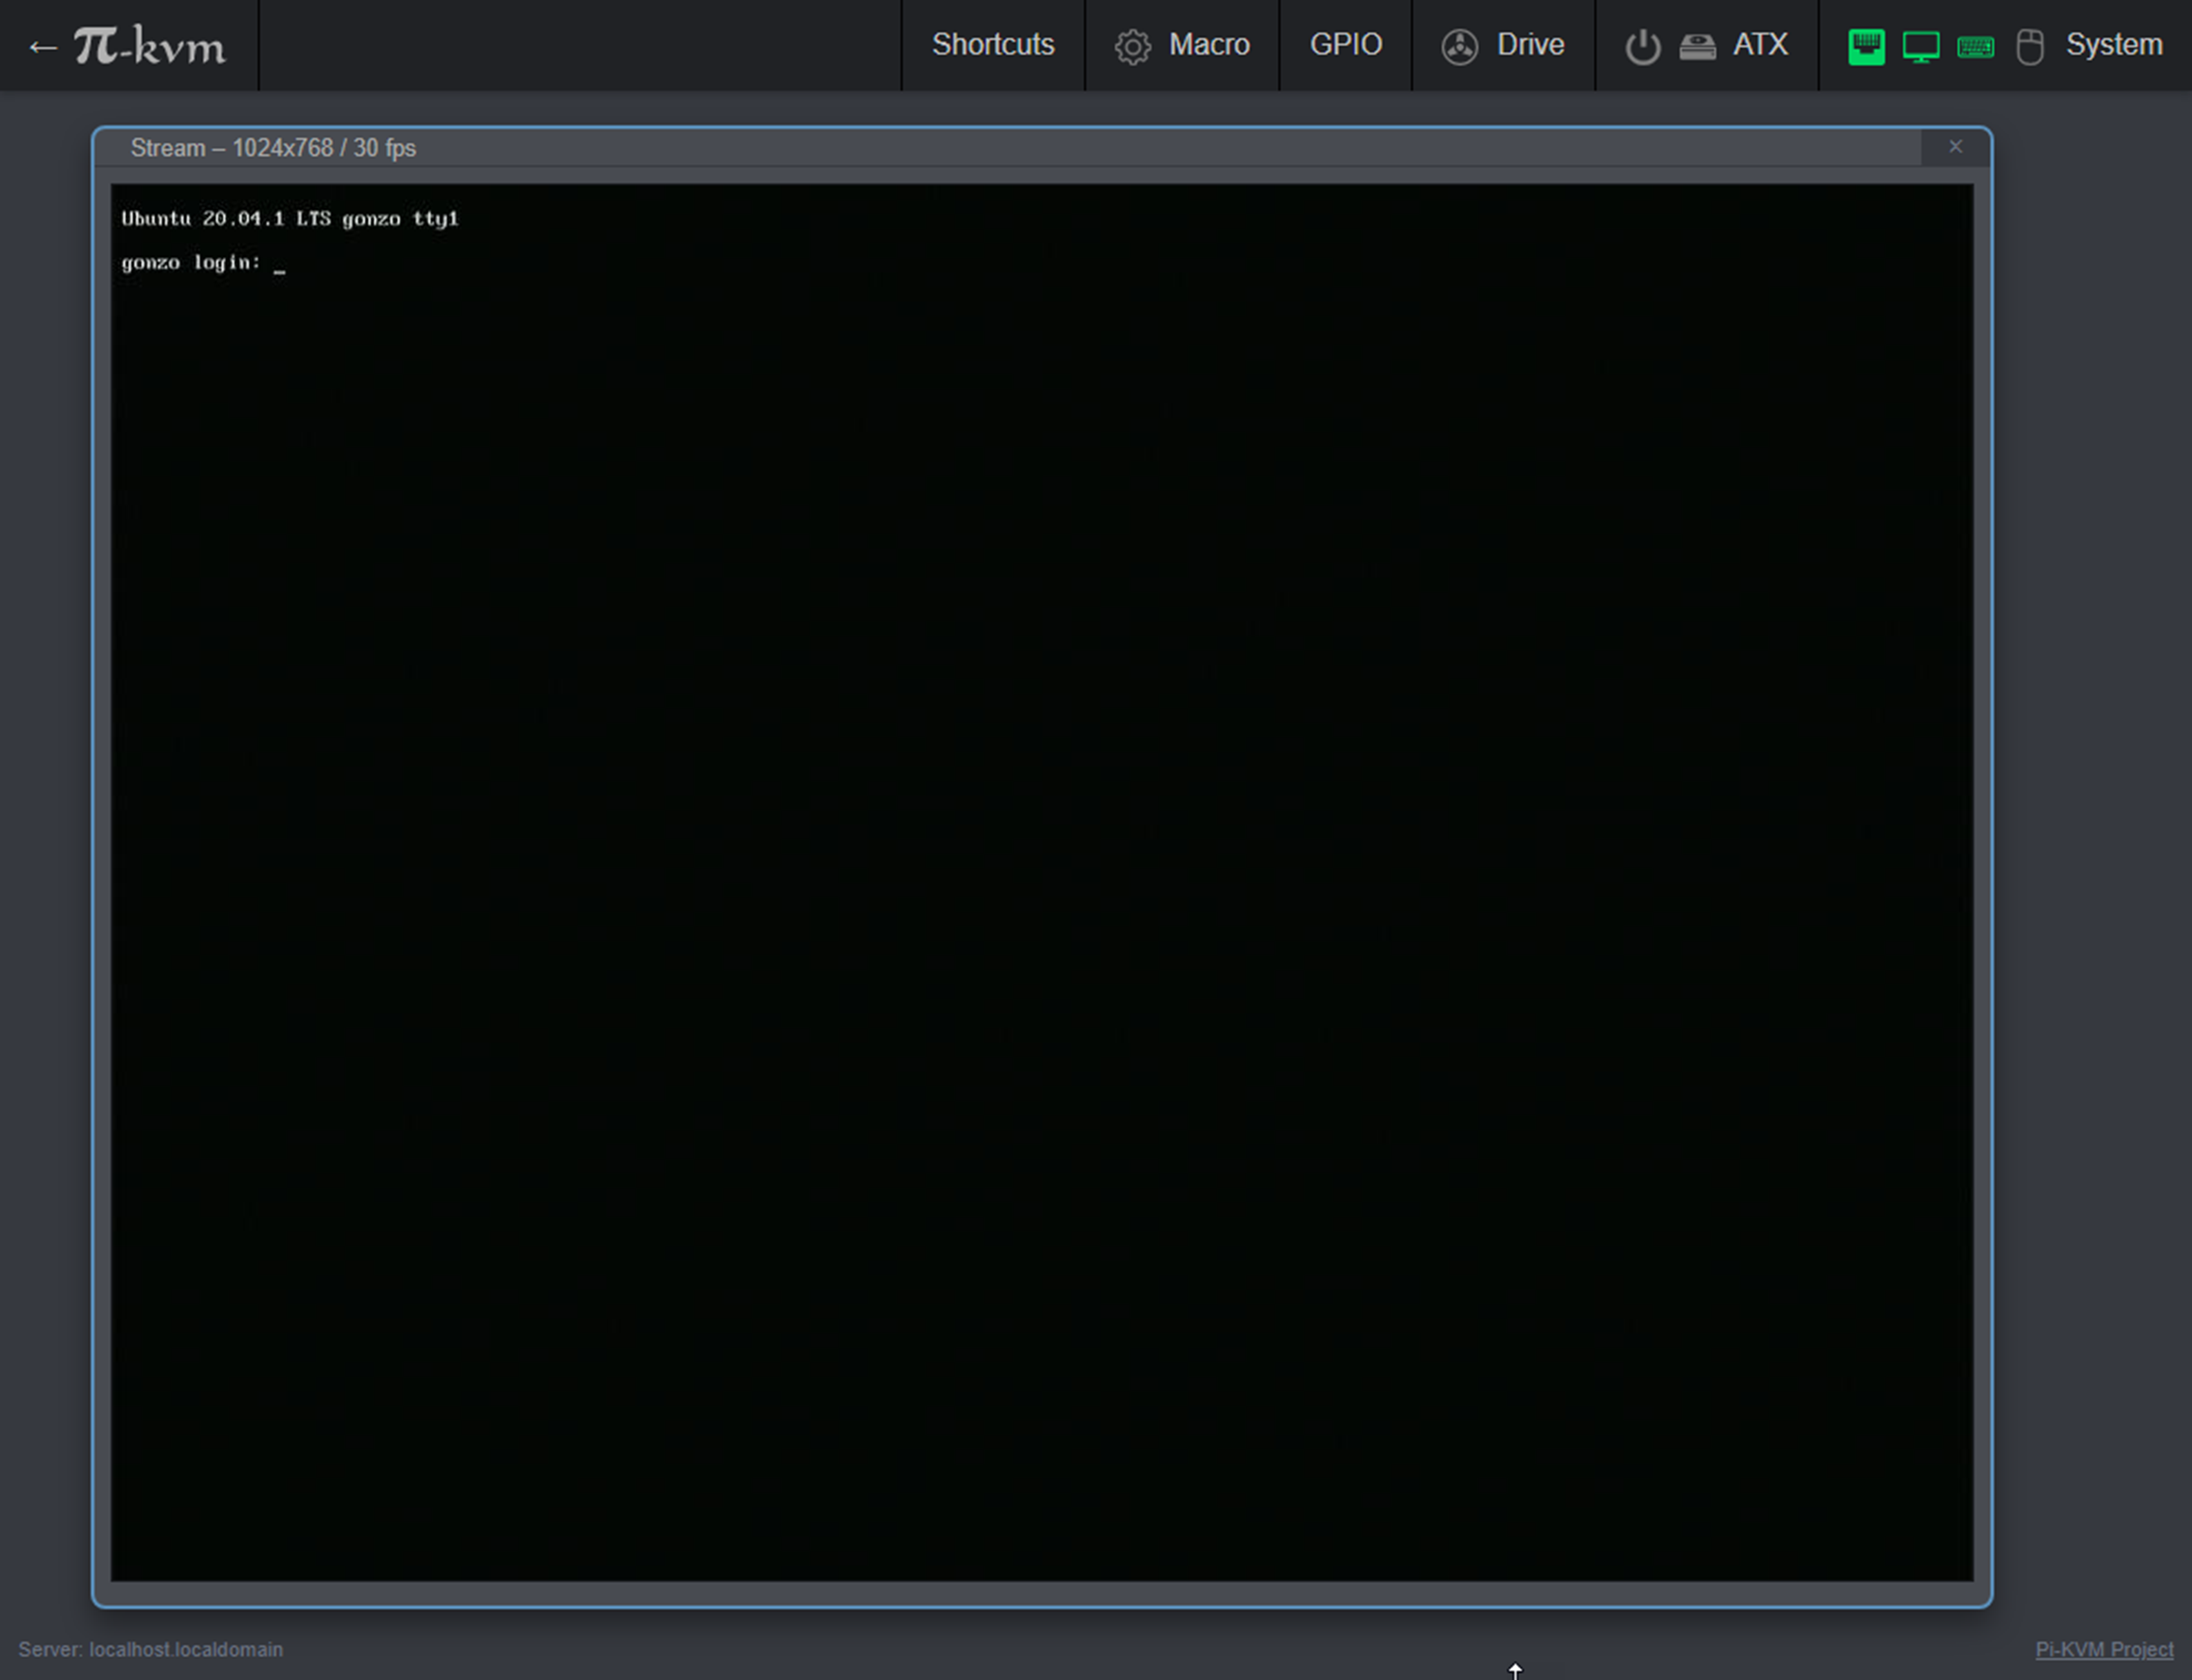
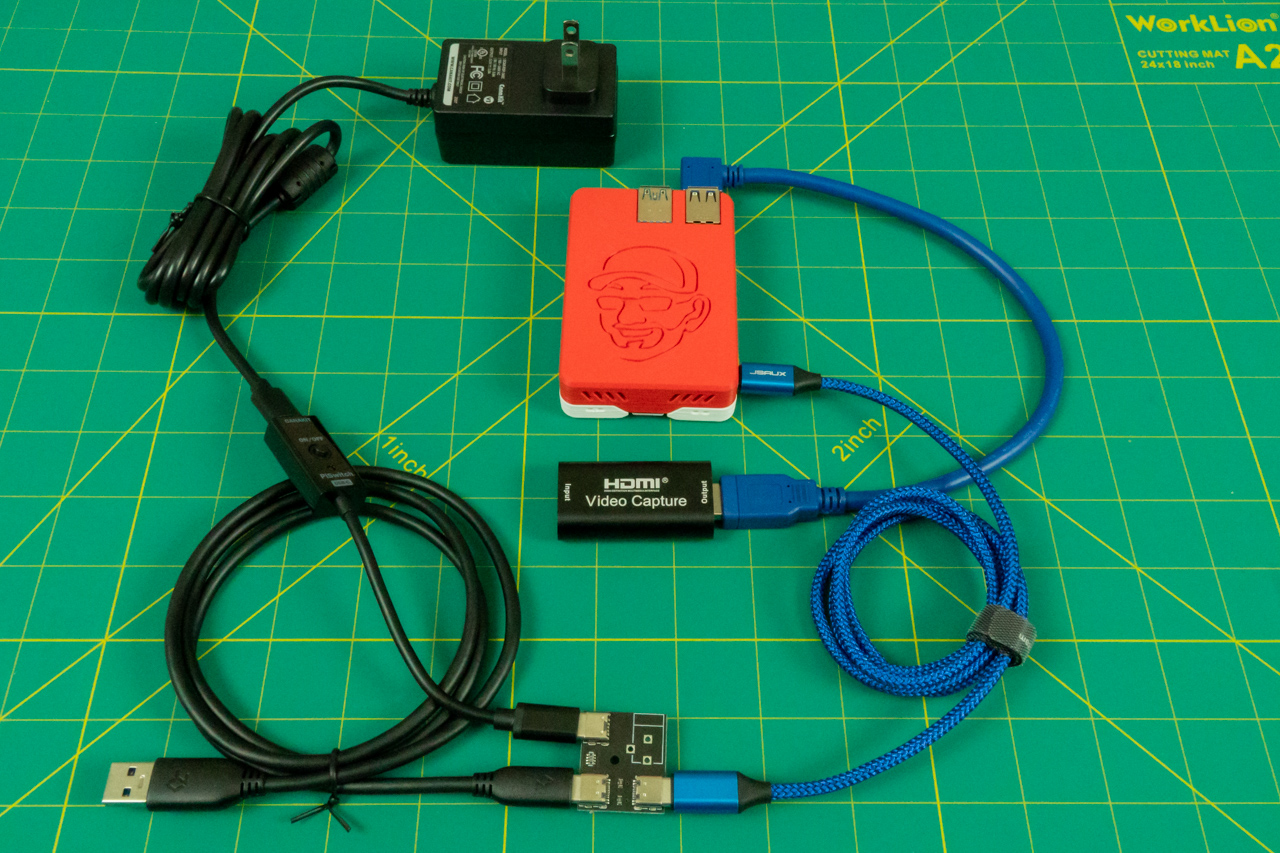
When it’s all said and done, the Raspberry Pi is connected to your computer’s display and USB ports. You pull up the Pi-KVM web interface in your browser, and you’re then in control of remote computer as if you’re physically standing right there. It’s really quite fantastic!
I looked for a comparable off-the-shelf piece of equipment, but there’s really nothing quite like it. I suspect that there’s just not much consumer demand for IP-KVM hardware right now. For most consumer users, there are acceptable enpough methods for accessing computers remotely, like VNC, Remote Desktop, and many others.
Nevertheless, after assembling the Pi-KVM that I gave to Pat for Christmas, I was immediately convinced that I wanted at least one for myself. Seeing these features in action were what sold me:
- Incredibly easy to build the hardware (version 2)
- The web interface was really responsive and easy to use.
- The latency was low.
- CD-ROM or Flash Drive emulation to pass through to the connected host.
These features aren’t all-encompassing either! They’re just the features that I was immediately zeroed-in on. There’s a whole cargo container full of other features that I haven’t leveraged yet too. The ATX controls sound really intriguing–having the ability to remotely press the power and reset buttons seems like it could come in really handy. Securely accessing my Pi-KVM from the Internet sounds interesting, but I’d rather not open ports on my router’s firewall in order to do so. However, there is a Tailscale client available. The idea of being able to access Pi-KVM from any device that I have a Tailscale client running on seems fascinating. Plus, Pat keeps telling me about how Tailscale makes these kinds of things easy, so this sounds like an excellent opportunity to prove Pat correct!
Brian’s Pi-KVM Parts List
When I ordered parts for Pat’s (and then again for my own) Pi-KVM, I made a mistake (or did I?) and bought a Raspberry Pi 4 Kit with 4GB of RAM. A Raspberry Pi 4 2GB meets Pi-KVM’s hardware requirements and would’ve worked just fine.
I decided that having 2GB of extra RAM might be useful in case there was other functionality that I wanted to add to my Pi-KVM down the road. Maybe one of these five awesome headless Raspberry Pi uses are good candidates to run alongside my Pi-KVM?
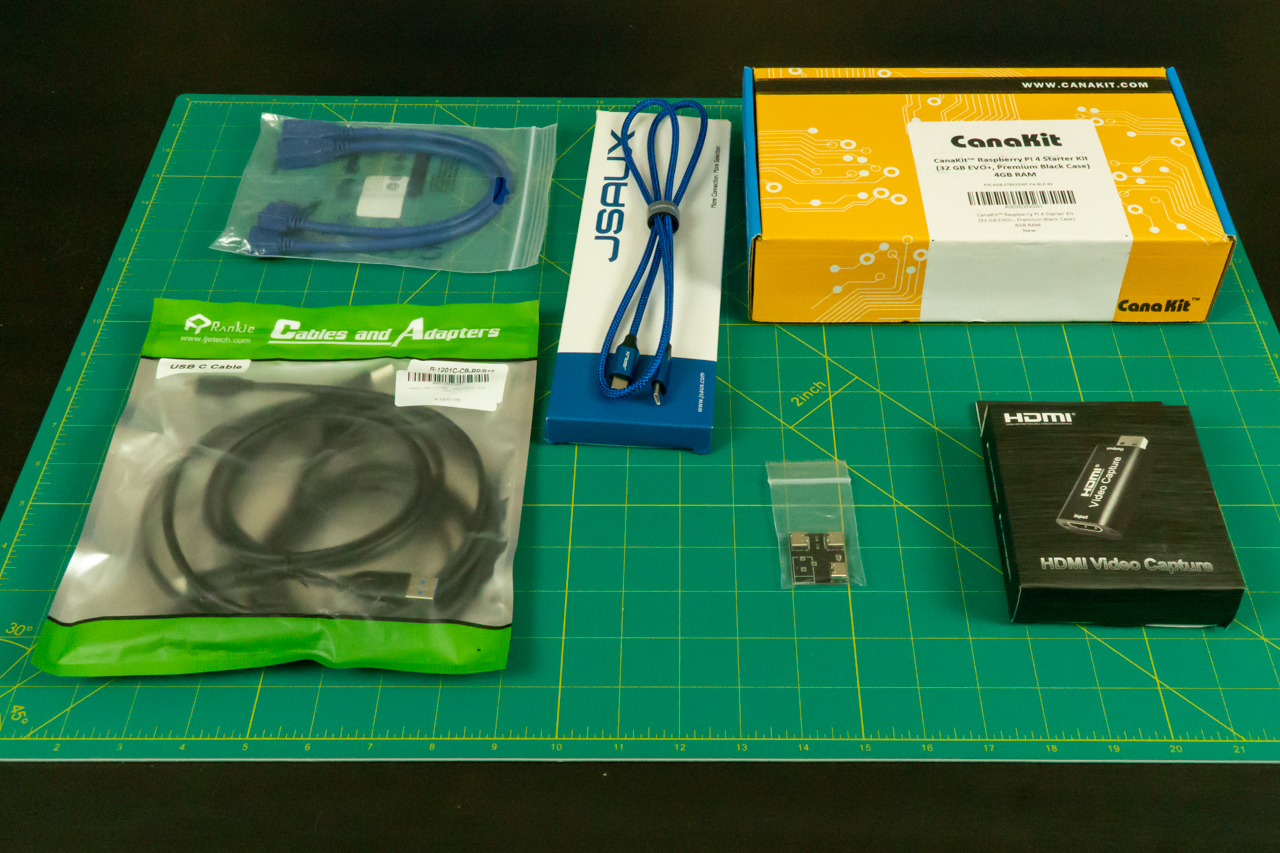
- CanaKit Raspberry Pi 4 4GB Starter PRO Kit - 4GB RAM ($99.98)
- HDMI-to-USB 2.0 (1080p at 30FPS) Capture Card ($16.98)
- Rankie USB-C to USB-A 3.0 Cable (3-pack) () ($9.94)
- USB-C/PWR Splitter ($3.00)
- USB-C to USB-C Power and Data (USB 2.0) cable (2 pack) ($9.94)
- Right Angle USB Extension Cables (Left and Right) ($6.99)
- Total Price: $146.83
Brian Spent Too Much Money!
It’s important to keep in mind that I wasn’t a very thrifty shopper and wound up spending way more than I needed to. A Pi-KVM can easily be built for about $80! This can be done by more closely following the suggested hardware list:
- Raspberry Pi 4 Model B (2gb) ($35.00)
- Raspberry Pi 4 power supply ($9.99)
- Building your own power splitter cable out of three USB-C to USB-A cables ($9.94)
- HDMI-to-USB 2.0 (1080p at 30FPS) Capture Card ($16.98)
- 16GB MicroSD card ($6.15)
- Total Price: $78.06
I mentioned before that I couldn’t really find a comparable product when I searched for one. About the closest thing I could find were USB Crash Cart Adapters, like this one from Startech.com. This crash cart adapter is over $200 more than what I paid, doesn’t allow remote access over the network, is only VGA, has a much smaller set of features, and requires a custom application installed on the machine you’re accessing the remote machine from.
A price tag of under $80 is inexpensive enough that I’d gladly lend my Pi-KVM to friends who need my help with something on their PCs. It’s cheap enough that I’m going to definitely build another one just to have a loose spare for whenever it might be handy. For example, when I’m working through one of my DIY NAS builds!
What’s Brian think? I’m all in on Pi-KVM!
This is all Pat’s fault; he suggested I look into Pi-KVM awhile back. Once I did, I knew I wanted to build my own. In building one for both Pat and I, I’ve also learned that Pi-KVM is working on their own hardware and I now know that I want that too. Their hardware will include an extra ethernet interface to act as a pass-through, its own low-latency video capture ability, wider hardware support for finicky BIOSes, and many other features.
I’ve signed up to pre-order it and I’ve also become a Patron of pikvm on Patreon. The next iteration of hardware is going to make a fine upgrade–and another blog–down the road when I get my hands on it. It might be a fun project to design my own 3D-printed case for, or even maybe collaborate with Pat and mill something on his CNC machine.
But wait, there’s more!
In Novaspirit Tech’s YouTube review of the Pi-KVM and his subsequent video Q&A about Pi-KVM, he mentioned that Pi-KVM can also interact with a traditional KVM to allow you to switch between numerous different machines. I have purchased the ezcoo EZ-SW41HA-KVM 4-port KVM switch, a couple VGA-to-HDMI adapters, HDMI cables, and USB cables to hook into it.
Adding the ezcoo KVM switch on to my own Pi-KVM is something I’m looking forward to building and blogging about in the very near future!
- Part One: Pi-KVM: an inexpensive KVM over IP
- Part Two: Pi-KVM: Controlling a 4-port KVM and setting up Tailscale
Giveaway
briancmoses.com: Raspberry Pi 4 Model B (2GB version) with Customized 3D-Printed Case Giveaway