About four years ago, I built an inexpensive 10Gb network for my computer, DIY NAS, and homelab server. In building the homelab server around surprisingly-affordable used Intel Xeon CPUs, I discovered there was quite a bit of inexpensive enterprise network hardware to be found on eBay.
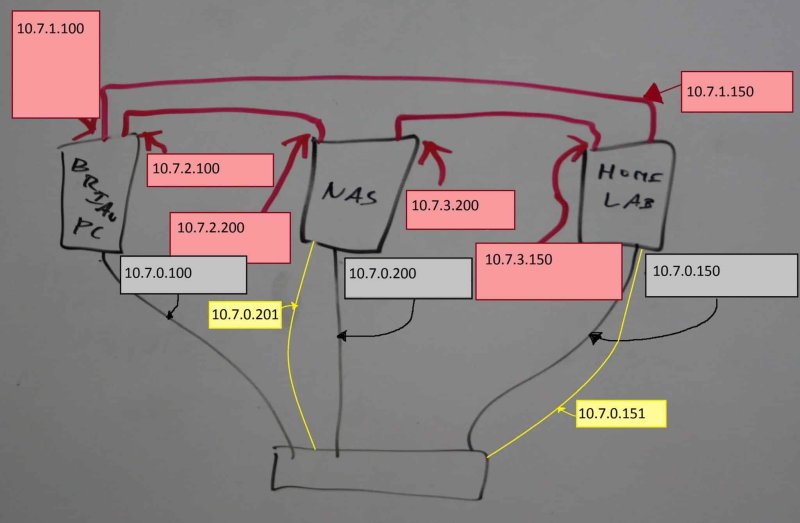
Ultimately, I wound up spending around $120 in order to have dedicated 10Gb links between each of the three computers and I’ve been pretty pleased with it ever since.
I found inexpensive switches too, but rarely with enough 10Gb ports. Worse, all of the inexpensive switches that I found were meant to installed in a rack and had a large footprint. For years, I’ve been pretty adamant at not wanting to dedicate that much square footage computer infrastructure in my home.
Nitpicking my 10Gb Network
At a time when the hardware for 10Gb Ethernet over CAT6 was costing around $150-200 per port, I’d built a 10Gb network of my own across three machines cheaper than it would’ve been to add a single 10Gb network card (for CAT6) to one of my computers.
That being said, there were still a few minor annoyances that irked me:
- Windows acted…funny: After plugging in my new NICs, I noticed that if I rebooted the computer, I’d lose connectivity between my NAS and homelab servers. The easiest method I found to resolve this was to shut down and power off my computer and then power it back on. Additionally, I noticed that my screen saver stopped working on my computer.
- It wasn’t plug and play: I know some will scoff at this, but my preference when it comes to networking is that I plug it in–and it just works. I had to set up each of the 6 network interfaces (2 per computer) to use static IPs, to make sure there weren’t any conflicts with my router’s DHCP addresses, and then I used hosts files on each machine to help me remember where I wanted network traffic directed.
- All the network cables: Each computerhas 3–4 network cables (1x CAT5 for connectivity to the rest of my network–including the Internet, 2x 10Gb cables, and 1x additional CAT5 for the IPMI interface on the NAS/homelab machines)
In the grand scheme of things, these were–and continue–to be no huge deal. The worst of them is Windows’ behavior; a bit of research seems to suggest that drivers were to blame and that there wasn’t much hope for updated drivers for the discontinued NIC that I had purchased. These Windows-specific side effects were easily managed by power cycling my computer after a reboot happens and by manually locking the computer.
Enter the QNAP QSW-308S
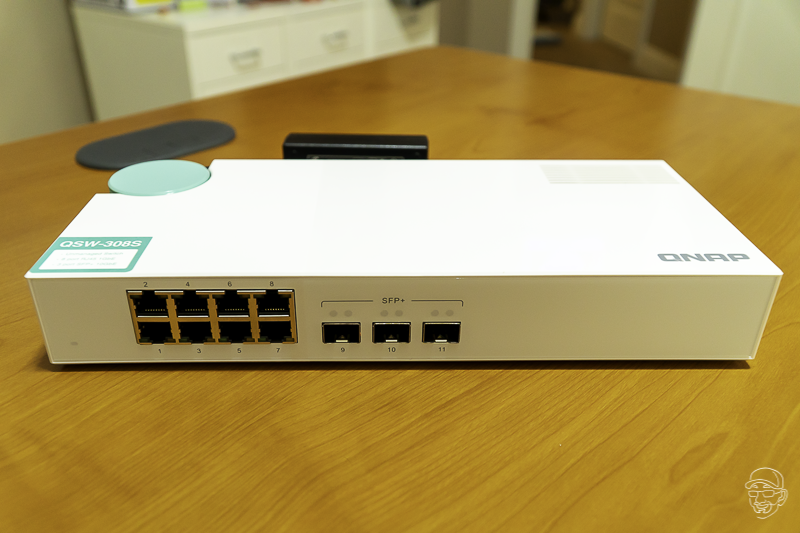
I’m mostly familiar with the QNAP brand from all of my NAS-related research. I frequently find comparable QNAP NAS hardware to my own DIY NAS builds and use them as a comparison point. A few weeks ago, I was absentmindedly scrolling through Amazon and a product listing caught my eye, a 3-Port 10G SFP+ and 8-Port Gigabit Switch.
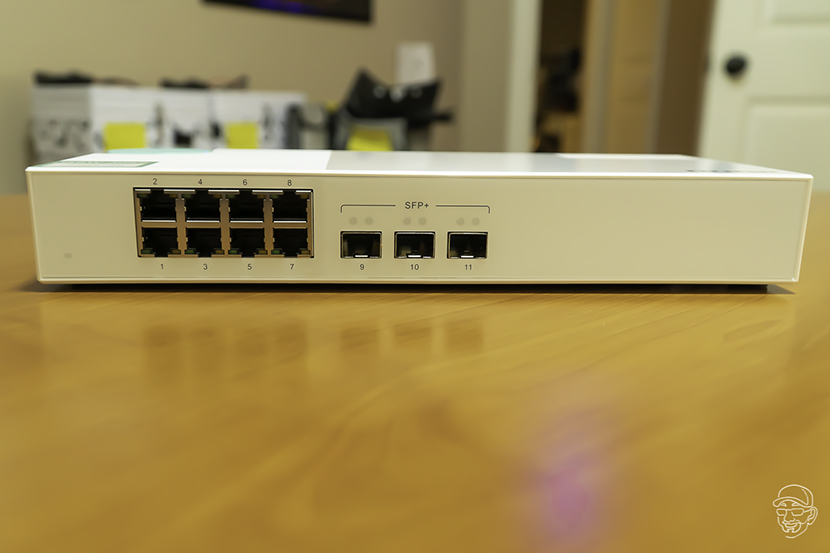
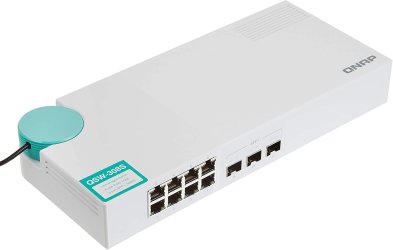 I did a double take at the price of $159 and remarked to myself, “That can’t be right,” and scrolled back up to check the product out in more detail. I was surprised to find that what I read was correct; the product listing was for a QNAP QSW-308S 10GbE Switch, with 3-Port 10G SFP+ and 8-Port Gigabit Unmanaged Switch. With 3xSFP+ ports, 8xGigabit ports, and a smaller form factor, the QNAP QSW-308S’ specifications were ideal for a small office like my own.
Granted, it’d been several years since I looked into SFP+ switches–there’s a greater-than-zero chance that I’ve just been oblivious of network gear pricing. It’s likely that I’ve just been unaware of the fact that there are now switches on the market which align with my needs better. Regardless, I was surprised to learn that switches like the QNAP QSW-308S existed–and that they were pretty affordable.
Did I need a 10Gb Switch?
As it turns out, the answer to the question of whether I needed a new switch or not was: “Yes!”–but probably not for the reason you may be assuming. I had already conquered two of my pain points in setting up the 10Gb links among the three computers that I wanted on my 10Gb network. Four years later, the QNAP QSW-308S was too late to solve those two problems for me. I also felt that there wasn’t any reason to hope that adding a 10Gb switch would resolve the Windows-specific issues I have encountered.
However, I bought the QNAP QSW-308S right away for a less obvious reason: rearranging my office. For a long time my DIY NAS and homelab server have sat on and next to a largely unused desk in my office. But at the end of September, I began a new job that will have me permanently working from home. I’ve slowly been repurposing the neglected desk to be my office space. But this desk quickly became too crowded to accommodate everything that was on top of it: my DIY NAS, a tablet stand, a Google Home Mini, my work laptop, docking station, monitor, keyboard, and mouse.
For the first few weeks of my new job I’ve felt a bit like I was working in a cramped server closet! I decided that I would invest some money in my office space. I bought a matching desk extension with the intention of moving the NAS and homelab machine a few feet further to the right. But as a result of using direct-attach copper cables for my 10Gb network, I was already at or near the specifications’ limit on length for 10Gb for my direct-attach copper cables.
In order to maintain my prior arrangement, I’d need to spend money on new media to interconnect my computers. I could’ve done something like purchase six SFP+ to RJ-45 Transceivers and some CAT6e cables (up to 10M), but that would’ve wound up costing over $250 all by itself. Buying a QNAP QSW-308S, placing it in the middle of where the computers are interconnected, and spending a little bit of time reconfiguring my network interfaces was going to be quite a bit cheaper.
Installing and Testing the QNAP QSW-308S
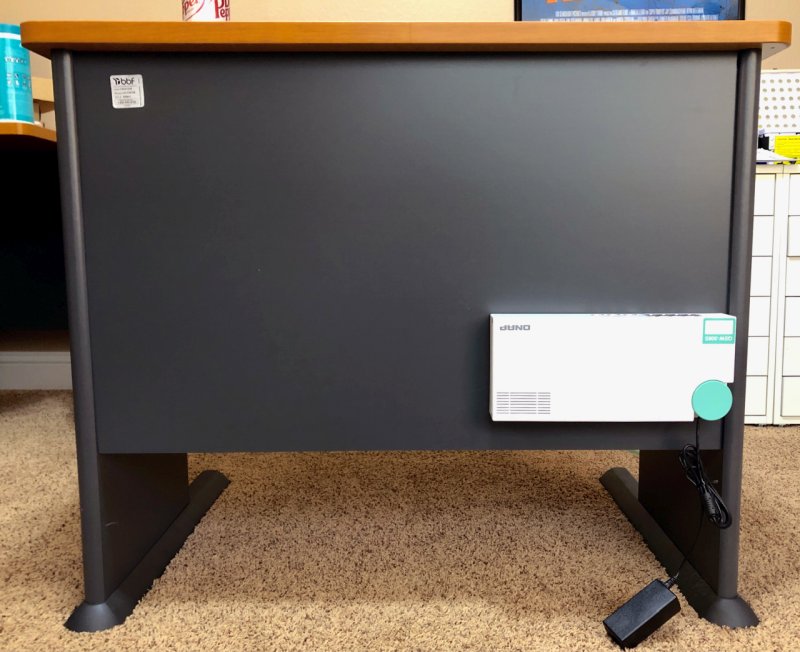
All of my other desks are assembled, had stuff on them, and I didn’t want to move them–so I took the easiest route and installed the QNAP QSW-308S right on the back of the new desk on the side closest to the edge of the desk it was seated next to. My new switch would be located in nearly the same place that my homelab server had previously occupied. The network cable had to reach about 7–9 feet to my computer and then about 3–4 feet in the opposite direction to reach my DIY NAS and homelab servers on the opposite side of the new desk.
Once I had the new switch installed and the desk in position, I powered it up, plugged my computer into it, and powered my computer back on. On my computer, I disabled my Gigabit network adapter and updated the 10Gb interface to use DHCP. Just like I had hoped, it simply worked. My computer obtained an IP address from the router and I successfully tested my connectivity to the Internet.
What came next took a little while longer. With my desks firmly entrenched in their positions and all various cables behind my two desks being meticulously (some might even say obsessive-compulsively) cable managed, it took quite a bit of time. Unplugging and removing the cables (10Gb, 1Gb, USB and power), moving the computers, and then neatly plugging the cables back in was quite a lot of work!
Finally, once the computers were all plugged in, I reconfigured their interfaces to use DHCP and confirmed that my NAS, the homelab server, and my few virtual machines were accessible within the network and could connect out to the Internet.
Testing
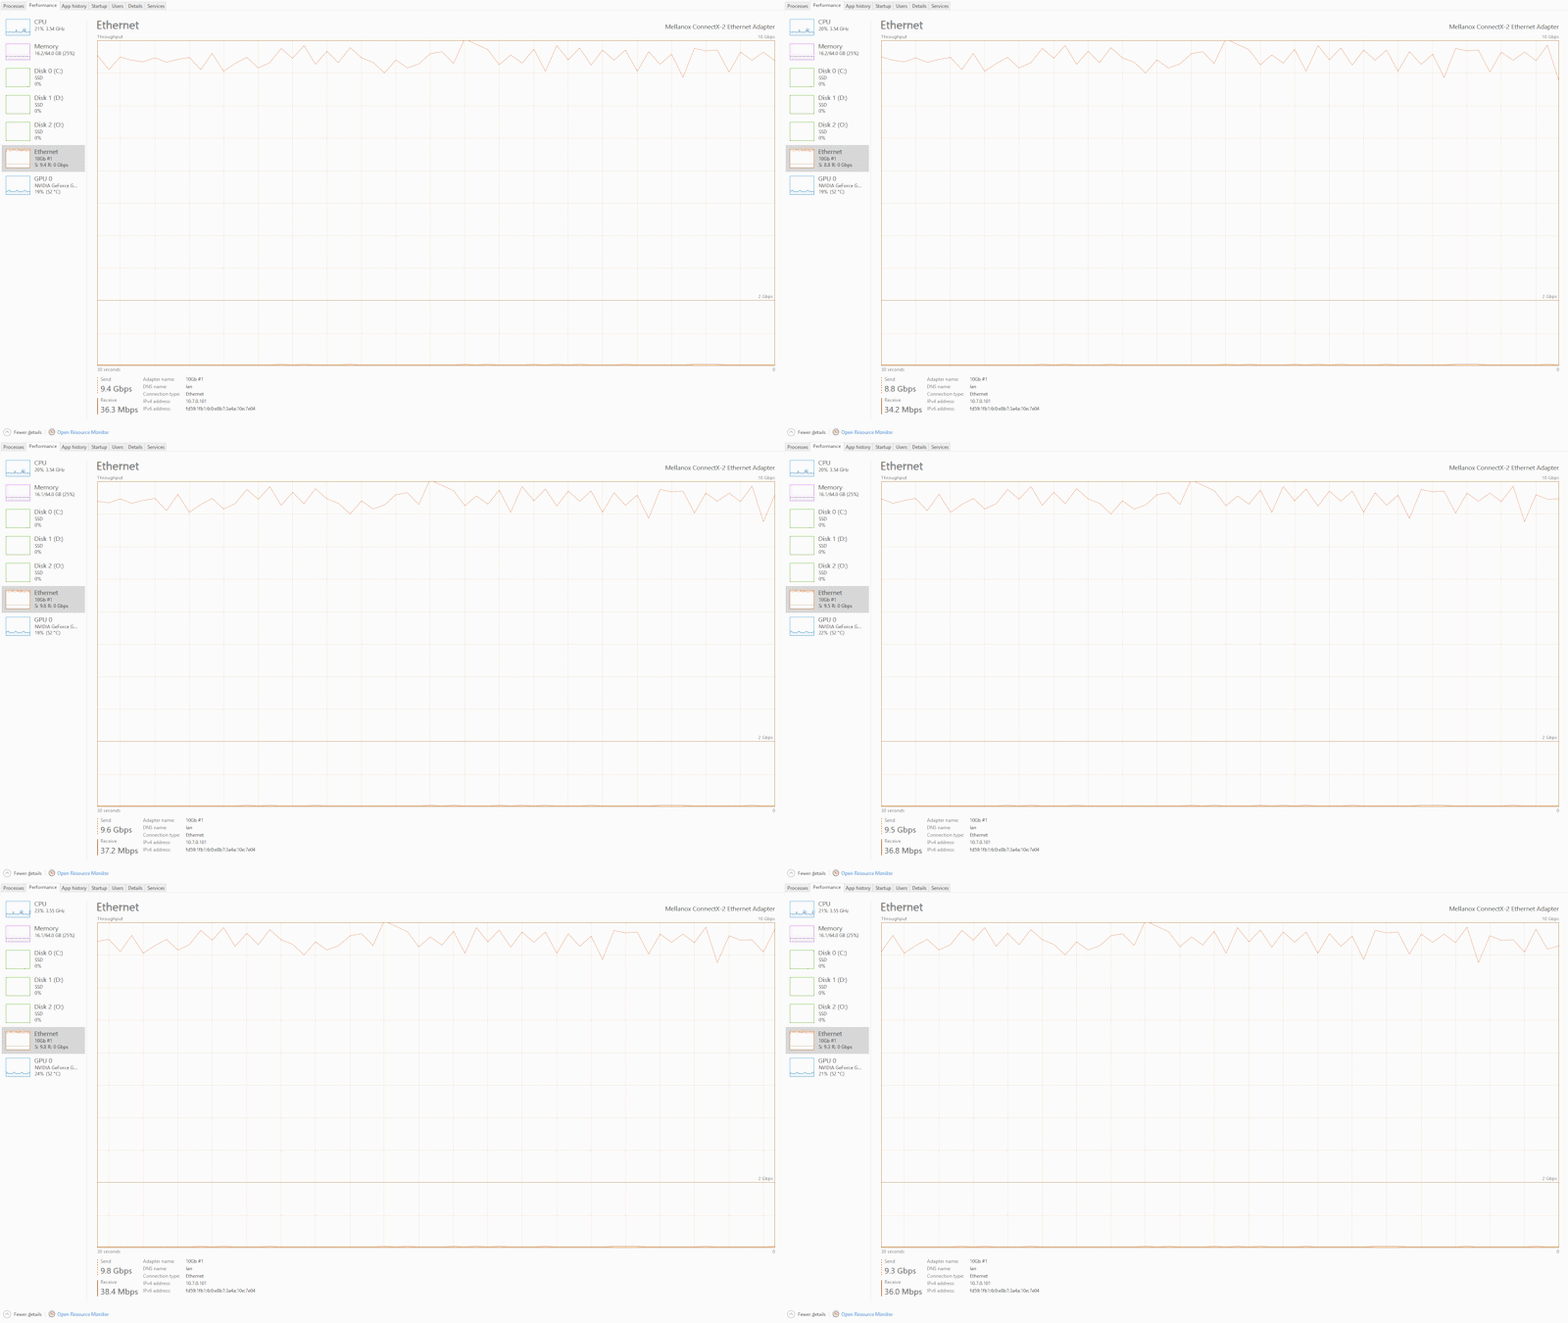
I performed a pair of simple crude tests to make sure that I was seeing throughput from my network that I’d be happy with. Firstly, I fired up iperf using my homelab server and my desktop as a client. I wasn’t surprised at all to see it fully utilize the 10Gb link–but I found it every bit as satisfying as when I saw it four years ago.
The next benchmark I performed was to see throughput to the NAS–this is important to me because my NAS is my primary storage for all of my data. I measured this throughput using IOMeter, and I simulated reading a file off the NAS that more than doubled the amount of RAM on the NAS. I monitored this from both my DIY NAS’ web-interface and from inside Windows’ Task Manager.
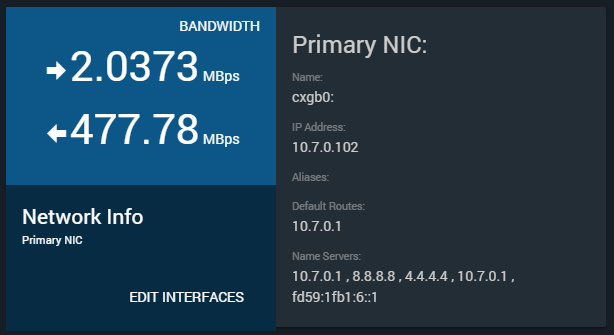
Note: The FreeNAS widget reports throughput in bytes per second (Bps) and Task Manager reports it in bits per second (bps)
Frankly, I was a bit shocked with the results of my read test from NAS. The 477.78MBps reported by FreeNAS is equivalent to just over 3.8Gbps and matched what I was seeing in Windows’ Task Manager on my computer. I was surprised because this exceeded similar tests that I ran back in 2016 by a considerable margin. Back in 2016, a similar test measured at about 300MBps–478MBps is roughly 59% faster. I had absolutely no expectation to see a performance increase as part of adding the QNAP QSW-308S to my 10Gb network, but I did!
Final Thoughts
When I built my inexpensive 10Gb network, I was excited to show how inexpensive it was to build a small network of 2–3 computers. I was quite impressed at how budget-friendly it was to have 10Gb connections to my DIY NAS and homelab servers available. But would I have still called it a bargain if I increased the price tag by an additional $160 to add a 3-port 10Gb switch?
Today, I think the QNAP QSW-308S is an excellent value. If it had been available to me back in 2016, I would have quickly purchased it and still would’ve felt that incorporating 10Gb into my home network for less than $300 would’ve been a great deal.
Does the existence of a switch like the QNAP QSW-308S make you more likely to build a 10Gb Ethernet network of your own? Or are you opting to wait for the price of 10Gb over CAT6 to come down? What other sorts of inexpensive faster-than-Gigabit networking options are you considering? I’d love to hear how you’ve built your own high-speed networks at home in the comments below!

