
Ever since building my first NAS over five years ago, I’ve been keeping current by building a pair of new NAS builds each year: a powerful, budget-oblivious NAS build and an economical, price-efficient NAS build in an effort to demonstrate to prospective do-it-yourself NAS builders that a NAS can be built and assembled to suit their needs and budget. The DIY NAS: 2017 Edition was off the charts in storage, processing power, throughput, and also price! It was fun to build and blog about and even though its price tag was incredible, I thought it still had a pretty good price-to-performance ratio.

For 2017’s more budget-friendly NAS build, I decided to double down on my yearly goal to exceed the prior year’s EconoNAS performance while keeping the total price as close to $500 as I can. Every year I set this difficult goal and every year I wind up missing that goal. Will I wind up hitting that goal in 2017?

Affiliate Disclaimer: Some of the links on this website are affiliate links, meaning, at no additional cost to you, I may earn a commission if you click through and make a purchase. I only recommend products that I believe will add value for my audience. Please understand that I have experience with all of these companies' products, and I recommend them because they are helpful and useful, not because of these small commissions.
CPU & Motherboard
 In shopping for the motherboard, I found out right off the bat that my new dedication to my budget goal was going to likely make this year’s EconoNAS remind everyone a bit of last year’s EconoNAS. I wound up picking an ASrock B150M-DVS R.20 (specs), which ultimately wasn’t all that different in specifications from the 2016 EconoNAS build, the Asus B150M-K D3. Chief among its feature set for me was the support for Intel’s LGA 1151 CPUs, its support for up to six SATA 3.0 devices, and its affordable price point. I’ve built a few DIY NAS machines (including my own) using ASRock motherboards and I’ve been pretty pleased with the results so far.
 I am always stingy when it comes to paying for a CPU in the EconoNAS machines. I usually wind up seeking out the least expensive CPU that I think can handle taking care of FreeNAS and that fits in the motherboard. For this year’s EconoNAS, I wound up picking the Intel® Pentium Processor G4400 (specs). The Pentium G4400 wound up being a tiny bit more powerful than the G3920 which was used in the prior year’s EconoNAS.
RAM
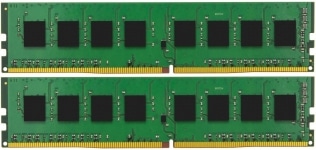 As I did in 2016, I decided to go with 16GB of RAM. In the FreeNAS hardware requirements the minimum requirement is 8GB of RAM, but the recommended amount of RAM is 16GB. With my $500 budget in focus, I was tempted to dial the memory back down to 8GB in an effort to save some dollars, but then I decided against that. The two Kingston Technology ValueRAM 8GB 2133MHz DDR4 DIMMs (specs) were also an additional tiny upgrade over the 2016 EconoNAS, coming in at a few hundred megahertz faster at 2133MHz.
Case, Power Supply, and Cables
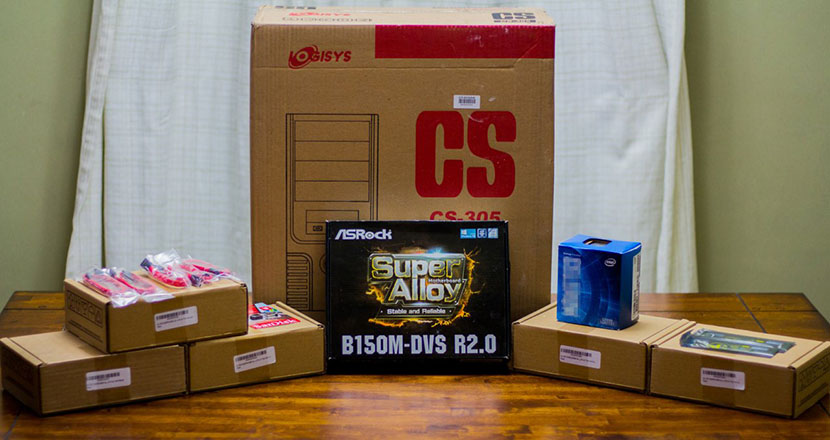
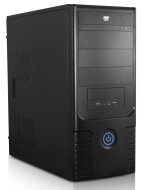 In looking for a case, I had one thought in mind: value! I pinched as many pennies as I could and sought out the least expensive case and power supply that I could find which would accommodate a decent number of 3.5” hard drives. My search turned up a manufacturer that I hadn’t been aware of before, Logisys. The Logisys CS305BK (specs) is a mid-tower ATX case that features a total of 10 bays (six 3.5” bays and four 5.25” bays). In my goal of being thrifty, I couldn’t avoid the temptation of this very inexpensive 10-bay case. At 480 watts, the included power supply should be more than enough to drive the rest of the components I picked out for the EconoNAS.
As it often happens, being thrifty came at an expense. In order to hook everything that I bought up, I wound up needing a set of extra SATA cables, a 3.5” to 5.25” drive bay adapter, a molex to SATA power adapter, and a 4-port SATA splitter. Regardless, I would’ve had to buy more SATA cables because motherboard manufacturers are notoriously skimpy in sending SATA cables with their motherboards. However, I did wind up spending another ten dollars buying adapters that I may not have had to buy if I’d chosen a different case entirely. Is it possible that this very inexpensive case was deceptively more expensive in the long run?
Storage
I go about buying storage for each NAS system with two goals in mind: first, to exceed the prior build’s storage capacity, and second, to spend less money on storage than the prior year. As you can imagine, these two goals conflict with each other. Bigger hard drives are a better value in terms of dollars per terabyte, but bigger hard drives carry a bigger sticker price too. Considering how similar the 2017 EconoNAS was winding up to the prior version, I wound up spending most of my effort shopping for hard drives.
FreeNAS Flash Drive
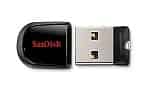 As is the case nearly with every NAS I’ve built since my first one, the SanDisk Ultra Fit 16GB was my choice for using to store FreeNAS on. I was tempted to add a second drive so the EconoNAS could have a mirrored pair of OS drives, but I opted to save the few bucks a second USB drive would wind up costing. I originally wound up picking the SanDisk Fit because of its compact size and reliability and because their performance over the years has earned my loyalty.
NAS Hard Disk Drives
 To say I agonized over shopping for hard drives would be putting it mildly. The 2016 EconoNAS featured 6x2 TB harddrives for 12 TB of RAW storage. Adding a seventh 2TB hard drive in 2017 seemed like too much of a cop-out, and unsurprisingly, the prices of 2TB HDDs had not really changed much since building the 2016 EconoNAS.
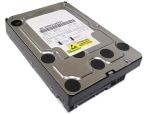
Instead, I wound up going with generic “White-label” 3TB HDDs for the same price as the Hitcahi 2TB HDDs I’d purchased the prior year. In seeing them, I asked nobody in particular, what exactly is a “white-label” hard drive? Wikipedia defines a white-label product as “A product or service produced by one company that other companies rebrand to appear as if they had made it.” So effectively, the hard drives were manufactured by an unspecified, but well-known manufacturer likely intended for the use inside other products or by anyone who buys hard drives in volume.
This seemed like a riskier option, but at only $4 more per hard drive than I paid for the storage drives in the 2016 EconoNAS, it seemed like a risk worth taking. Having decided to buy the White Label 3TB hard drives, I then had to pick how many to put in the system. I wound up opting to buy five hard drives, for a raw total of 15TB of storage. Because I advocate at least using two drives of redundant data, the net storage will wind up being 9TB.
In comparison to last year’s build, it’s an increase of 3TB raw storage (15 vs 12), and 1TB of net storage. But I actually wound up spending less money on hard drives this year (~$300) than I did last year (~$340) because I bought one fewer drive total and their relatively close price points. Final Parts List
Final Parts List
| Component | Part Name | Count | Cost | |
|---|---|---|---|---|
| Motherboard | ASRock B150M-DVS R2.0 | specs | 1 | $64.19 |
| CPU | Intel® Pentium® Processor G4400 | specs | 1 | $53.60 |
| Memory | Kingston Technology ValueRAM 8GB 2133MHz DDR4 Memory | specs | 2 | $89.95 |
| Case and Power Supply | Logisys Corp CS305BK w/ 480W PSU | specs | 1 | $36.11 |
| SATA Cables | SATA Cable 26AWG SATA III 6.0 Gbps with Locking Latch for HDD 10 inch SATA Cables (10 pack) | N/A | 1 | $8.50 |
| Power Adapter | StarTech.com 6in 4 Pin Molex to SATA Power Cable Adapter | N/A | 1 | $2.74 |
| Power Splitter | StarTech.com 4x SATA Power Splitter Adapter Cable | N/A | 1 | $6.27 |
| OS Drive | SanDisk Ultra Fit 16GB | specs | 1 | $9.99 |
| Storage HDD | White Label 3TB 7200 RPM Hard Drive | N/A</a> | 5 | $59.99 |
| TOTAL: | $652.24 | |||
Hardware Assembly, Configuration, and Burn-In
I’ve been pretty proud that I’ve yet to hit a serious issue when assembling my different NAS builds. They typically go right together, boot up, and burn-in without any problems. It would seem that in 2017 my lucky streak would hit a bump in the road. How big of an issue do you think that I ran into?
Assembly
My very first thought about the assembly came in working with the case. The Logisys CS305BK is inexpensive for a reason: it’s cheap! The first case I received got abused in transit and the fascia of the case had completely shorn off its posts. The power supply wound up coming loose and had banged around hard enough to bend the sheet metal that held the power supply in place and bowed the hard drive cage a tiny bit. The metal used in the case is so incredibly thin, that I jokingly referred to it as foil on a number of times–it almost seems like it should be protecting a pumpkin pie rather than a host of computer components. That being said, I expected this case to have warts. No matter what way you look at it, it’s an inexpensive case with a ton of room inside for a plethora of hard drives.
Everything went together quite easily and I didn’t have any issues assembling the computer, but I did wind up having an issue on its first boot up. It wouldn’t post at all! After quadruple-checking all of my work and removing/disconnecting everything but the CPU, a single stick of RAM, and the power, I had no luck whatsoever. I swapped in a known good power supply that I had lying around, hoping that I’d just received a defective power supply. But that different power supply didn’t solve my problem.
I wound up being in a bit of a pickle, because I didn’t really have any way to verify whether the CPU, RAM, or motherboard was to blame for my problem. In doing some research into the ASrock B150M-DVS R.20, I learned that a BIOS update was required in order to support the newest Kaby Lake CPUs and I just so happened to have originally picked the Intel Celeron G3920, a Kaby Lake CPU. Without a spare Skylake CPU laying around, I wasn’t going to be able to flash the BIOS in order to support the CPU that I’d originally bought. Instead, I opted to buy an additional CPU, the Intel® Pentium Processor G4400 . The price was a few dollars more, but it had the dual benefits of being supported by the motherboard in its current form and it benchmarked a little higher than the Celeron G3920 that I picked.
Overall, not a huge issue. But I was a bit bummed that it snapped my lucky streak in building NAS machines for my blog! Onward to the next lucky streak, I hope.
White-Label Hard Drive Roulette
Among the things I was most interested about was exactly what kind of hard drives I was going to wind up receiving. One of the things I do in my the DIY NAS series of builds is buying hard drives from multiple manufacturers to try and avoid a bunch of drives that could’ve come from the same bad batch at the same manufacturer. When I placed the order for my five white-label drives, I briefly imagined receiving hard drives from three or four different manufacturers and getting the best of both worlds.
In looking at the five different drives, it was quite obvious to me there were two distinct models of drives. I had four of one model of drives, and one of a different model. This wasn’t quite ideal, but it is an upgrade from EconoNAS builds in the past where I’ve frequently bought what seems like the most amount of storage for the fewest dollars.

A little bit of detective work in the BIOS and taking a peek at the drives’ S.M.A.R.T data showed me that I wound up with:
- 4 of MaxDigital MD3000GBDS
- 1 of Hitachi HUS724030ALE64
The MaxDigital drives are a bit of a surprise to me. To be completely honest, I hadn’t heard of MaxDigital prior to my white-label hard drive roulette experiment in building the 2017 EconoNAS. When I ordered the hard drives, I bought the absolute best deal I could find on the 3TB hard drives.
My bottom line on hard drives is that I’ve been burned and massively disappointed in every single hard drive manufacturer at one point or another. I’ve had failed hard drive experiences and painful RMA process war stories to carry a grudge against all of the hard drive manufacturers at one point or another. My preference would be to use the hard drives from a manufacturer I’m at least familiar with, so I’m not entirely sure how I feel about these MaxDigital hard drives.
I am happy with the price I got; they were by far the best deal among 3TB hard drives when I did my shopping. Ultimately, the EconoNAS is all about deciding how much risk you’re willing take in order to save a few dollars. I’ll be curious to see how these drives perform and how reliable they wind up being.
Hardware Configuration
When I built my first NAS, getting the BIOS configured to boot up only via USB was tricky enough that I dedicated a paragraph or two to the hardware configuration. But in the years since, this has gotten better and simpler. Pretty much the only change I wound up making in this year’s EconoNAS was setting it up to boot off the FreeNAS USB drive. Beyond that, I didn’t make any other changes.
If I wanted, I could’ve theoretically updated the BIOS and switched back to the original CPU that I purchased for this year’s EconoNAS. But that CPU’s only benefit was being a CPU-generation newer and saving between $5 and $10. Personally, I would’ve been happier to spend the extra money and not have to deal with swapping the CPU. Ten bucks to save myself some time and frustration seems like a good deal. I decided to leave the older, but more powerful CPU in the machine and decided to forgo updating the BIOS.
Burn-In
For burn-in, I really like to focus in on the RAM and the CPU, primarily because they’re kind of a hassle to replace and because there’s no redundancy for this hardware. If I were truly anal-retentive about the burn-in, I’d also try and run some sort of burn in test on the network card and also the storage array once it is put together. But, I think that burning in the NIC and the hard drives might be a bit over the edge of reasonable. This is just my opinion, I wouldn’t blame any of you for wanting to also burn in those other components too.
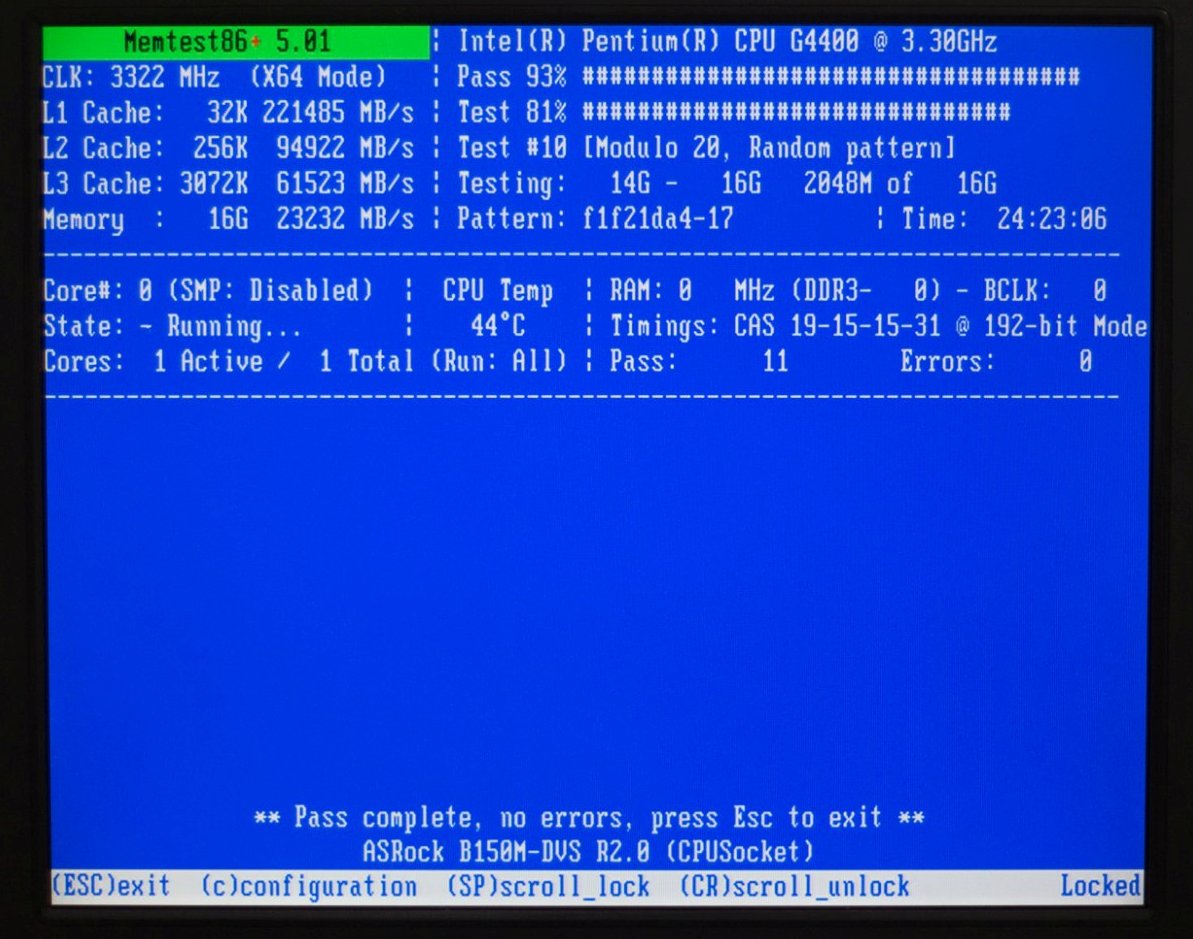
My first boot is almost always into Memtest86+ to check the system’s RAM. This is for any computer I buy, but in particular for my NAS builds. I always have a bit of lingering doubt in my mind about the RAM until I’ve seen Memtest86+ complete at least three passes without any errors. Because I usually wind up doing something else, like flying drones, I usually wind up doing quite a few more passes than just three. Keep this in mind when you see the number of passes of Memtest86+ I wind up going through–I think anything over 3 is pretty much overkill.
For the CPU, I use my UltimateBootCD–but on USB–and I run the Mersenne Prime Test. My goal in running the test is to peg the CPU at 100% for a long time and look for any kind of instability or lock-ups. I usually do my testing in “waves” a shorter test of only 5 minutes or so and then subsequent tests of 10, 20, and finally 30 minutes. I’ll usually hop over into another console and monitor CPU usage and temperatures to keep an eye on anything getting out of hand.
As I expected, the 2017 EconoNAS survived my round of burn-in tests and was ready for the installation and configuration of FreeNAS.
FreeNAS Configuration
Installing FreeNAS is a snap. I always wind up downloading the latest FreeNAS ISO and then writing it to a USB drive, since I always seem to have about half a dozen USB devices floating around. I then boot up off that USB device, and then installing to the actual intended USB drive for running the FreeNAS OS. The trickiest part of this is remembering which USB device holds the FreeNAS installation and which USB device is going to hold the FreeNAS OS. Once the installation is finished, I remove the USB drive with the FreeNAS ISO on it and let the machine boot up for the first time.
Once it’s booted up for the first time, I do almost everything from the FreeNAS web interface. The default server name is FreeNAS, so you should be able to pull it up entering in the URL of http://freenas. On occasion, I’ve been industrious and figured out the IP address by logging in to my router and reviewing what IP addresses have been handed out to which machines via DHCP. Once the FreeNAS web interface has been pulled up, I usually go through these steps:
- On the first screen of the Initial Wizard, I hit exit because Initial Wizards aren’t complicated enough to make me feel like I’m accomplishing something.
- I set the hostname to: my machine name.my local workgroup name (example: econonas2017.lan)
- Create a new volume under storage. I always add all of the hard drives to the volume and I pick RaidZ2 for my Volume Layout. I opt for RaidZ2 because the data gets written to the different drives in such a way that you have two hard drives’ worth of redundancy.
- Add a group to contain all the users who’ll be able to access my share.
- Create a user for myself. Because I want to keep things simple for authentication, I make sure my username and password matches that of my computer(s) I’ll be accessing the NAS from and I also add myself to the group that I created in the prior step.
- Create a dataset belonging to the volume created earlier. I fill out the Dataset name and Comments, set the Share type to Windows, and made sure the Compression level is set to Inherit.
- Update the permissions on the dataset I just created, setting the Owner (group) to the group I created earlier. I set the Permission Type to Windows and I check the box for Set permission recursively
- Underneath the Sharing > Windows (SMB) Shares, I add a new share pointing at the path of the Dataset created earlier. I updated the Name and make sure Apply Default Permissions is checked.
- Following the share creation, I choose to enable the Windows SMB Service
- Under Services > SMB I configure the service by making sure the NetBIOS name matches the server name and the workgroup matches what I put in before (in step 2.)
- Because I’ve had luck in improving performance in the past, I choose to Enable Autotune under System > Advanced.
- I’m lazy, so at this point I just go ahead and reboot the NAS after making all of these configuration changes. This probably isn’t necessary and everything that I accomplish in a reboot can probably be achieved by releasing/renewing the IP address from your DHCP server.
- Following the Reboot, I go browse to the NAS from Windows Explorer and I validate that I can see the share and make changes to it.


Way back when I built my very first FreeNAS box, I was really surprised at how simple it was for a dingbat like me to install FreeNAS, get it configured, and be able to access the shares from my Windows machines. Over the past few years, I’ve gotten a bit better at it and hopefully it shows in the few steps above. But I think it’d be negligent if I didn’t also point out that this is only beginning to scratch the surface at what you can do with FreeNAS.
Benchmarks
When it comes to my NAS builds, only two numbers matter to me: power consumption and throughput. Power consumption is interesting to me because I intend to run my NAS perpetually. The only time my NAS is off is when the power is off at my house and the battery in my UPS has drained. Because of that, I like to keep an eye on how much electricity it uses. And beyond that, I like to see throughput numbers. I especially like to see the NAS builds fully utilizing the NIC on the NAS during a file transfer.
Power Consumption
Electricity is a sneaky, hidden cost of owning a NAS. Typically, I’m so eager to try and hit my $500 goal that I completely ignore the cost of electricity. I wouldn’t be surprised that spending a few dollars more for a low-power CPU and motherboard wouldn’t ultimately wind up being a cheaper option once you calculate in the cost of electricity over the lifetime of the device. To help everyone make a better decision on their own with regards to power consumption, I did a little bit of power-consumption benchmarking.
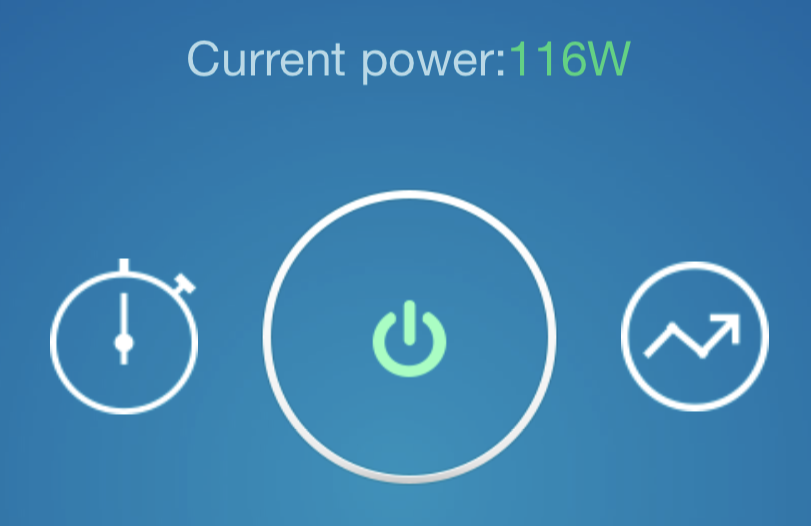
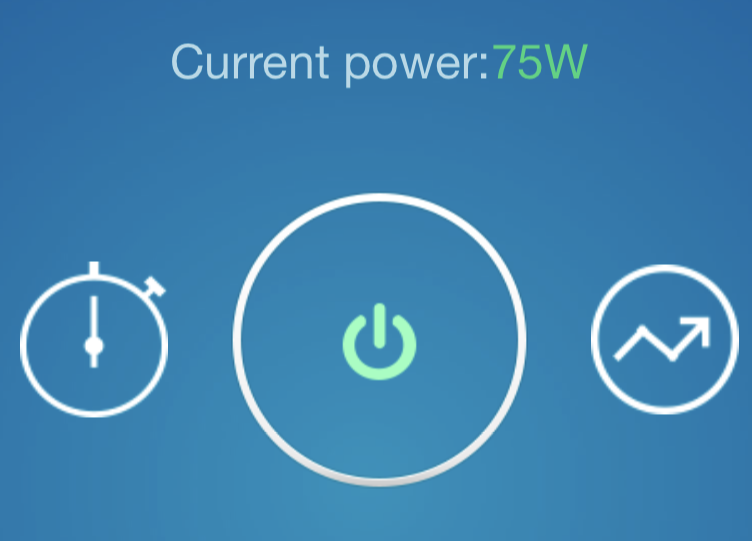
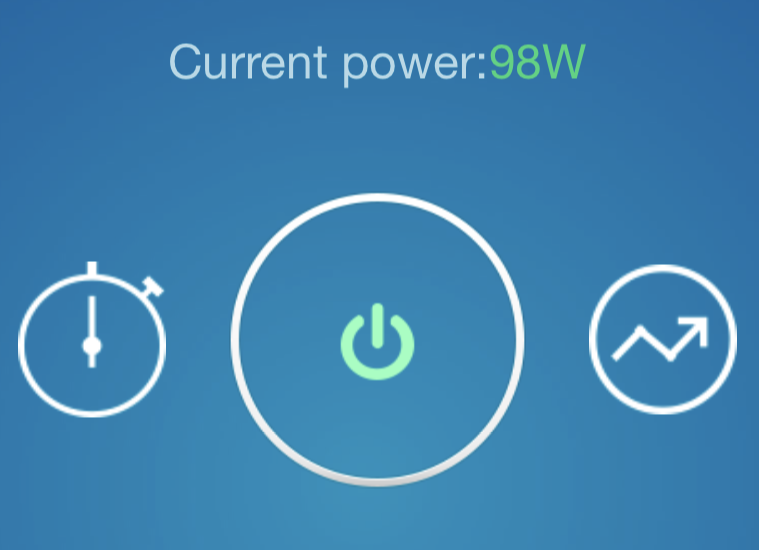
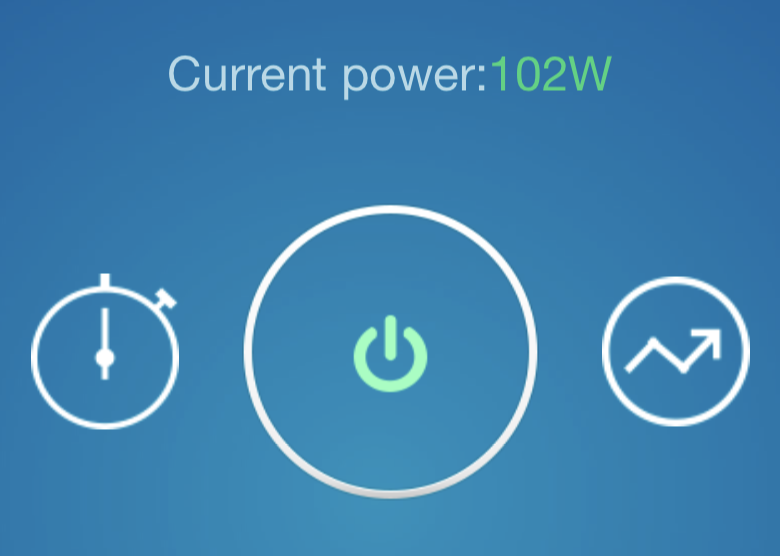
I’ve been using my Sonoff POW for these power benchmarks for quite some time. I really like being able to check and see how much power a particular outlet has used just by pulling it up from my mobile phone. I monitored the power consumption remotely and grabbed the highest number that I saw (while monitoring) during each of the following scenarios:
- Boot Up
- Idle
- Memtest86+ burn-in
- CPU burn-in
- NAS write throughput testing
| Bootup | Idle | Memtest86+ | Mersenne Prime | NAS Write Test |
|---|---|---|---|---|
 |
 |
 |
 |
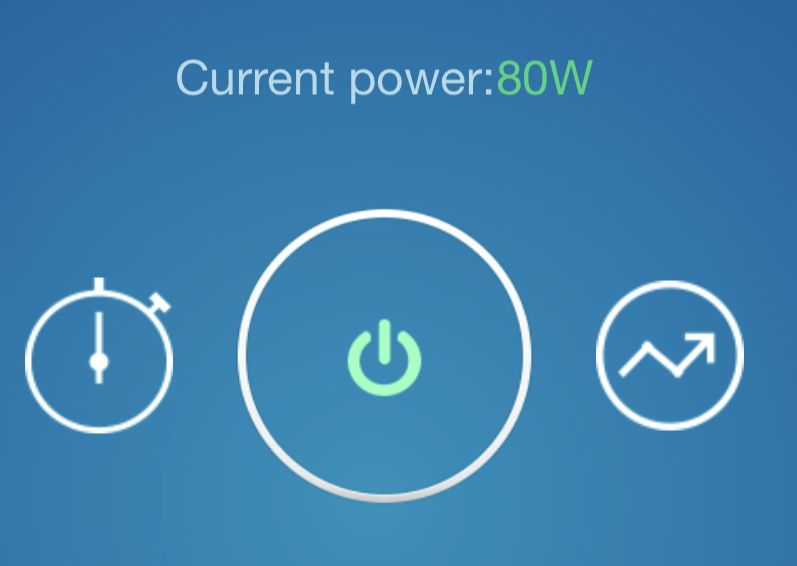 |
Altogether, I was satisfied with the power consumption. Using 80 watts during the sequential file write (more on that below) seemed like a pretty decent number for making the disks work. Ultimately, I felt that 2017 EconoNAS was up to the task of fulfilling it’s primary function without causing exorbitant utility bills.
Throughput
When benchmarking a NAS, it is important to remember that your primary bottleneck is going to be your network interface. For example, the 3TB HGST Ultrastar 7K4000 HDD in this year’s EconoNAS has a sustained throughput of 171MB/s which converts to about 1.368 Gbps. All by itself, that single hard drive is capable of saturating a gigabit connection all by itself.
I like to do a throughput test to see how the NAS performs on a sequential write and a sequential read. I use IOMeter to perform the test. I used my primary desktop computer to perform the test, so I set up 2 workers for each of my 8 CPU cores (16 total). And I ran two different tests: a sequential write and a sequential read, both of which used a 512Kb transfer request size.
- Sequential Write: 92.21 MB/sec with transfer speeds as high as 810Mbps
- Sequential Read: 91.24 MB/sec with transfer speeds as high as 876Mbps


Overall, I though that the throughput testing was a bit of a mixed bag. I was pretty bummed out that I wasn’t fully utilizing the 2017 EconoNAS’s Gigabit link. It’s certainly something that I’ve accomplished in prior years’ EconoNAS builds, including last year on the 2016 EconoNAS. But I was pretty pleased to see the write tests perform in the same neighborhood as the read tests.
Conclusion
Quite a few things disappointed me this year about putting together the 2017 EconoNAS. For starters, I was going to miss my $500 price point … again. I thought the case was pretty chintzy and cheap enough that one was even damaged while it was shipped to me. I was more than a little bummed when it didn’t completely saturate my gigabit link. And most of all, I was extremely let down when it seemed like there wasn’t a whole lot of difference between this year’s EconoNAS and last year’s EconoNAS.
I think that the 2017 EconoNAS is a fine machine. For right around $650, you get 15 TB of raw storage, an Intel Pentium G4400, 16 GB of RAM and quite a bit of room to grow with 3-4 empty drive bays inside the case. If you’re looking to get the most storage possible for as few dollars as you can, I think this build is a very good direction to go and that my disappointment shouldn’t wind up also being your disappointment. Compared to the current pricing of the 2016 EconoNAS, this new build is better in nearly every way and a better value to boot!
The root of my disappointment is that I’m simply building these NAS machines too fast. Newer hardware isn’t pushing the prices of older hardware down fast enough to justify a new EconoNAS build every 12-18 months. I even purposefully postponed the EconoNAS build several times to see if the parts got any better or the prices got any lower–they didn’t! This also probably applies to my “regular” DIY NAS builds too. In 2018, I imagine that one of my New Year’s resolutions will be to come up with a new approach on the frequency of DIY NAS builds.
How do you guys think I did? Where would I be able to trim some money, but also exceed what was built 18 months ago for the DIY NAS? Or should I have spent even more money to truly set it apart? Do you think I’ll ever build a $500 EconoNAS?!
Giveaway
#FreeNASGiveAway Updates
02/06/18: Congratulations to James Viray of the Phillipines! Of 2,958 entries from 949 different people he was randomly selected and became the first international winner of the #FreeNASGiveaway! James’ subscription to the briancmoses.com RSS feed wound up being the entry that won him the #FreeNASGiveaway. Once you calculate in the cost of shipping the NAS overseas, the EconoNAS turned out to be not-so-economical for me, but it wound up being a great deal for James! Thank you all for entering, I appreciate the attention and interest in my NAS builds. If we continue seeing this much interest, perhaps I need to start giving away more than one?