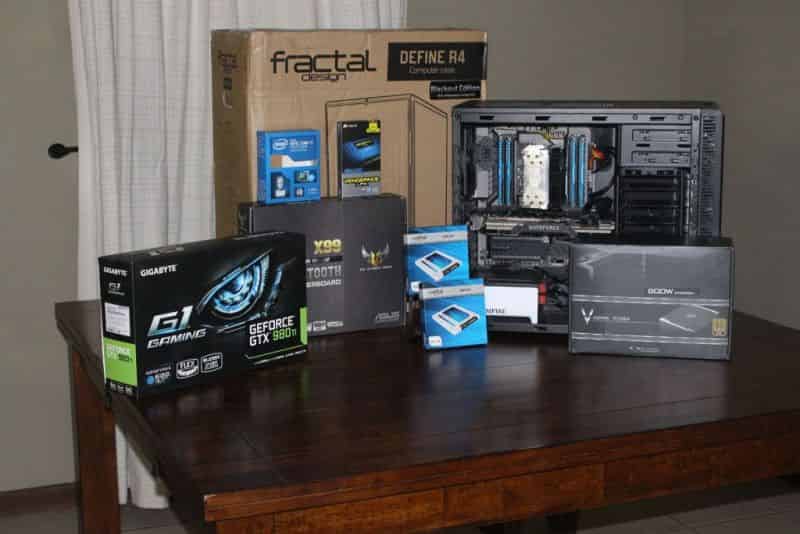
It’s been a very long time since my last computer upgrade, almost three whole years! It’s been long enough since I built that computer that when I finally decided to upgrade, it made more sense to build a new computer than to try and piecemeal upgrade of my existing PC. Based on what I was wanting to do, I thought that it was a bit beyond the capabilities of my old motherboard and CPU to pull off.
On the flip side, that meant I would wind up having a whole extra computer here that could be used to upgrade or replace my wife’s old computer. In the three years I’d owned the computer, I wound up needing to RMA the Crucial m4 256GB SSD. During that process I decided to just go ahead and upgrade to a Crucial M550 512GB SSD. On top of that the AMD FX-8350 Black Edition has aged pretty well. Overall, my old computer was going to be a rather nice upgrade for Julia.
Bang-for-Buck vs. Bleeding Edge Performance
Typically in my builds in the past, I’ve made attempts to get as much performance out of as few dollars as possible, although I usually splurged on an item or two to make sure my new computer wasn’t too pedestrian. So far I’ve been very happy with this approach and the fact that my current computer has almost made it to 3 years old is a testament to how well that plan has worked for me so far. However, in looking at some Geekbench scores for CPUs I began to worry that this approach wasn’t going to produce results that I’d be very happy with this time around.
For this upgrade, I allowed my impulsive side to abduct, hog-tie, and stash my frugal side in the basement. I ultimately decided to build a pretty high-end machine, especially by my previous standards.
Hardware
Case and Power Supply
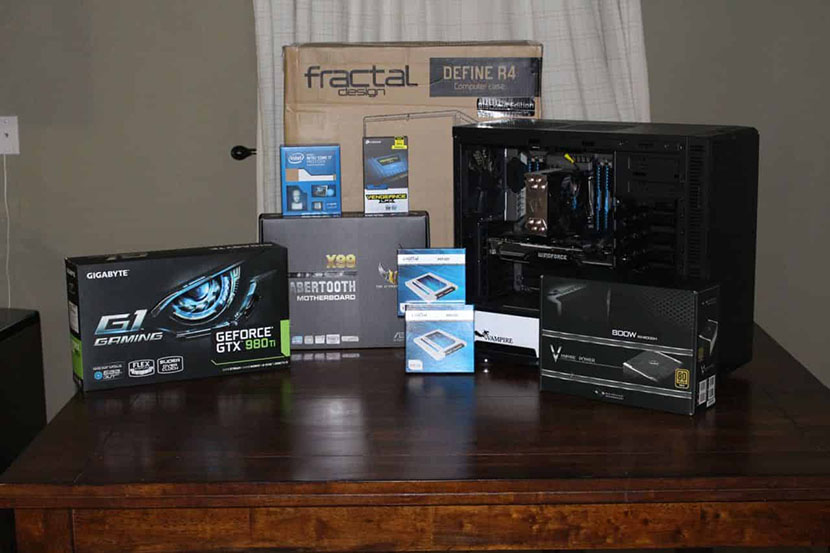
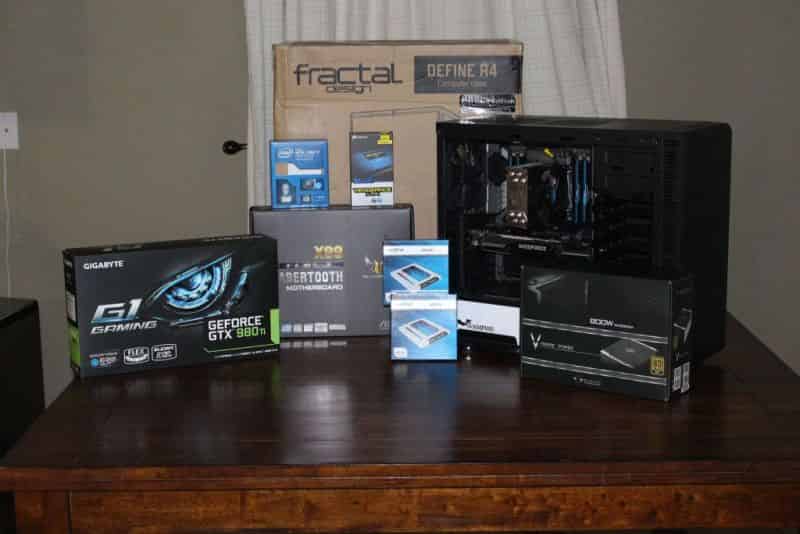
 I used a couple random power-supply calculators and the rest of my hardware specifications to decide that I’d probably want somewhere in the range 600-700 watts of power for the hardware I was considering. In addition to that, the GeForce 980Ti video card I wound up picking had two 8-pin power connectors. After some trials and tribulations (more on that later), I wound up deciding that I wanted a bit more total wattage than what was being recommended, that I wanted the power supply to be modular, and I wanted to have at least two separate 12 volt rails for powering the video card. This led me to pick the Raidmax Vampire RX-800GH (specs) as my power supply.
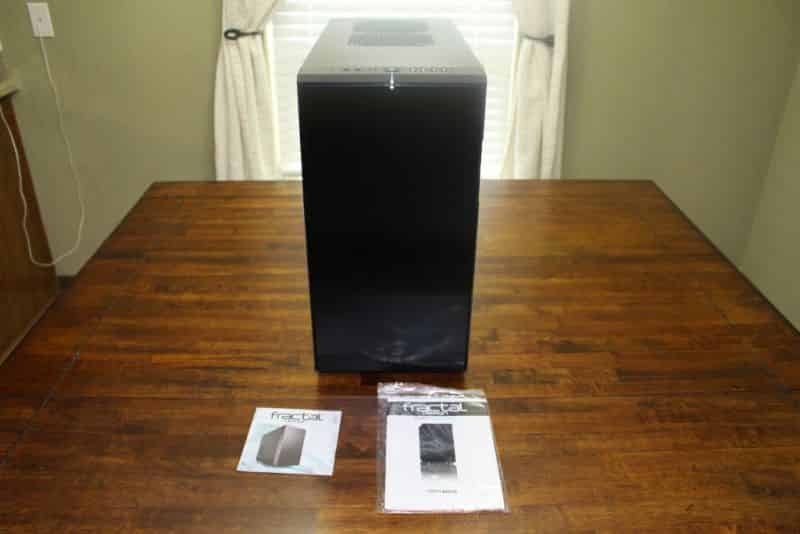
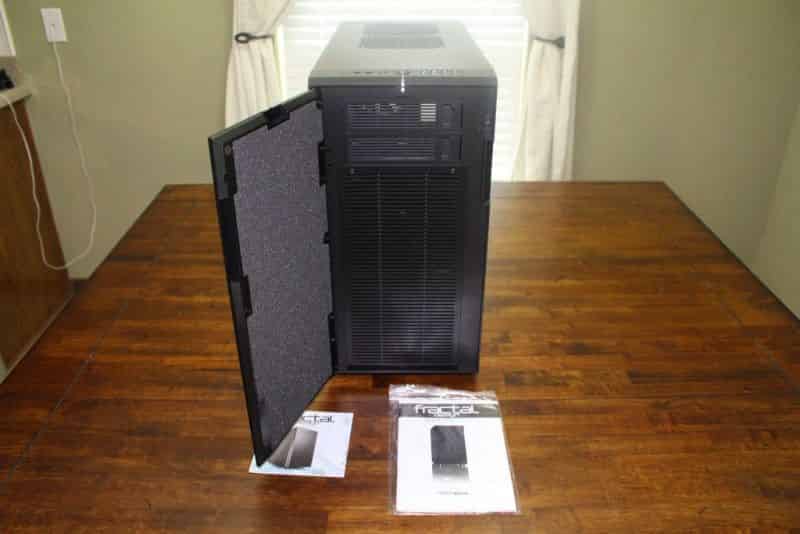
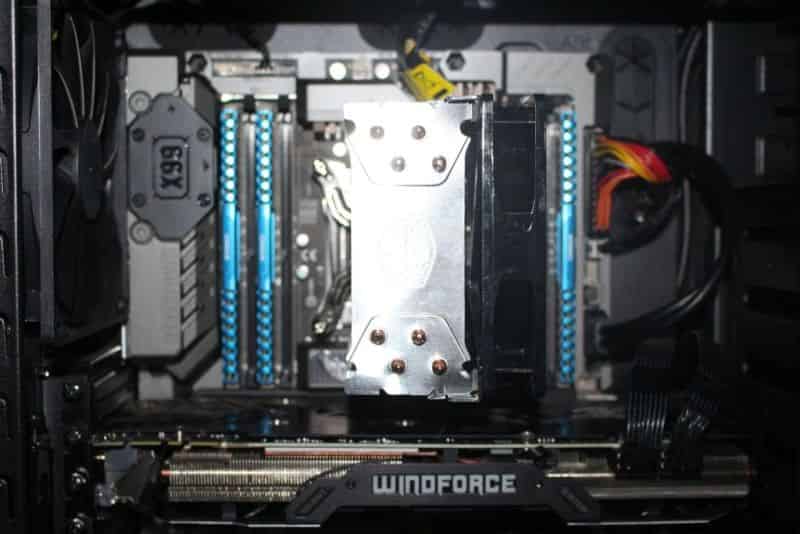
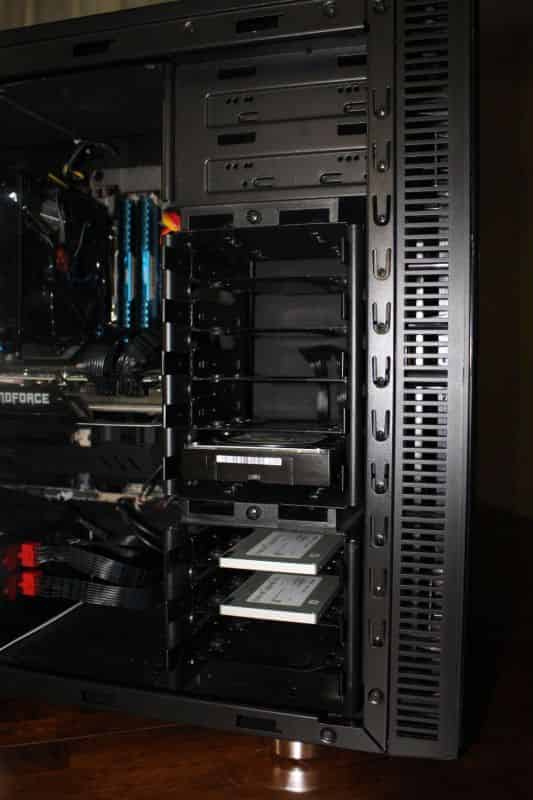
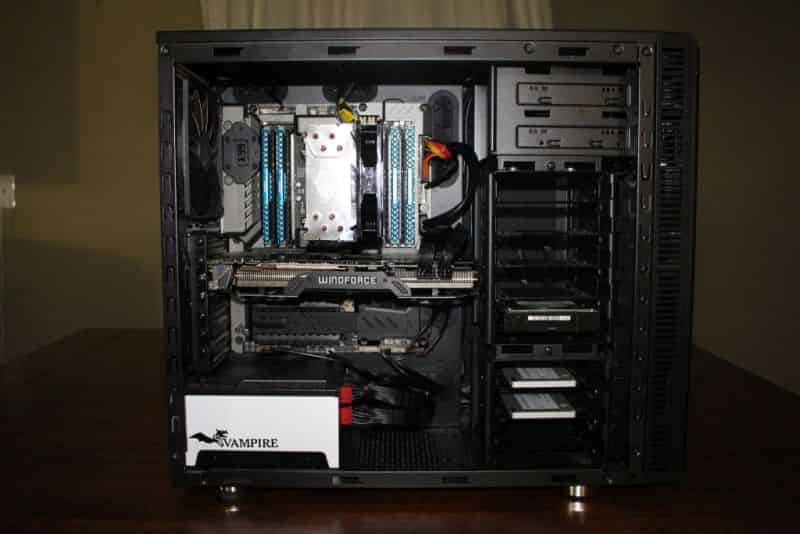
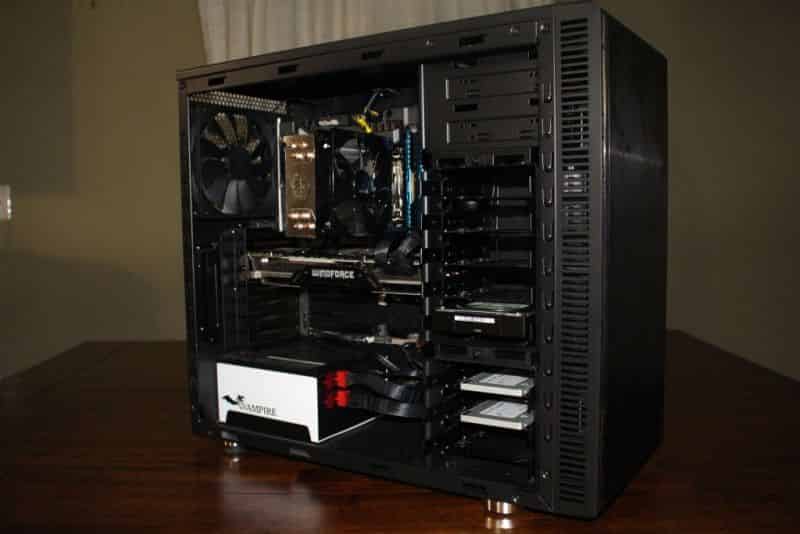
 Even though it gets hidden underneath my desk, I wanted a pretty simple case without all the angles and LEDs you see in so many popular cases. Enter the Fractal Design Define R4 case (specs), a case built satisfying exactly those needs. Among my favorite features of the case is the perpendicular position of the hard drive bays which allow for much neater and easier access to the drive bays. The fact that this case holds up to 12 total hard drives has tempted me in the past to use for it for one of my DIY NAS blogs, but its price and size has usually been a bit too big for my NAS-preferences. There is quite a bit of sound dampening material inside the case to try and keep things as whisper-quiet as possible. About the only complaint that I had about the case is that its “Two Extra 2.5in. SSD Positions” are pretty useless. They’re located on the flipside of the motherboard plate and in order to mount a drive in those positions you’d have to install them before the motherboard. In all of my experience building PCs, the last thing I’ve always put in are the hard drives, which meant by the time I got to mounting my storage I couldn’t access those two positions any more. Furthermore, what happens if your SSD fails or needs to be upgraded? If you used one of those two positions, you’d have to remove your motherboard in order to replace the SSDs!
Storage
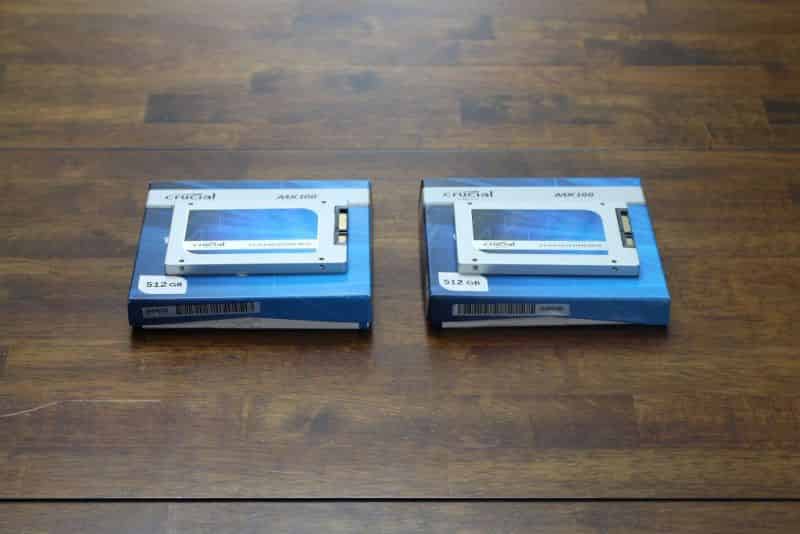
 Based off of my experience with my prior computer upgrade in 2012 I already knew I was going to be using a SSD manufactured by Crucial. I actually wound up buying nearly the same SSD that I was already using in my current PC (after an RMA); the Crucial 512GB MX100 SSD (specs). For this new PC, I wanted to increase the redundancy and reliability by a bit, so I wound up ordering two SSDs which I’d use in RAID1 configuration using either the software RAID built on the motherboard itself.
Video Card
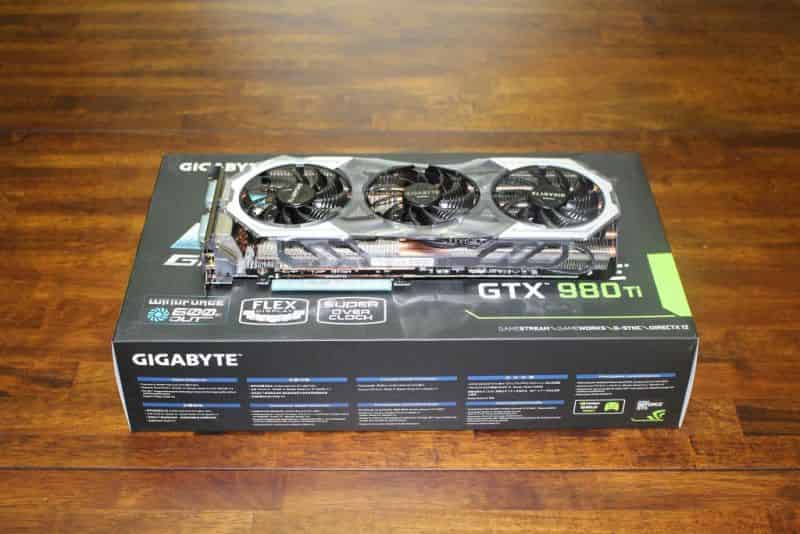
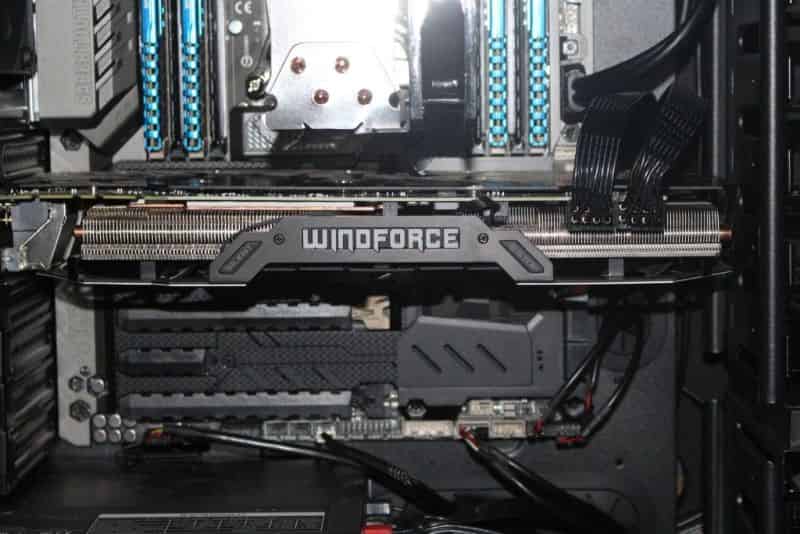
 The video card wound up being the easiest (or most difficult) item to choose. I knew that I wanted an nVidia GeForce GTX 980 Ti video card for my machine, but I was also using Dual QNIX 2710 27” LED monitors which have DVI-D connections only. I’ve had luck using a DisplayPort adapter with my work laptop, but there are some noticeable artifacts occasionally. It’s fine when I’m doing some working from home, but it’d be a huge distraction on my personal PC. Keeping that in mind, I went out hunting for GTX 980 Ti video cards which had two DVI-D ports and found only one: the Gigabyte GeForce GV-N98TG1 GAMING-6GD (specs). Only having one option sure made picking out the best one for me an easy decision, albeit not a very inexpensive one!
CPU, RAM and Motherboard
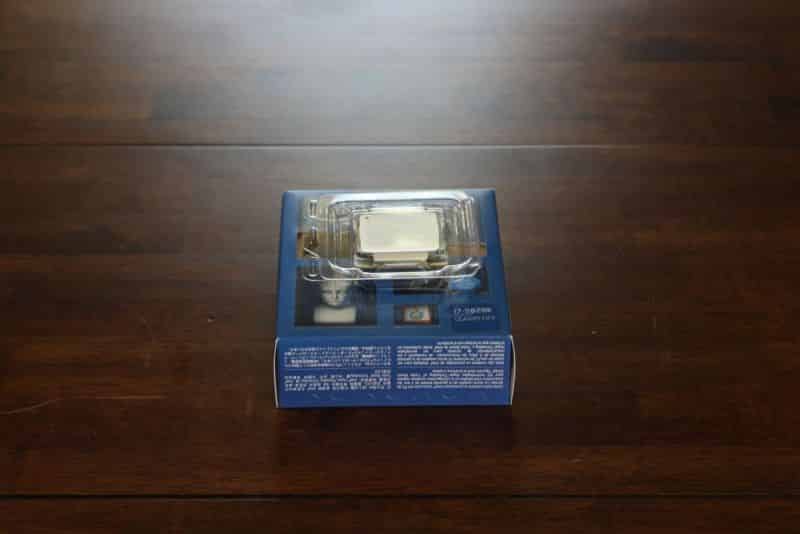
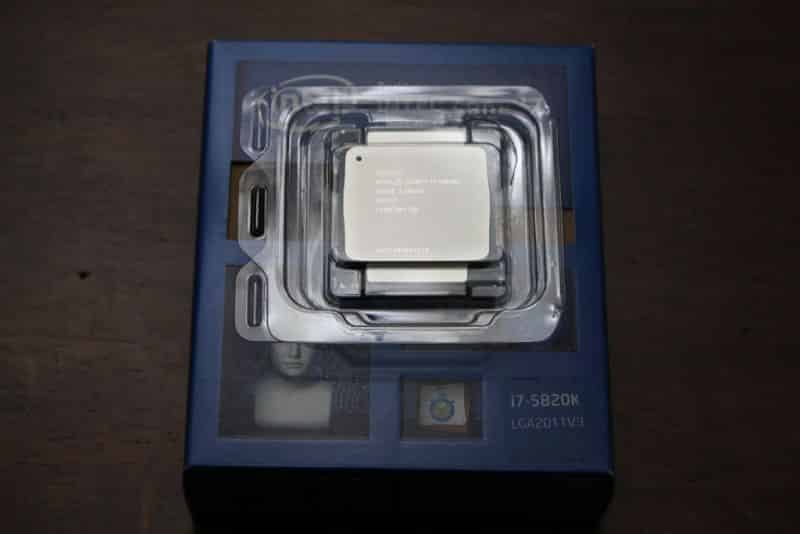
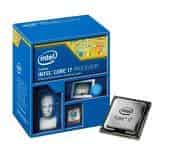 Ultimately, the CPU is what drove all of the remaining decision points. While I wanted to build a powerful new desktop machine, I didn’t want to go so far out on the bleeding edge that it really became painful to my wallet. I knew that I wanted an LGA 2011-v3 so I picked out the Intel® Core™ i7-5820K Processor (specs). As an added bonus some of my research seems to suggest that its a particularly overclock-able CPU. Which essentially left me with three viable upgrade options down the road: by overclocking, by replacing the CPU, or by both!
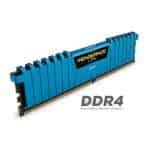 DDR4 is the supported type of RAM type for the LGA 2011-v3 CPUs, of which I hadn’t collected a stick yet. Every now and then, I like to save a few bucks by supplementing RAM from a prior machine with additional RAM of the same type to achieve a higher amount of total RAM, despite the fact there are usually faster supported speeds. Intel’s specification sheet for the i7 5820k CPU had 2133Mhz listed as the fastest supported memory type. The Corsair Vengeance LPX 32GB (4 x 8GB) DDR4 DRAM 2666MHz C16 kit (specs) had a base speed of 2133Mhz and a tested speed of 2666Mhz and seemed to be priced well amongst the DDR4 memory that’s out on the market.
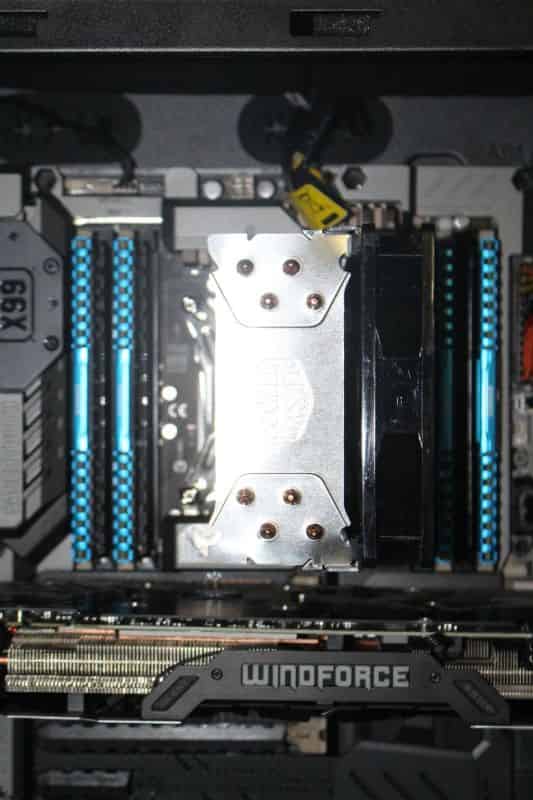
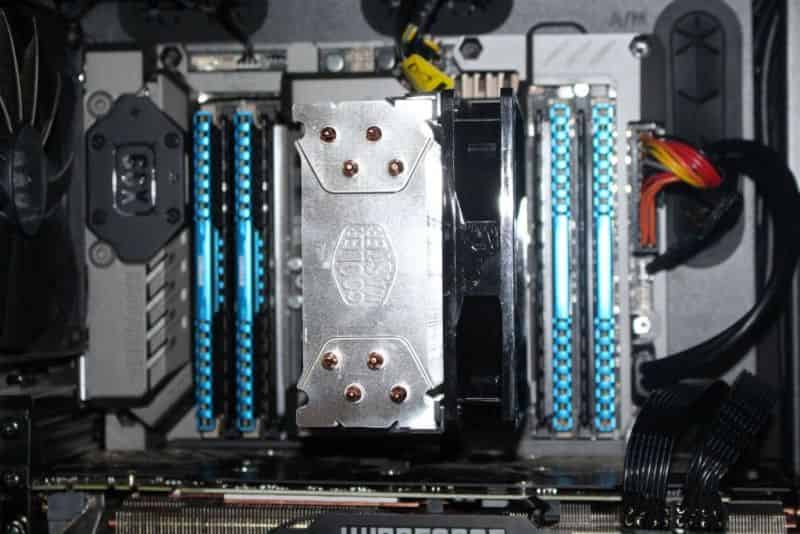
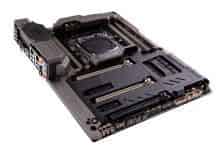 I wound up digging through quite a few Intel X99 chipset motherboard reviews and thought I’d found a motherboard priced pretty competitively with a pretty awesome suite of features. But that motherboard wound up getting replaced (much more on that later) by the ASUS TUF Sabertooth X99 (specs). Ultimately, I decided that a couple of the features of the Sabertooth X99 were right up my alley. Especially the “TUF Fortifier” which adds rigidity to the motherboard and really helped support the full-length Gigabyte GeForce GV-N98TG1 which is also quite heavy for a video card. An added feature that I liked of the motherboard was that plastic covers were included for just about every feature on the motherboard to protect unused DIMM Slots, PCI-e slots, SATA connectors, etc… from dust. It also didn’t hurt that I was routinely seeing the ASUS TUF Sabertooth X99 at the tops of Intel X99 motherboard round-up reviews and reading that people were getting good results when overclocking their CPUs with the motherboard.
Assembly Challenges
Normally at this point in a blog like this, I’d have a couple nice galleries of pictures to show off, featuring the pictures of the parts and step-by-step photos of the computer’s assembly. But this time around, fate had something completely different in mind for me.
For those of you that follow me closely on Twitter, you already know that I had some initial problems after putting the hardware together. The computer was very unstable with frequent BSODs and unresponsiveness; especially while playing games. I thought that the video card may be to blame, and after swapping my new video card with my old video card, it sure seemed like it. But then the new video card didn’t have any issues in my old PC either. Unfortunately, I couldn’t swap out any other components between machines since this is my first LGA2011-3 CPU and first set of DDR4 DIMMs. However, I was pretty confident in the RAM because it went through numerous passes in Memtest86+ without any issues.
Based on my gut feeling and because I wasn’t crazy about powering the Gigabyte GeForce GV-N98TG1 6GB PCiE Video Card entirely off the same 12 volt rail, my first step was to go ahead and replace the power supply that I had selected. The issues were just random enough and I didn’t care for the fact that my original power supply was powering the video card solely off the same 12V rail. I decided my easiest step would be my first – pick a new power supply. That’s how I arrived at putting the Raidmax Vampire 800W RX-800GH in the computer. Unfortunately, this did not solve my instability issues. Which wasn’t a huge deal at the rate I’m building computers (especially DIY NAS machines); I’d have use for the previous power supply in no time.
After failing to solve the problem with a new power supply, I decided to try the motherboard next because it was the biggest pain in the neck to swap out. I had originally selected the ASRock ATX DDR4 X99 EXTREME4 primarily after having a great experience with different ASRock motherboards in my NAS blogs, especially the DIY NAS: 2015 Edition. But after beating my head against the rock trying to solve whatever issues plagued the ASRock motherboard and not getting any response from their technical support team, I eventually decided to spend a few dollars more and replace it with the ASUS TUF Sabertooth X99.
Once I’d replaced the motherboard, I figured I’d repeat some of my burn-in tests in the same order and that’s when I found out that my “gut feel” had been all wrong for this issue. While running the very first pass in Memtest86+, many errors were captured by memtest. Which was equal parts disappointing and relieving. It was a relief because after testing each DIMM one-by-one, I determined that there was a particular DIMM that would not pass Memtest86+ under any circumstances. But it was disappointing both because it hadn’t been caught the first time through on a different motherboard and it was especially frustrating since it meant I then needed to exchange a third component of the hardware.
Ultimately, I wound up swapping three different components than the ones I originally ordered. I’m a little disappointed that some of my gut feelings hadn’t proven to be more accurate, but I’m glad that once I upgraded the motherboard, it helped me determine exactly what the issue is. The worst lingering effect was that I had a bunch of photos that I couldn’t use with this blog.
Burn In
Before I considered my new machine “worthy” of being my primary desktop, I essentially put it through a number of steps. It’d have to pass each of these with flying colors before I used it:
- At least 3 error-free passes in Memtest86+.
- At least 12 hours of Prime95’s torture test.
- Problem-free runs of my favorite benchmarks (Geekbench, 3DMark Vantage, 3DMark Advanced, PCMark Vantage, PCMark 8)
Thankfully, after finally getting four good sticks of RAM in the machines, it survived/passed all of the above without any issues.
Benchmarks
For apples-to-apples comparisons, I installed the same benchmarking utilities I used two years ago: Geekbench, 3DMark Vantage, and PCMark Vantage and ran them on the new computer. On top of that, I wound also updating to latest version of both 3DMark and PCMark to use as a baseline for any upgrading/overlocking/tweaking that I wind up doing in the future.
A quick note on the graphs below, if I didn’t have a particular benchmark for a computer (especially my old, old computer) then I just left its value as zero on the charts. The performance of my older PCs is certainly less than my newer ones, but it wasn’t that bad!
Butt Dyno
If you’re a car guy like me, you’re familiar with the term “Butt Dyno” but for everything else the butt dyno is an unscientific way of measuring the increase in performance to car after some upgrades. Once you upgrade into the car, you hop in the driver seat and take it for a spin. How the upgrade winds up feeling the first time you experience it is more or less the cognitive dissonance of the car’s performance after the upgrade. It also works pretty well with computers; after a major upgrade like this one I’d expect that everything I do on the computer feel faster and smoother.
Which is exactly what I experienced with this PC. It was a bit difficult for me to gauge some of the differences, since I’d moved from Windows 7 to Windows 10 in the process. But within the games I spend quite a few hours playing, the difference was pretty evident. Especially in multiplayer games, my prior computer would begin to bog down the more objects there were on the screen and even start dropping frames.
Geekbench
In my prior blog’s benchmarks I’d only run the “free” versions of both Geekbench 2 and Geekbench 3, which is the 32-bit version. This year, I decided to go ahead and purchase Geekbench 3 so that I could get both the 32-bit and 64-bit versions to see if there was much of a difference. I also did two sets of tests, one with the RAM set at it’s conservative default of 2133MHz and a second at the 2666MHz the RAM is advertised at.
With the RAM set at 2133 MHz, I managed to score 14725 in the Geekbench 2 32-bit, 19074 in Geekbench 3 32-bit, and 20070 in Geekbench 3 64 bit. When bumping the RAM up to 2666 MHz, I saw a performance jump anywhere between 5.03% and 6.47% and scored 15465 (5.03%) in Geekbench 2 32-bit, 20280 (6.32%) in Geekbench 3 32-bit, and 21368 (6.47%) in Geekbench 3 64-bit.
3DMark / PCMark
3DMark and PCMark were a bit problematic, as there have been new versions and releases over the years since my last upgrade. Which meant just installing the latest versions wouldn’t give me very good data for an apples-to-apples comparison to past benchmarks. So I decided to also install the “old” versions (3DMark Vantage and PCMark Vantage) in addition to the latest version of each. Based off the results and the data out there for similar computers, I’m a little disappointed in my numbers out of the default tests. Compared to my prior PC there’s a very good performance bump as well as some room for improvement with some further tweaking.
Like with the Geekbench tests, I saw a bump when running the RAM at 2666MHz. In 3DMark Vantage I scored P46769 and 15303 on the latest 3DMark Firestrike test with the RAM at 2133MHz. Setting the RAM to run at 2666MHz saw an increase in performance between 3.43% and 7.37% with 3DMark Vantage scoring P50215 (7.37% better) and 3DMark Firestrike scoring 15828 (3.43% better)
While at 2133MHz PCMark Vantage’s score came in at 20356 and in PCMark 8’s two tests I scored 3856 on the conventional test and 4065 on the accelerated test. With the RAM set to 2666MHz, I saw gains in each test but they were pretty meager coming in between 1.58% higher and 6.2%. At 2666MHz I scored 21635 in PCMark Vantage (6.28% higher), 3917 on the PC Mark 8 Conventional test (1.58% higher), and 4159 on the PC Mark 8 Accelerated test (2.31% higher).
Disk
Back in 2012, I made the switch from a platter hard drive to a solid state disk. I was pretty excited then about the performance increase related to using a SSD, which is pretty evident in that blog’s graphs. But for this upgrade, I wasn’t all that interested in seeing the marginal performance increase from my Crucial m4 256GB 2.5-Inch Solid State Drive to my Crucial 512GB MX100 SSD. However, that being said I think I should get a bit of a boost in performance from the newer generation of SSDs and from the fact that a RAID-1 configuration should have some modest performance gains in reads. But I didn’t really feel the need to try and measure that boost in performance. Until we experience another leap in performance like we did as we started using SSDs instead of platter drives, I probably won’t be doing any benchmarks of my storage devices.
Conclusion
This was a pretty problematic upgrade due to the bad RAM and/or motherboard I experienced early on. I’m the first of my close friends to upgrade to an LGA 2011-3 CPU and DDR4 RAM, so not only did I not have any working systems to test parts with, but also the people I’d ask for help couldn’t test my parts in their machines either. Ultimately, this made something I could’ve sorted out in a matter of hours, stretch across a couple weeks – not exactly the best outcome for someone who’s notoriously impatient.
But with these problems in the rear-view mirror, I’m pretty excited with the result. Primarily, performance in my games is noticeably better. It’s been fun going into games and changing the level of detail from pedestrian settings and crank them all up to their most advanced settings.
By my standards, I definitely spent way more money than I normally do on any kind of PC even when I’m already quite the hardware enthusiast. However, if my 2012 PC is any indicator, I should expect to get 3+ years out of this PC too. And I purposefully picked out hardware that should have room for upgrades in the future, as well as quite a bit of potential for overclocking. Between those upgrades and overclocking, perhaps I can go even further before needing to build another brand new PC from scratch again!

