
I have been using Backblaze B2 storage to back up my DIY NAS for almost exactly five years now. Thankfully, I’ve never needed to restore from that backup.

Over the years, I’ve slowly broadened the amount of my data that I’m backing up to Backblaze B2, and thanks to my YouTube channel, the amount of data that I’m accumulating has increased quite a bit in recent years. When my monthly charges eclipsed $50 a month, I felt like it was time to start thinking of alternatives.
Realizing that it was only inevitable that my costs would continue to climb, instead of continuing to pay every month for Backblaze B2, I figured that I’d build an inexpensive NAS and use the buddy system to host it off site.
Affiliate Disclaimer: Some of the links on this website are affiliate links, meaning, at no additional cost to you, I may earn a commission if you click through and make a purchase. I only recommend products that I believe will add value for my audience. Please understand that I have experience with all of these companies' products, and I recommend them because they are helpful and useful, not because of these small commissions.
What’s the buddy system for off-site backups, anyway?
An off-site backup is a copy of your data stored at a location away from the rest of your data. Off-site backups are an important part of the 3-2-1 backup strategy because an off-site backup helps protect you against theft, household disasters, and—depending on their magnitude—natural disasters.
The buddy system is pretty much exactly what it sounds like: work with a buddy—a buddy that you trust—and each of you hosts the other’s backups in your respective home.
For a little over a year and a half, I’ve been hosting Pat’s off-site storage server here in my office. Pat’s off-site NAS is a Raspberry Pi and a USB hard drive running Seafile and Tailscale. Pat uses this to keep his data synchronized across several devices, including revision history. I’ve been self-hosting my own cloud storage using Nextcloud, which would’ve made it simple to emulate Pat’s solution. I could have easily substituted Nextcloud in for Seafile and moved most of my data into Nextcloud, but I had something else in mind.
As a TrueNAS enthusiast, I really wanted to leverage TrueNAS as part of my solution. I’ve been really happy using TrueNAS’ Cloud Sync Tasks to back up my data to Backblaze B2, and I wanted to use TrueNAS’ Replication Tasks to accomplish something very similar to my off-site NAS. TrueNAS’ hardware requirements and the Raspberry Pi foundation’s decision to abandon the consumer market amidst their supply-chain issues meant I wouldn’t be using a similar hardware setup to Pat’s.
But before I dive into my solution, it’s important to talk about the most important aspect of all.
Trust is Critical!
 In order for any kind of buddy system hosting to really work, you have to trust your buddy, and you have to be trustworthy! There’s a lot you can do to protect a machine that you’re leaving at a friend’s house, but there’s only so much that you can do when your buddy has physical access to your hardware.
There are all sorts of nefarious things that Pat could do because he has physical access to this NAS. There are all sorts of nefarious things that I could potentially do with this machine on Pat’s network. The buddy system works for us because we’ve built that trust and put in the work to maintain it.
Building a 20TB NAS for $420
For my off-site NAS, I decided that I’d use a Mini PC. I’ve been interested in the Intel NUC, the Mac Mini, and many other Mini PCs for a long time, but I’ve never had a reason to buy one. Before Pat first mentioned his idea for his off-site file server, I never would have imagined building a NAS with a Mini PC.
Hardware
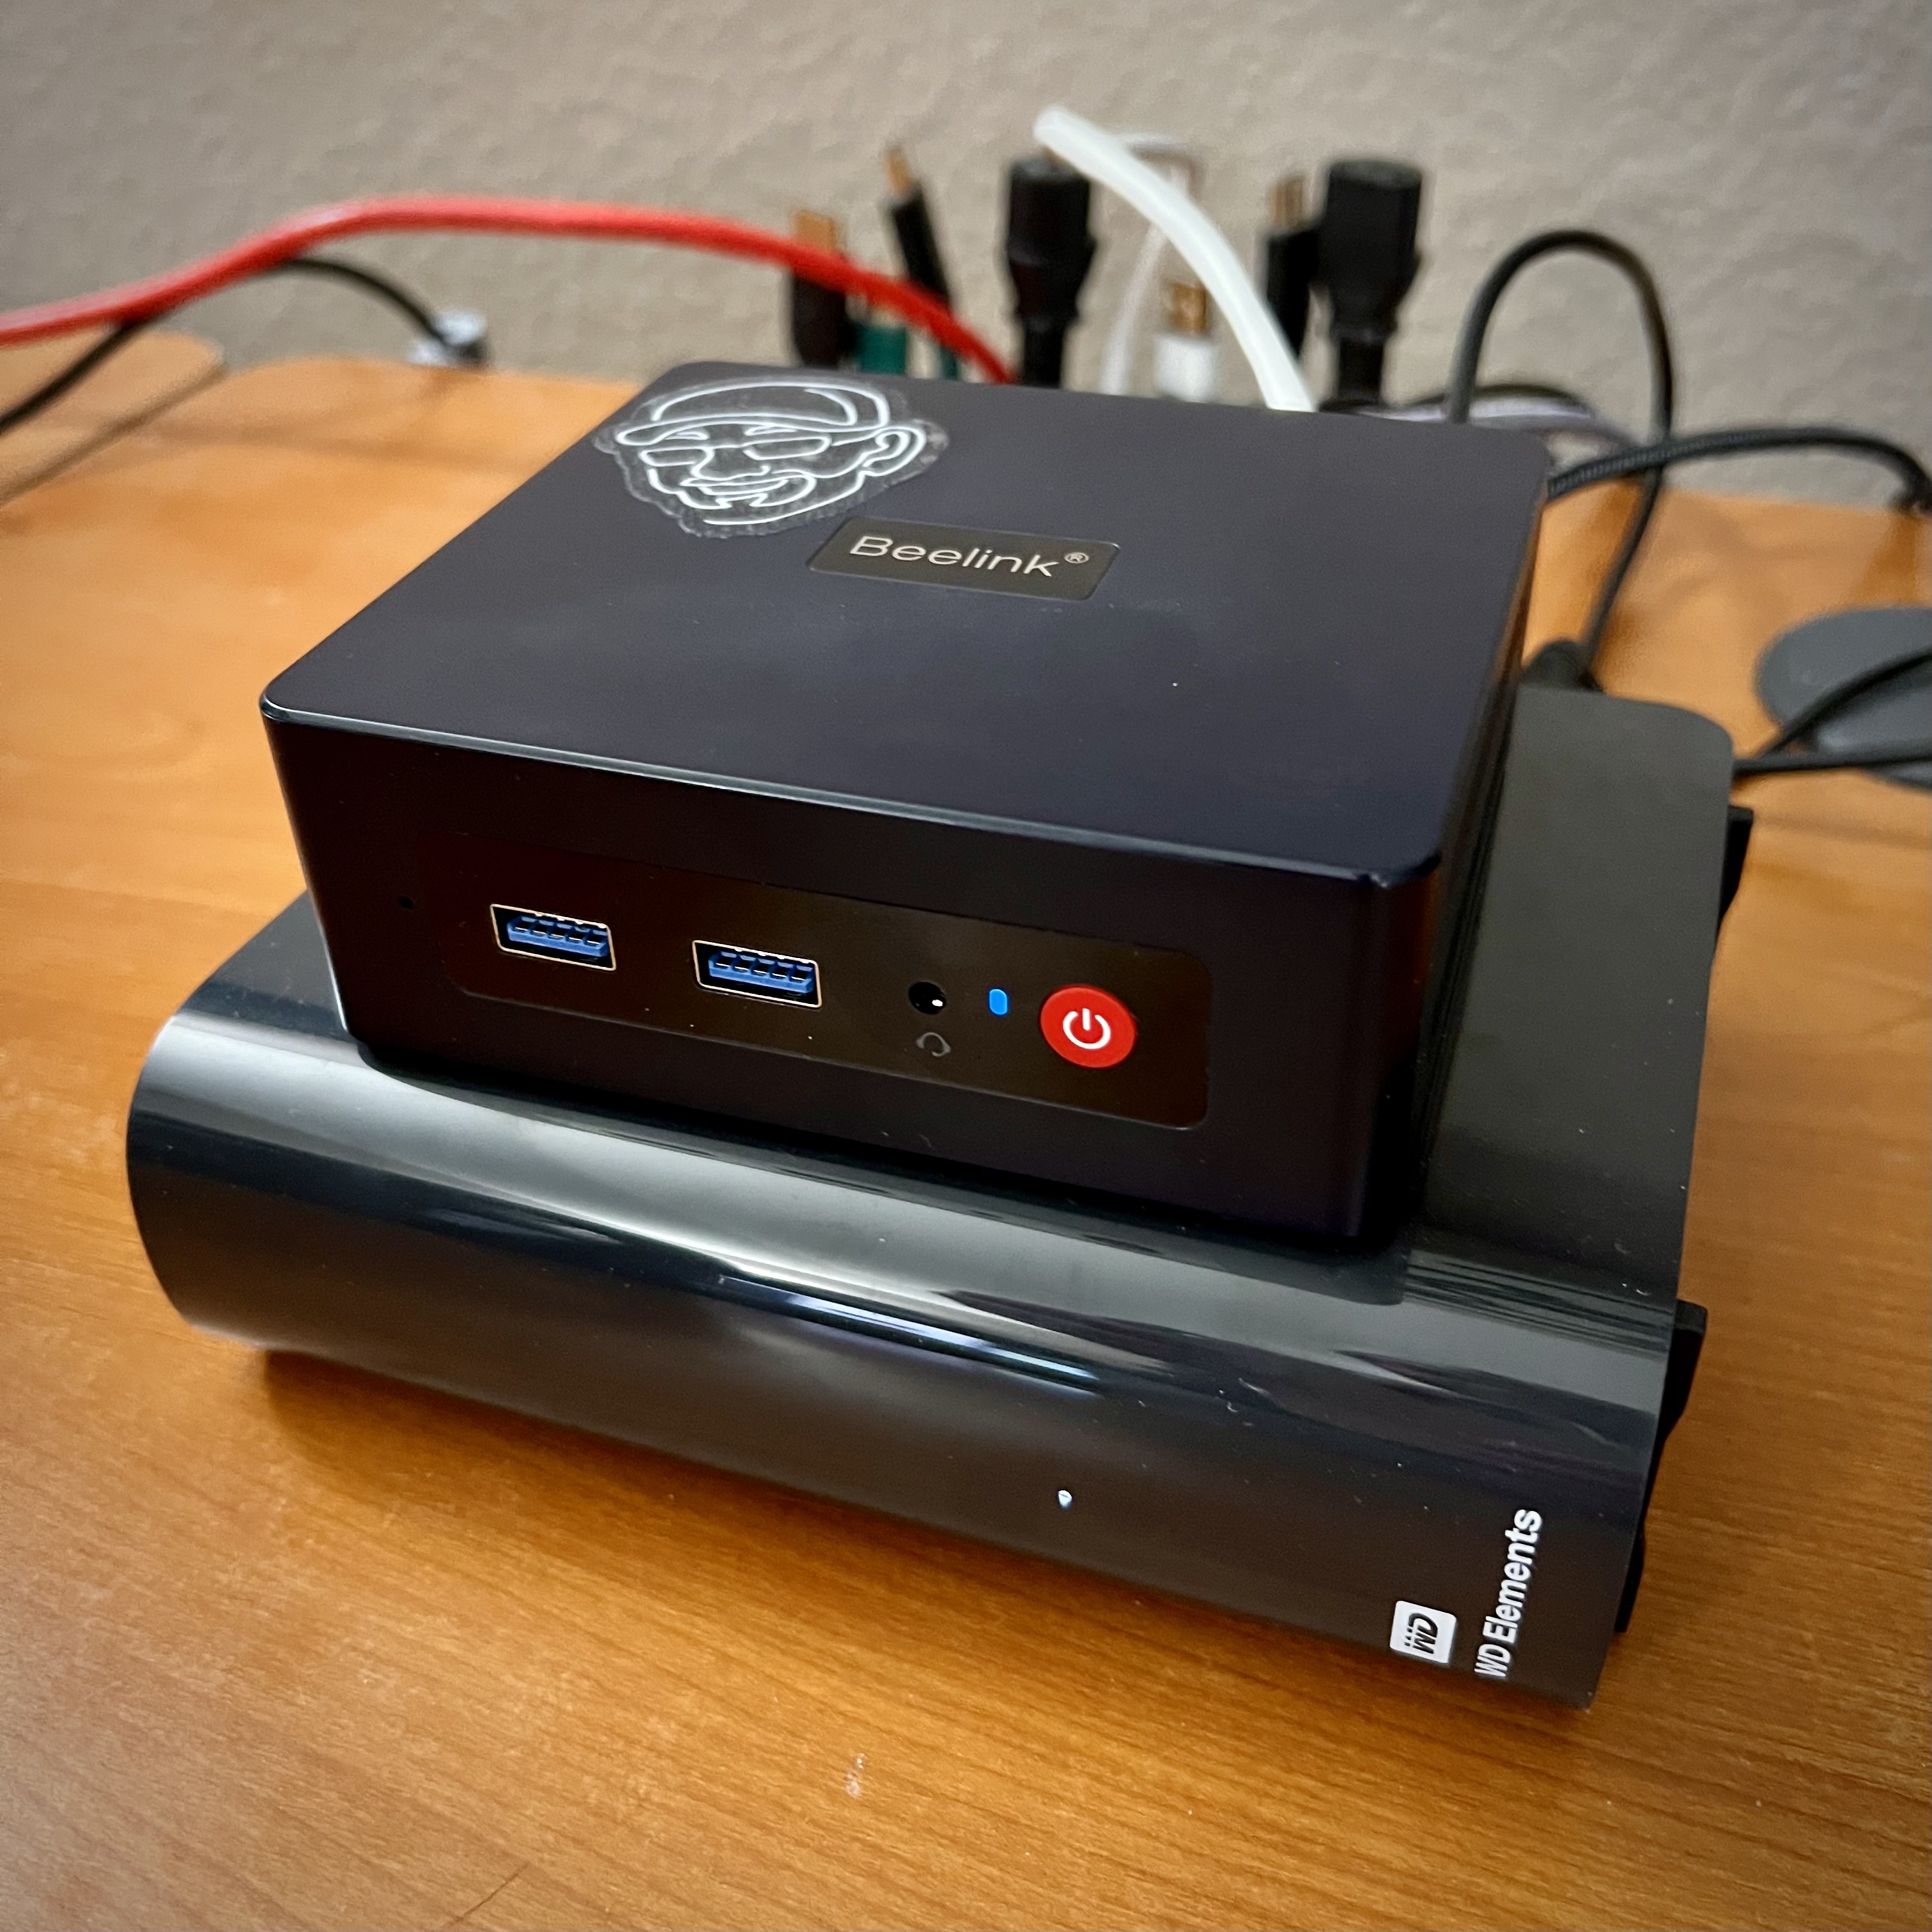
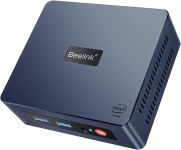 I ultimately decided to buy the Beelink Mini S (specs). Its specifications–an Intel Celeron N5095 CPU, 8GB of DDR4 RAM, and 256GB SSD–help it meet the bare minimum hardware requirements for TrueNAS SCALE. My experience with the DIY NAS: 2023 Edition had me confident that the Celeron N5095 CPU was more than ready to handle the tasks I needed it to perform using TrueNAS SCALE.
Beelink has a fantastic range of other Mini PCs too. Folks in our Discord server have shared their success stories doing all sorts of interesting NAS-related or homelab-related activities. I recently recommended a Beelink SER5 to my parents to replace their ancient desktop PC and have considered something similar to replace my wife’s old desktop computer too.
- Beelink Mini S: Intel Celeron N5095, 8GB DDR4 RAM, 256GB M.2 SATA SSD
- Beelink Mini S12 Pro: Intel N100, 16GB DDR4 RAM, 500GB M.2 SATA SSD
- Beelink Mini SER5 Pro: Ryzen 5 5500U, 16GB DDR4 RAM, 500GB M.2 NVMe SSD
- Beelink Mini SER5 Max: Ryzen 7 5800H, 32GB DDR4, 500GB M.2 NVMe SSD
If I were starting this project over today, I probably would’ve spent the few extra dollars to get the Mini S12 Pro, and if I needed more compute power, I wouldn’t have hesitated on purchasing the SER5 Pro, SER5 Max, or any of the rest of the Beelink Mini PC lineup.
 Finding storage was a bit of bigger challenge! My Backblaze B2 buckets had reached 10TB of capacity. I wanted my off-site NAS to be able to back up everything that I’d been sending to Backblaze B2, I wanted to institute some rudimentary snapshots, and I hoped I’d have a few terabytes left over for the future.
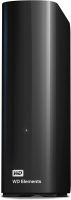
In the beginning of my search, I found that the largest of external hard drives were barely large enough, and the best deals that I was finding usually were for drives that didn’t have quite enough capacity. So I patiently waited to pounce on a great deal. I’ve been hyper-focused on an awesome deal for a 18TB (or larger) USB hard drive. Months later when I noticed that the WD Elements 20TB USB hard drive went on sale for $279.99 at the end of March, I sprang into action and bought the hard drive to use in my off-site NAS.
If you’re interested in deals like this, I regularly share these kinds of deals in the #deals channel of the Butter, What?! Discord server whenever I come across them. In 2023 alone, I’ve purchased 76TB worth of hard drives from deals that I’ve seen or posted in our Discord server!
| Component | Product | Qty | Cost | |
|---|---|---|---|---|
| Mini PC | Beelink Mini S | specs | 1 | $139.99 |
| Hard Drive | Western Digital 20TB Elements | specs | 1 | $279.99 |
| Total | $419.98 |
Tailscale and TrueNAS SCALE
In order to accomplish what I set out to do, I needed both Tailscale and TrueNAS SCALE. Of the two, Tailscale was more important, as it is my VPN software of choice. TrueNAS makes using Tailscale considerably more difficult than it is to use on literally any other platform that I use, but thankfully it was, not impossible.
I wound up using the Tailscale app from the Truecharts catalog and mostly following Truecharts’ how-to guide. But because TrueNAS’ replication tasks use SSH, I had to veer from the guide and make these changes:
- Enable
Host Networking(underExpert - Pod Options) - Disable
Userspace(underApp Configuration)
Once my new off site NAS was added to my Tailnet, I also made sure to disable Tailscale’s key expiry for the new machine. As Bruce D. points out in the comments, should this node’s Tailscale key expire in the future then I’d definitely need Pat’s assistance or I’d have to go visit his house in order to obtain a new key for my remote NAS,
I followed the TrueNAS SCALE guides on replication tasks and had my primary NAS replicating all of its contents over to this secondary NAS in no time. Because of the amount of data involved, I let this initial replication complete on my local network.
In order to have confidence that the replication would continue to work once this secondary NAS was off my network, I tethered my GL.iNet Slate travel router to my mobile phone, plugged the secondary NAS into the travel router, and reconfigured the NAS network settings for the new router.
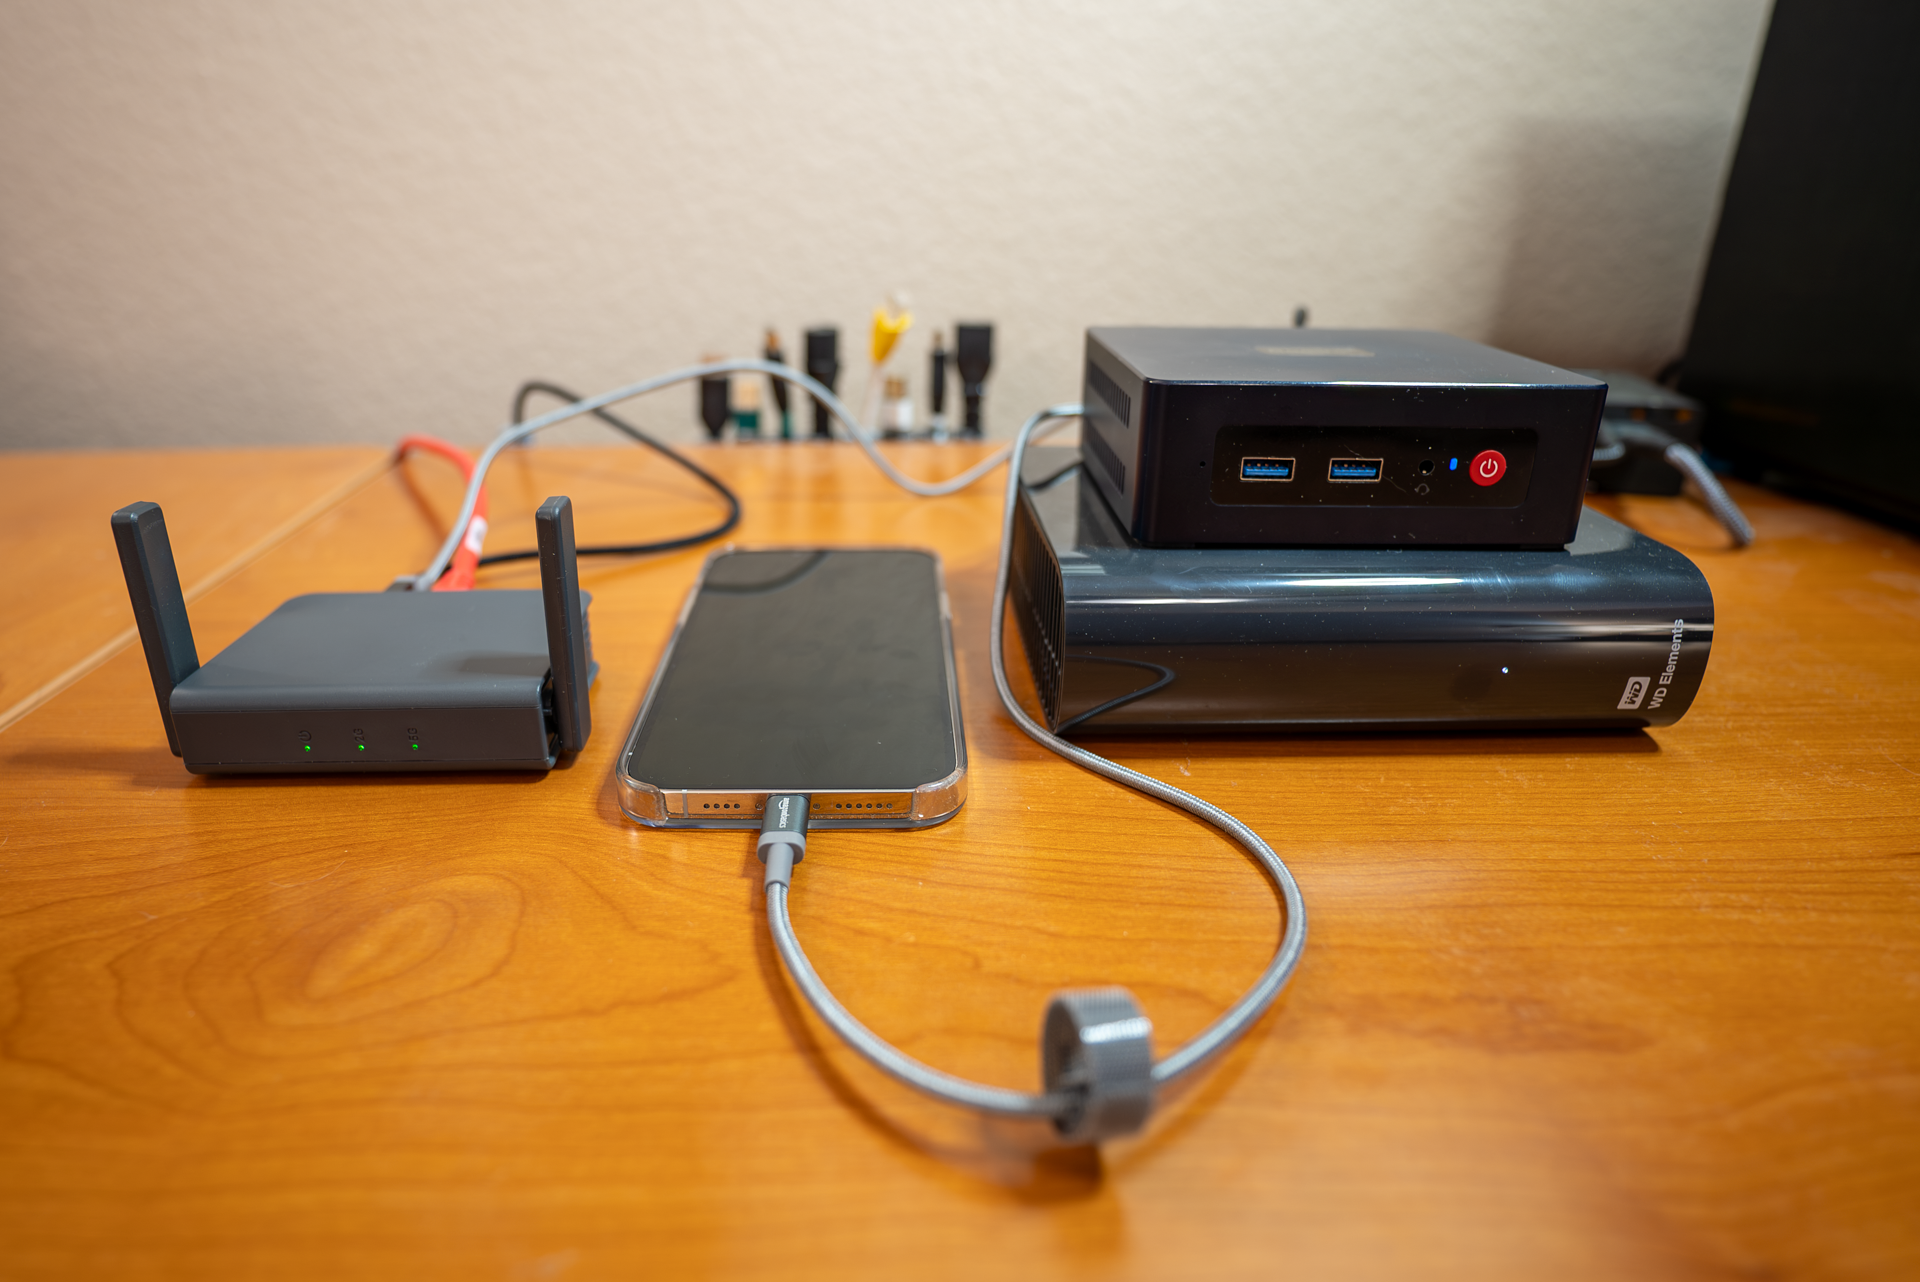
The next 2–3 days I let my replication tasks run overnight with the secondary NAS connected to a completely different network. Everything worked just fine until my I ran out of my allotment of mobile hotspot minutes from T-Mobile. The tasks continued to work just fine, but they were so badly throttled that it didn’t make any sense to continue.
Brian, you’re an idiot! Don’t you realize that…
- …this is way more expensive than $420! I lurked for a long time and pounced on great sales prices for both products at the time that I bought them the past few months. I’m happy to share that the regular price of the Beelink Mini S has fallen to the promotional price that I paid for it a few months ago. The WD Elements 20TB hard drive is selling for $349 right now, which is quite a bit more expensive than what I paid. Regardless, a 20TB NAS for under $500 still seems like a pretty juicy deal to me.
- …there’s no redundancy! There’s absolutely no redundancy whatsoever in the hardware of this little NAS. In building this DIY NAS, that particular kind of redundancy is not on my radar. The data stored on this NAS is what’s important—and that data is quite redundant. In the grand scheme of things, a catastrophic failure of the off-site NAS’ hardware would be a disappointing inconvenience but not catastrophic.
- …USB hard drives are unreliable. We’ve all had one of our USB devices stop responding and are forced to disconnect and reconnect it in order to get it working again. It happens frequently enough that it’s ingrained into my consciousness. When Pat first told me of his idea to stash a NAS at my house, my experience with USB devices had me assuming that I’d be disconnecting and reconnecting the USB hard drive on a regular basis. But it’s never happened, ever. My results might vary from Pat’s, but I’m confident that the hard drive will be dependable.
- …you can’t use ZFS without ECC RAM! Please don’t perpetuate this; it simply isn’t true. ZFS works just fine without ECC RAM. ZFS provides features and benefits to all users, not just the ones using ECC RAM. This misconception gets employed too frequently and often to the detriment of people who really could benefit from ZFS. If you’re interested, you can read more about why I often choose to use non-ECC RAM in my DIY NAS builds.
- …this solution only works for you, Brian. I’d debate whether this makes me an idiot, but it is a fair point. The entire objective of this exercise is to create my own hardware solution equivalent to—-or better than—-what I have been using Backblaze B2 to do for the last 5 years.
- …you can’t trust Pat! Despite his proclivities of trying to look sus in his hoodie, Pat’s a good dude and he’s earned my trust. But if you do wind up doing something similar, make sure you trust your friend like I trust Pat!
Deploying the Off-Site NAS
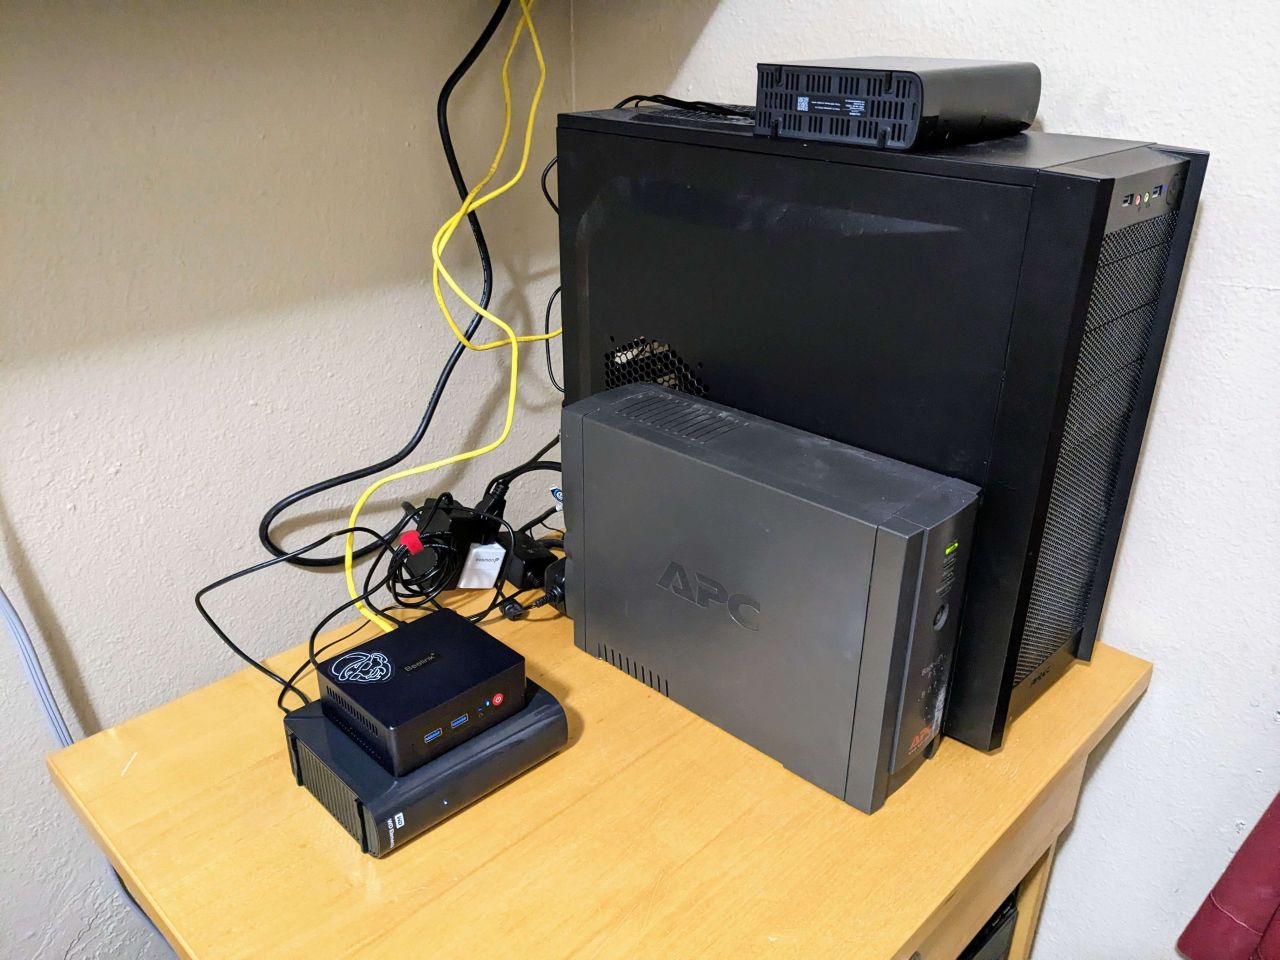
Pat invited us over for pizza recently, and I saw it as an opportunity to get my new NAS deployed, although it felt a tiny bit rushed. I would have liked to have seen it in action at home, but communicating via Tailscale, for another few days before dropping the NAS off.
Regardless, I packed it up, enjoyed some pizza, and hurriedly plugged it in to Pat’s network at the end of the night. Within a couple minutes it was connected to my Tailnet, I’d logged in to the TrueNAS SCALE interface using the machine’s Tailscale IP, and I kicked off one of my replication tasks on my primary NAS. A few moments later, that replication task had succeeded, and I was confident in my off-site NAS’ ability to perform its function.
What’s Next?
I’m simultaneously running TrueNAS cloud sync tasks to Backblaze B2 and replication tasks to my off-site NAS. Before the end of my next Backblaze billing cycle, I anticipate that I will be able to delete my TrueNAS cloud sync tasks along with my Backblaze B2 buckets.
My monthly bill to Backblaze B2 has hovered around $60 for the last year. After spending $420 to build my 20TB off-site NAS, I expect to break even in about 7 months. It’s worth pointing out that there’s some risk here–the hardware could fail before it pays for itself. The products’ warranties might be helpful here, but the warranty process might be long enough that I’d just go ahead and buy a new set of hardware first!
What should I wind up spending that extra money on? I’ve got a few ideas:
- Save up money to build another off-site NAS.
- Start preemptively replacing some of the older hard drives in my primary NAS.
- Spend that money buying and reviewing more DIY NAS cases!
In my shoes, which option would you pick? Let me know down in the comments, or better yet, come tell us about it in the #diynas-and-homelab channel of the Butter, What?! Discord server!