
Just over two weeks ago, iXsystems made the announcement of the release of FreeNAS 11. Naturally, this announcement had my full attention because I’ve been using FreeNAS since building my first DIY NAS over five years ago and continue to use FreeNAS on my current DIY NAS, which I beefed up significantly about a year ago.
A major release like this is always going to get my attention, but I was initially a bit hesitant after a rather bumpy release and subsequent un-release of FreeNAS Corral. Setting aside what happened with FreeNAS Corral, my opinion on major release of software like FreeNAS is that it’s always good to let someone else take it out for a spin and see what they think of it. There can be a lot of pain associated with an upgrade, especially a problematic one. My advice is always that you tread carefully on major upgrades and weigh benefits of the new features versus the costs of a potentially painful upgrade.
Typically speaking, I’m pretty cautious in adopting the latest releases of FreeNAS. But this time around, I thought I’d reverse course by being adventurous and becoming a somewhat early adopter of FreeNAS 11 in order to share my experience and thoughts on the upgrade. It’s a bit risky to volunteer to be a guinea pig, but I thought the rewards justified the risk. In particular, two of the many new features in the FreeNAS 11 (release notes) ultimately convinced me to be an early adopter: virtualization and the user interface improvements.
Affiliate Disclaimer: Some of the links on this website are affiliate links, meaning, at no additional cost to you, I may earn a commission if you click through and make a purchase. I only recommend products that I believe will add value for my audience. Please understand that I have experience with all of these companies' products, and I recommend them because they are helpful and useful, not because of these small commissions.
Virtualization
I was especially excited about the incorporation of virtualization into FreeNAS on behalf of many DIY NAS builders, but not necessarily for myself. I built my own dual-Xeon homelab server less than a year ago and it’s been working well! However, this doesn’t make the new virtualization feature any less exciting to me. About my biggest complaint of FreeNAS is that, because it runs on FreeBSD, you can be a bit handcuffed in finding utilities which run natively in FreeBSD. It’s been my experience that many of the things I want to try running on my own DIY NAS box frequently didn’t have FreeBSD ports available.
Prior versions of FreeNAS had some virtualization options and a decent library of plug-ins, but if you wanted to add functionality to your FreeNAS machine, it was a bit more problematic—not necessarily impossible, but ultimately more work than I typically wanted to do. It’s entirely possible that I was being lazy, but having virtualization seamlessly integrated into FreeNAS 11 is an exciting feature!
![]() The addition of virtualization through the bhyve hypervisor makes it easier for a DIY NAS builder to leverage the unused CPU cycles of their NAS to add functionality that may not be readily available on the FreeBSD yet. The DIY NAS: 2017 Edition was built specifically with the fact that a hypervisor was being shipped with the latest versions of FreeBSD and that eventually the FreeNAS UI would soon support the management of its hosted Virtual Machines.
The addition of virtualization through the bhyve hypervisor makes it easier for a DIY NAS builder to leverage the unused CPU cycles of their NAS to add functionality that may not be readily available on the FreeBSD yet. The DIY NAS: 2017 Edition was built specifically with the fact that a hypervisor was being shipped with the latest versions of FreeBSD and that eventually the FreeNAS UI would soon support the management of its hosted Virtual Machines.
The inclusion of bhyve among the things that can be managed via the FreeNAS user interface is an incredibly exciting new feature. I decided to create a virtual machine just so that I could share my thoughts as part of this review. Thanks to a video I found on YouTube, I found that creating a virtual machine in FreeNAS 11 was incredibly easy. I downloaded a Ubuntu Server ISO and stuck it on an SMB share. Then I created a zvol for the virtual machine’s storage. Following that, I created a virtual machine and added two devices: a hard drive using the zvol I’d created earlier and a CD-ROM drive that I pointed at the Ubuntu Server ISO. I started my new virtual machine up and used a VNC client to work through the installation of the operating system.
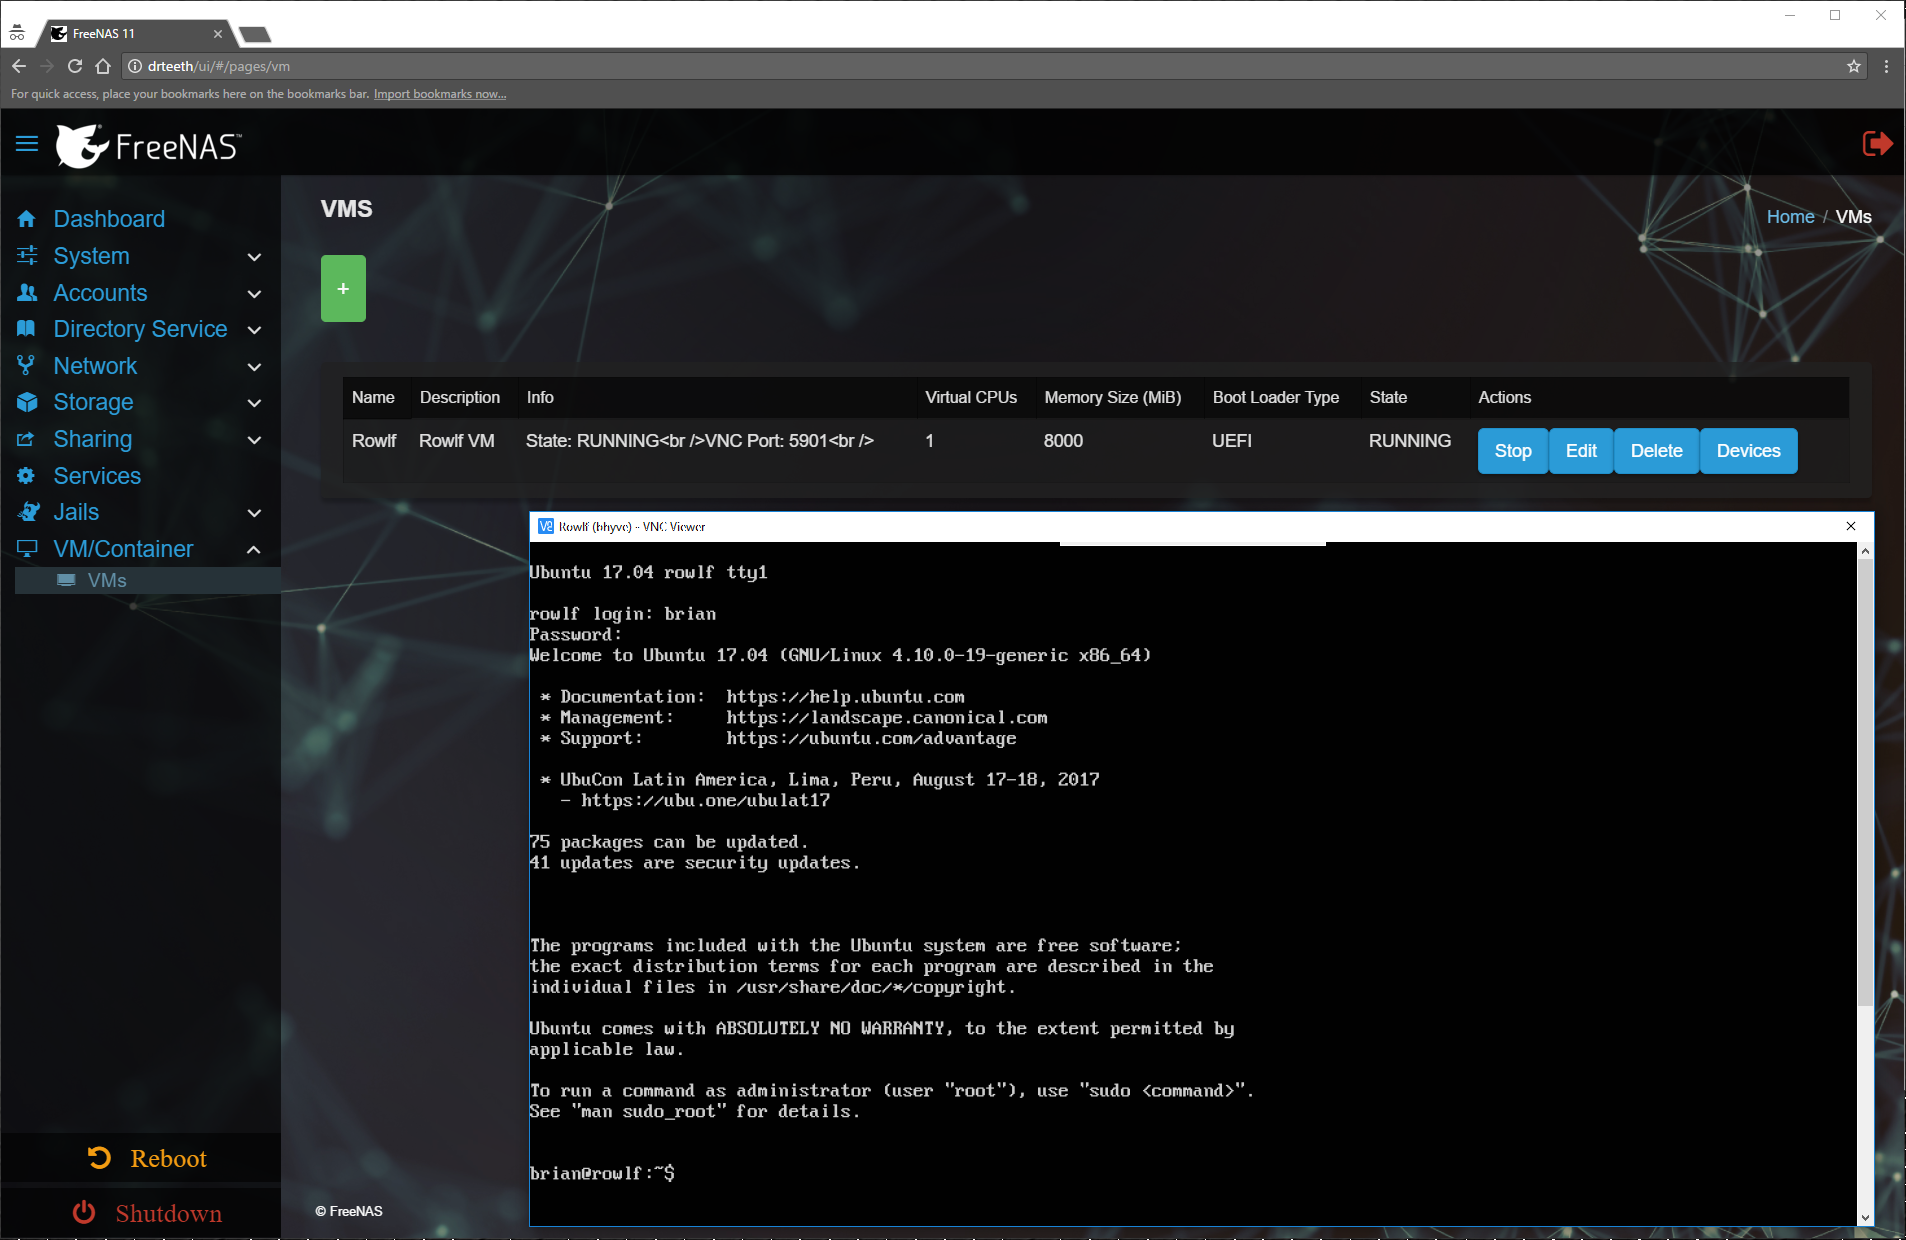
I found creating a virtual machine inside the FreeNAS user interface to be every bit as easy as on my own homelab server. It’s exciting to me that virtualization will be more accessible to FreeNAS users than it was in the past. There’s no shortage of tasks that can be done using FreeNAS’s new virtualization features. Home automation, media servers, web servers, etc.—the list is endless!
User Interface
A lot of the people in both my personal and professional networks are experienced systems administrators who have amassed an amazing amount of knowledge and experience with the different features and technologies of the various server operating systems. Almost each and every one of them has looked at me incredulously and asked, “Why did you choose FreeNAS?” Each time my answer to them has been because of the FreeNAS user interface. Ultimately, the FreeNAS UI enables me to build and manage my own NAS server without having to toil at the command line–for guys like me, this is huge!
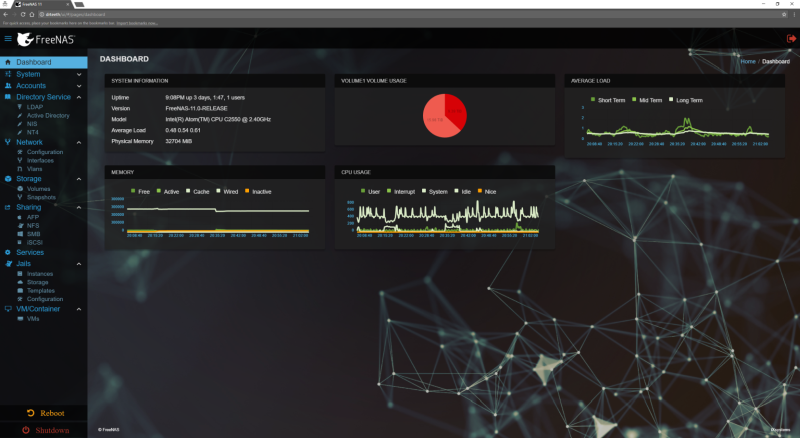
As I understand it, one of the complaints of the prior FreeNAS releases was that the user interface was dated and stale. Thankfully for me, I lack the discerning eye and style for interface design. I found the FreeNAS UI to be completely satisfactory. I personally didn’t have any particular issues with the old user interface, but I was curious when I read that another major feature of FreeNAS 11 was going to be an included sneak preview of a new Angular-based user interface.

I checked out this new user interface and found it to be to my liking. It felt like it was more responsive in my browser and visually it was more appealing. It’s my understanding that it’s not yet feature-complete and won’t be the default interface until a future minor release.
According to the FreeNAS 11 release announcement, the new user interface is expected to be customizable–I’m excited to see what kinds of neat options the FreeNAS community is able to come up with to supplement or replace the default interfaces.
Other Interesting New Features
![]() A brand-new user interface and the addition of the bhyve hypervisor are what really mattered to me in this upgrade, but there are quite a few other updates included in FreeNAS 11 which might not have tickled my fancy, but may be interesting to you! Use the comments below if you think some of these other features should be discussed in further detail as part of future blogs.
A brand-new user interface and the addition of the bhyve hypervisor are what really mattered to me in this upgrade, but there are quite a few other updates included in FreeNAS 11 which might not have tickled my fancy, but may be interesting to you! Use the comments below if you think some of these other features should be discussed in further detail as part of future blogs.
- Kernel improvements 20% faster than FreeNAS 9.10
- FreeNAS is now compatible with Amazon S3
- A new Alert Services page which allows the sending of critical alerts from FreeNAS to other alerts applications
- Everything else included from FreeBSD 11.0
My Upgrade to FreeNAS 11
A couple of Saturday nights ago, it was late, quiet, and I was incredibly bored. Everybody in the house had gone to sleep for the night, but I wasn’t tired yet. I’d seen the FreeNAS 11 release announcement and decided that I’d ignore my conservative tendencies and give the upgrade to FreeNAS 11 a shot. All of my virtual machines on my homelab server use my NAS machine for all of virtual machines’ storage. Consequently, the VMs all needed to be shut down before I started my upgrades. Once I had the VMs powered down, I went ahead and kicked off the FreeNAS upgrade. I had intended to intently watch the upgrade in order to keep an eye on it and get an understanding of how long it’d take, but then Pat distracted me when he asked me to play some Team Fortress 2.
I checked back in on my upgrade after a few matches of TF2 and was happy to see that the upgrade appeared to have gone quite smoothly. I logged in and out using both the legacy user interface and the new interface. I checked my inexpensive 10gb network connectivity between my desktop and my NAS box, and the NAS’s connectivity to my 1Gb network. As far as I could tell that night, the upgrade had gone incredibly smoothly. Aside from the issues caused by rebooting the NAS, primarily the disconnection of mapped drives on my Windows machines, you wouldn’t have even known that a major upgrade had taken place on my NAS.
 For an added bit of intrigue, a few days later I decided I’d put some stress on my NAS by replacing two of my older 4 TB hard drives with Western Digital Red Pro 8TB and Seagate 8TB IronWolf NAS SATA drives. I replaced the first drive, waited for the array to rebuild, and then replaced the second drive. Unsurprisingly, replacing these two drives and the subsequent rebuilds of my array were completed without any kind of issues. Hopefully over the next year or so, I’ll slowly replace the remaining 4TB hard drives with 8TB drives.
Lastly, after about a week (and as I worked on writing this blog), I went ahead and upgraded my ZFS Pool. This is significant, since upgrading the ZFS pool pretty much makes it impossible for me to go back to FreeNAS 9.10. With regards to each of my FreeNAS upgrades, I always hold off on this particular step until I’m happy with the latest version, and I consider the FreeNAS upgrade to be a success. As far as I can tell so far, I haven’t had any issues whatsoever with my upgrade to FreeNAS 11.

Overall, I thought the new features justified accelerating my typical upgrade adoption. And considering how smoothly it’s gone so far, being an early adopter hasn’t bit me in the ass–I sure hope I haven’t jinxed myself!
How did your FreeNAS 11 upgrades go? Please feel free to share your experience in the comments!