
When I built the DIY NAS: 2025 Edition, I knew I was going to have an issue because I was out of 10Gb ports on QNAP QSW-308S switch and I needed at least one more to test the new NAS. I used this new NAS as an excuse to buy a MikroTik CRS309-1G-8S+ (specs) and upgrade my 10Gb networking by another 5 ports.
Instead of mounting the MikroTik CRS309-1G-8S+ to the back of my desk like I had with my QNAP QSW-308S, I decided to store it atop my desk along with my PiKVM v3. Thanks to a yet-to-be published 3D design that Pat shared, I was able to tuck the PiKVM v3 and all the network cables underneath the switch.
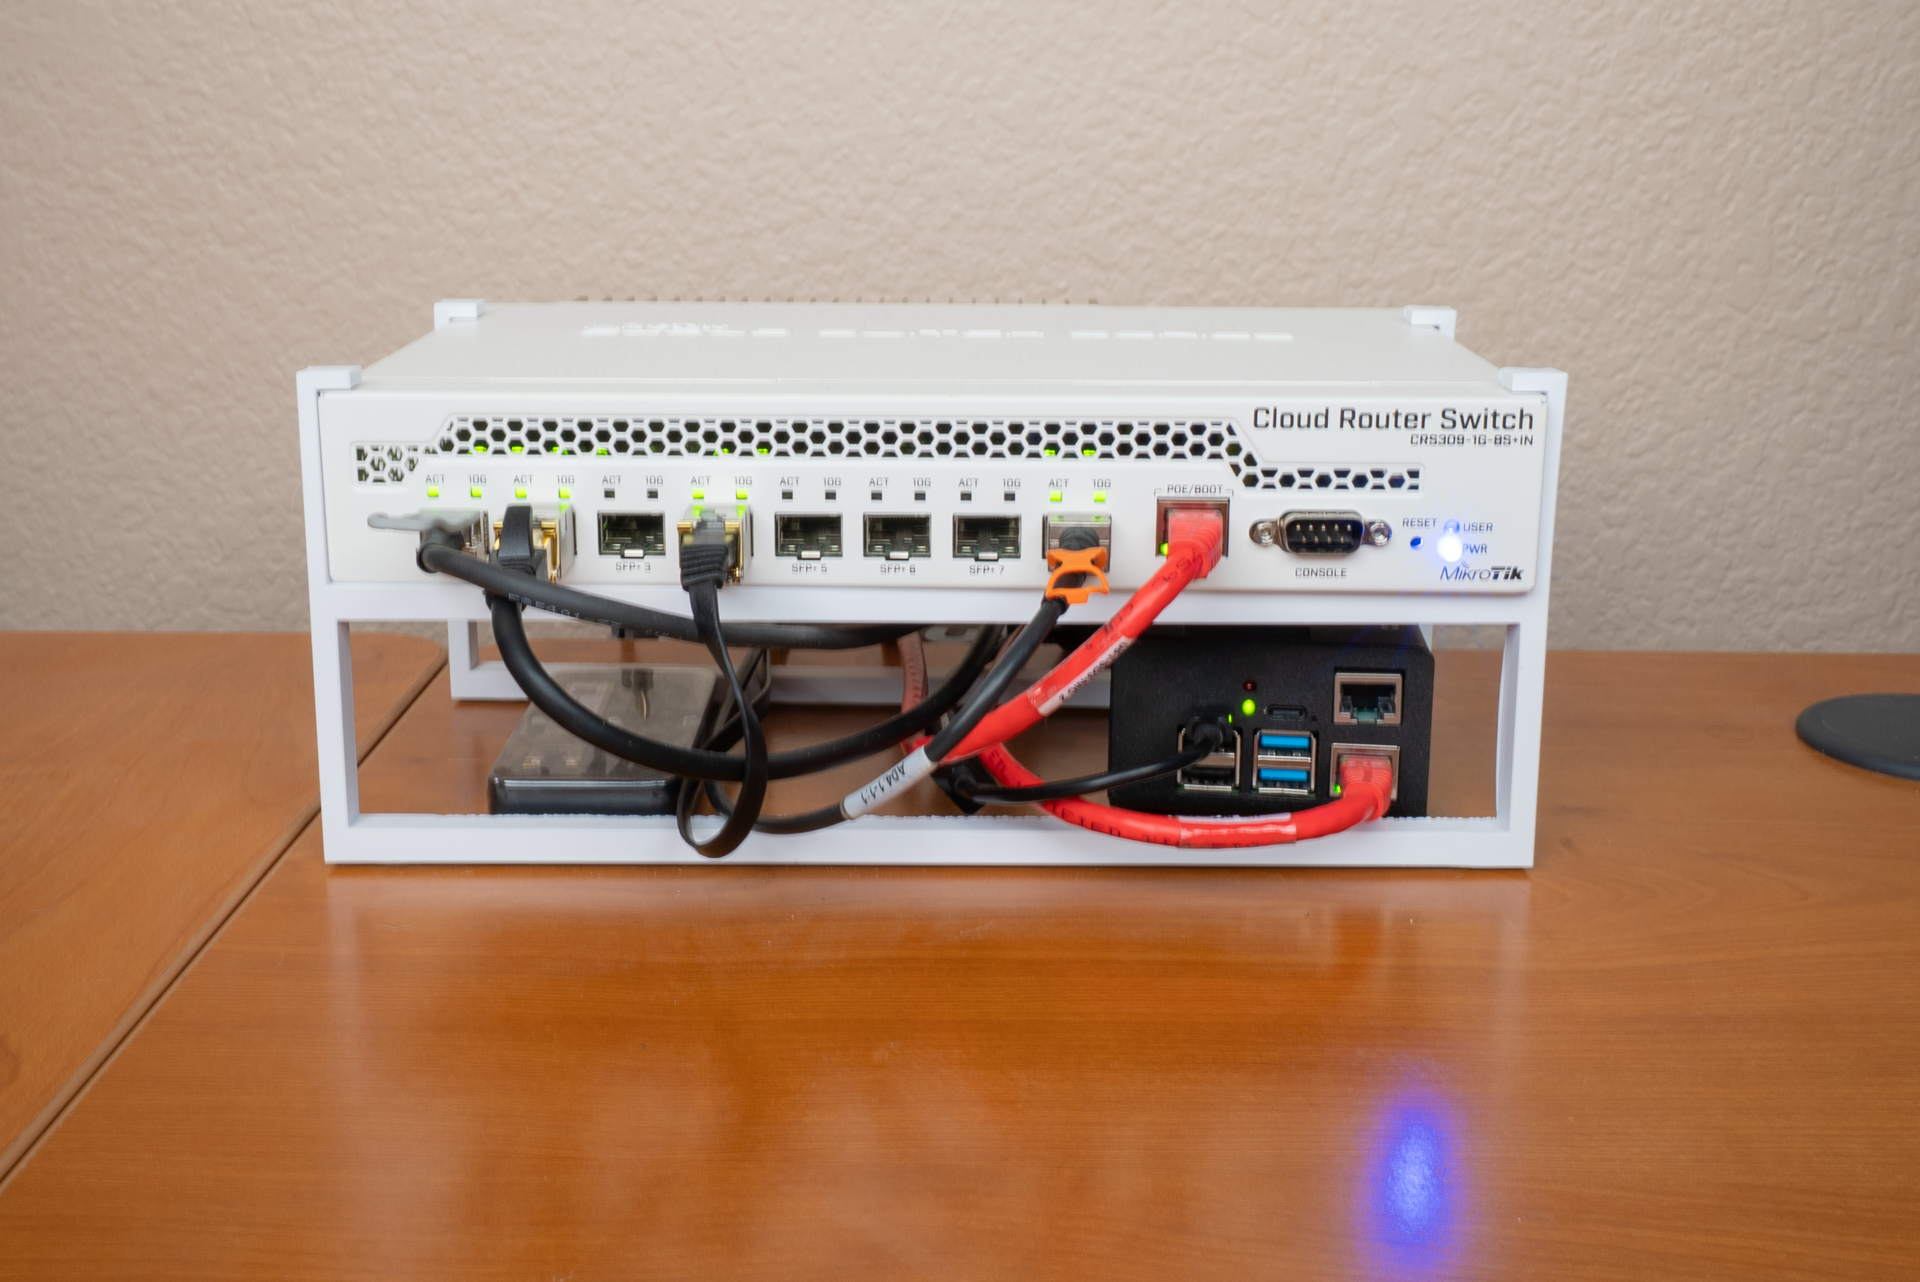
Except for being displeased with my cable shame hanging out for everyone to see in my office, I was happy with this arrangement. However, when I saw that lots of creators were building their own miniature racks, my curiosity became piqued.
Affiliate Disclaimer: Some of the links on this website are affiliate links, meaning, at no additional cost to you, I may earn a commission if you click through and make a purchase. I only recommend products that I believe will add value for my audience. Please understand that I have experience with all of these companies' products, and I recommend them because they are helpful and useful, not because of these small commissions.
However, I had two gripes with all the miniature racks that I had seen from those content creators:
- All of the content seemed to feature product(s) from DeskPi. So I went to DeskPi’s website and put the parts I wanted into the shopping cart, but when I looked at the total, I simply couldn’t justify the expense.
- My MikroTik CRS309-1G-8S+ is 10.7” wide and wouldn’t fit in any of the miniature racks that I had found.
I thought to myself, Surely there is a way that I could manage to 3D-print my own custom miniature rack?!
Enter Rackstack
I started off by looking at the impressive Modular 10” server rack, Mod10, on Printables. My initial hope was that I could modify the design to accomodate my gear. However, a fortuitous search result on Google drew my attention to the Rackstack project.
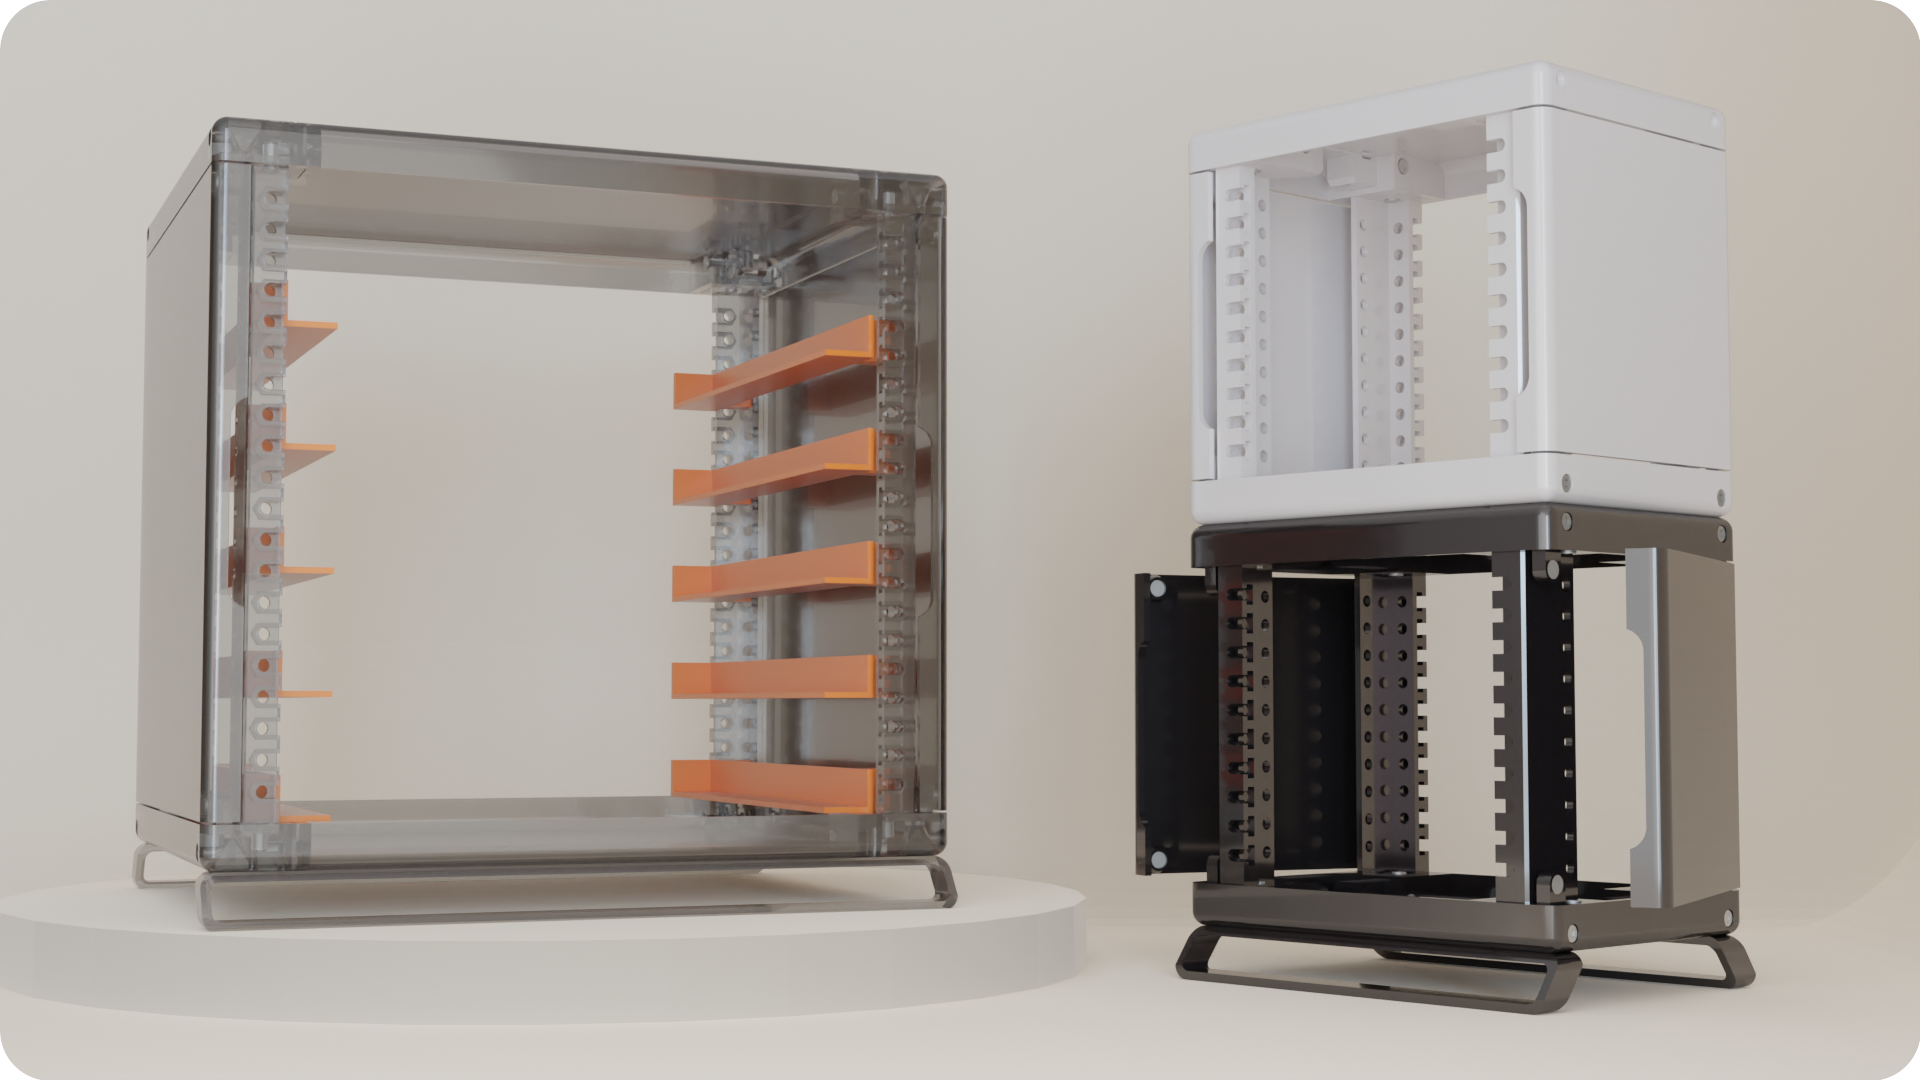
Rackstack is a completely customizable, modular, 3D-printable mini rack system designed in OpenSCAD. Immediately, I realized that Rackstack was a perfect match made for both my network rack needs and also for my 3D-modeling ability.
Designing, 3D-Printing, and assembling my own Rackstack
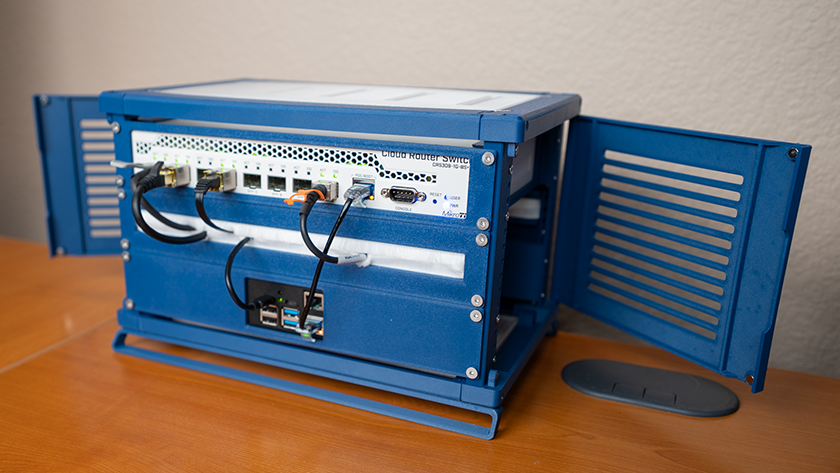
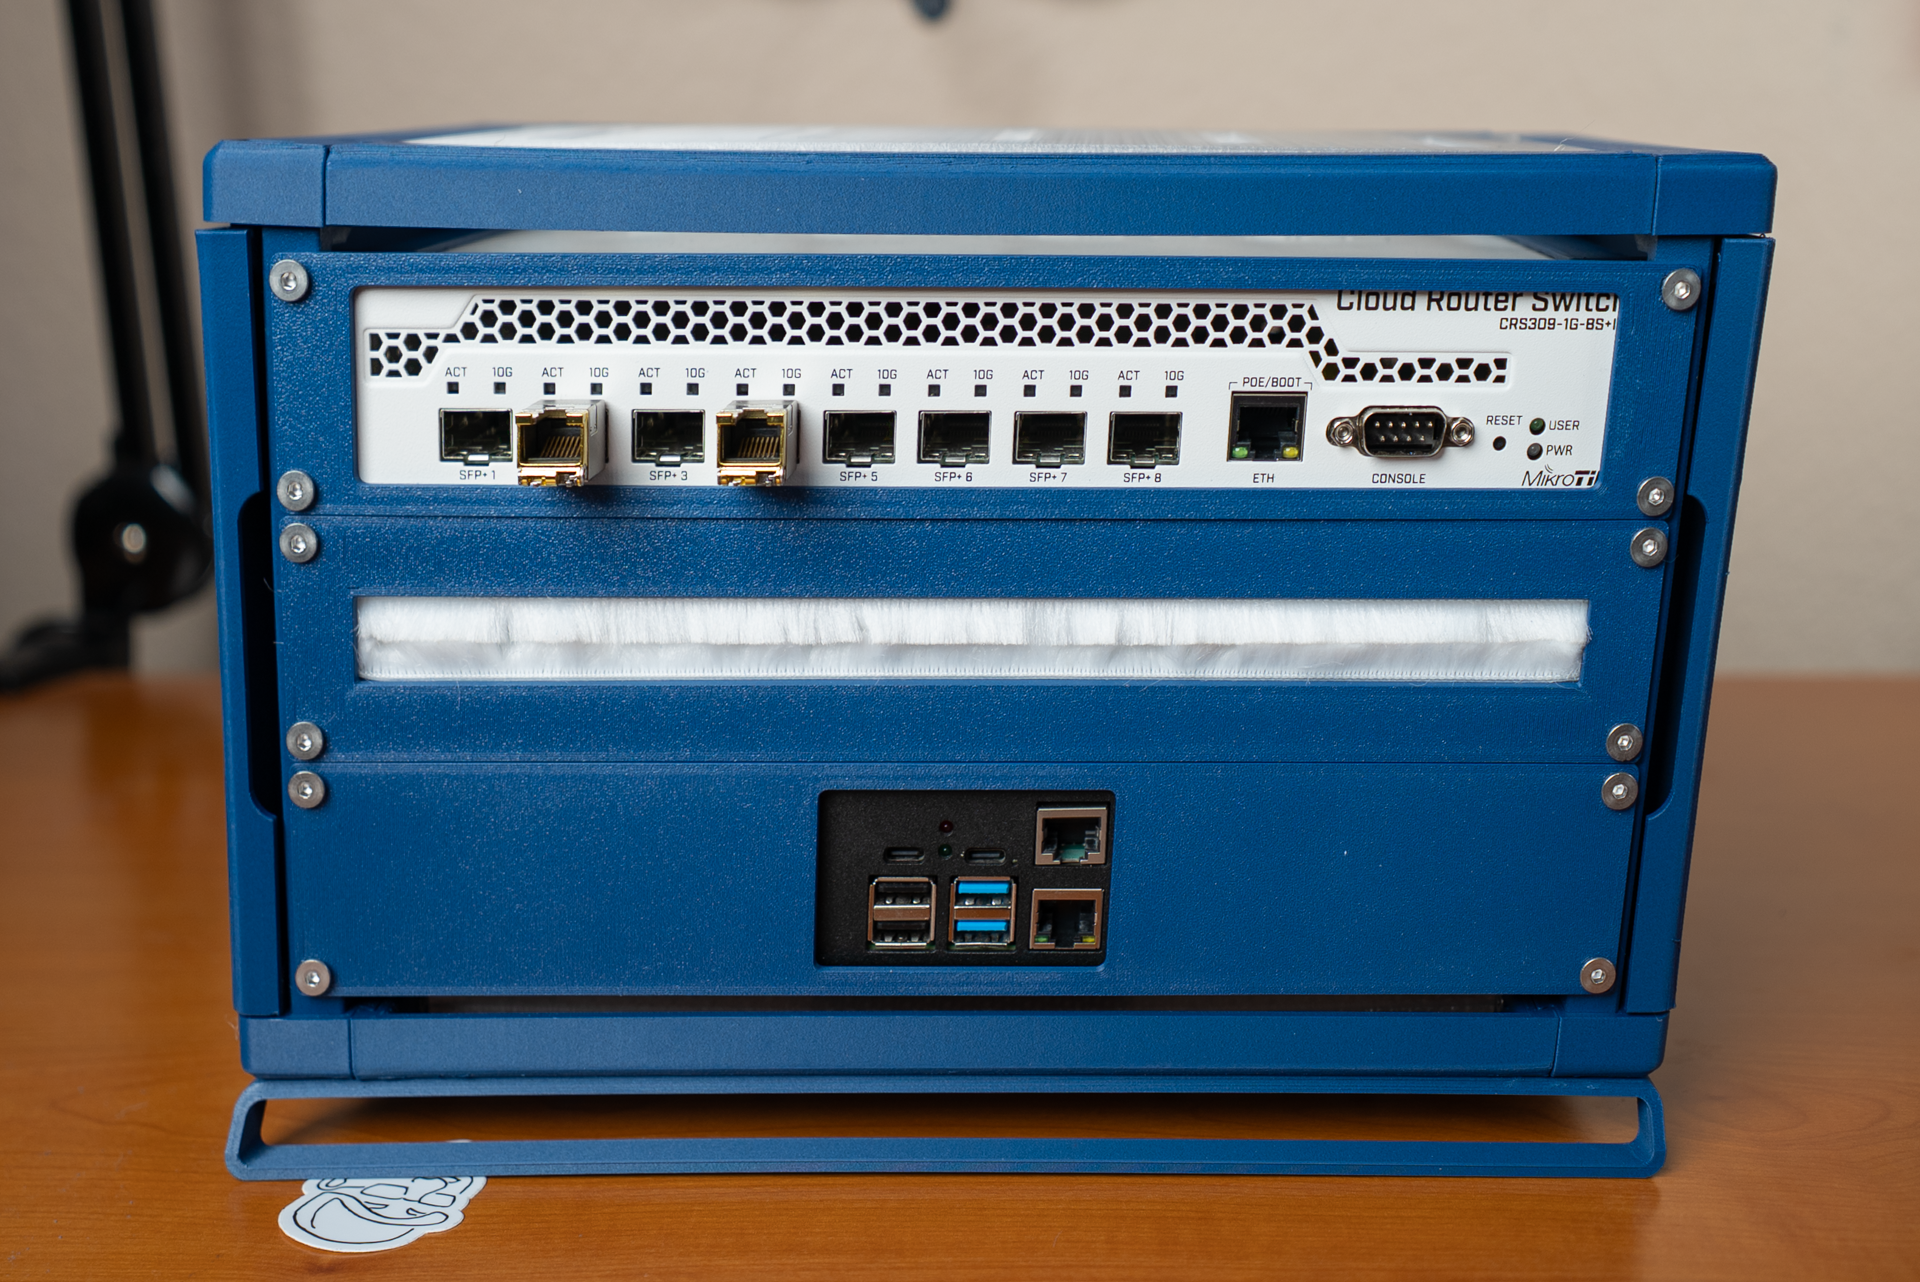
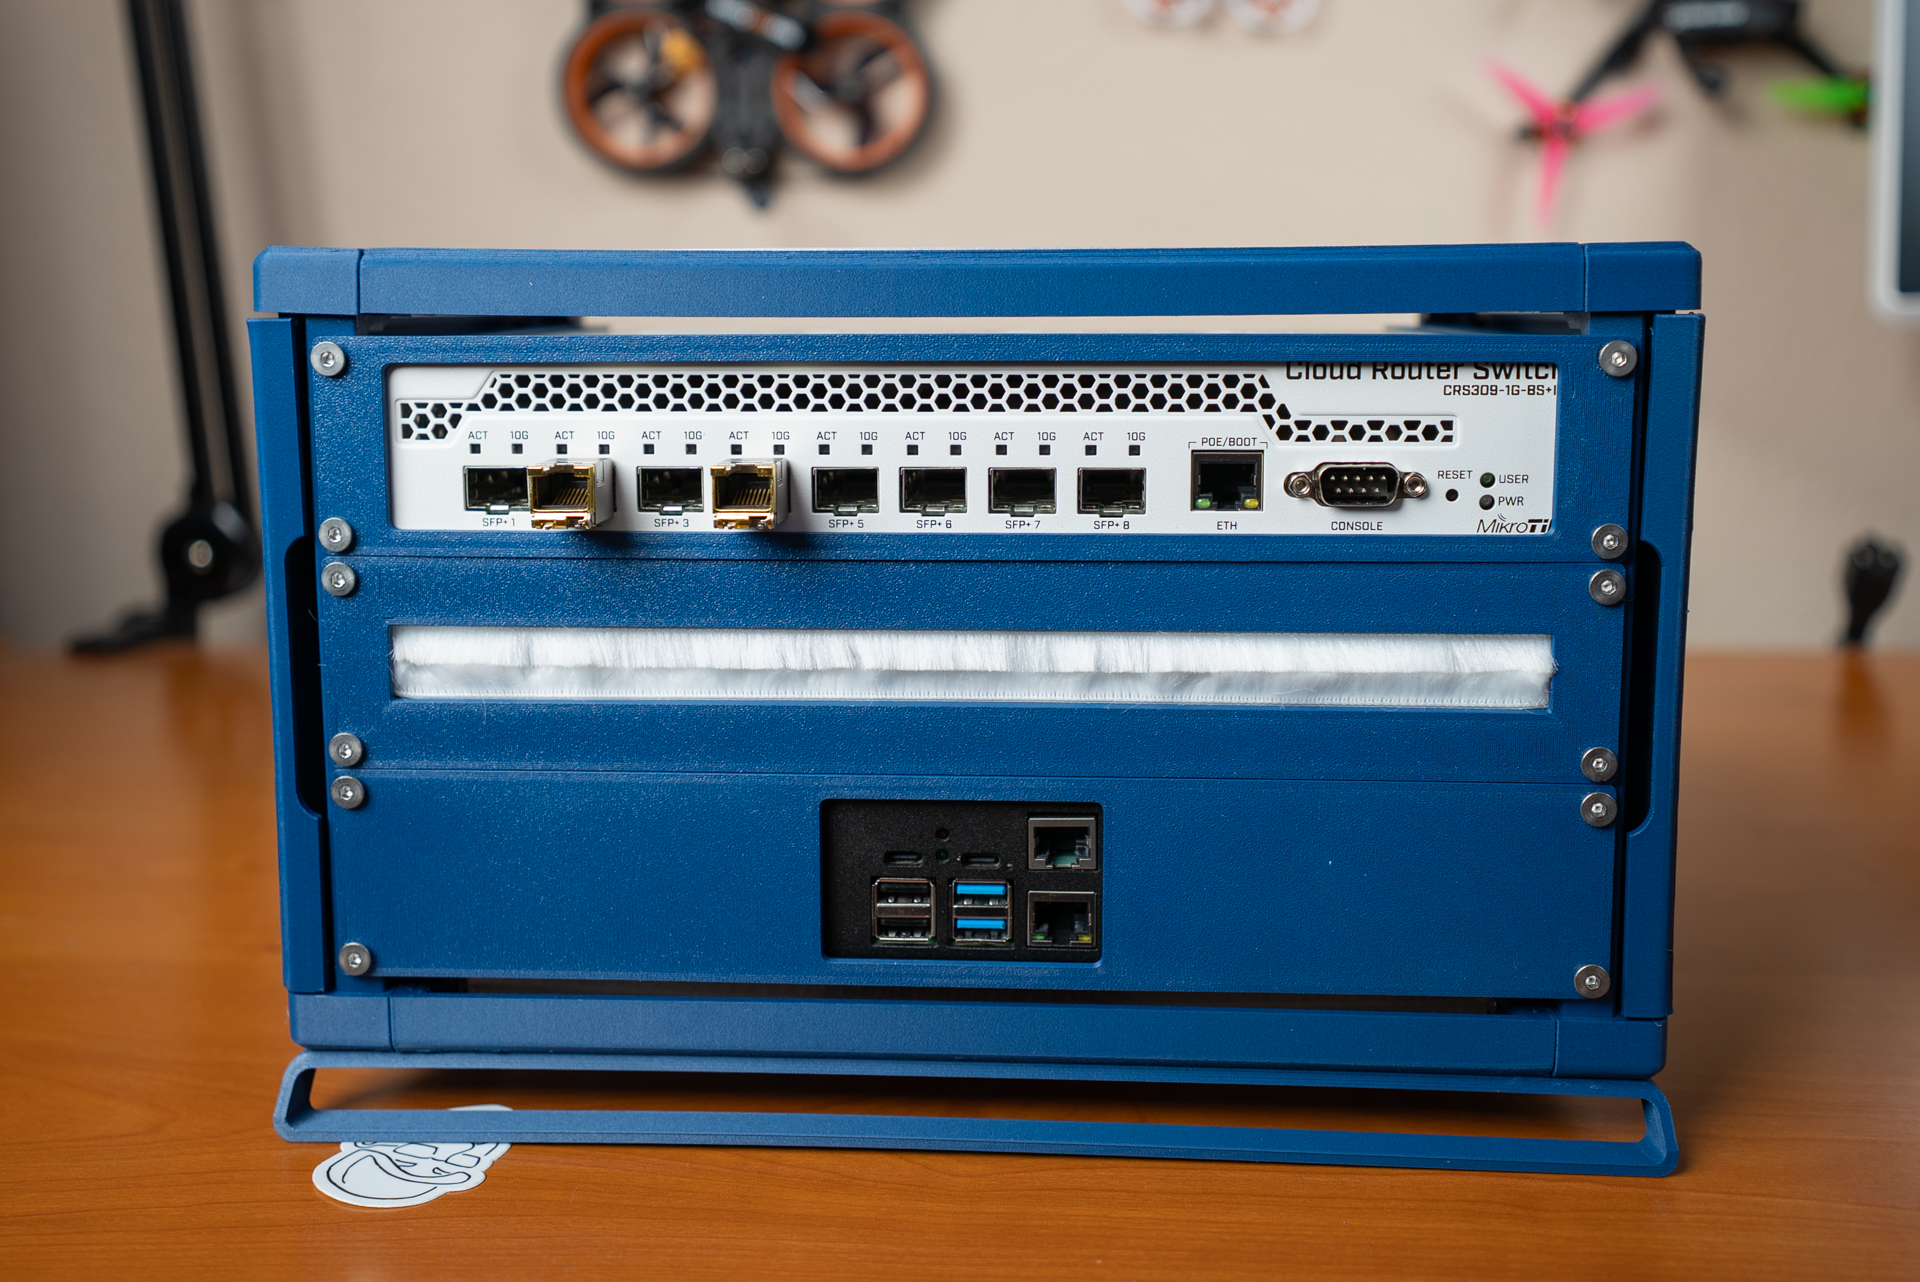
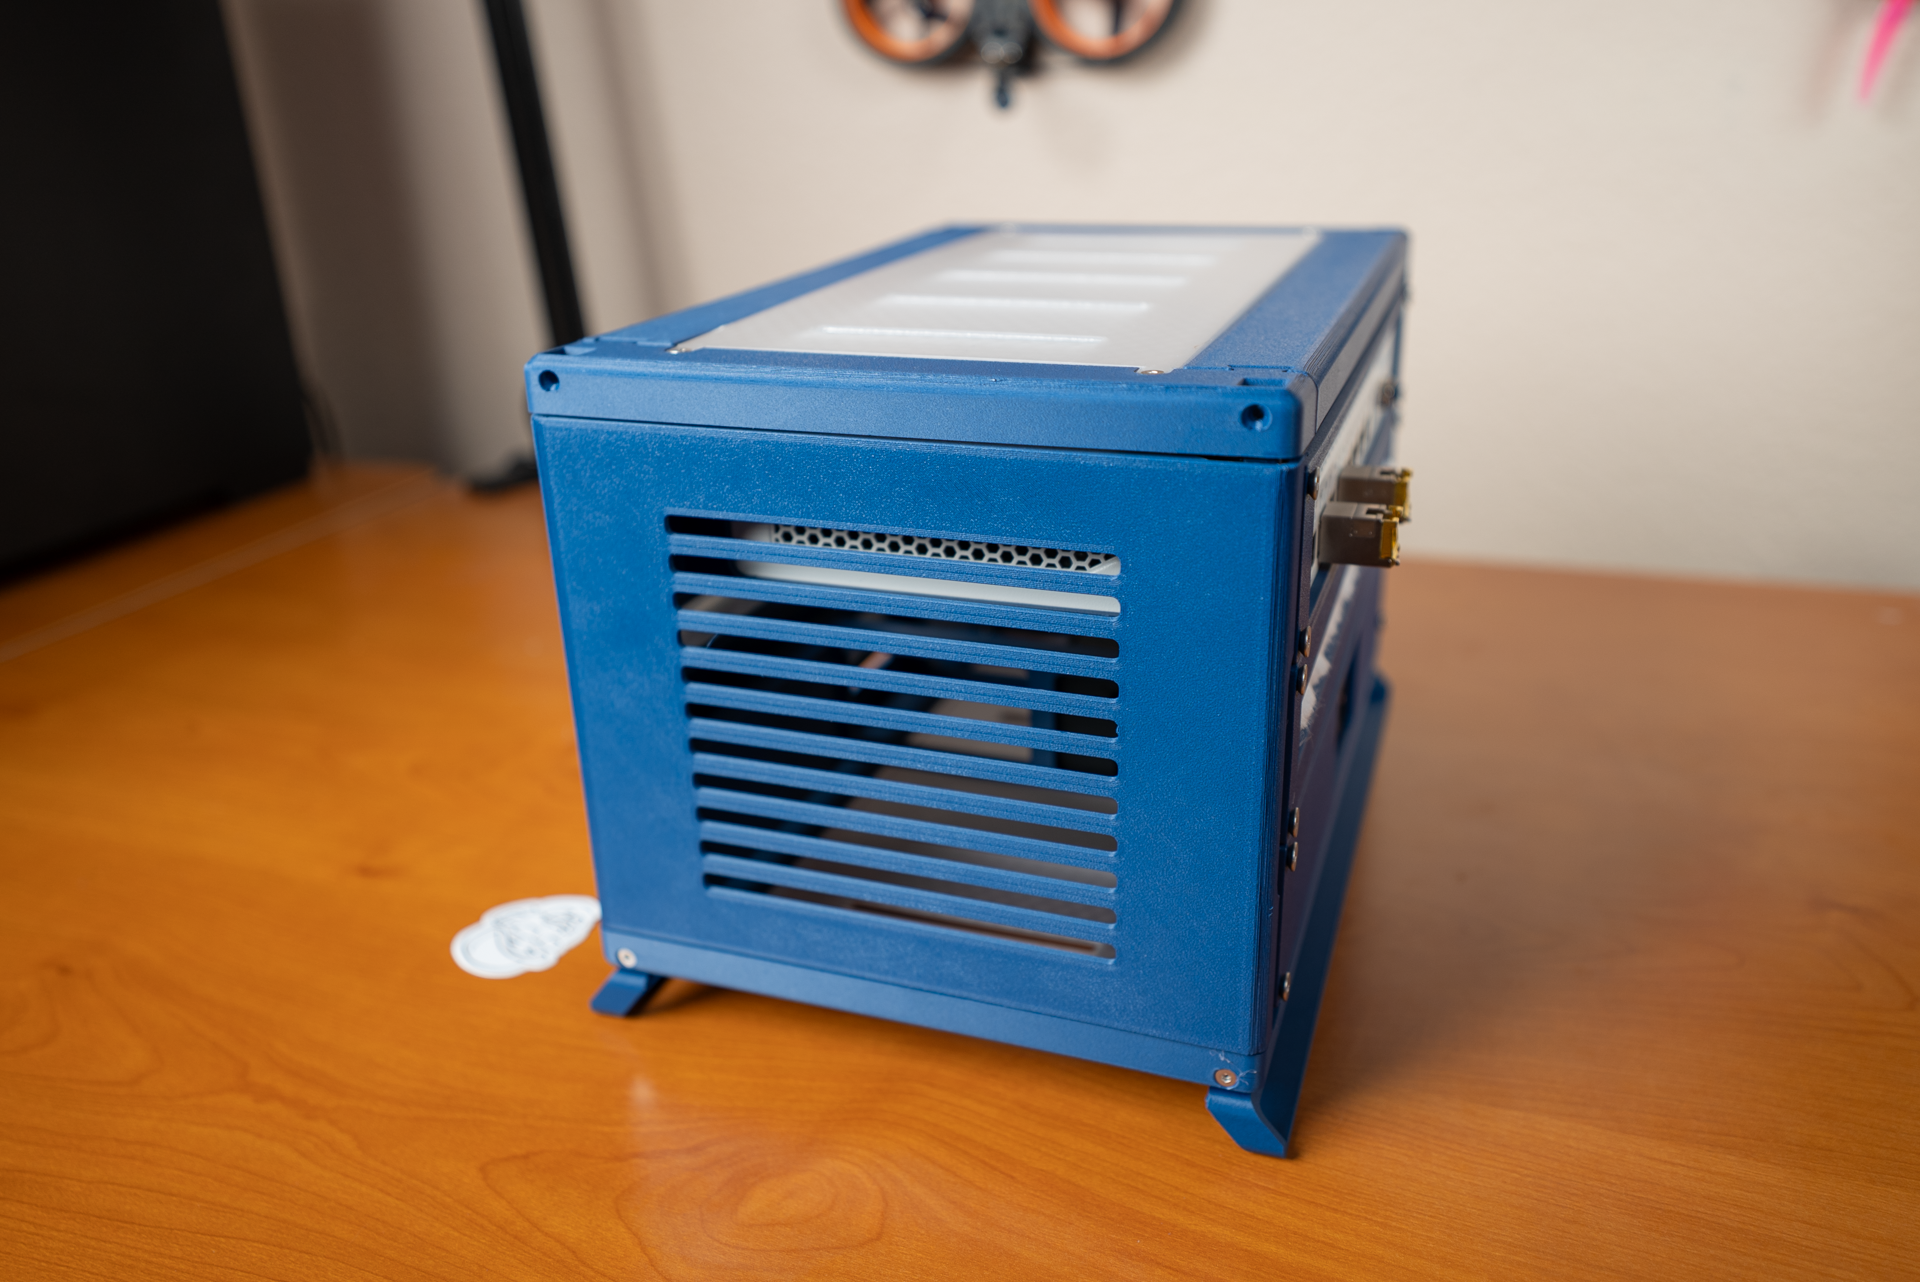
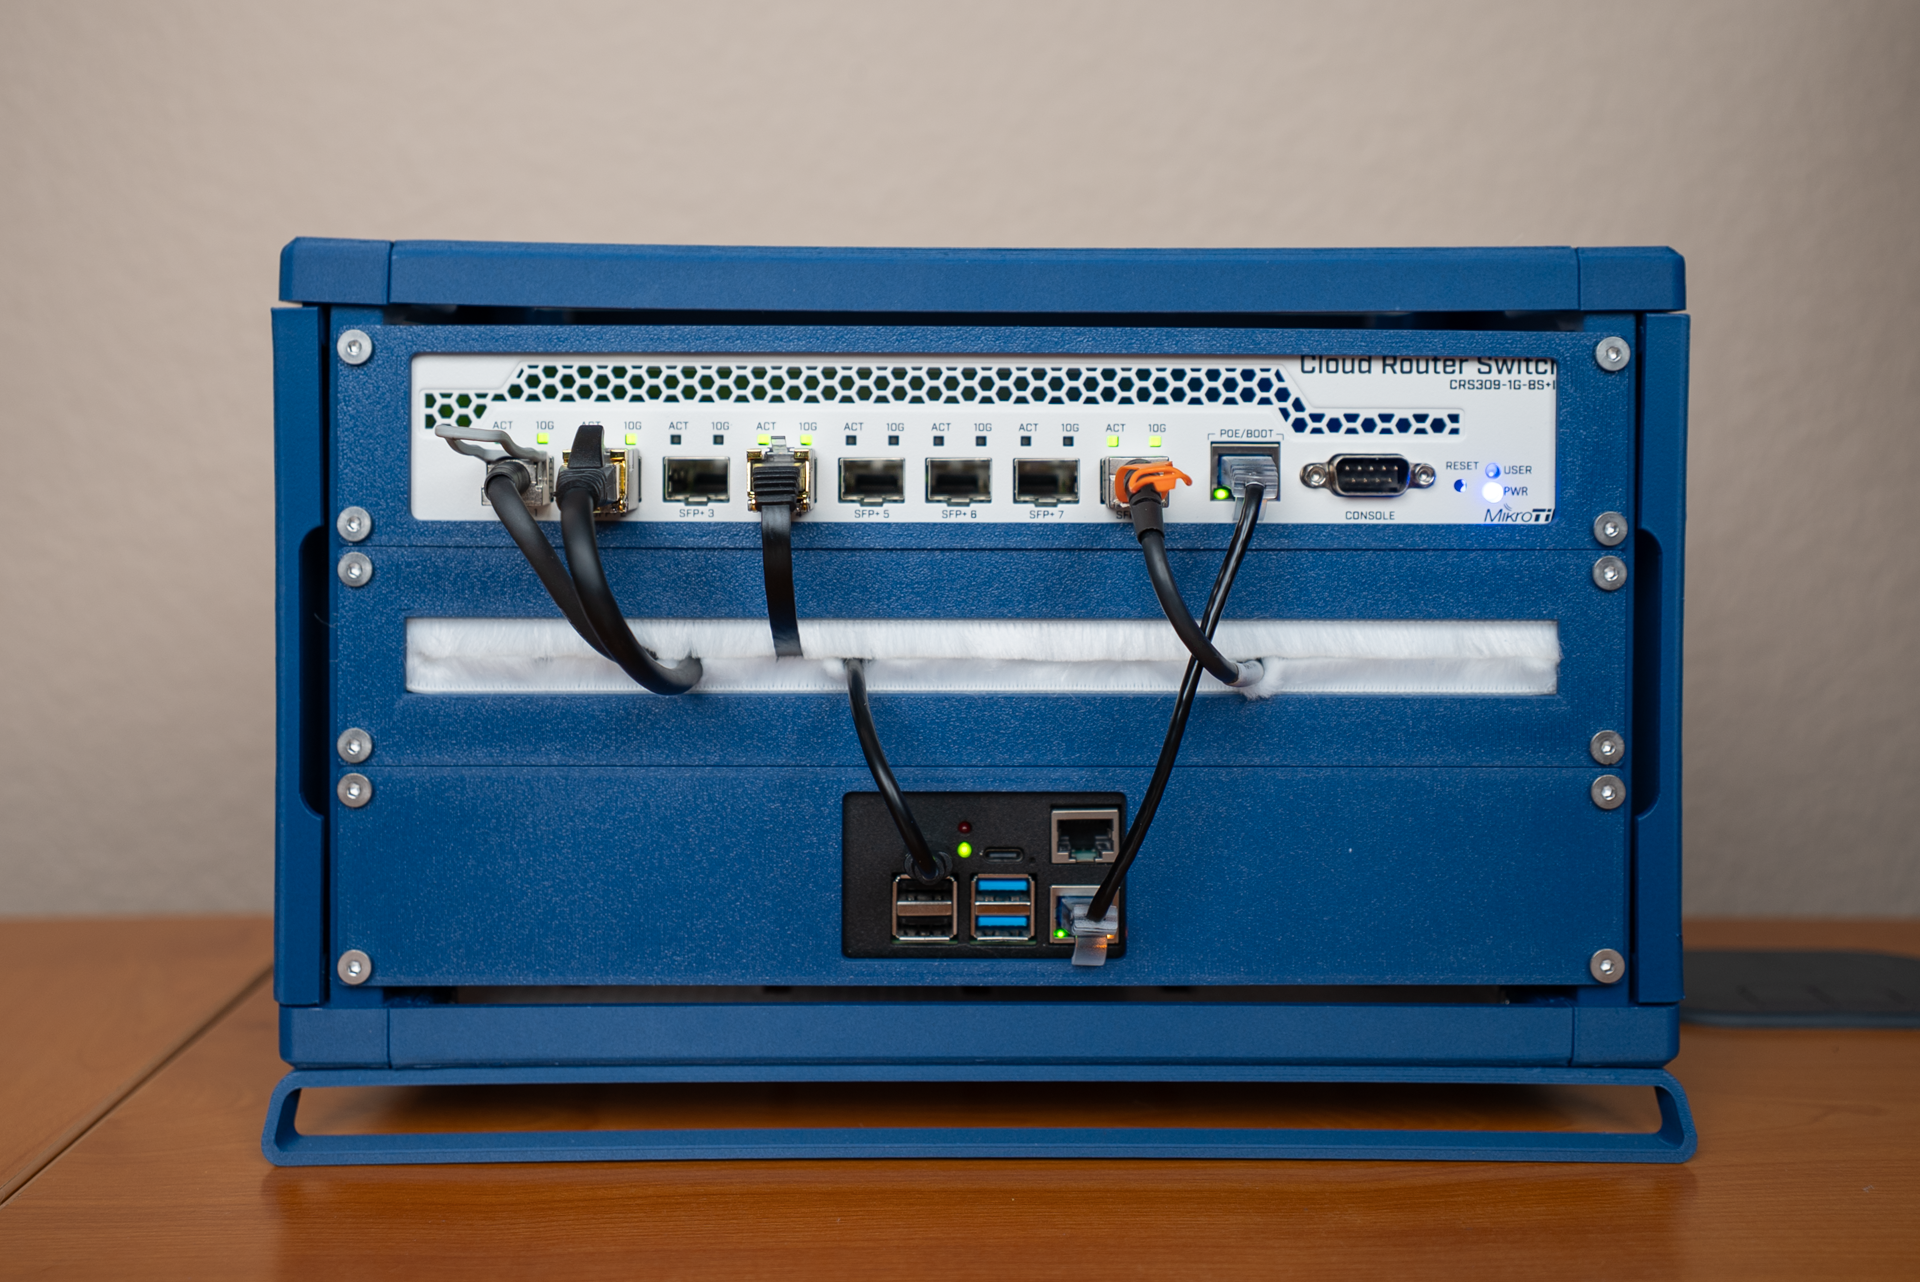
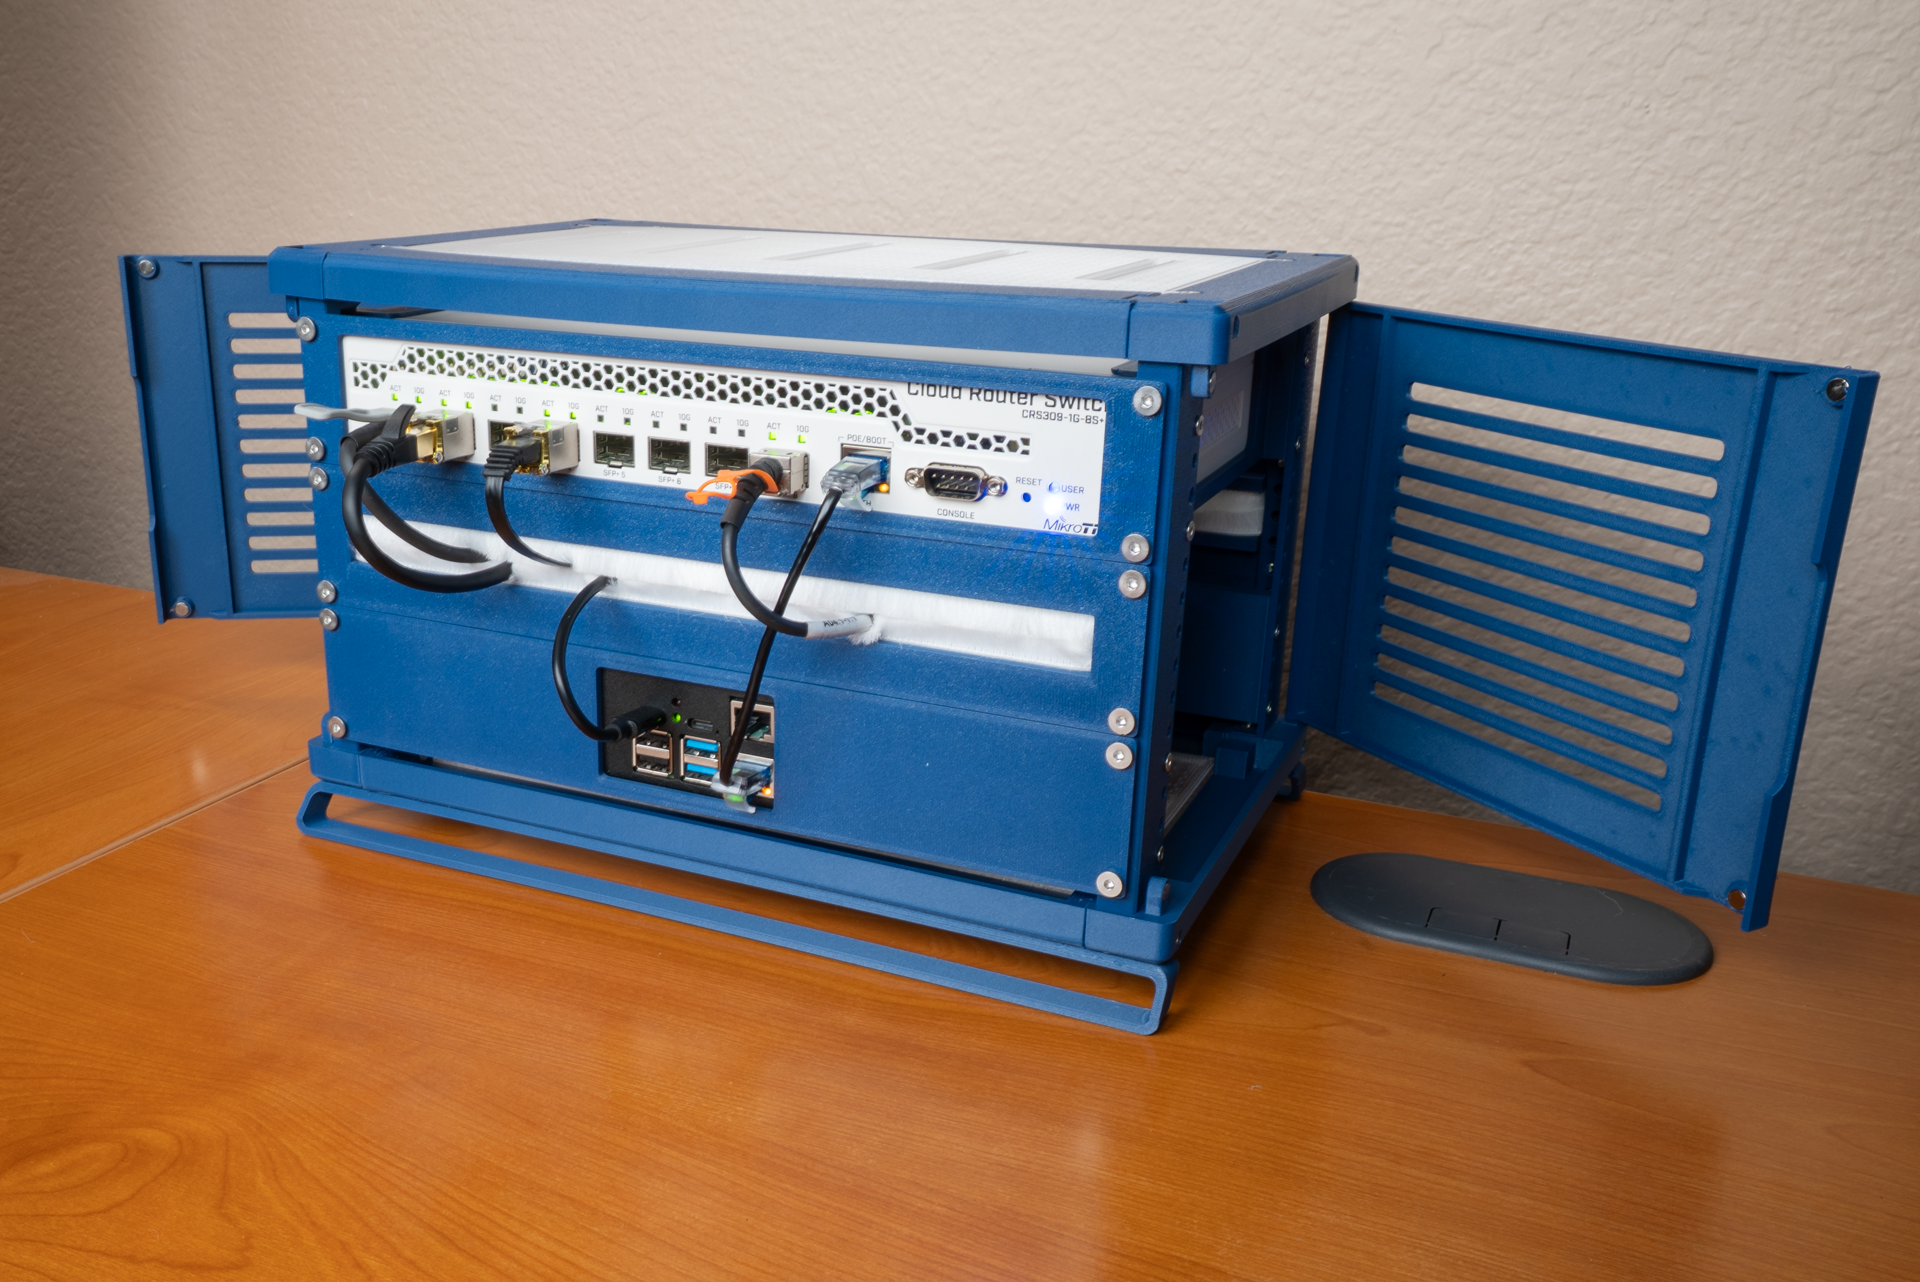
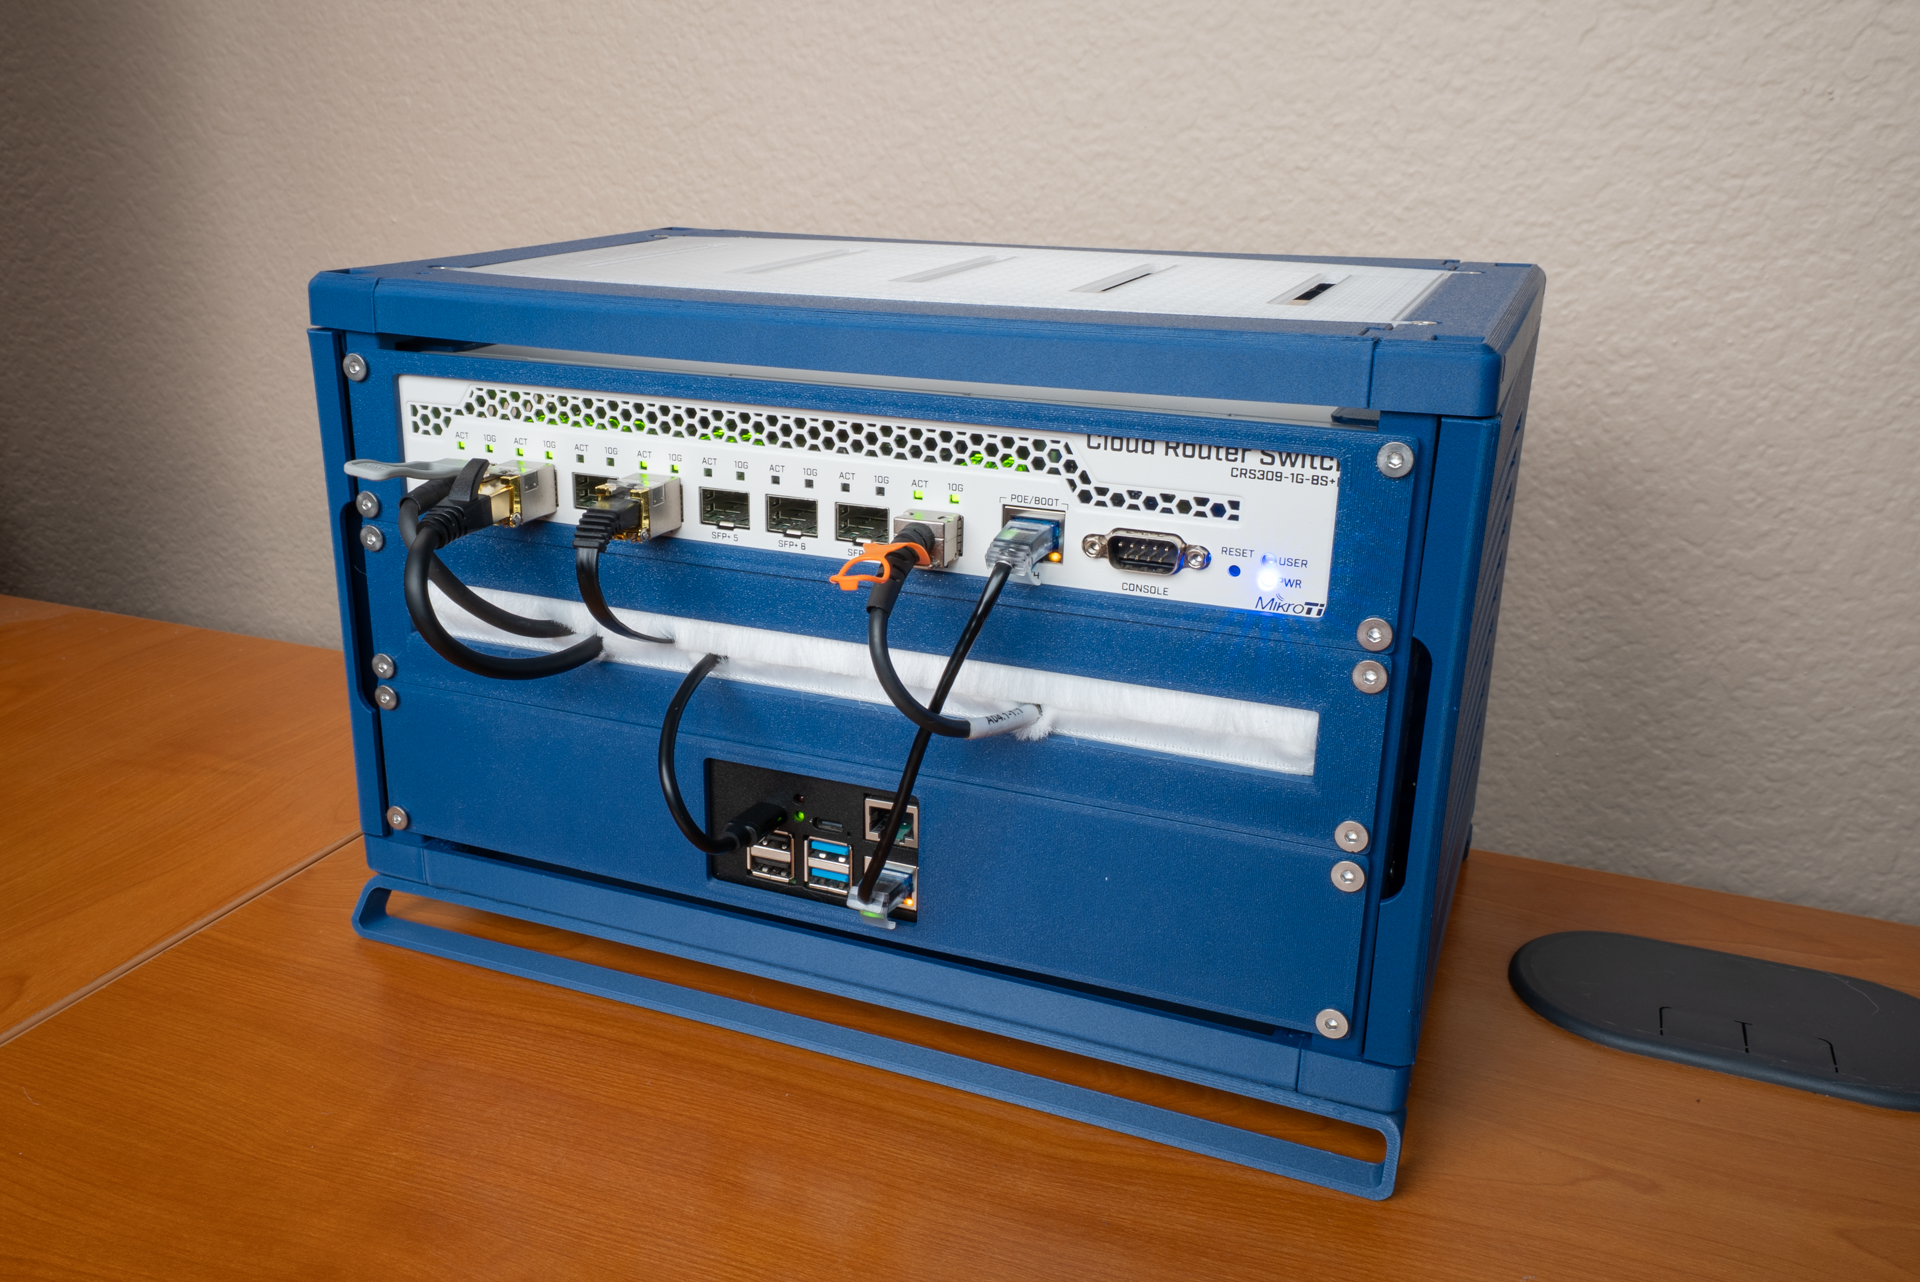
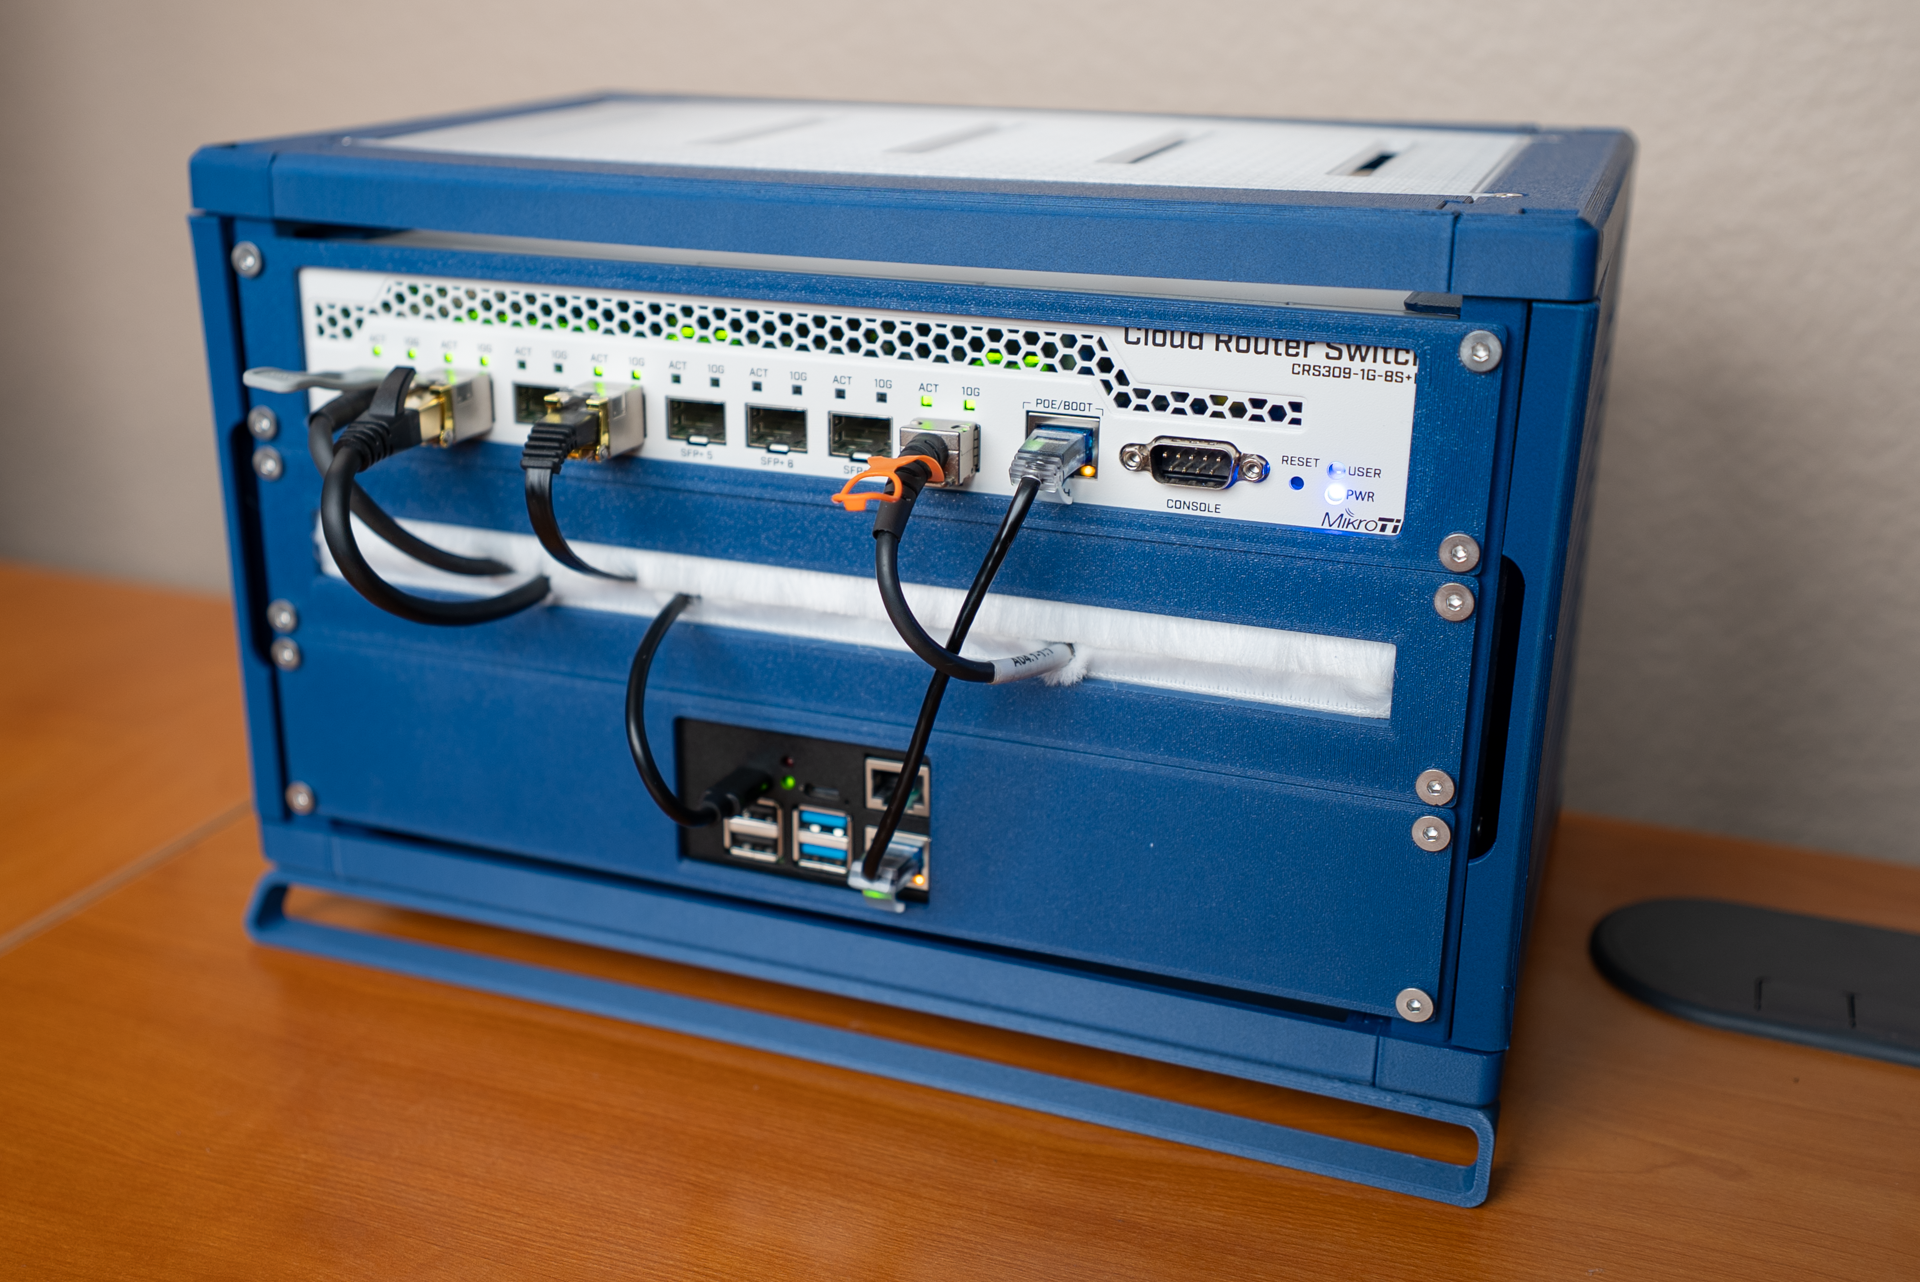
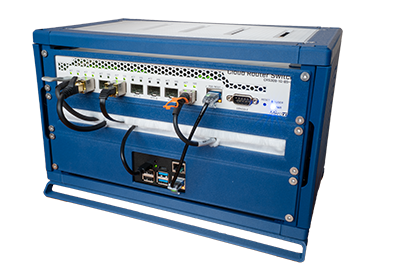
My Rackstack was going to be custom-designed to fit my MikroTik CRS309-1G-8S+, PiKVM v3, and include a brush strip panel for managing all the cables. I opted to use Rackstack’s enclosed box mounting system to hold my MikroTik CRS309-1G-8S+ and PiKVM v3.

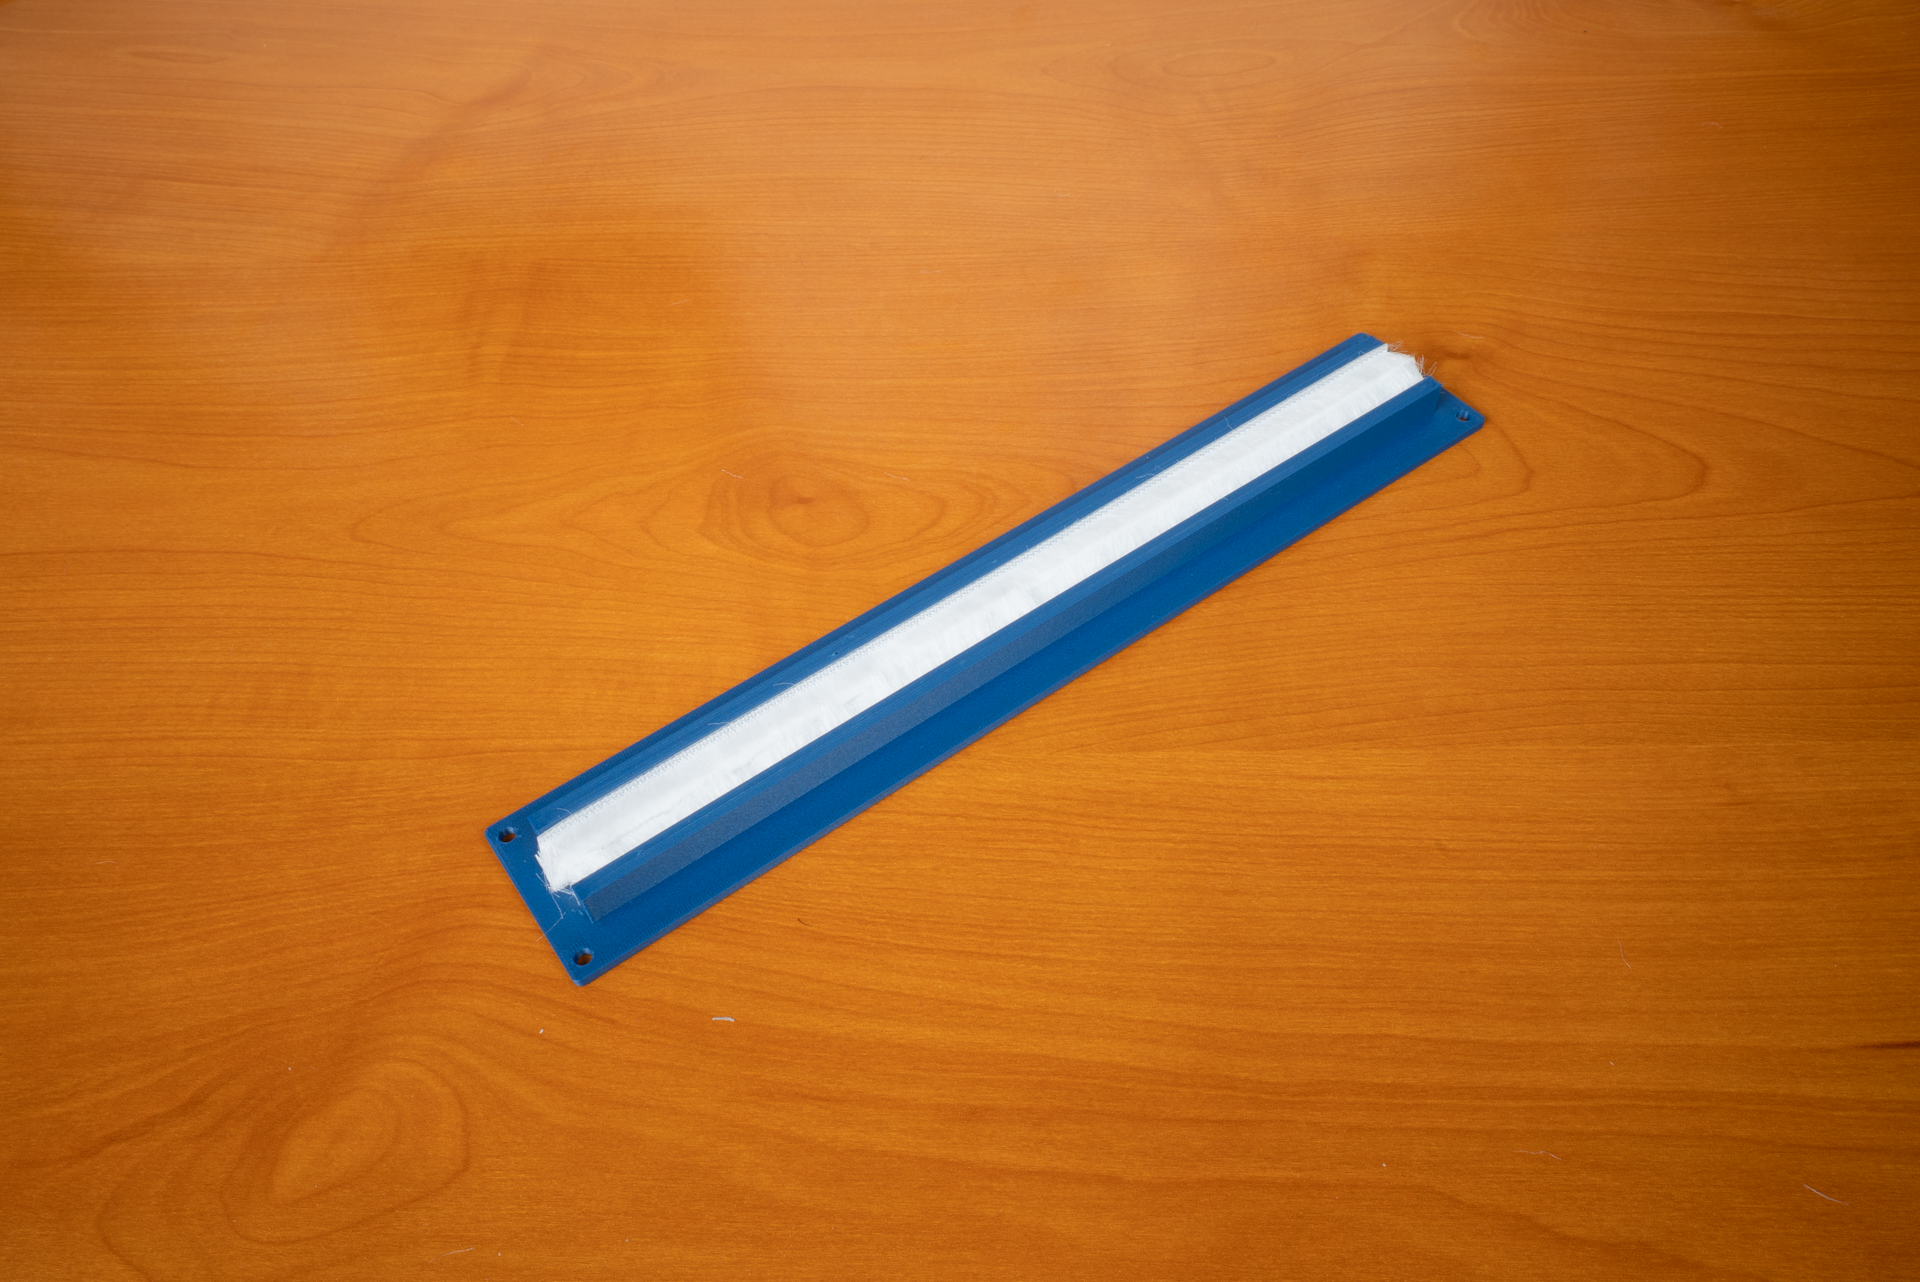
I didn’t see a model in the Rackstack project that I could use to hide my mess of cables. I had something like this 1U brush strip cable management panel in mind. Immediately, I thought this would be a fun model to design and contribute back to the project!
I wound up finding some adhesive weather stripping and designed a panel that you could affix the stripping to in order to create the brush strip panel I was after.
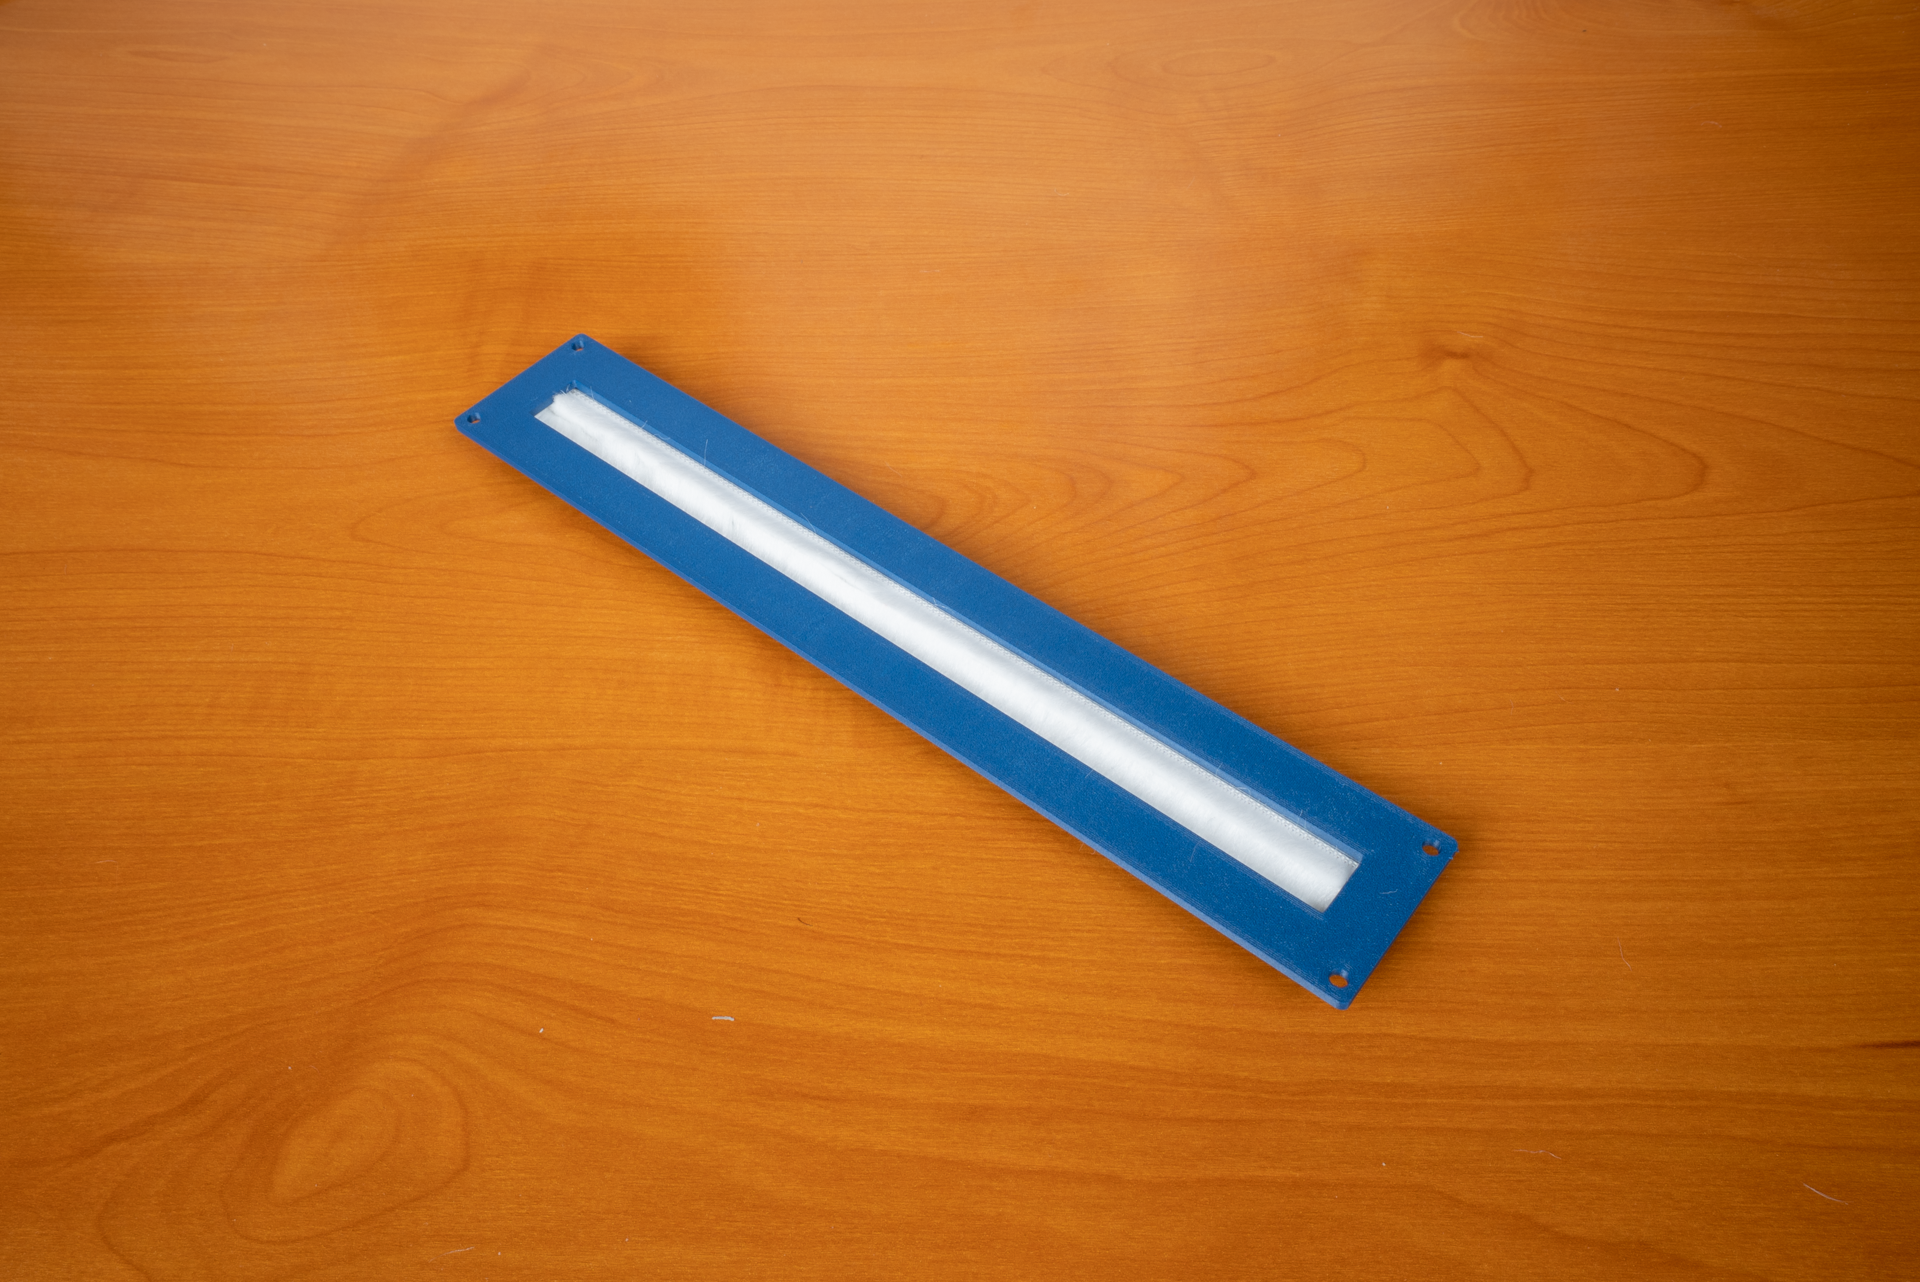
I did a little bit of work to make the design parametric enough to not only work with the Rackstack project, but also to accomodate panels that were a different height and using weather stripping that’s different dimensions than what I used. I wound up submitting a pull request (#38), and now this brush strip panel is part of the Rackstack project!
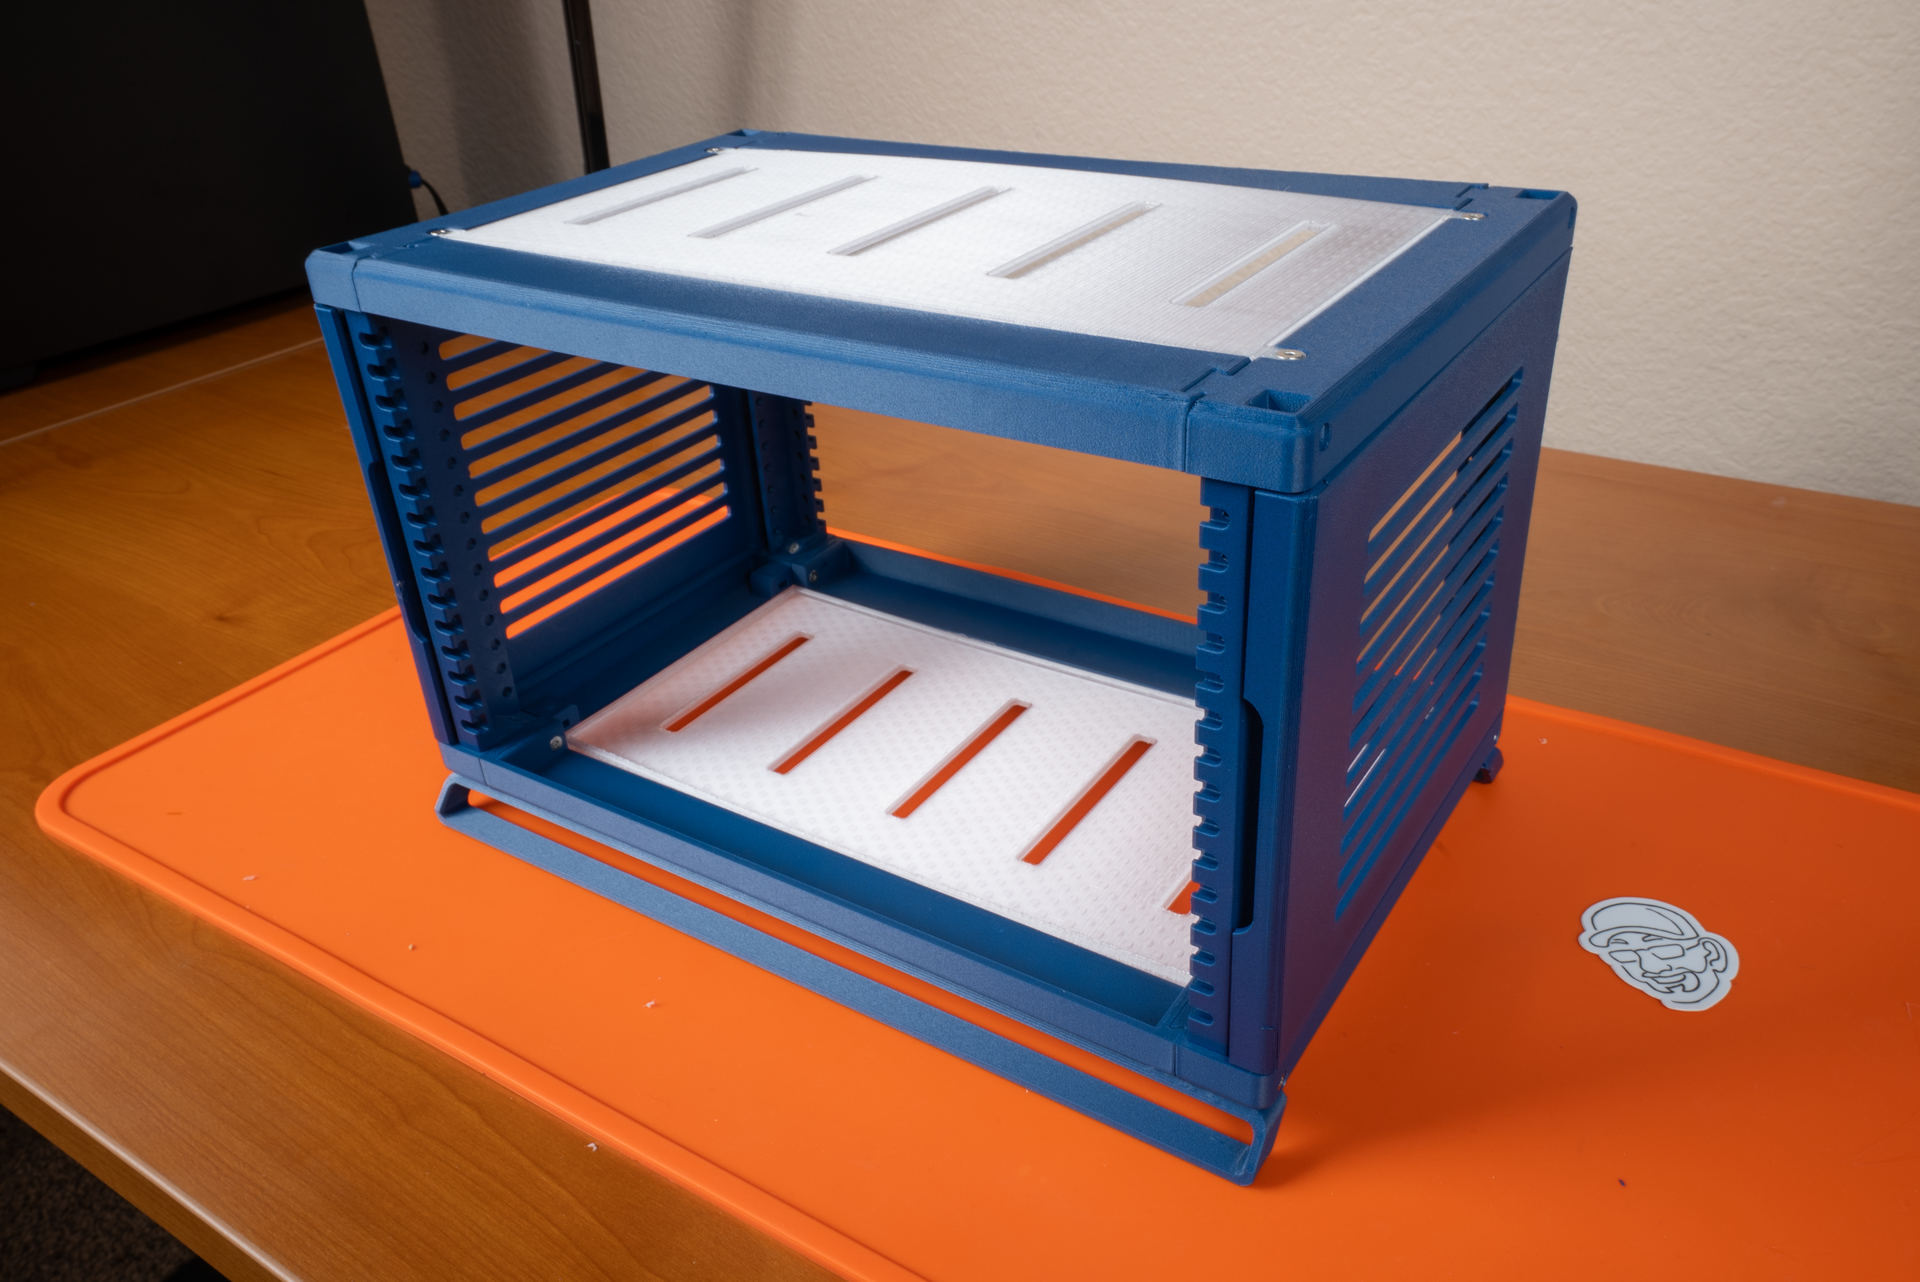
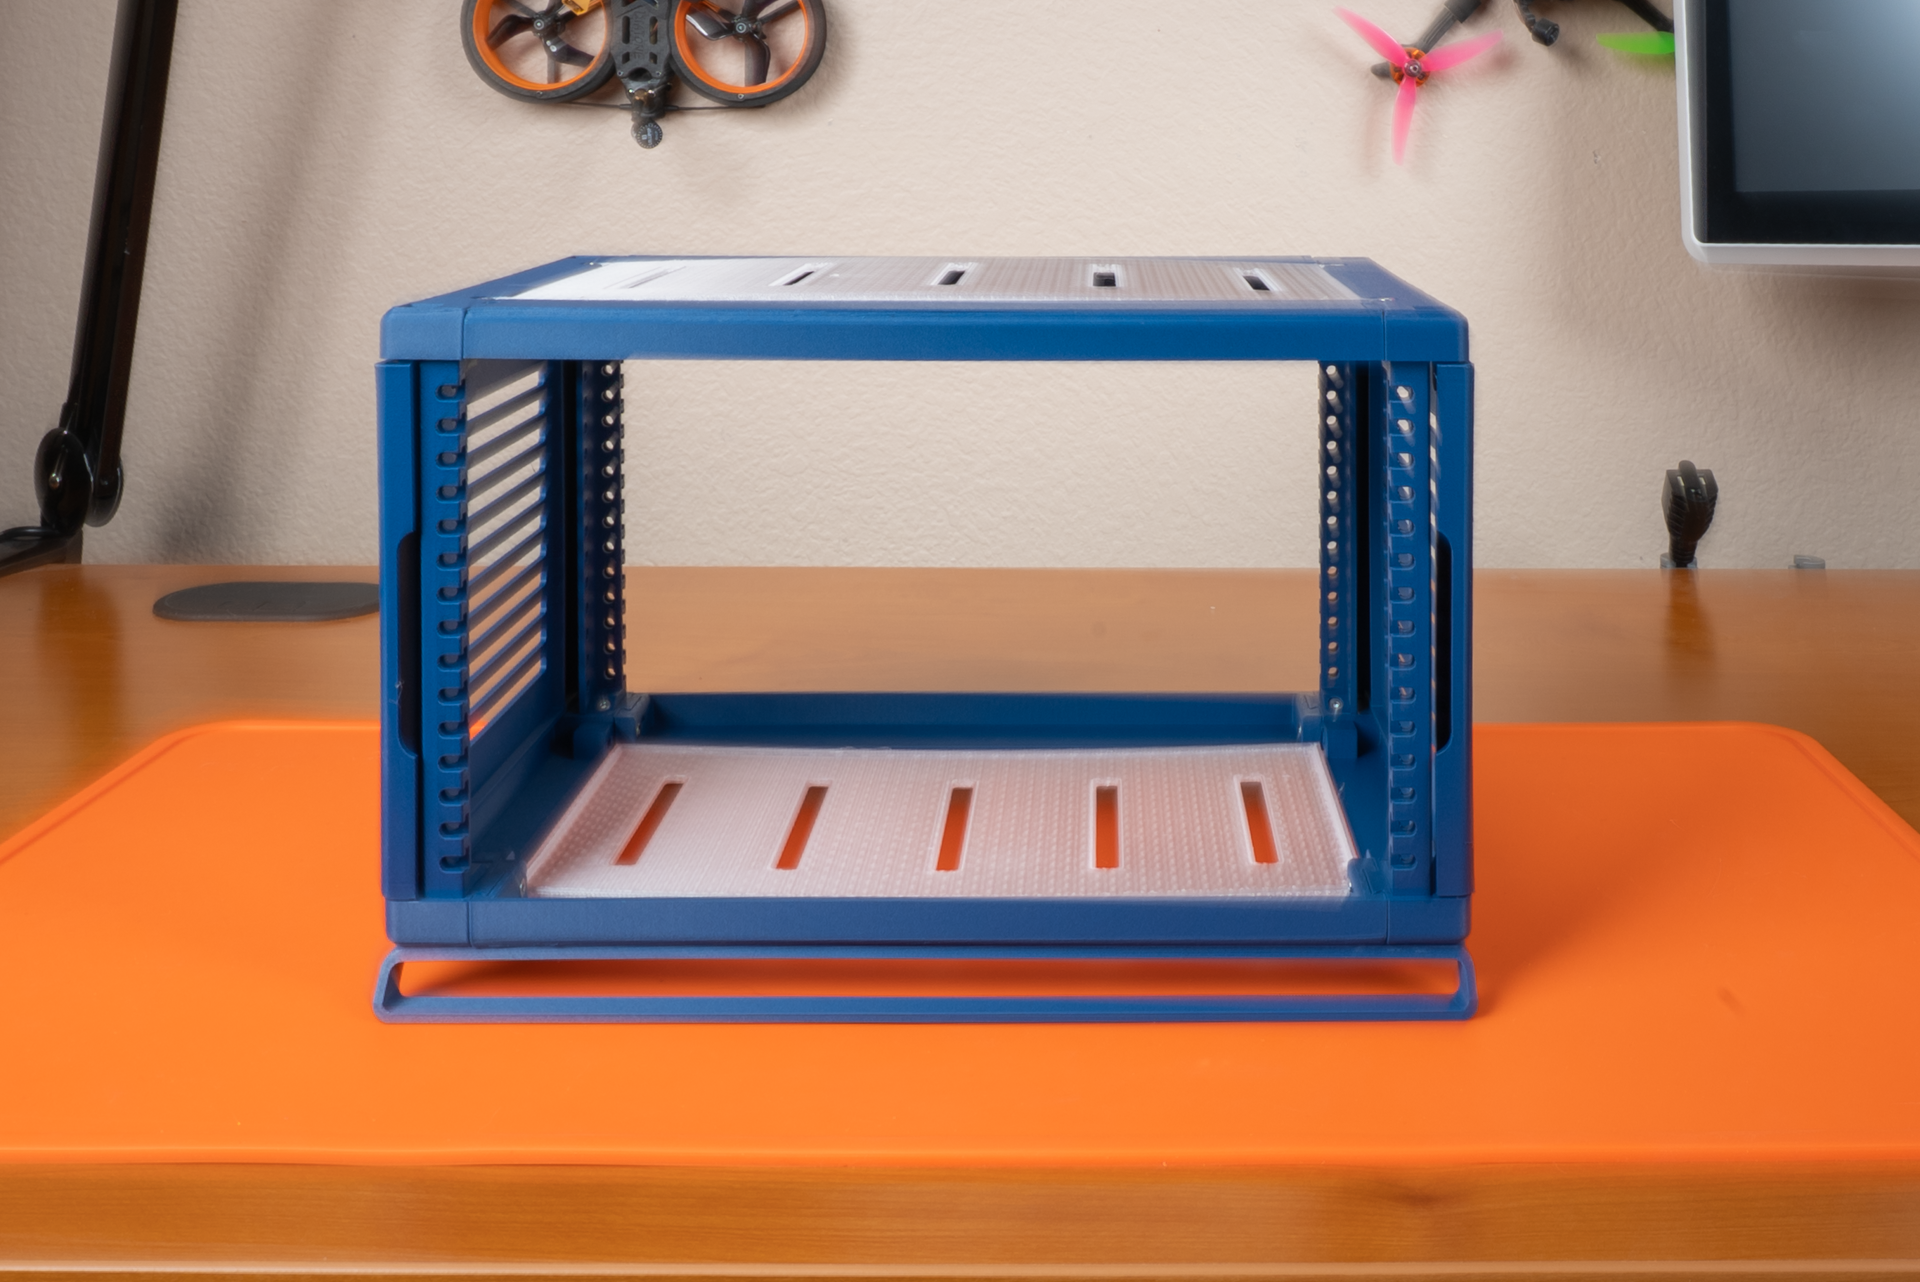
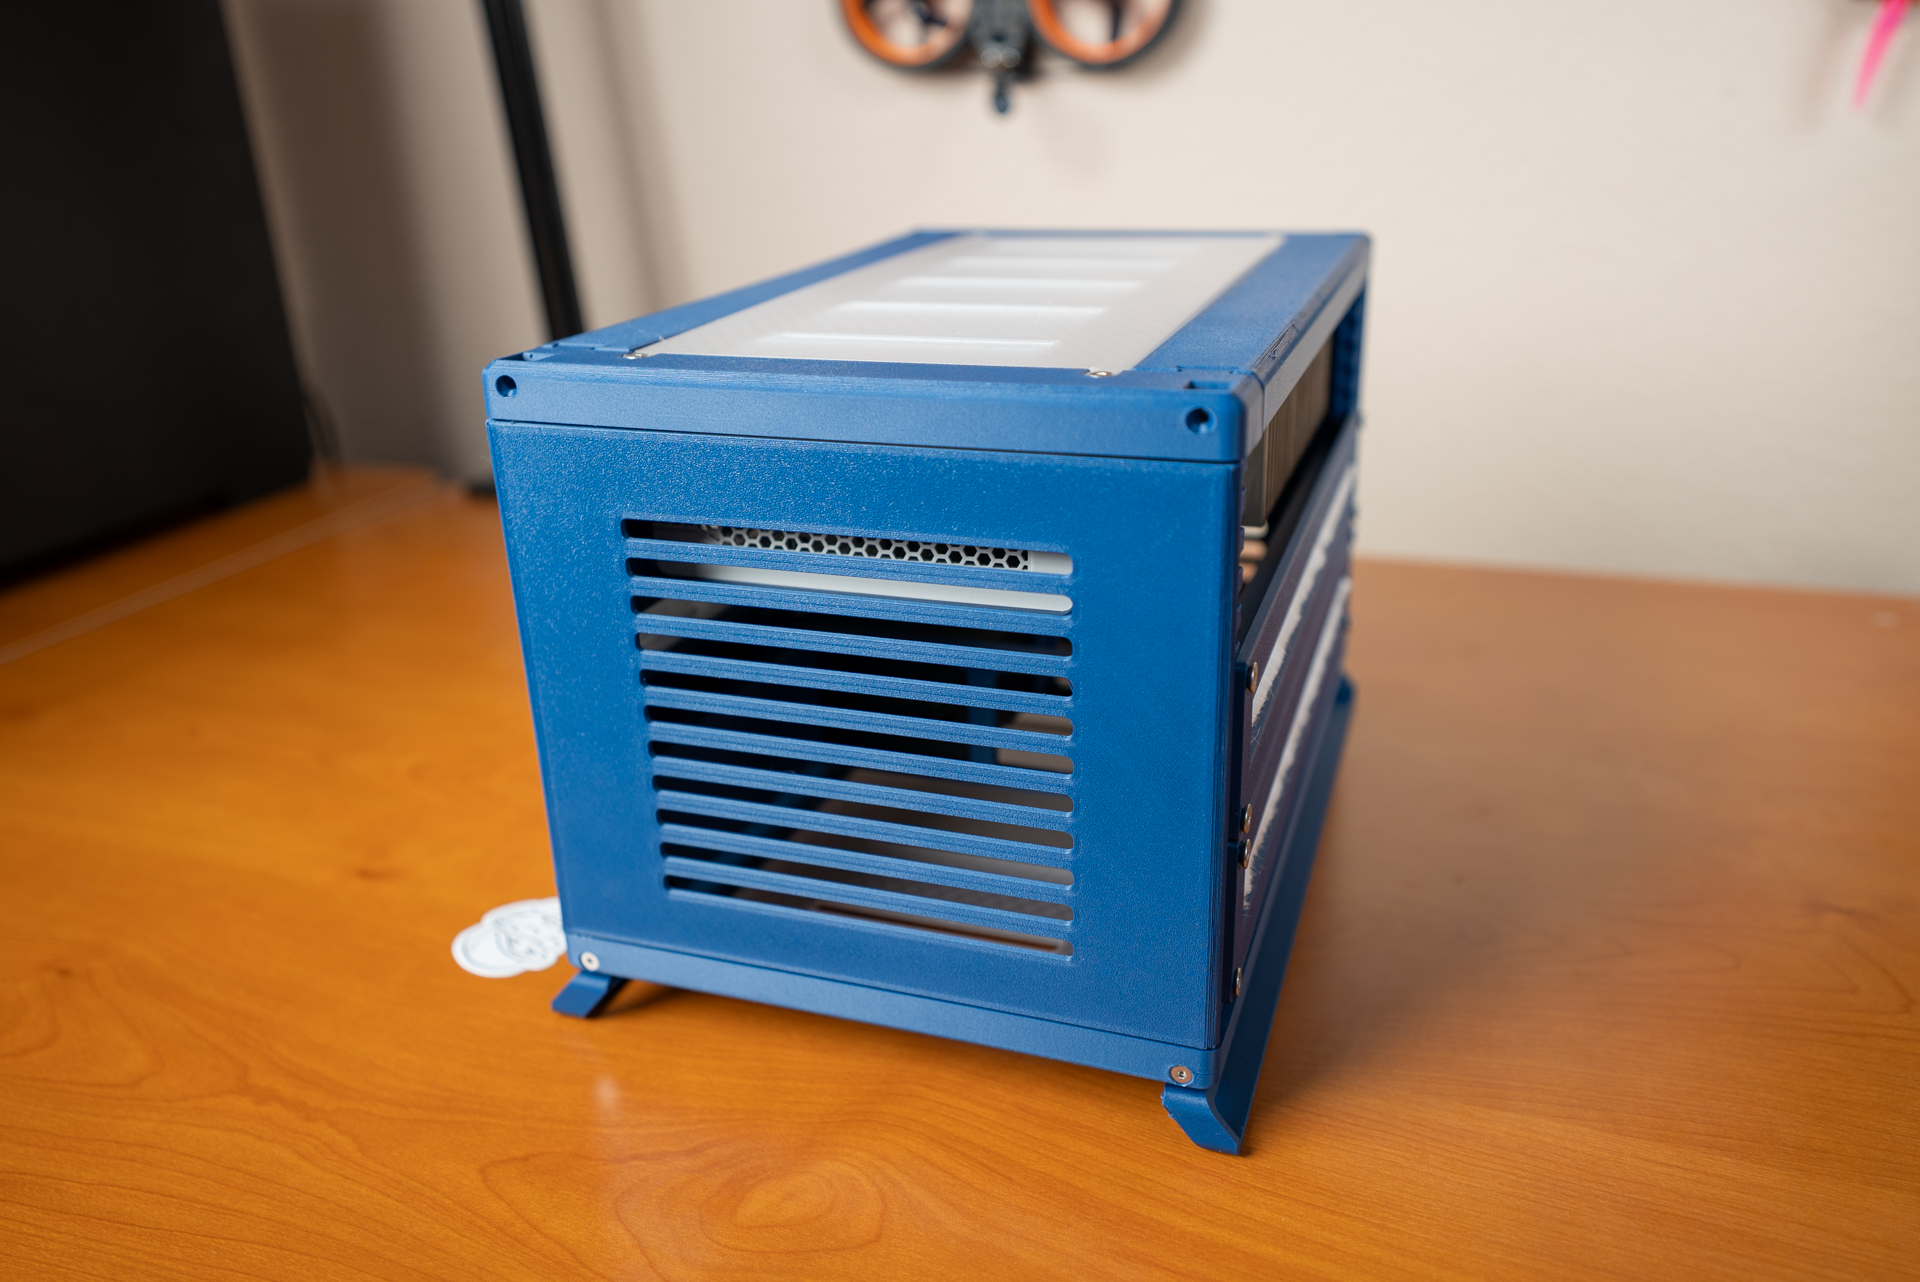
I wound up printing nearly all of my Rackstack out of Bambu Labs Indigo Blue PETG-CF except for the top and bottom panels, which were printed from Bambu Labs Clear PETG Transluscent, and I’m pretty ecstatic with how it turned out. The Rackstack looks fantastic on my desk.
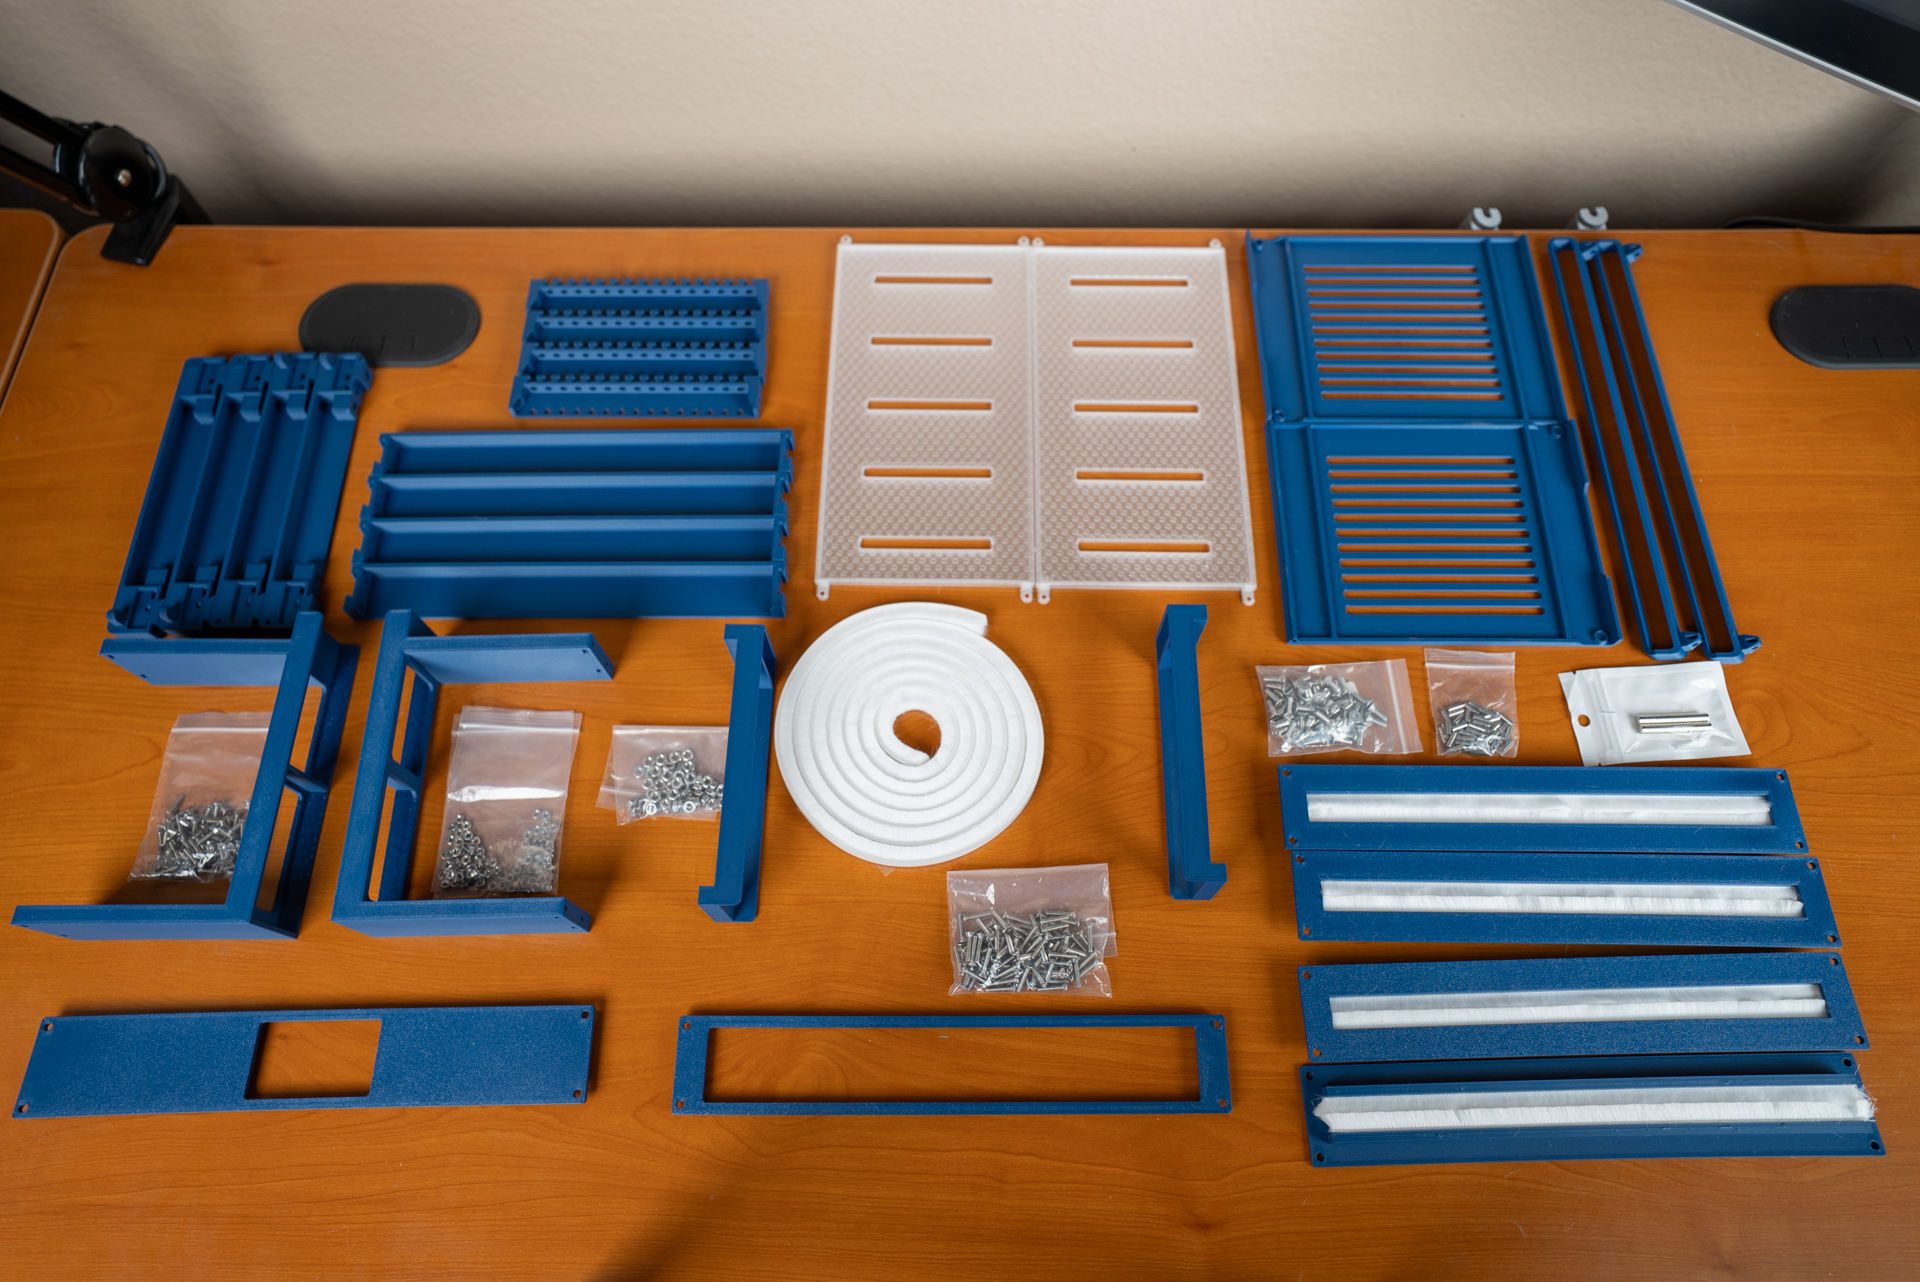


Some things which didn’t go as well as I would have hoped…
As great as the finished project is, I have a few not-so-great tidbits to share based on my experience, some of which caused me some very minor aggravation, mostly in the form of time waiting for additional 3D-printed jobs to complete.
- If you don’t want to measure, be ready to print more than once! For the PiKVM, I trusted specifications Google found me for the dimensions, and it wound up being far too tight. I wound up having to reprint both the brackets and front panel of the PiKVM’s enclosed box.
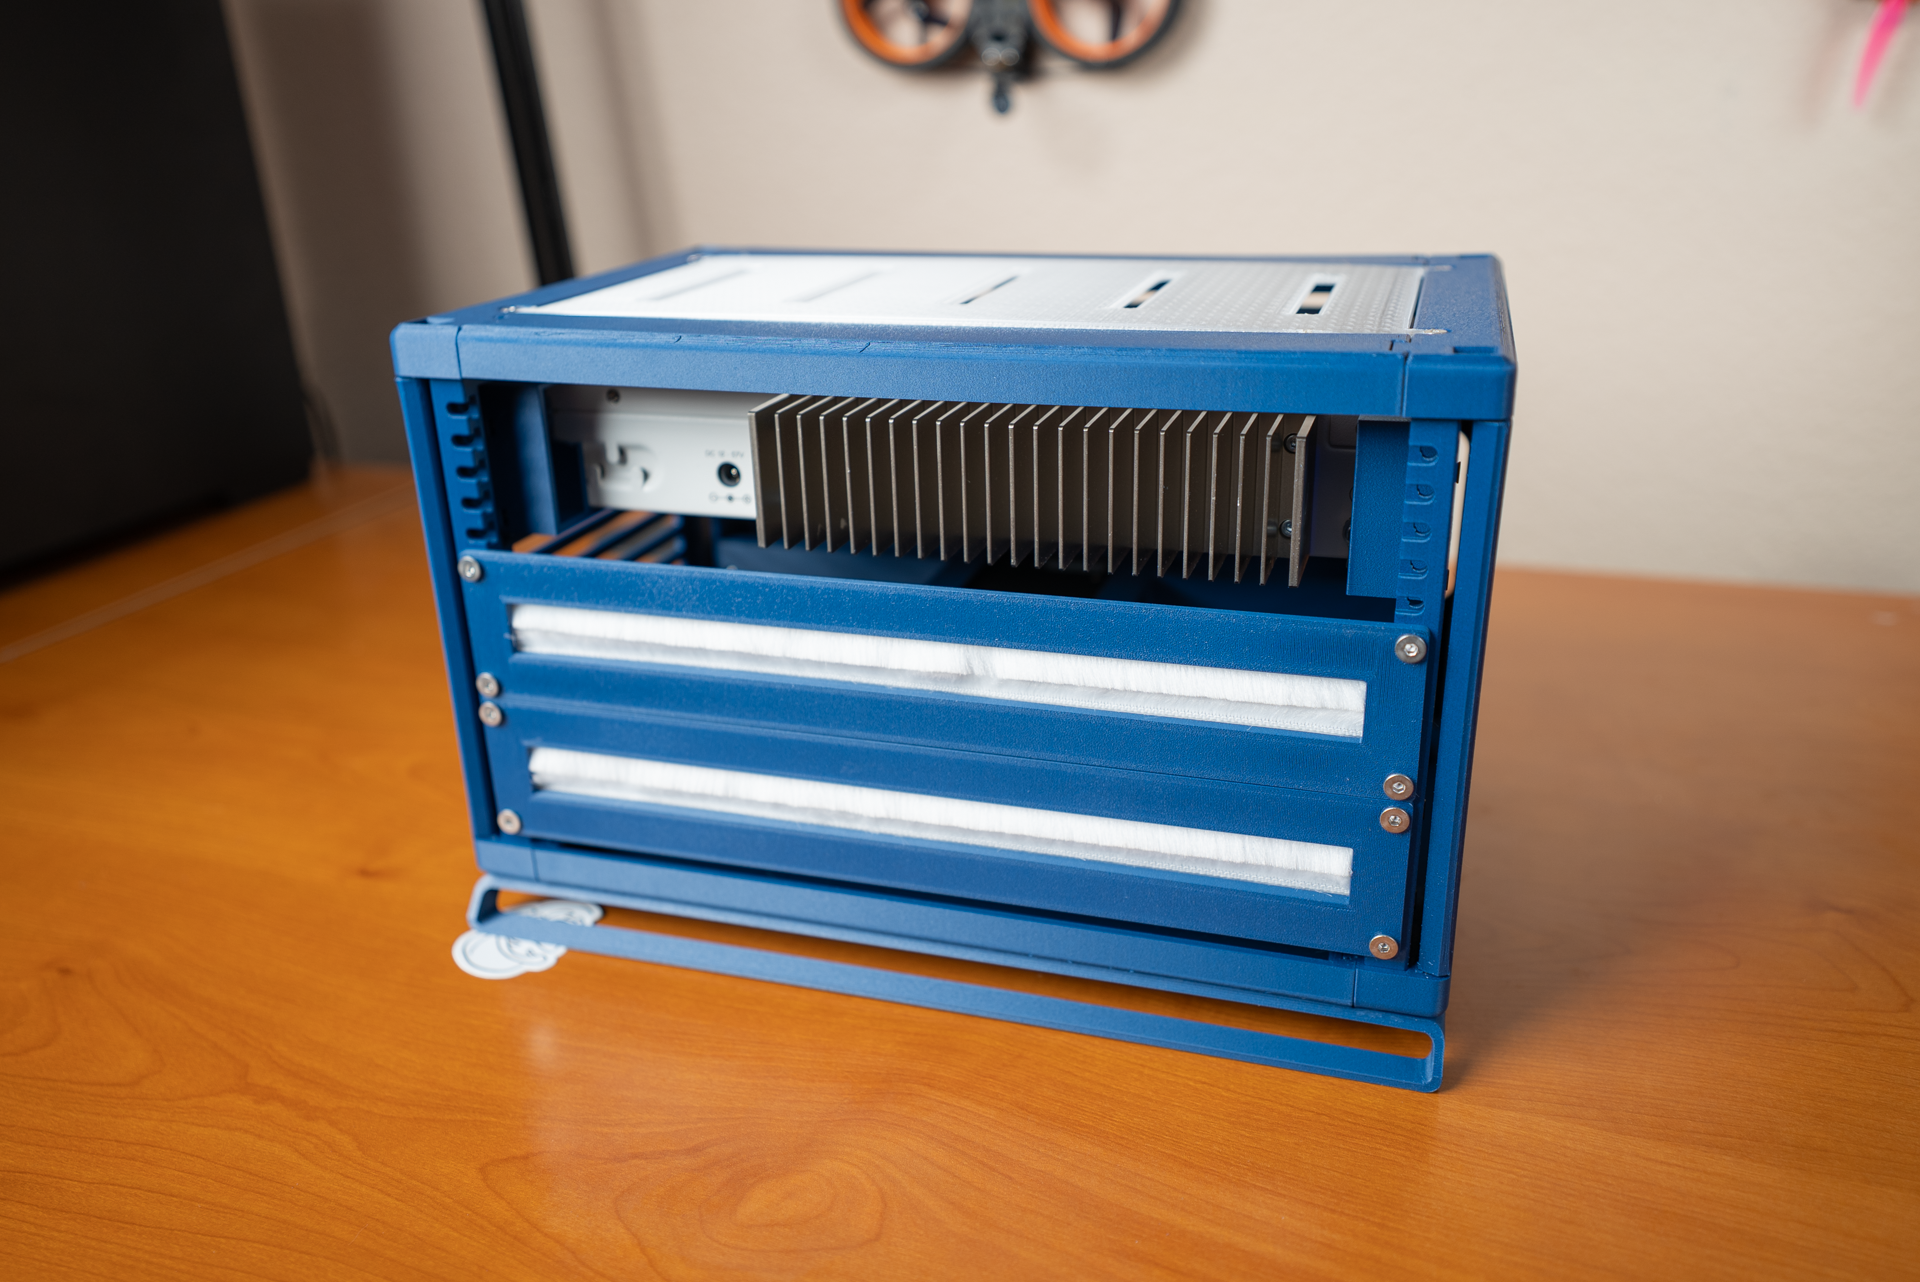
- Test fit before assembly: The switch wound up having a small wing nut on the back near the lower corner, and as a result, the wings of that wing nut interfered with the bracket of Rackstack’s enclosed box. Had I noticed this sooner, then I could’ve modified the STL instead of crudely trimming away excess plastic from that bracket.
- Enclosed box module may be a bad choice for smaller items? My PiKVM was small enough that it was a bit challenging to plug in all the cables that needed to be plugged in the back of it because all the plastic of the enclosed box’s side brackets. I love how it turned out, so I don’t mind that extra hassle now that it’s in my rearview mirror.
- Make sure to consider the size of your 3D printer’s printable area: I was right at the limit of my Bambu Lab’s X1C in at least two dimensions. I had to orient quite a few objects at a 45-degree angle just to get them to fit.
Most of these issues can be attributed to a lack of attention before I started sending objects to the printer. They’re ultimately my failures, and I’d like everyone to avoid them. None of these issues had significant consequences. .
You should design and print your own miniature rack using Rackstack!
If you’re thinking about building your very own miniature rack, then I think you should take a look at Rackstack. If you already have a 3D printer, I think this decision is a no-brainer. If you don’t have a 3D printer, I think it’s a bit more complicated, but I’d encourage you to buy a 3D printer instead of buying some other companies’ miniature rack components!
 I hopped on the DeskPi website, filled up my shopping cart full of pieces to build out something not-quite-equivalent to my Rackstack, and I was a bit astonished to find that I was over $250. A Bambu Labs A1 3D printer is $379 and is more than capable of printing every object that I needed for my Rackstack.
Buying a 3D printer, some filament, and some hardware (nuts, bolts, magnets, etc.) will put a bigger dent in your bank account. But the value of owning a 3D printer in the long term far exceeds whatever you’d buy from DeskPi, especially once you decide to switch things up in your miniature rack!
What do you all think? Which would you rather have, a few extra dollars in your bank account and a mini rack just like the ones you’ve already seen on Youtube? Or would you rather have a 3D printer and create a mini rack that you’ve customized to meet your needs exactly thanks to projects like Rackstack or Mod10? Let everyone know in the comments or join the Butter, What?! Discord server and participate in the discussion.