For a long time, I’ve been out of HDMI inputs on my television; the Fire TV, PlayStation 4, Steam Link, Google Chromecast, Blu-ray player, and my cable box were too much for my poor television to handle all at once. Never mind the other random gaming consoles and devices that get dragged out of storage from time to time. For a long time, I had an inexpensive HDMI switchbox which I’d routed all the gaming devices through, but I didn’t really like that I had added yet another device to my home entertainment setup. When things went wrong, and they often did, I was muttering expletives and juggling between 3 and 5 remotes to get what I wanted output to the television.
Out of frustration one time, I exclaimed “I wish I could just consolidate down a couple of these devices!” and unwittingly sowed the seed for a new blog topic and computer build–a Home Theater PC!
Needs
Ultimately, my lack of HDMI inputs and resistance to buying another HDMI switchbox or even a fancier TV is what set me down on this path. My most basic need was pretty plain: find a way to consolidate at least two devices down into the home theater PC (HTPC). At the very least, I wanted to replicate the functionality of at least two of my devices inside the HTPC. Additionally, my family has been keeping in touch with our extended family via Google Hangouts since the birth of my son. I figured as long as I was adding PC hardware to my entertainment center, I may as well make it so that we could do these Hangouts from our own couch instead of cramped around one of our desktop PCs, or worse, our smart phones.
The Objective
Ultimately, I decided that the Steam Link and Blu-ray player were the best two devices to consolidate into my HTPC. Other good candidates for consolidation were the Chromecast and FireTV. Having done a bit of initial investigation, it seemed like Kodi was going to be just what I wanted to accomplish my primary objective. Beyond my primary objective, Kodi’s extensive add-ons library also seemed like it might be able to potentially add the functionality of other devices. Even better, the extensive Kodi Add-ons library promised to add all sorts of functionality to my home theater that I hadn’t even thought of yet.
Hardware
Normally in my blogs like this, I dive headfirst into the hardware in painstaking detail, justifying the choices I made. While I think that the hardware is quite important, I think the focus of an HTPC build is the software behind it. Nevertheless, I still obsessed a bit over the hardware. In picking out my components, I had these few loose requirements in mind:
- I wanted it to look like it fit into my entertainment center without seeming obtrusive or like it didn’t belong.
- It needed an HDMI out.
- The hardware needed to be powerful enough to natively run some games on its own.
- Whatever games it couldn’t run on its own, it needed to have the option of streaming others from my gaming PC.
Case and Power Supply
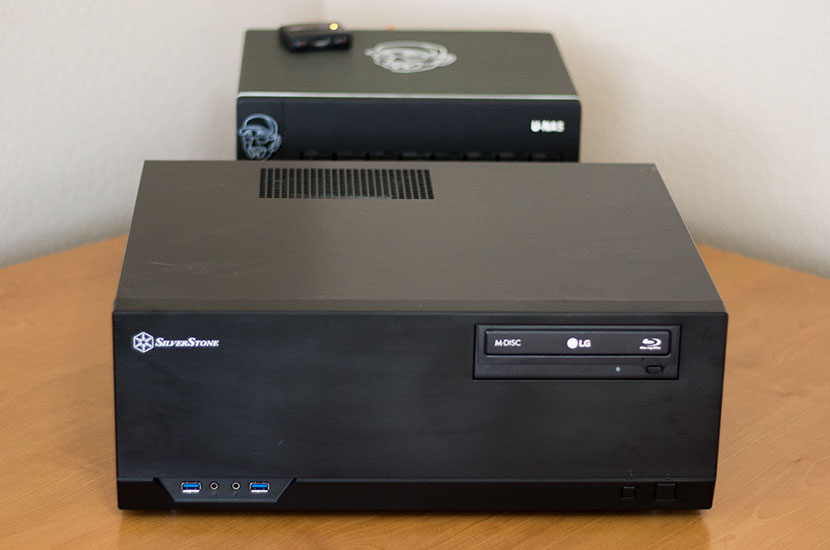
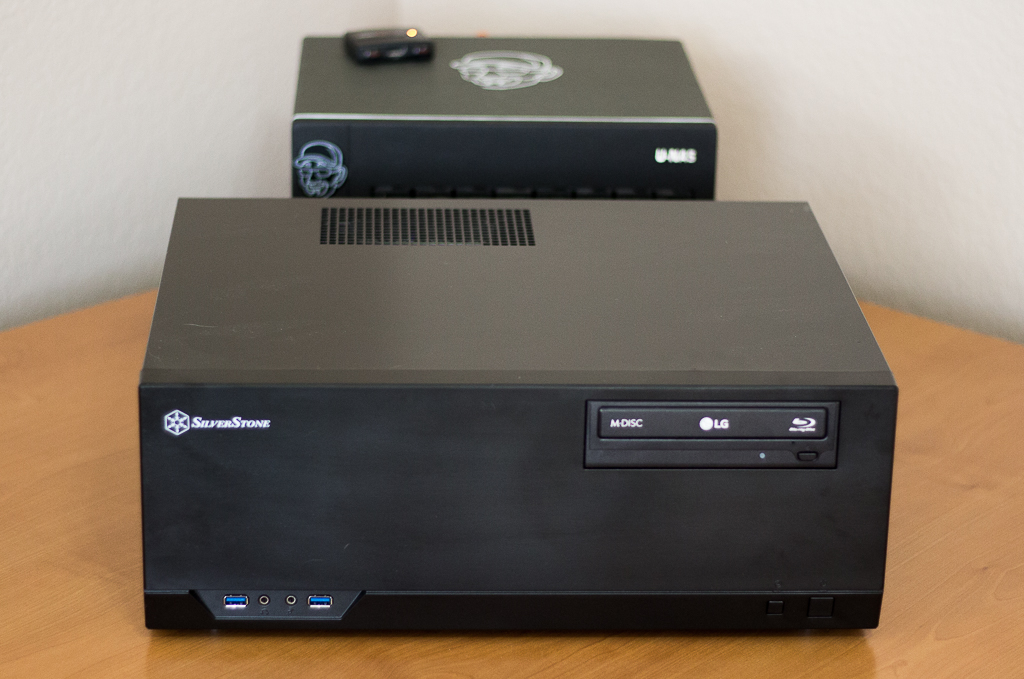
 Considering my entertainment center’s layout, the case found itself scaling up the importance list. I had a very specifically-sized cubby in the entertainment center and I wound up deciding that I wanted a basic case without any fancy doors to hide my access to an optical drive. It was also important to me that the case had two front-facing USB ports for an infrared receiver and possible Bluetooth adapter.
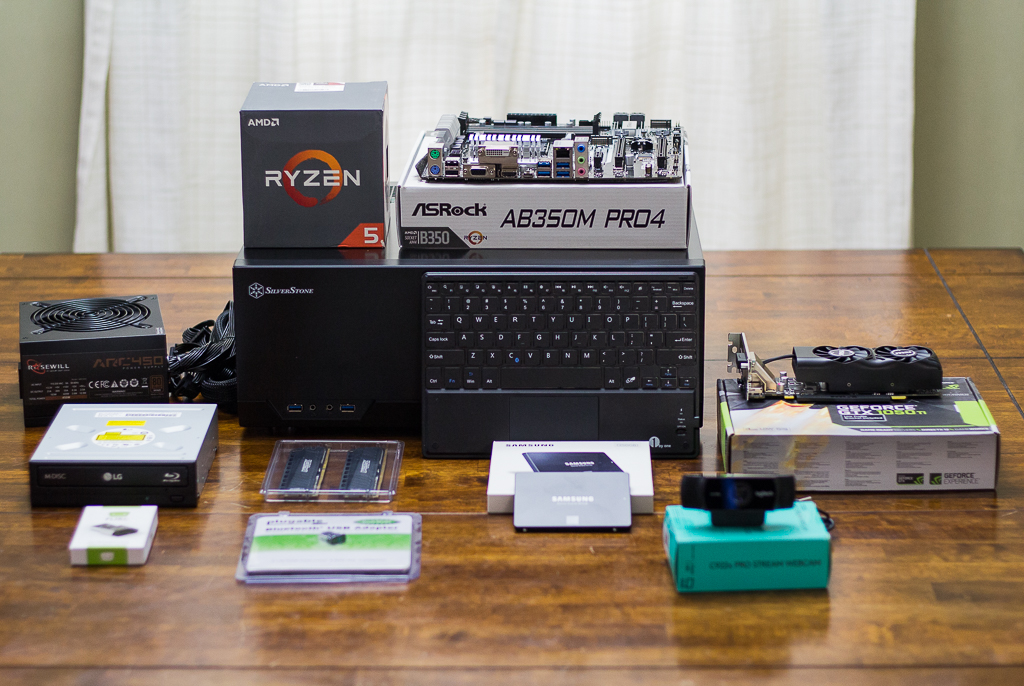
I wound up deciding that I liked the SilverStone Technology GD09B (specs) primarily because it would fit so nicely in my entertainment center. Its single external 5.25” drive bay could fit an optical drive–assuming I chose to add one–and it had two USB 3.0 ports on the front for any USB devices I’d wind up needing. For a power supply, I chose the Rosewill Arc Series 450 Watt (specs) primarily for its cost. At 450 watts, it was capably sized for the hardware I was planning on running with hopefully enough extra capacity to perhaps survive an upgrade to a couple components over its lifespan.
CPU, Motherboard, and RAM
 So far, I’ve been really happy with the AMD Ryzen 1800X that I put into my primary desktop/gaming PC in late July of last year. Part of my objective in my HTPC was to consolidate my Steam Link into the HTPC, but another secondary objective was to improve the performance of playing my Steam Library. The Steam Link is a brilliant device, but some of the latency introduced by the mechanics of how it worked doesn’t work as well with games that required speedy, twitchy responses. At the same rate, I didn’t want to build a new PC more powerful than my old one–so I tempered my lust for bigger and badder by opting for the AMD Ryzen 1500X CPU(specs) for my HTPC build.
 My motherboard of choice on this particular build was the ASRock AB350 Pro4 Motherboard (specs). At its price, it seemed like a decent value, and I’ve had some pretty good luck with ASRock motherboards in a few of my DIY NAS builds, including my own. I was somewhat tempted to try the Ryzen’s onboard video, but opted instead to buy a separate GPU. The motherboard’s 8 different USB connectors–2 front, 1 Type-C, and 5 on the back of the motherboard–addressed a remote concern of running out of USB ports.
 In comparison to other computers I’ve built recently, I skimped on the RAM in this build. In case you haven’t noticed recently, RAM prices are pretty outrageous right now. While I haven’t investigated to understand the reason prices are sky-high, I’ve seen the effects in shopping for my last two computer builds. I opted to bite the bullet for my HTPC to go light and buy a Crucial Ballistix Tactical 8GB Kit (specs). If I had my way, I would’ve put 16GB of RAM into this machine, but I imagine that 8GB will be quite fine for most of what I want to do.
GPU
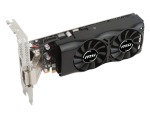 Because I wanted to play some games using my HTPC, I opted to pick a GPU. Hopefully something powerful enough to handle most of my Steam Library and hopefully all of the stuff I’d be willing to play on a couch! I settled on the MSI GeForce GTX 1050 Ti 4GT LP (specs). Hopefully there aren’t many titles that I can’t play straight off of the bat at my TV. Should I come across a game title which the MSI GeForce GTX 1050 Ti 4GT LP can’t handle on its own, I will look into using Steam’s streaming to run the game on my main PC but play it down on the couch.
Storage
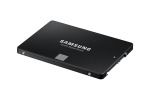 My days of using platter hard drives for anything other than storage are pretty far behind me, which is why I chose the Samsung 850 EVO 250GB. I’ve owned quite a few of the Samsung 850 EVO SSDs and haven’t had nearly as many problems with them as I have with platter drives. However, I also do build one or two NAS builds every year and I’m always looking to upgrade my own NAS. As a result, there’s a shelf in my closet with a number of old platter hard drives that were once in a NAS. One of these drives is bound to wind up in my HTPC, for no other reason than to be there for when I run out of storage on the SSD.
In picking out parts, I put something in this HTPC that I’d sworn years ago I’d never install in another computer ever, a LG Electronics 14x SATA Blu-ray Rewriter (WH14NS40) (specs). At this point, I’ve still got a few DVDs and Blu-rays that have sentimental value that I can’t bring myself to donate or get rid of. I hoped that in building my HTPC that I might be able to create a better experience for watching DVDs or Blu-rays than I currently get on my Playstation 4.
Input
I had the most amount of fun shopping for the input devices than I did the rest of the HTPC build. Don’t get me wrong, I love shopping for PC components, but with as much as I do it for my other blogs, it gets a bit repetitive. Trying to find the right input devices wound up creating a bit of uniqueness in the HTPC build.
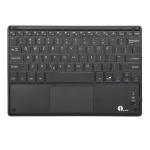 Because I’d be sitting clear across the living room on the couch, I wanted a decent wireless keyboard. Something small enough to fit in the storage bins built into our sectional sofa and with an integrated touchpad. After a bit of searching, I wound up finding the 1byone Ultra-Slim Wireless Bluetooth Keyboard (specs): a small, rechargeable Bluetooth keyboard and touchpad mouse combination. If anything, it might be a bit too small. I can’t imagine ever spending much time using the keyboard, but I wanted to have one nearby for when my remote control fails me.
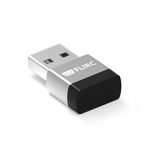 One day, I envision having a single remote that works with all of my devices at my entertainment center. That remote will be intuitive to use, it will be simple to add new devices, it will intelligently figure out which devices need to be running and configure them for specific activities, and it’ll solve world hunger. Given my experience with universal remotes, I don’t think that device will ever exist! But when it does, I want it to be able to talk to my HTPC, so I added a FLIRC USB (2nd Generation) Universal Remote Control Receiver to plug into the front of my HTPC. I’m hoping that it’s within my capability and patience to be able to program my universal remote to control the media being played on my HTPC.
 And to go along with that IR receiver, I picked out a Plugable USB Bluetooth 4.0 Low-Energy Micro Adapter (specs). The Bluetooth receiver was required to work with the keyboard and my various Playstation 4 controllers, which I plan to use when gaming. I’m hoping that the Bluetooth comes in handy for other purposes too, perhaps the streaming of media from our various Android or iOS devices. Maybe even a remote control app which runs on our phones?
| Component | Part | Price | |
|---|---|---|---|
| Motherboard | ASRock AB350 PRO4 ATX Motherboard | specs | $84.99 |
| CPU | AMD Ryzen 5 1500X Processor with Wraith Spire Cooler | specs | $149.99 |
| RAM | Crucial Ballistix Tactical 8GB Kit (4GBx2) DDR4 2666 MT/s (PC4-21300) | specs | $101.99 |
| Graphics Card | MSI GeForce GTX 1050 Ti 4GT LP | specs | $209.00 |
| Case | SilverStone Technology GD09B | specs | $79.99 |
| Power Supply | Rosewill Arc Series 450 Watt | specs | $40.99 |
| SSD | Samsung 850 EVO 250GB | specs | $74.95 |
| Hard Disk Drive | Some Random 2TB HDD that I had laying around the house | N/A | N/A |
| Optical Drive | LG Electronics 14x SATA Blu-ray Rewriter (WH14NS40) | specs | $50.99 |
| IR Receiver | FLIRC USB (2nd Generation) Universal Remote Control Receiver | specs | $22.95 |
| Bluetooth Receiver | Plugable USB Bluetooth 4.0 Low Energy Micro Adapter | specs | $12.95 |
| Keyboard / Mouse | 1byone Ultra-Slim Wireless Bluetooth Keyboard w/ Built-in Touchpad | specs | $25.99 |
| TOTAL | $738.84 |
Assembly
The hardest part of putting this particular machine together was talking about it! I’ve watched my assembly video a few times and cringed at my misspeaking, mistakes, and the video quality a countless number of times! Compared to my more compact DIY NAS builds, the assembly went quite well. If you labored through the entire video, I pity you, but you also understand that about the biggest challenge I had was getting the video to display on my ancient monitor.
What’s Next?
Well, first I’m going to brush off four months’ worth of dust and accumulation and then I’m going to get an OS loaded. I haven’t completely decided yet, but I’m leaning towards a Windows installation on this HTPC. From a hardware perspective, I didn’t risk having to wrestle with finding drivers for the Bluetooth and IR dongles. More importantly, gaming’s an important aspect of my HTPC, and Windows has a much bigger gaming footprint. After the OS is loaded and the hardware has been tinkered with, I will start digging into Kodi and its competitors.
In all that tinkering and learning, I suspect there will be ample material for another blog. Hopefully it won’t take another four months to get it fired up, but you never know–there could be a NAS build lurking and waiting to hog my attention!

