
For the past three to four years, Pat and I have been talking about 3D printers. For a long time, we mostly just discussed them and eventually arrived at reasons for why we weren’t buying the 3D printers… yet. Each time, the tone of the conversations was the same: 3D printers were incredibly neat and opened an entire new realm of possibilities, but we couldn’t quite come up with the justification to make the purchase. Over the years we’ve tossed out quite a few reasons for not being ready to buy a 3D printer, but they all essentially boiled down to these three reasons:
- 3D printers are expensive.
- We couldn’t think of problems that we could solve with 3D printers.
- The utter lack of the creative skill needed to work with 3D-modeling software
For the longest time, we used these three reasons as excuses to not buy a 3D printer. But then Pat abandoned our ideology and bought a 3D Printer, and not too long afterward he convinced our local makerspace, TheLab.ms, into buying two of their own 3D printers. For a few months, I lived vicariously through Pat’s adventures at home and in watching as he helped members at our makerspace start designing and printing their own 3D models.
Every once in awhile, I would identify problems that I encountered and we’d come up with a solution for the problem that involved designing and printing something. Most famously, my last couple DIY NAS server builds featured a 3D-printed bracket to add support to the power supply. A variation of that object was designed for my own NAS to include a couple of brackets to hold a pair of SSDs that I couldn’t quite cram into a tight space. Pat wound up selling those brackets in his Tindie Store to other DIY NAS builders who used my build as their own DIY NAS blueprint.
Each time that I thought of a problem that could be solved with a self-designed and printed object, it became clearer and clearer that my prior reasoning was invalid. It was nice that Pat was willing and able to design objects and then print them to solve my problems, but in observing the process he was going through, I began to realize that I was missing out on some challenging fun that could provide hours of enjoyment.
About a month ago, Pat told me that he was shopping for a new 3D printer because he was considering upgrading his own 3D-printing capabilities. He eventually sent me a link to a printer that he’d seen on Craigslist that he thought was a good deal, but was a bit of a sideways upgrade for him. The price of that printer had eliminated my last remaining excuse–I was going to buy a 3D Printer.
Affiliate Disclaimer: Some of the links on this website are affiliate links, meaning, at no additional cost to you, I may earn a commission if you click through and make a purchase. I only recommend products that I believe will add value for my audience. Please understand that I have experience with all of these companies' products, and I recommend them because they are helpful and useful, not because of these small commissions.
New vs. Used
Any time I plan to buy something that I consider expensive, I almost always begin my search looking for a deal on a used one. Since I also had a little bit of insider knowledge and knew that 3D printing is a bit more difficult than most people assume it is, I felt that I could find a printer that someone perhaps got frustrated with and was willing to cut their losses and hopefully save me a few bucks in the long run.
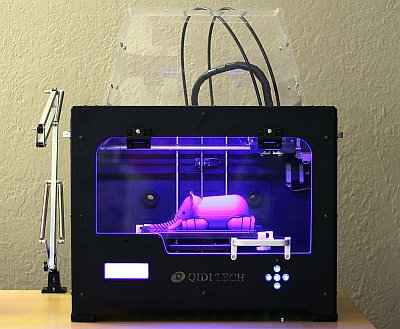
The printers at our makerspace, TheLab.ms, are both Flash Forge Creator Pros. They are dual-extruder MakerBot clones with a nice full metal enclosure. Pat has labored for the last year fine-tuning the printers and training the makerspace’s members interested in their use. Our familiarity with these printers lead me to search pretty exclusively for similar MakerBot clones.
Ultimately, I wound up buying the same used QIDI Tech printer that Pat had found on Craigslist. It’s also a MakerBot Replicator Dual Extruder clone, extremely similar to the Flash Forge Creator Pro printer. I wound up picking up the printer for about $450.
But What About New Printers?
The good news is that new printers are not expensive enough to change my opinion on getting into 3D printing. New versions of the same printer that I bought can be found starting around $650. The question I wound up asking myself was: “What does that extra $200 buy me?” The answer to that question was: all the bonuses that come from a new product, like support and warranties; newer firmware on the printer; and, in the case of my specific printer, a newer generation of hardware for the printer.
- QIDI TECHNOLOGY 3DP-QDA16-01 Dual Extruder Desktop 3D Printer on Amazon for $699
I had budgeted around $750 to buy a 3D printer, so the new versions were well within my budget. But I wound up deciding to go with the used printer, forgo the benefits of buying a brand-new product, and use the remaining budget ($300) in order to upgrade the printer hardware further. Specifically, I’m interested in upgrading the build surface to something larger and swapping in improved hot ends for the two extruders.
I think there’s value in spending that extra $200 to buy the brand-new printer; I just happen to value the upgrades a bit more. However, I certainly wouldn’t have any objections if someone had the opposite view–3D printing is complicated enough that there’s a lot of value in being able to get support from the manufacturer.
My First Few 3D Prints
A common suggestion for your first few prints is to print things to supplement the printer itself. Thingiverse is literally full of objects that people have designed, shared, and tweaked for their own printers. Many of these objects greatly improve the function and the usability of the 3D printers.
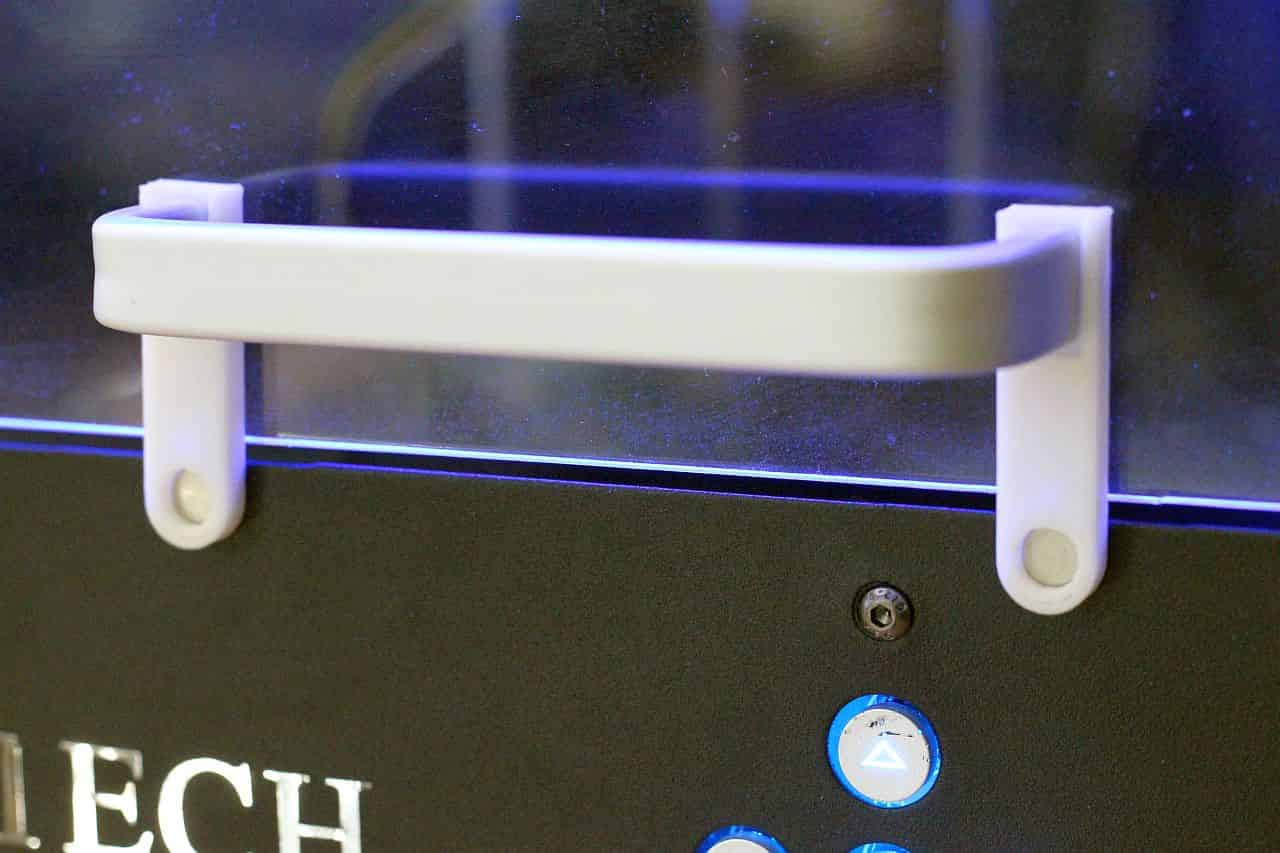
Magnetic Door Latch
The first difference that I noticed between my QIDI Technology Dual Extruder Desktop 3D Printer and the FlashForge Creator Pros that we use at TheLab.ms is that the FlashForge printers’ doors have a magnetic latch to hold the door shut. On the QIDI Tech printer, the door hung loose without any kind of latch and oftentimes swung inside the printer, much to my chagrin. While surfing Thingiverse, I found an object, the QIDI Tech 1 - magnetic doorstop , which I modified to fit my own smaller magnets. My magnetic door latch does a fantastic job of preventing the door from swinging inside the printer, and the neodymium magnets that I used hold the door firmly shut.
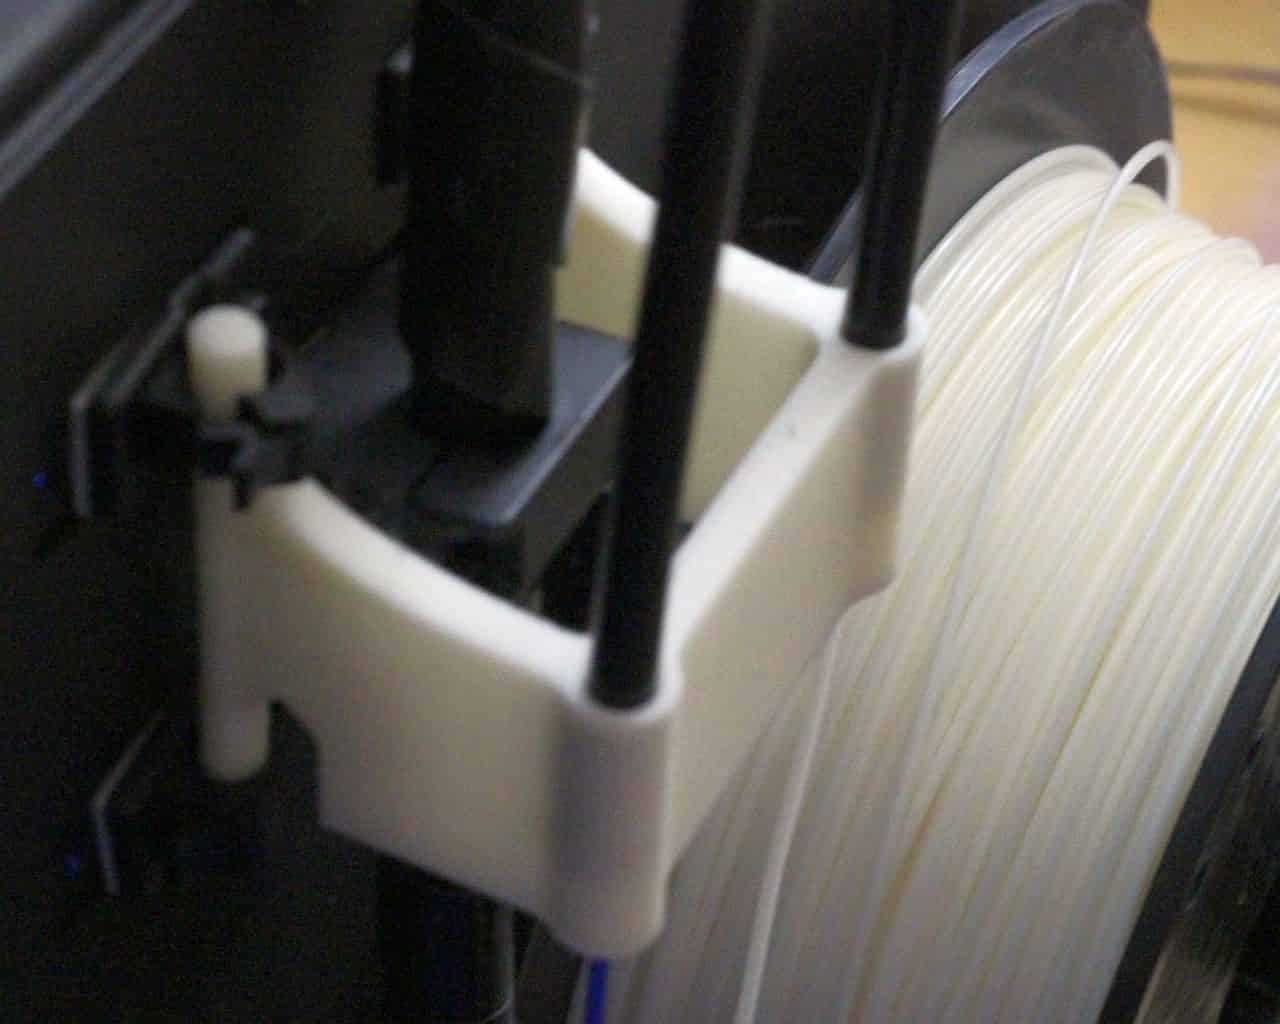
Filament-Alignment Bracket
In addition, I decided to add an alignment bracket for the filament to the printer. The bracket restricts much of the travel of the two filaments and acts as a guide for the filament as it goes up through the tubing towards the extruders. The bracket ends up reducing the likelihood of tangled filaments during a print. At TheLab.ms, we had a couple occasions where the filaments became entangled because of how far they traveled throughout the various print jobs. On at least one occasion the result was a failed print. We haven’t had any similar failures since using the alignment bracket.
Glass Build Surface Retention Clips and Knobs
The best upgrade that I decided to pursue required a pair of objects. Rather than printing to the build surface of the printer, I wanted to be able to print on inexpensive picture-frame glass that I picked up at Lowe’s. The advantage of printing to glass is better adhesion of the filament to the heated surface, especially once aided by some Garnier Fructis Style Full Control Non-Aerosol Hairspray. I printed Pat’s Knobs for M3 Brass Standoffs (for FlashForge Creator Glass Clips) and the FlashForge Creator Pro - Corner Glass Clips +3mm that he designed for use with TheLab.ms’s two printers. The clips and knobs have done an excellent job at holding my glass in place atop of the heated build plate.
3D Design: Not Exactly my Strong Suit
My biggest concern in 3D Printing was my absolute lack of ability with anything creative. I don’t have an ounce of artistic or creative ability in my body. It’s just not something that I’m skilled at doing. Truly creative people are creating fantastically detailed, amazing 3D models and printing them on a daily basis. Before I decided to buy the 3D printer, I knew I’d never be able to do that.
Thanks to Thingiverse, that’s a bit of a moot point. For all the objects that I know I’d never be able to model on my own, somebody’s created and shared their 3D model of the same thing. Considering how many objects are available on Thingiverse, I think it’d be very likely that I would be able to find that someone else has already designed the object or figurine that I’m searching for to print.
Even better news–I learned that I could actually build 3D models of my own. OpenSCAD calls itself “The programmers’ 3D Modeler.” While I don’t really consider myself much of a computer programmer, OpenSCAD introduces elements of coding and uses that code to render your 3D models. I found that using logic, equations, variables, functions, etc. to build an object to be right up my alley.
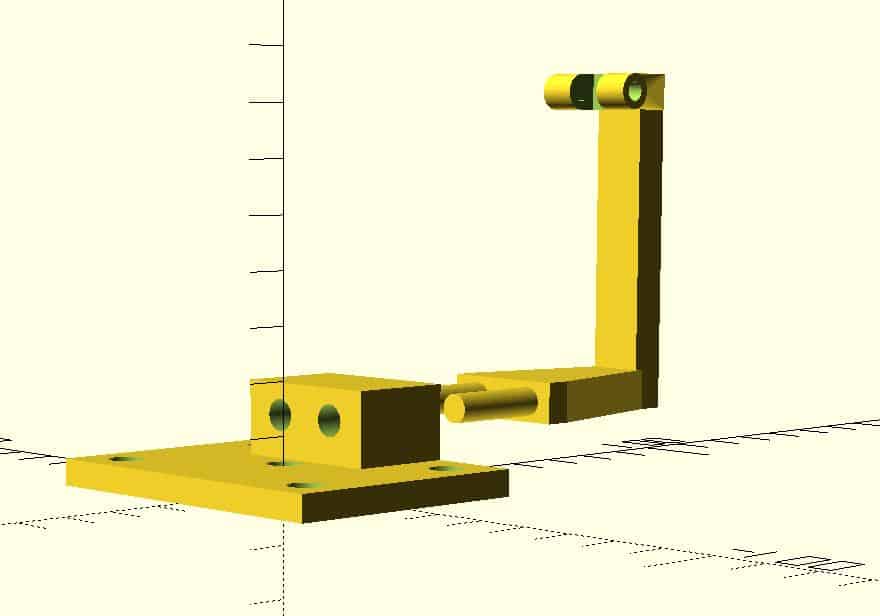
Magnetic Webcam Mount
I designed a magnetic webcam mount so that I could attach a Logitech C270 near the print surface for the purpose of monitoring my prints and hopefully capturing some time-lapse video. Using the same neodymium magnets that I used in the printer’s door latch, I built a two-piece object whose base attached to the bottom of the frame that the heated build plate was mounted to. The second piece was an arm that fit into that base that the Logitech C270 mounted to just above the build surface. Ultimately, it didn’t work out because the webcam needed to be much further away from the print surface in order to get decent images of the entire build surface, but as far as being able to design an object with a specific purpose in mind, it was a rousing success for my first try.
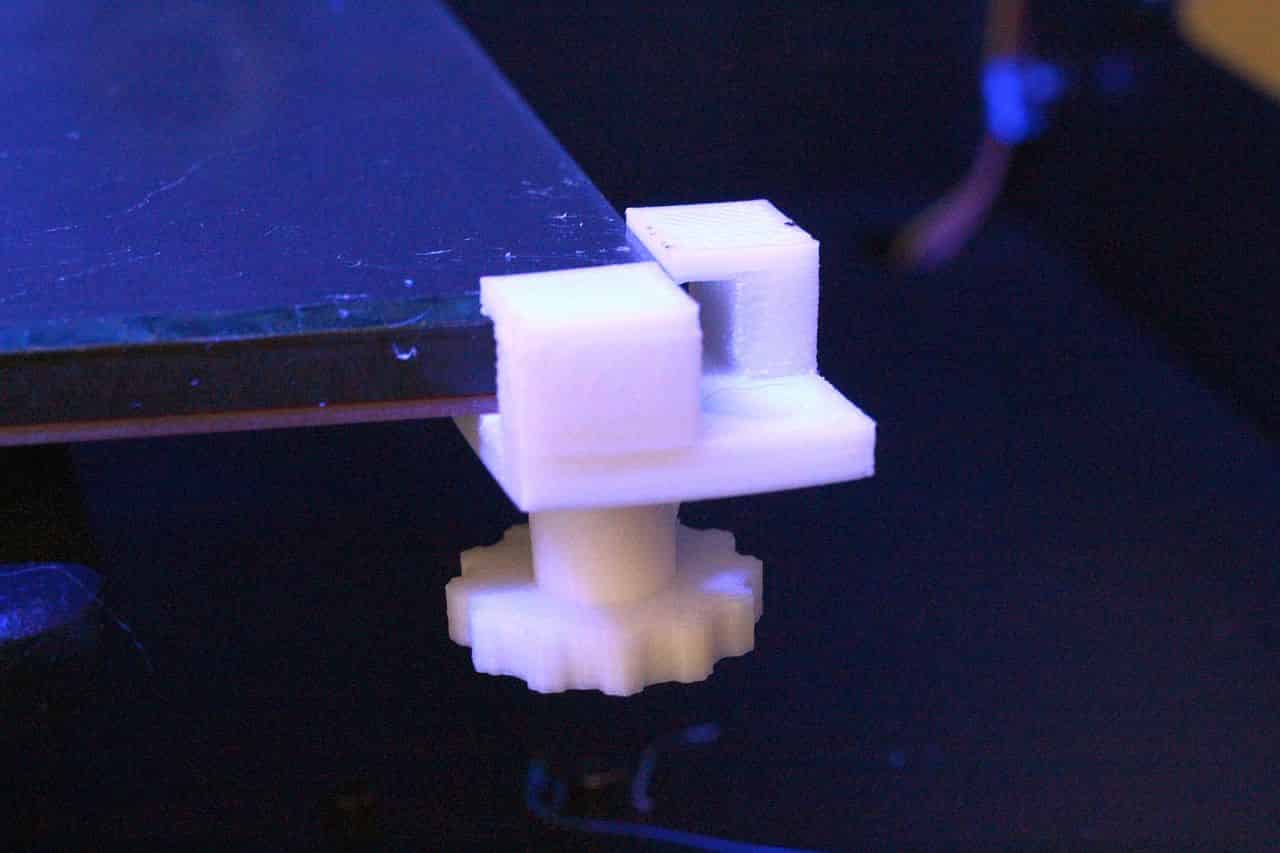
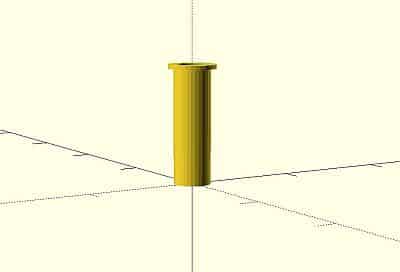
Bottle-Drying Rack Shelf Support
My second attempt at designing a 3D part to solve a problem was both fruitful and successful. We have a pair of adjustable bottle drying racks that we use to dry out the numerous bottles we’ve been hand-washing daily for our five-month-old son. What we’ve found is that the upper shelf collapses down to the lower shelf under the weight of all the things that we were trying to load on top of it. Rather than load fewer things, I designed a Shelf Support for the Munchkin High-Capacity Drying Rack. The object slides down over the center spindle and holds up the top shelf at exactly the height we were wanting.
What’s Next?
I bought a printer and I’ve managed to even 3D model some of my own designs, so what’s next? LOTS of 3D printing, of course! But don’t let that rather obvious and simple answer distract you from the fact that I managed to save roughly $300 of my budgeted dollars on my printer. Do I apply that $300 to a different project, like the 2016 EconoNAS, or do I upgrade the 3D printer? Ultimately, I’ll wind up doing both, but I’ll spend that extra $300 working on upgrading the printer. Here are the upgrades I’m most likely to do:
- Upgrade to a current version of the [Sailfish Firmware][sf]: The firmware that came with my 3D printer is one of the very early Makerbot Creator firmwares. There is a laundry list of new features available in the latest Sailfish firmware that should improve the function of the 3D printer.
- Micro Swiss MK10 All Metal-Hotend Kit with .4mm Nozzle: Upgrading the hot end of the printer should help out the consistency of the prints. The current extruders include some plastic tubing. The plastic tubing results in some variation in the temperature of the filament as it works through the extruder. Worst of all, this plastic tubing tends to get clogged up with filament. I’ve got one extruder which I think is partially clogged with this exact problem. Most importantly, the net effect of the all-metal hot ends are that print speed can be increased. At TheLab.ms, we’ve been able to increase print speed by 50% via this same upgrade.
- Removable Heated Build Plate Upgrade: The upgrade that I want the most is to increase the amount of print surface inside my printer. The stock build plate on the printer is 9” x 6”. Equivalent printers with larger print surfaces are the ones that tend to become quite expensive. The build plate upgrade measures at 11” x 6”. Those added two inches increase the printable area from 324 cu/in to 396 cu/in, which is a gain of right around 22% .
 Between now and when I upgrade, I’m quite content to continue both working on my own 3D Models and printing things that I like off Thingiverse. If you’re interested in what I’ve been up to, feel free to follow me over on PrusaPrinters. I imagine I’ll be pretty social with the things that I’m printing. For now, I’m going to start wrestling with putting together a few more copies of the Velociraptor Business Card which I printed over the course of last weekend. What about you guys? What kinds of projects would you use a 3D printer for?