

Back in 2012, I built my own NAS machine and blogged about it as I built and used it. That series of articles turned out to be pretty popular and useful. Consequently, last year I wrote two similar NAS build articles: a 12 TB NAS and then a very basic “Econo NAS” for people operating on a minimal budget. The only unfortunate part of these articles is attempting to keep them up to date. Prices changes on the parts, and the parts become obsolete, which both contribute to the articles quickly becoming outdated and obsolete themselves. I figured for 2014, I should be prepared and create a brand new DIY NAS build from scratch.
As it is with my prior articles, my suggestion is that DIY NAS builds are built around FreeNAS. The feature set is pretty incredible, and the difficulty of using and maintaining FreeNAS has been minimal even for a big Windows dummy like myself. I did briefly consider suggesting nas4free for the EconoNAS blog, since it’s essentially a fork off the FreeNAS tree but may run better on slower hardware, but ultimately I couldn’t recommend anything other than FreeNAS.

Because of the creation of the EconoNAS in 2013, I’m going to try and morph this build into something a little bit more powerful. If I had to build a NAS for use in the home from scratch for myself or to help a friend, here are the parts that I would recommend. In both the prior articles, cost containment was a major concern. In this article, I’m more concerned with maximizing performance for a reasonable dollar figure. For the parts I spent more money on, I did a bit of analysis and justification for the added cost.
Affiliate Disclaimer: Some of the links on this website are affiliate links, meaning, at no additional cost to you, I may earn a commission if you click through and make a purchase. I only recommend products that I believe will add value for my audience. Please understand that I have experience with all of these companies' products, and I recommend them because they are helpful and useful, not because of these small commissions.
Why Build a NAS?
My original primary objective was to create something for backing up our different computers. All too often a curious friend or family member will ask me a question about their computers, and the conversation always starts with me asking about their current plan to keep the important files on their PCs backed up in case of a computer meltdown. Unfortunately, most people answer that they don’t really have one. Between viruses, sliding hardware quality, and our own mistakes, there are just too many things that can go wrong with our important data. This kind of NAS device goes a long way to helping create that backup plan. However, there’s a multitude of other possible uses for a NAS:
- Backups
- Storage
- Torrents
- Hosting your own Cloud Storage Service
- Others (Share yours in the comments below)
In this day and age, everybody has a need for some sort of external storage. Attaching that external storage to a network and building it using PC hardware opens enough possibilities that it should be strongly considered by anyone who’s lacking this external storage.
Motherboard
 Of the things I reconsidered for this blog, my choice of form factor for the motherboard was on the list. I’ve decided to stay with the Mini-ITX form factor for two reasons: size and power consumption. Firstly, I appreciate the small footprint of Mini-ITX. When I built my NAS, I didn’t want another computer case eating up more real estate around my desk. Secondly, the NAS remains on 24/7, always consuming power; paying a premium for a form factor that uses less power quickly pays for itself once you factor in your electricity costs.
Typically, I’ve selected motherboards with integrated processors which are cooled without fans. I wound up literally striking gold with the Asus C60M1-I AMD C-60, since it had an integrated CPU, fan-free cooling, and 6 SATA ports all on a Mini-ITX form factor board at an extremely reasonable price. I used that same motherboard for my first revisions of the DIY NAS: 2013 Edition article, but it quickly disappeared as it became obsolete. Unfortunately, at the time of the writing of this blog, I couldn’t find a Mini-ITX motherboard with an integrated CPU with enough SATA ports that wasn’t also insanely expensive. Consequently, for this build I expanded my search to all possible Mini-ITX boards.
Here’s the set of must-have features that I look for when shopping for a motherboard for a NAS:
- Less than $150
- 6 or more SATA ports
- Support for at least 8GB of RAM
- Onboard Gigabit Ethernet
- Integrated video
- Mini-ITX
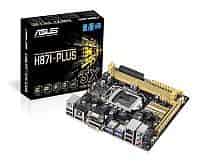
For the NAS, I don’t have a preference of AMD over Intel. I wound up picking the combo that I thought would lead to the best bang for buck, and selected the ASUS H87I-PLUS LGA 1150 Intel H87 Mini ITX Motherboard. Here are the important features of the motherboard:
- Intel Socket 1150 for 4th Generation Core i7/Core i5/Core i3/Pentium/Celeron
- 6 x SATA 6Gb/s
- Up to 16 GB of DDR3 1600/1333/1066 RAM (2 slots)
- Onboard Gigabit Ethernet
- Integrated video
- Available PCI-e slot for SATA controller card in future.
- Reasonable price: $100.99
As you can see, at the $75 I paid, the ASUS C60M1-I AMD C-60 really was a great deal when it was available. The extra money—$25 for the board, plus the cost of a CPU—in this case gets us more RAM, which can benefit FreeNAS greatly, and it supports much faster processors. From a performance perspective, the additional cost has quite a bit of associated value.
People who have built this machine and tried to use it headless have found that the motherboard is persnickety and will not POST without a keyboard and monitor hooked up. My suggestion for this hardware would be to use a dummy DVI Device and the cheapest little USB keyboard you can find. Otherwise, it might make sense to spend that extra $10-20 on a motherboard more well-suited for running headless.
Running Total: $91.99
CPU
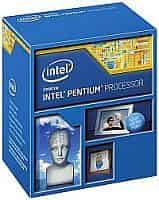 In past blogs, I haven’t had to research CPUs, since I’ve always found inexpensive, feature-packed motherboards with integrated CPUs. In this case, those kinds of motherboards were more expensive than buying things separately, so I also shopped for a CPU in this article. The motherboard I picked has an LGA 1150 socket, so I wound up picking the cheapest LGA 1150 CPU that I could find. At $59, the Intel Pentium Processor G3220 3.0 GHz LGA 1150 is considerably up to the task of powering FreeNAS. Unfortunately, that pushes me a bit north of my ideal $150 price point for the motherboard and CPU combo, but I feel the added performance and possibility of CPU upgrades in the future justify the cost
Running Total: $148.98
RAM
 In past builds, the comments section has more than a few people asking why I didn’t select ECC RAM and why I didn’t include more RAM. I don’t disagree with those thoughts; every computer would be better with ECC RAM, and every computer would be better with more RAM. In creating these build blogs, I’ve tried to do a bit of cost-benefit analysis to try and decide if the additional cost provides enough benefit to justify the added expense of ECC. On my own FreeNAS box, I have been running 4GB of non-ECC DDR3 1600MHz now for two years without any problems to date. In a similar vein, iXsystems, who sells FreeNAS devices like the one we’re building, also has come to a similar decision by not including ECC on their machines.
Don’t get me wrong, I’m not saying that ECC isn’t the better choice—it is. I’m just saying that the benefit doesn’t quite justify the cost. I’m not sure about you guys, but in my experience with building my own computers the past couple decades and working with other people’s computers, RAM just doesn’t all of a sudden go bad. Bad sticks of RAM are pretty binary; either they’re bad when you get them or they’re quite fine. A great way to make sure you don’t have a bad stick of RAM is to put it through its paces using Memtest86+. Here’s a great blog from Corsair that goes over using Memtest86+. In addition, it’s a good idea to do other kind(s) of burn-in testing to make sure your NAS is stable and ready for duty. This additional time and effort to get the NAS ready made me confident enough to use non-ECC RAM.
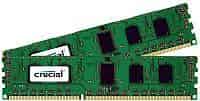
RAM prices continue to fall, and FreeNAS benefits from more RAM; because of these factors, I suggest buying as much RAM as you can afford. My NAS works just fine with only 4GB, but because of its age and current prices, my recommendation would be to buy Crucial 8GB Kit (4GBx2) DDR3 1600 MT/s (PC3-12800) for $84.94. There are only two DIMM slots on the motherboard; upgrading in the future is going to be costly. I’d suggest you splurge and buy a 16 GB kit (8GBx2) if you plan to run at the maximum memory capacity at an point in the future.
Running Total: $215.54
Case & Power Supply
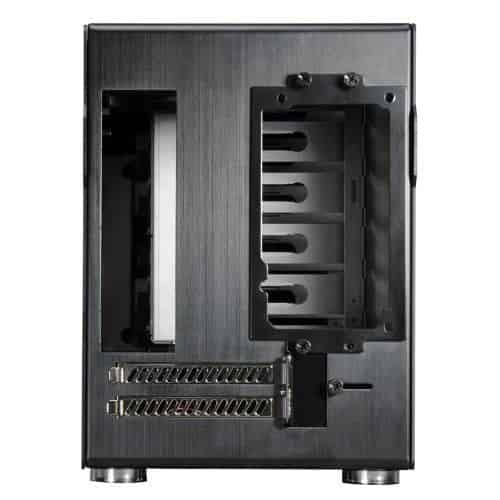
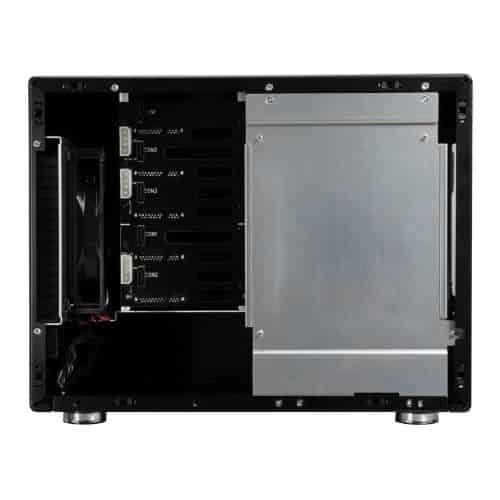
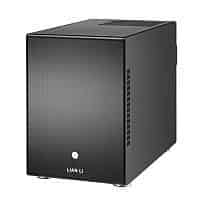 Because I’ve been tremendously happy with mine, my number-one recommendation for a case is the Lian-Li PC-Q25 even though it’s expensive at $127.00. I’ve enjoyed working inside this tiny case, and I haven’t had any issues getting six drives inside mine. In fact, growing it to that many drives was really a piece of cake. I absolutely love the built-in hard-drive rack. A power supply will set you back another $41.99 or so. In the likely event you think that’s overkill on the case, I’ve also been a fan of the Cooler Master Elite 130. It won’t hold as many drives, looks to be a bit more difficult to work in, and isn’t as easy on the eye, but it’ll also save you $70 or so off your bottom-line.
For those of you having a difficult time finding the Lian-Li PC-Q25 available any longer, I think that the Silverstone DS380 is a fantastic replacement for the PC-Q25. The DS380 holds more drives (up to 12) and features some hot-swappable drive bays on the front of the case. It’s on the expensive side at $149.99, but I think it is worth the price.
Running Total: $384.29
Storage
FreeNAS Drive
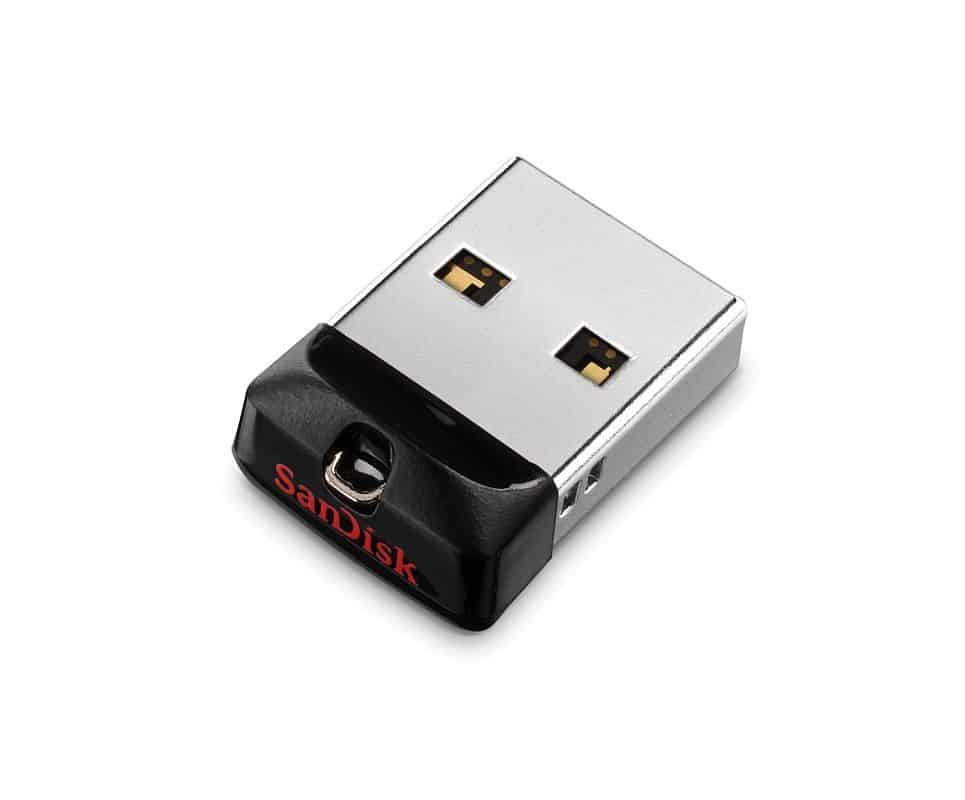
 FreeNAS gets installed to and runs off a USB Flash drive and it only requires 2GB of space. In my FreeNAS box, I attached a USB header to the motherboard and hung an inexpensive flash drive off of it. However, flash drives are small enough now that they can just live permanently plugged into the USB ports on the back of the computer. At $6.39, the 8GB SanDisk Cruzer Fit gives you plenty of space for FreeNAS and gives you the possibility of tinkering and playing with all of the plug-ins available for FreeNAS.
Running Total: $391.28
NAS Drives
When I looked at hard drive prices, I was a bit disappointed to see such little movement in the three months since I last updated the 2013 edition of the DIY NAS build blog. In fact, on the two drives I picked for that build, the Seagate drive was only a few dollars cheaper, and the Western Digital drive was actually more expensive! I was very cost conscious in that prior build, and then insanely cost conscious in the EconoNAS build, so when faced with the decision to either trim a bit of cost off the total price or to add additional storage I felt that the additional storage was the best direction to go.
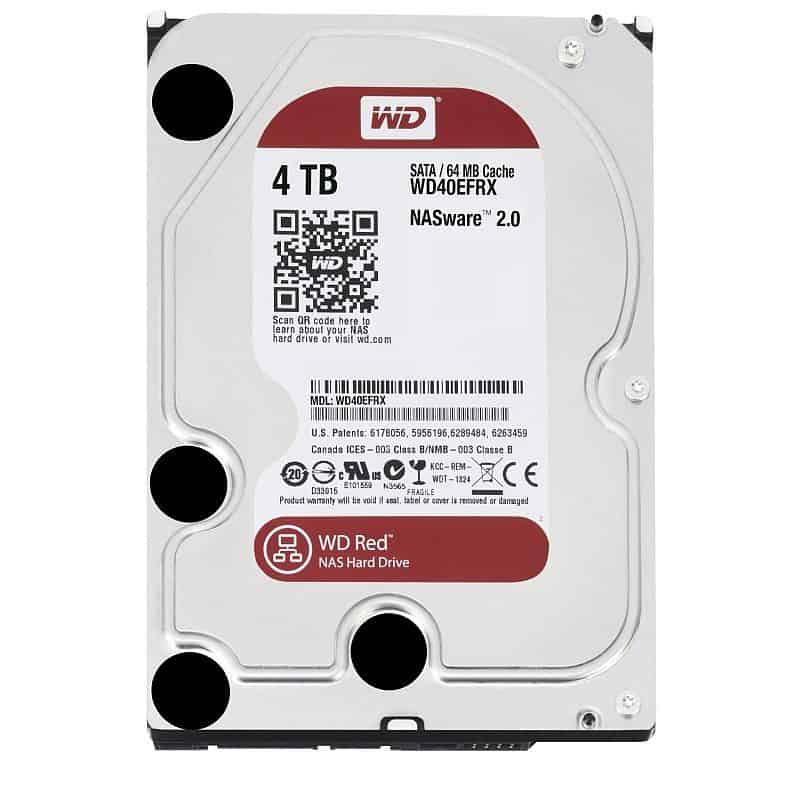
I’ve picked out 4x4TB hard drives in order to total 16 terabytes’ worth of storage. I wound up selecting two different Western Digital Hard drives, the WD Green 4TB WD40EZRX for $168.99 and the WD Red 4TB WD40EFRX for $188.99. Personally, I was leaning towards four WD Green drives. The Red drives have a longer warranty and are supposedly intended for use in NAS devices, but carry a premium of around $20.00 per drive. I split it up between two models because hard drives get manufactured and shipped out in batches. If a retailer got drives from a bad batch and you bought all your drives from that same retailer, then you have a much higher chance of issues with multiple drives in your NAS. Buying different models of drives helps reduce that catastrophic failure risk. Personally, I haven’t had any issues with my WD Green drives in my NAS. However, the longer warranty on those WD Red drives might come in handy one day. A mixture of WD Green and WD Red drives seemed pragmatic.
| 2014 NAS HDDs | |
|---|---|
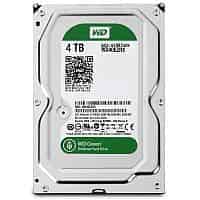
|
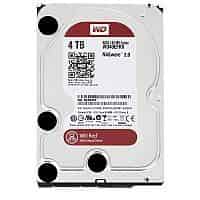
|
Because the hard drives are the meat and potatoes of your NAS device, I highly recommend doing some capacity planning and careful research of the hard drive models you want to use. My opinion of consumer-level drives is pretty low (but I’m glad they’re cheap!), which is why I’ve designed my own FreeNAS to be redundant, that includes a premium to buy multiple drives rather than fewer, bigger drives. Total drive cost increased from $475 to $650 to go up from 12TB (4x3TB) to 16TB (4x4TB). When doing my research, prices on 3TB drives had me considering an 18TB configuration (3xWD Green 3TB and 3xWD Red 3TB) very strongly. I was nearly swayed by the fact that extra 2TB would only wind up costing around $50. However, it limits your ability to easily upgrade in the future, which is why I ultimately decided to leave two of the SATA ports unused and only select four drives. It was basically a coin-flip between the two options, so I felt it was important to mention it here.
Total: $1002.70
Conclusion
System Summary- Intel Pentium Processor G3220 3.0 GHz Dual-Core
- 8 GB of RAM (16 GB max supported)
- 8 GB of storage for FreeNAS and other FreeNAS plug-ins
- 16 TB of total storage available for NAS
- Integrated Video, Gigabit Ethernet and much more (see motherboard)
- Room on motherboard for 2 more SATA drives
- Room on motherboard for an additional SATA controller (PCI-e)
- Room in case for up to 3 more hard drives


If I were to build a NAS today, or help a friend build one, this is definitely the direction that I would head down. In fact, I’m currently considering replacing my existing motherboard and RAM with the Motherboard, CPU and RAM I discovered in my research for this blog. The total price of $1050 is competitive with the pricing of the off-the-shelf systems that Seagate (Seagate Business Storage 4-Bay 16TB NAS - STBP16000100 for $990) and Western Digital (WD My Cloud EX4 16TB for $999) are currently offering, but the feature set of FreeNAS, and the fact that it’s running on PC hardware that you can upgrade and expand down the road blows those systems out of the water. Furthermore, because this is built out of computer components, the prices will come down on the hardware. The off-the-shelf custom hardware from these other companies are much less likely to be easily upgraded, and if they can be upgraded, it is sure to be expensive. In reviewing the parts, there’s also some areas where you could buy cheaper components; the case, the power supply, the CPU and Motherboard, and amount of RAM all could be easily dialed back down to help contain costs. In this case, I think this additional expense pays for itself in the form of functionality today and down the road when you want to upgrade your NAS.
What about you guys? Have you built your own NAS? What did you use to build yours? And finally, what are you using it for? Please feel free to tell us about your DIY NAS experiences in the comments.
Updates
3/07/15: At least two comments have mentioned that the ASUS H871-PLUS requries a monitor and keyboard to POST. I’ve amended the motherboard section to reflect that. Since I was editing this article already, I also updated all of the prices to current. The price of the NAS fell by another $60 or so to $1002.70
7/22/14: I went through and updated the prices on the components. I also added a blurb in the case section about the Silverstone DS380 for the people who are finding the Lian-Li PC-Q25 to either be out of stock, or it’s price inflated. Since being published the price on the parts fell down from $1141.72 to $1068.26, roughly in the neighborhood of $75.
9/5/14: This week I went through and researched prices, each item is probably 1-2$ cheaper except for the CPU, which has risen by a couple bucks. The total price fell down from $1068.26 to $1050.08. Interestingly enough, both of the Seagate and Western Digital NAS enclosures of a similar size have seen their prices move closer together, the Seagate’s price rose to $990 and the WD’s price came down to $999. Overall these prices seem pretty stable.
1/4/15: Updated the blog with a link to the DIY NAS: 2015 Edition.