I’ve been using ESPresense in my home automation for 3–4 months now. A few months ago, I wrote a blog about how easy adding presence detection using ESPresense was for me. Based on the feedback I’ve gotten in the comments and on social media, others seem to agree!
What is ESPresense?
 I explain it in more detail in my earlier blog, but you use ESPresense to create a tracking base station by flashing ESPresense to a supported ESP32 development board. Depending on its configuration, ESPresense then relays information about nearby Bluetooth devices to Home Assistant.
In my case, I have several ESPresense base stations in different rooms that are tracking my Apple Watch SE and reporting the watch’s location back to Home Assistant as I move around the house.
ESPresense was the final piece of the puzzle that I needed to fully automate the lights and ceiling fan in my office. Since setting it up a few months ago, I rarely–if ever–have needed to use either switch.
What’s the catch, Brian?
To be honest, I don’t think there is a catch. ESPresense is an open-source project, the hardware isn’t difficult or expensive to obtain, I have a 3D printer, and there are lots of free designs for 3D-printed cases for the ESP32 D1 Mini.
As I see it, there are a few very minor obstacles for the Home Automation enthusiast who wants to deploy ESPresense base stations in their home:
- Access to a 3D Printer to make cases.
- Acquiring a supported ESP32 development board.
- Flashing the ESP32 development board with ESPresense.
- Configuring and deploying ESPresense Base Stations.
I am going to try and remove obstacles!
My experience with ESPresense has been so positive that I wanted to try and provide a shortcut around as many of these minor obstacles as I can for other Home Automation enthusiasts.
No 3D printer? No problem!
A few people have contacted me asking about how they can buy a 3D-printed case for their ESPresense Development boards. I encouraged them to see if there’s a 3D-printer at a nearby makerspace or library that they can use.
 But that advice might not be very helpful. Learning the workflow of 3D printing and then successfully 3D printing requires an investment of time. Places that do on-demand 3D printing could be an option here, but they’re usually pretty expensive.
I figured I’d address this by designing my own case for the ESP32 D1 Mini and selling them on my Tindie Store.
Unit price for the ESP32 D1 Mini cases is $3.00 when ordering 5 or more.
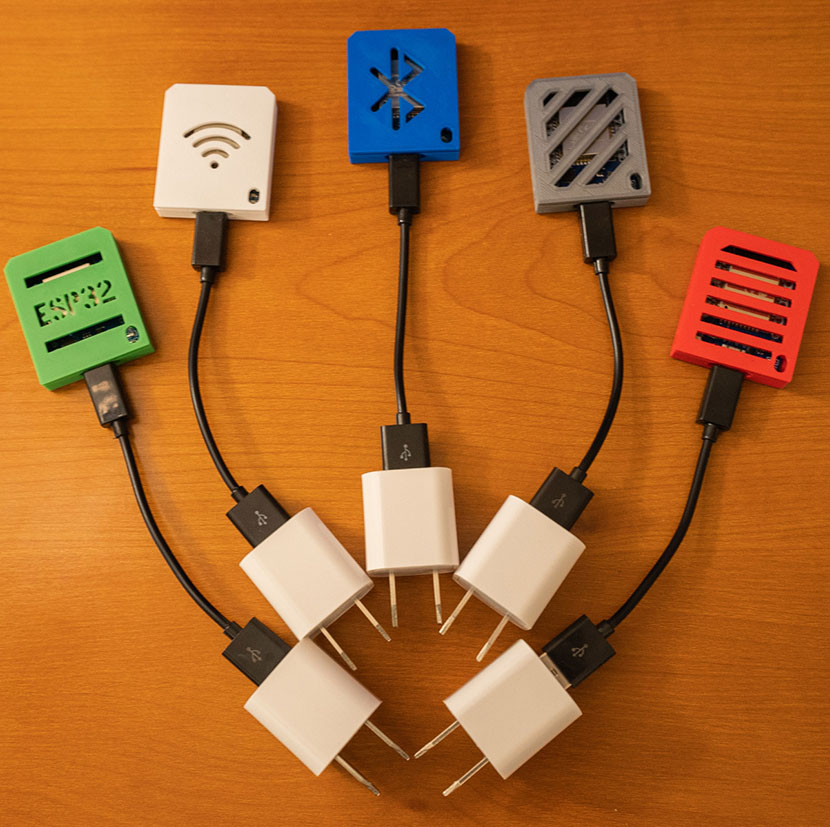
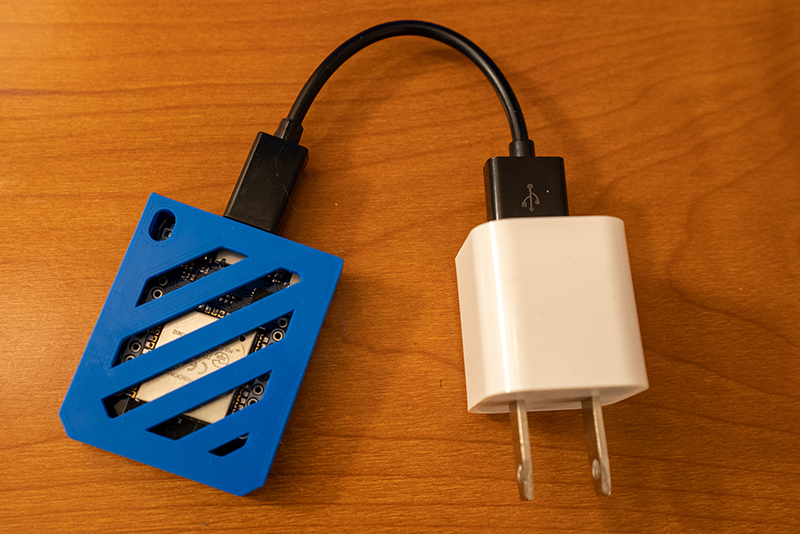
This friction-fit case snaps together around the ESP32 D1 Mini. There are two holes in the case so that you can see the ESP32 D1 Mini’s LED and to access the reset button. There are seven different styles for both the top and bottom sides of the case: solid, horizontal bars, vertical bars, diagonal bars, ESP32, Bluetooth logo, and WiFi logo.
If you’re curious about another color of filament or a different style of case, just ask! If there’s enough demand, I’m happy to buy the filament or put in the effort to meet your needs.
Sourcing ESP32 Hardware and Flashing ESPresense
Let me start off by saying this: It is not difficult at all to flash ESPresense to an ESP32 development board! As part of writing my first ESPresense blog, I probably flashed and re-flashed different ESP32 development boards 20+ times as I tinkered with the project. I absolutely never ran into any difficulties.
That being said, I’ve bricked my fair share of different devices with seemingly innocuous firmware updates. I’ve also accidentally bought the wrong hardware for small electronics projects like ESPresense too. If you’re worried about buying the hardware and flashing it with ESPresense, then consider buying one of my ESPresense Base Stations. Each base station includes:
- An ESP32 D1 Mini pre-flashed with the latest ESPresense release.
- A 3D-printed ESP32 D1 Mini Case
- A USB power adapter
- A short Micro USB Data/Power Cable
Like I did with the ESP32 D1 Mini cases, I am selling the ESPresense Base Stations on Tindie. I am hopeful people will find some value in being able to skip having to be concerned about sourcing the hardware and flashing ESPresense on their own.
Unit price for the ESPresense Base Stations is $12.00 when ordering 5 or more.
What’s Next?
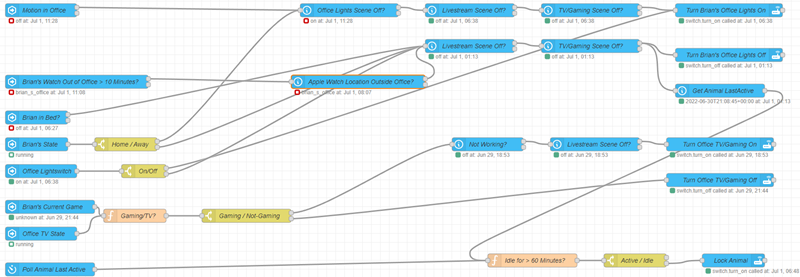
I’m pretty curious about branching out! In the home automation for the lights in my office, I have a separate motion sensor that I use to turn on the lights and my ESPresense node to keep the lights on until just after I leave the room.
There are empty pins on the ESP32 D1 Mini and ESPresense supports: PIR motion, radar motion, temperature, ambient light, weather, and weight sensors. For other rooms in my house, I’d love to add a motion sensor to my ESPresense Base Stations and combine those two functions into a single piece of hardware. It’d be especially fun if that meant I got to 3D-design a new case to accommodate additional sensor types.
Whether you wind up buying my ESPresense Base Station(s) or you decide to go ahead and do it yourself, I hope this blog encourages you to check out the incredible presence-detecting capabilities of Home Assistant and ESPresense.
What sort of home automation projects have you done using an ESP32? I’d love to hear other home automation problems that people have solved with their own ESP32 development boards. Or come join the #home-automation channel in the Butter, What?! Discord server and tell us all about them!


