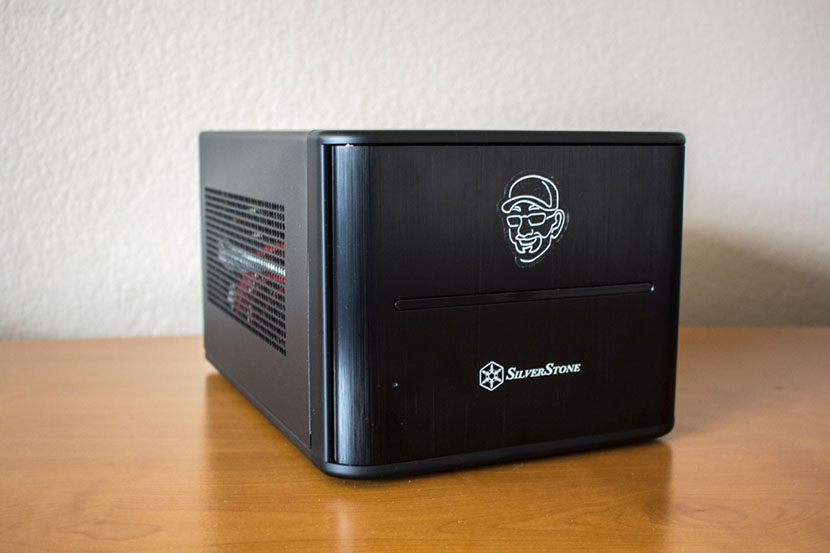
For those of you who preferred the in-depth, step by step recounting of what I did in the configuration of the DIY NAS: 2019 Edition, you’re in luck! Not only did I record it all in video, but I also captured that list for you too.
Ultimately, I only opted to remove this from the main blog after how long that blog had grown to be!
Please make sure to leave a comment down below if you value what’s captured below, I’m strongly considering excluding it from future builds’ blogs in an effort to keep things more concise.
FreeNAS Installation and Configuration
BIOS Configuration
- Connected to the IMPI Interface using the SuperMicro IPMIView Utility (link)
- Launched the iKVM Viewer to remotely control the machine and powered it up.
- Make the following changes in the BIOS
- Advanced Tab
- Under Chipset Configuration > South Bridge Configuration changed the “Flexible I/O Selection” to Mini SAS/SATA[3:0]
- Checked for the presence of all 8 SATA HDDs in the Bios, when only 6 showed up, I saved my changes and exited the BIOS.
- Went back into the BIOS and confirmed all 8 SATA HDDs were being detected now.
- Boot Tab
- Set the “Boot Mode Select” to: UEFI
- Set the “UEFI Boot Option #1” to: UEFI USB CD/DVD: UEFI: SanDisk (the name of my FreeNAS install device)
- Set UEFI Boot Option #2 through UEFI Boot Option #9 to Disabled
- Advanced Tab
FreeNAS Installation
- Used the BIOS’ boot menu to boot from my FreeNAS USB Installer
- Picked to “Install/Upgrade FreeNAS”
- Selected the two SanDisk Ultra Fit 16GB drives (da1, da2) as the targets of the installation.
- Chose “Yes” on the warning about the partitions and data on da1 and da2 being erased.
- Entered and confirmed a password to be used for the root account.
- Chose “Boot via UEFI” for the FreeNAS Boot Mode
- Removed my FreeNAS Installation USB device and hit OK on the successful installation dialog.
- Used the Shutdown option to power down the NAS.
With FreeNAS now successfully installed, I went ahead and powered the machine on. Given my difficult with Legacy Boot mode not seeming to work on the motherboard, I was a tiny bit nervous that the machine would not cleanly boot off the USB drives I’d just installed FreeNAS on. But, given the choices I had made, I was still pretty confident it’d boot right up–and that’s just what it did!
FreeNAS Configuration
- Using the IP displayed in the FreeNAS console (10.7.0.19), I pulled up the FreeNAS web interface in a browser.
- Logged in using root and the password I picked during the installation.
- Went under “Storage and Pools” clicked Add and Create Pool
- Selected all the hard drives listed under Available Disks and then moved them to the right under Data VDevs
- Named the new pool “storage”
- Below the Data VDevs I picked Raid-z2
- Clicked the Create button.
- Created a dataset called “share” under the “storage” pool.
- Attempted to set permissions on the share dataset, and realized I hadn’t created a Group yet to assign the permissions to.
- Created a new group under Accounts > Group and named it “shareusers”
- Added a new user named “brian”, set the password to match what I’ve used on my local machine(s), and added that user to the “shareusers” group.
- Validated that the “shareusers” group had my new account listed as a member.
- Under Services> SMB, I started the service and set it to “Start Automatically”
- I opened the SMB Configuration and made the following changes.
- Set the “NetBIOS Name” and “NetBIOS Alias” to: diynas2019
- Set the “Workgroup” to: lan
- Set the “Description” to: DIY NAS: 2019 Edition
- Opened Sharing > Windows (SMB) Shares and clicked the Add button.
- Set the Path to “/mnt/storage/share”
- Went back to Storage > Pools, expanded the storage pool and chose to Set Permissions on the “share” dataset.
- Changed the group to “shareusers”
- Chose the option to “Apply permissions recursively”
- Checked Confirm and clicked the Continue button.
- Opened Network > Global Configuration and made the following changes
- Set the “Hostname” to: diynas2019
- Set the “Domain” to: lan
- Under System > Advanced I chose the “Enable Autotune” option.
- Under Tasks > S.M.A.R.T Tests I added two tasks
- A weekly Long Self-Test on Sundays
- A daily Short Self-Test
- On my desktop, I browsed to \diynas2019, opened share, and created a file, modified a file, and deleted a file to test the permissions.
Because I’m nitpicky, I probably should’ve created my user and sharegroup before creating the storage pool and share dataset. If I had taken step-by-step screenshots like I did in prior years, I would’ve just juggled those screenshots around into a more efficient set of steps. I suppose I could’ve done the same by carefully editing the video, but I didn’t think it was worth all that effort to disguise that I wasn’t perfectly efficient in the FreeNAS configuration.

