The DIY NAS blogs are by far my most popular series of articles. In those articles’ comments, the question always comes up: How come you didn’t try insert-NAS-here instead of FreeNAS? and my answer is always the same: in the process of building my own NAS, I tried FreeNAS and it worked so well for me that I never considered anything else. Unfortunately for its competitors, FreeNAS never gave me a reason to look at them.
All that being said, FreeNAS has quite a bit of worthy competition. And on top of that, any modern operating system has some sort of functionality that can be leveraged to turn any machine into some kind of network attached storage. Considering the amount of traffic my DIY NAS pages see, I thought it made sense that when I built another NAS I gave a few of the other products a spin and share my thoughts and opinions on them. That’s why a little while back, I posed the question to the blog’s readers: Which DIY Network Attached Storage solution(s) would you like to see featured in a roundup blog?.
What is this Roundup?
Inspired by the television show, Top Gear, I’d really like to maintain my own “Big Board” of NAS software where I rank them against each other. In the lull between my DIY NAS: 2015 Edition and the next EconoNAS build I figured that I would use the upcoming EconoNAS hardware to test and evaluate a few different NAS software packages, write my thoughts about each, and rank the different NAS packages on my own NAS Leaderboard.
Because this hardware is going to be the foundation of the next EconoNAS build, I’m not going to go heavy into the details of the actual hardware itself. However, here are some basic details on the hardware I used to evaluate the NAS packages in this blog:
- Intel Core i3-family CPU
- 8GB RAM
- 5x2TB HDDs
In the future, I’ll continue to evaluate other NAS software packages in their own blog and update my rankings with each new review that I add. If I happen to be building a new NAS around that time then I will leverage that new hardware to write that blog. Otherwise, I’ll probably use something like VMWare or VirtualBox to build and evaluate NAS software packages within a virtual machine.
What is a NAS?
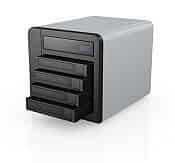 First and foremost, let’s get a definition out of the way. A NAS can be any form of storage hardware accessible via a network. With a few clicks of a mouse, any modern computer can technically be turned into a NAS. I find this definition to be a bit broad. I thought I’d try and come up with a list of important criteria that I think the ideal NAS software would meet. Here’s that key criteria:
- Redundancy: Capable of surviving at least two simultaneous drive failures without losing any data.
- Appliance-like: When managing the device it should feel like a purpose-built appliance.
- Remotely Managed: Configuration and maintenance should be possible remotely to avoid having to purchase an additional monitor, keyboard and mouse.
- Actively maintained: In the realm of software development, especially with “free” software, authors can reach the point where they feel their project is good enough and leave it sit. While I don’t disagree with the approach (especially with free software), it makes a far better project when there’s a set of active developers maintaining and continually improving it.
- Cost: Since I’m a DIYer, cost is a very important factor. Free would be optimal, but because of a NAS’s importance and purpose, I’d be willing to consider paying for the software.
- Runs on Older/Cheaper Hardware: Because cost is important (see above), it would be ideal if you could take old hardware from your last (or next) PC upgrade and use that as the foundation of the NAS.
- </i>Other Functionality</i>: Lots of people have needs beyond redundant network attached storage. They also need a machine capable of filling other roles like media streaming, virtualization, personal cloud storage, and more. Ideally, each NAS package would have these features either built in already or a plug-in system which allows a user to extend the functionality of the NAS to cover these other needs.
Some of this criteria is more important than others; there are items on this list that are clearly requirements that no NAS should be without and there are other items that I would be willing to sacrifice in my own NAS devices. And the Other Functionality category is so subjective and specific to your own needs that I’m not even going to try and weigh in on that category. But is there any other criteria that I’m overlooking? Please use the comments and leave your feedback and I’ll keep that in mind for future additions to the NAS roundup.
Roundup
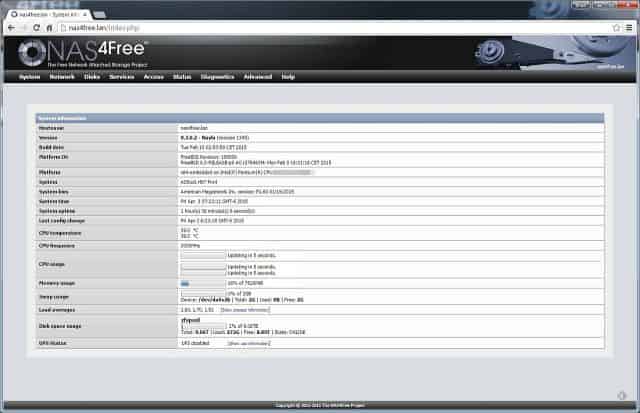
NAS4Free
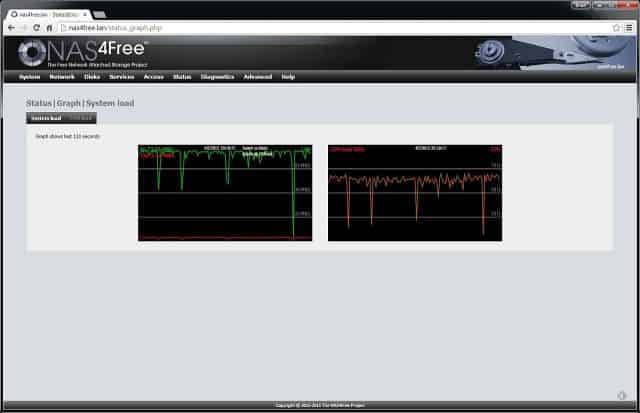
I’ve often been asked why I didn’t choose NAS4Free when I built my NAS or any of my subsequent DIY NAS blogs. When I built that machine a couple years ago, I knew that it came from the same family tree and “split” from the same source as FreeNAS back when iXsystems officially acquired FreeNAS. NAS4Free was my “Plan B” and I just never needed to use it. Because FreeNAS and NAS4Free have so much ancestry in common, my expectation leading up to installing it was that it was going to feel pretty similar.
 The biggest selling point to me of NAS4Free is the ZFS file system. ZFS is a poweful checksum-based file system which helps prevent against corruption that other file systems can be susceptible to. ZFS also includes some interesting features like a gamut of redundancy options, deduplication, encryption and snapshots which I believe makes it ideal for use in a DIY NAS.
The NAS4Free hardware requirements are pretty lightweight: a minimum of 256MB of RAM that increases to a minimum of 1GB of RAM if using ZFS, and no documented minimum requirements with regards to processing power. Because reusing old hardware is the best way to contain costs, hardware requirements like these are enticing to DIYers like myself. Unfortunately, NAS4Free wound up not supporting the built-on network chipset on the motherboard that I picked out, the Intel I218V, which is really disappointing, since I picked out that motherboard specifically because of the Intel-based network chipset under the assumption that it’d be more likely to be supported within FreeBSD. I just happened to have a couple D-Link DGE-530T network cards laying around which the FreeBSD release hardware notes for 9.3 indicates is supported. Because NAS4Free was running on top of FreeBSD 9.3, I was confident that this network card would fill in nicely.
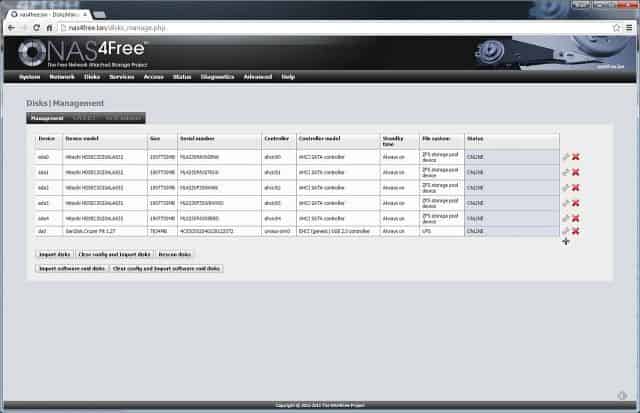
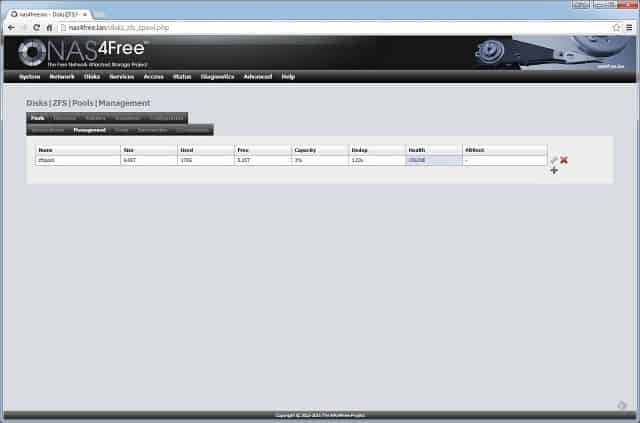
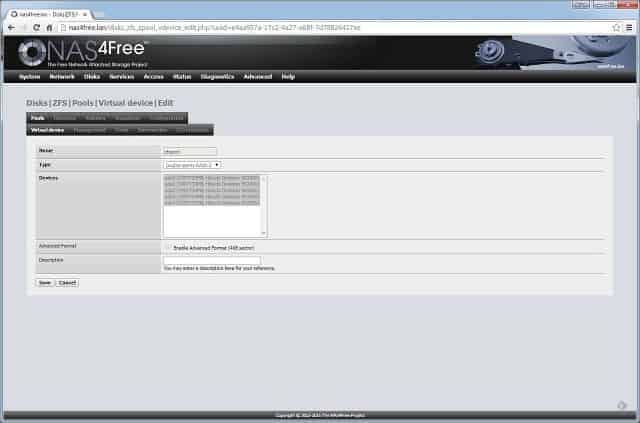
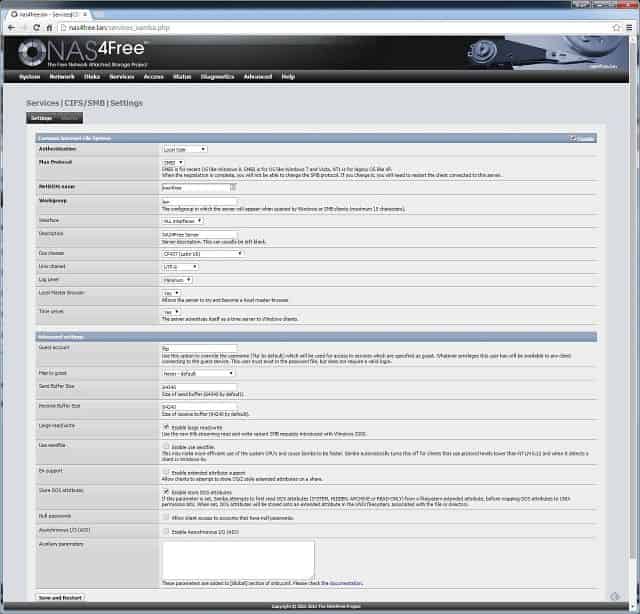
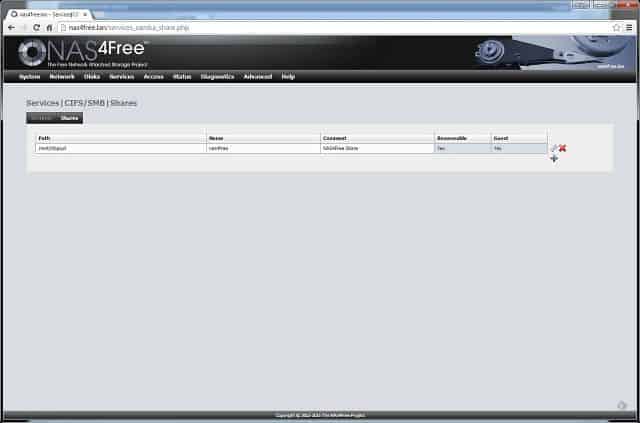
Working within NAS4Free was eerily similar and reminded me much of my own FreeNAS machine, which I suspect is due to their common ancestry. Naturally, there are a number of differences which are found in the NAS4Free interface, but my familiarity with FreeNAS came in very handy in configuring the NAS. Because NAS4Free includes ZFS, I went ahead and worked through the steps of adding my hard drives, creating a ZFS pool using RAID-Z2 (double parity) across all five of the drives. Once I was finished with that, I enabled Samba, created a share, and lastly created a user for myself.
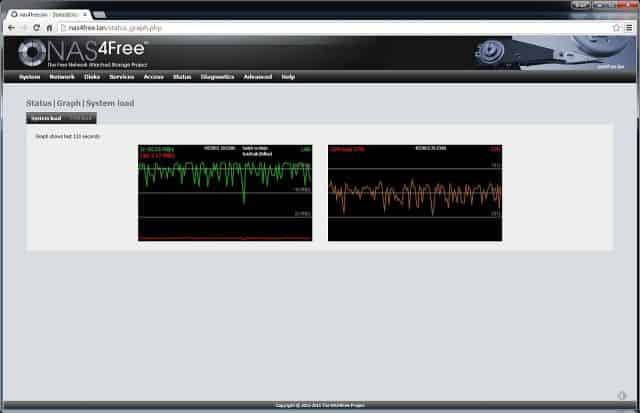
Once the share was created, I ran a real simple script that would create a 1GB text file and copy it to the share using a unique filename; the script iterates through this 100 times. I use this script to very roughly benchmark the throughput of the NAS. This file copy averaged right around 500Mbps and completed moving all 100GB of the data in roughly 28 minutes.
NAS4Free is pretty impressive. My favorite feature is the ZFS file system is included. I also appreciate its relatively lightweight hardware requirements. However, I was a bit disappointed when the motherboard’s built-on network card was not supported, requiring me to dig up a supported card to use instead. If I were building a system on a budget, I’d want to spend that money on more storage, CPU or RAM instead. That being said, an additional network card is not a tremendously expensive option, and if I’d done a little more research ahead of buying the hardware, I could’ve picked hardware that I knew would work with NAS4Free without any issues.
OpenMediaVault
Of all the questions that the DIY NAS blogs have generated, “Why didn’t you try OpenMediaVault?” is by far the most frequently asked question. At the time, my excuse was a combination of having my mind already made up on FreeNAS and a bit of ignorance on my part. Considering the number of comments and emails suggesting that I check out OpenMediaVault I’ve received, I knew that it must be included in this roundup.
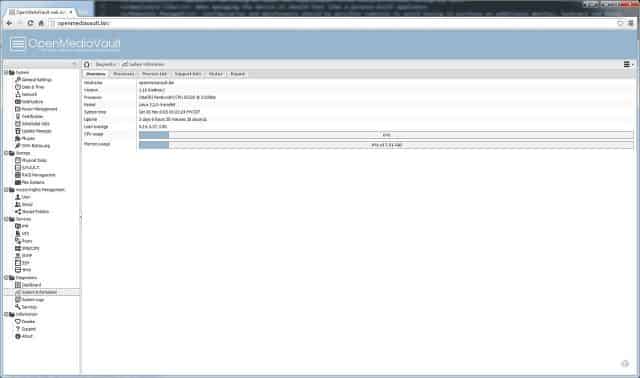
One of my favorite “features” of OpenMediaVault is that it has incredibly lightweight hardware requirements: i486 or amd64 platform, 1 GB RAM, and 2GB HDD. Naturally, these are bare minimum requirements but the hardware I’d picked out exceeded these hardware requirements. These light requirements also increases the likelihood that OpenMediaVault will work on the hardware left over from your last (or next) computer upgrade. I happen to think it’s an ideal time to build a new NAS out of parts remaining from a computer upgrade and appreciate that OpenMediaVault helps make that possibility.
 With the help of the latest ISO image from the OpenMediaVault downloads page and UNetbootin I was able to create a bootable USB drive for installing OpenMediaVault. Installation of OpenMediaVault was insanely painless and went very smoothly, although there was one surprise. Because I hadn’t read much about OpenMediaVault prior to installing it, I was a bit startled to learn that OpenMediaVault required installation on something other than a USB drive. In doing some additional reading, I learned that it was discouraged to use flash memory to hold OpenMediaVault. The best suggestion that I found was to buy a small and inexpensive SSD like the Kingston Digital 60GB SSDNow V300 to store OpenMediaVault. This is a much better suggestion than what I did: use one of the 2TB HDDs that I had originally intended to use as a storage drive. Unfortunately, it is not possible to use the OpenMediaVault drive as part of your storage, so in my case I wound up losing up to 20% of the maximum storage because one of the drives wound up being monopolized by OpenMediaVault.
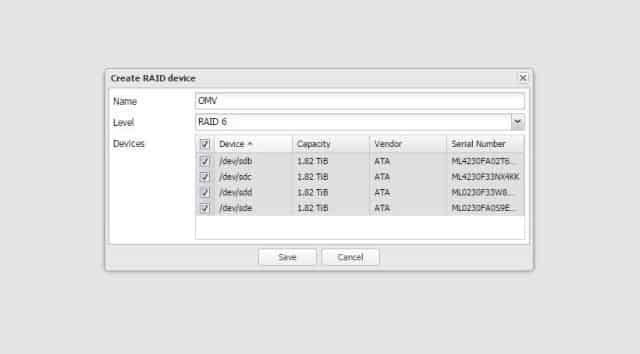
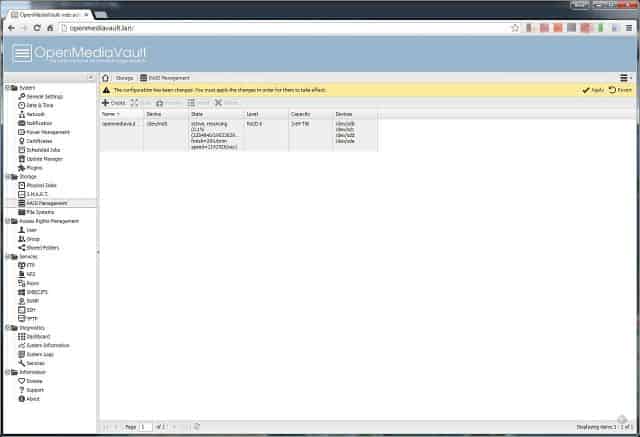
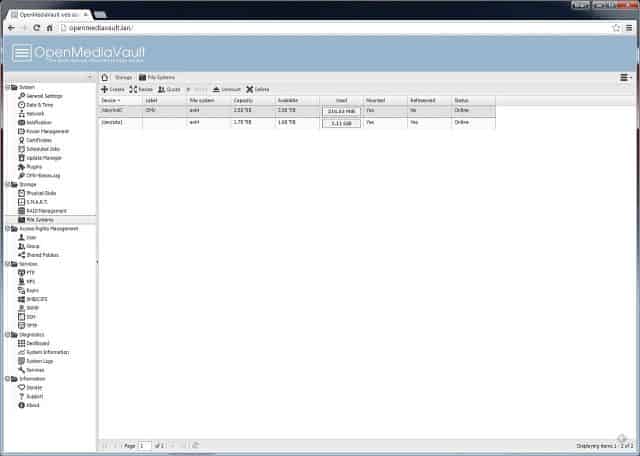
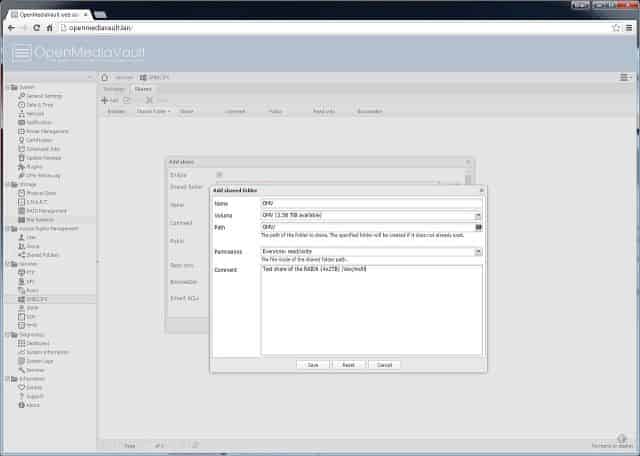
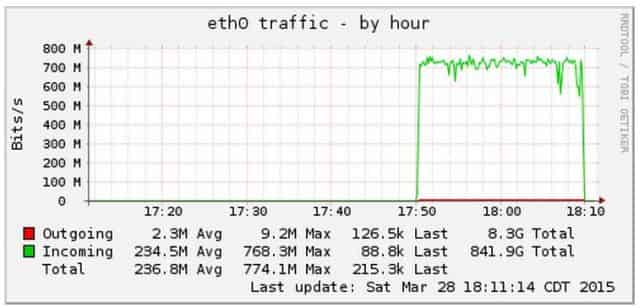
Once installed, I got busy to tinkering around inside OpenMediaVault. The first thing I did was look and see what RAID options were available, and thankfully RAID6 was among the allowed options. This was good news, since one of my NAS criteria was that it should be able to withstand 2 drive failures. It took quite a while for it to build the RAID, long enough that I stopped watching it and did something else for a few hours. Once the RAID was built, I added a file system on top of it and gave it all of the available space (~4TB). Lastly, I enabled SMB/CIFS and created a share to browse to from my Windows computers. When I ran my little test script to copy the 100GB of data across to the NAS, I was able to sustain speeds above 700 Mbps and completed copying the 100GB of data in roughly 20 minutes. That’s pretty much monopolizing the capacity of the NAS’s gigabit network controller card, which was impressive on a single file copy.
Overall, I’m impressed with OpenMediaVault. Getting it installed and functional on the hardware was a snap with the web administration interface being very nice to work with. About the only thing I didn’t care for was having to dedicate a drive to the operating system. I’m not sure if it’s an option with OpenMediaVault, but if the operating system needs to be loaded on an actual disk drive it’d be nice if you could create the array and then load the OS on the array as well. However, adding an inexpensive SSD is not a tremendous expense.
FreeNAS
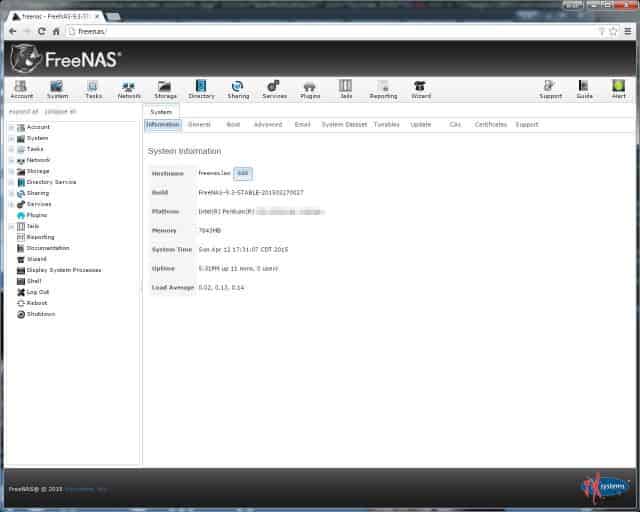
I’ve been using FreeNAS for years now in my own personal NAS and I’ve been very pleased with it. It has performed admirably as being the primary destination for the backup of my Windows machines. I’ve appreciated FreeNAS enough that it’s been the centerpiece of each of my recommended build blogs for a DIY NAS to date. Again, my favorite feature of FreeNAS is the ZFS file system. I have a hard time thinking of any tasks that weren’t easily accomplished via the FreeNAS web interface, which has a very nice appliance-like feel to it.
 The FreeNAS hardware requirements are a bit more stringent than NAS4Free and OpenMediaVault: a multi-core 64-bit CPU, 8GB of RAM and an 8GB boot drive are the bare minimum requirements. The beefier hardware required reduces the likelihood that you’d be able to build a NAS solely out of leftover parts from previous upgrades, but I think they’re still pretty reasonable. However, if you visit the FreeNAS forums, you’ll find that a great many people encourage you to use ECC RAM and many of those people will even insist that ECC is some sort of requirement for running FreeNAS (specifically, ZFS). Most of my suggested NAS Builds do not use ECC RAM, and in another blog I explain why I chose to use non-ECC RAM in my own NAS.
Using the FreeNAS installation and upgrade directions, I created a bootable USB drive out of the FreeNAS ISO, then booted the FreeNAS machine off that USB drive and via the FreeNAS installer. Ultimately, FreeNAS was installed on a different USB drive. After all of this was finished, I booted from the second of those two USB drives (the one FreeNAS was installed onto) and worked through the set-up process.
During the installation and configuration of FreeNAS, I encountered a couple different nice surprises:
- The on board NIC which hadn’t been recognized by NAS4Free was recognized by FreeNAS: the FreeBSD version that FreeNAS is built on top of must be a bit newer or has additional hardware support.
- The ZFS Pool created in my tinkering with NAS4Free was detected and imported wihtout any issues during the FreeNAS initial setup.
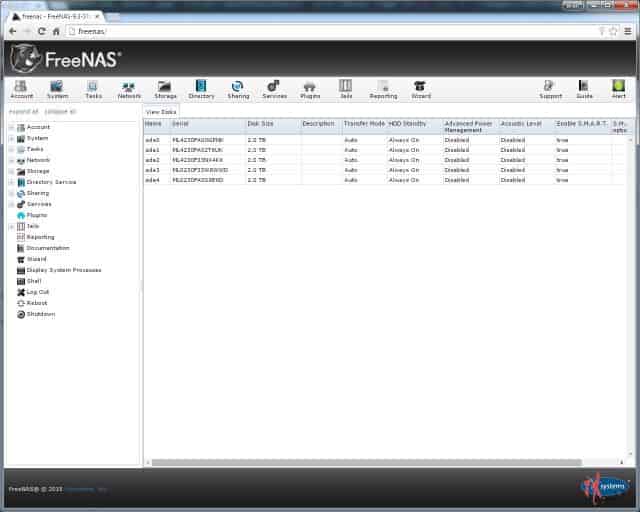
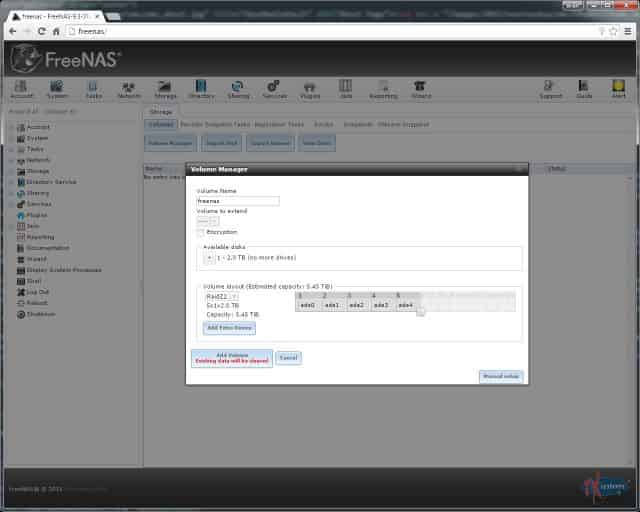
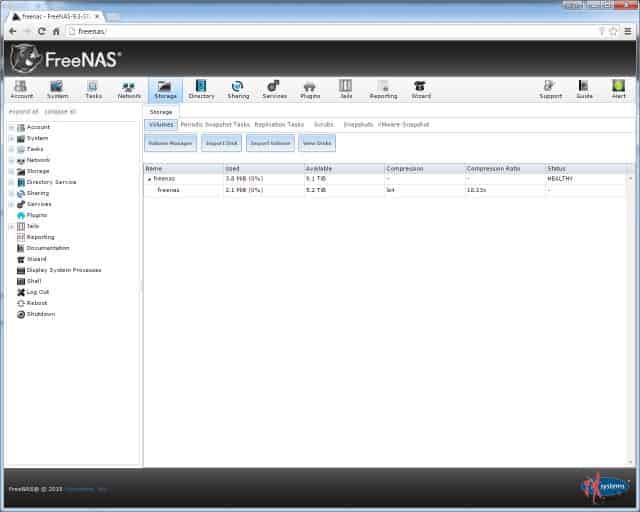
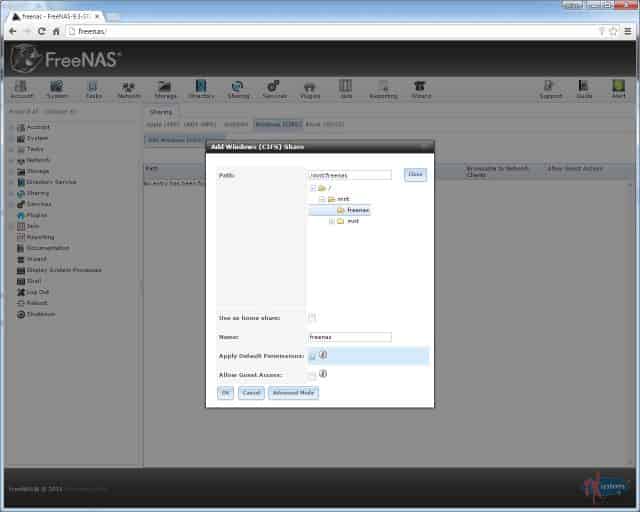
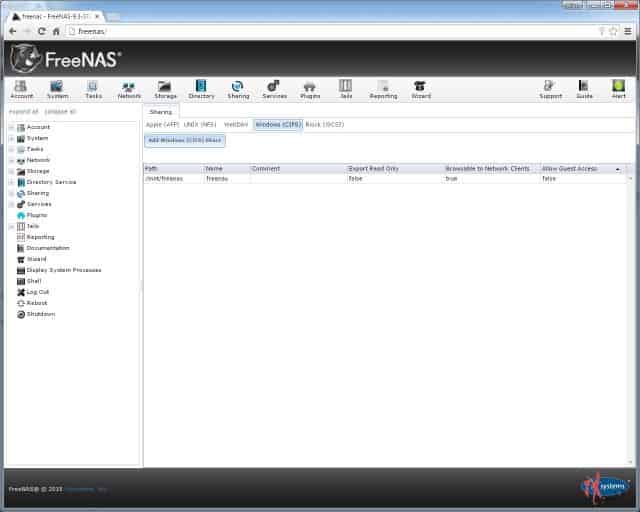
After the setup was complete, I went ahead and deleted the FreeNAS volume (zpool) that was imported during the initial setup. A brand new FreeNAS volume (zpool) was created from scratch, all 5 of the 2TB drives were added to it, and I selected RAID-Z2. I created a group called “cifs”, a user (that matched my local credentials), added my new user to the cifs group, changed the file permissions so that the cifs group could make changes, and then created a CIFS share to point at the root of the FreeNAS volume.
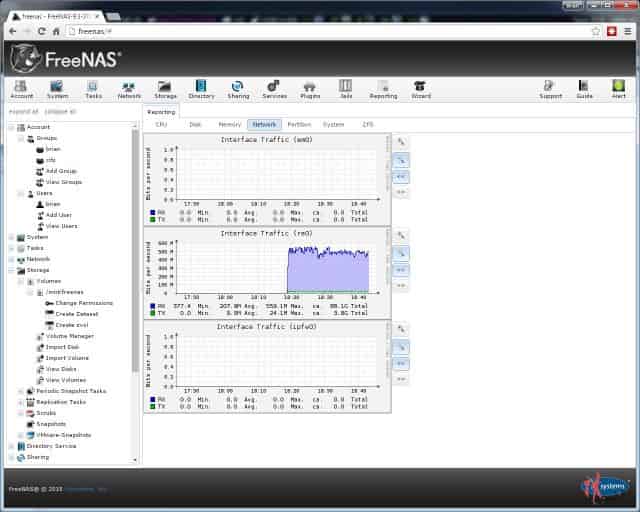
Once I’d created my share and confirmed that I could read and write to it, I ran through the same set of tests to test its throughput. Throughput to the NAS was very similar to NAS4Free; a single file copy from my machine seemed to hover around 550Mbps and all 100GB of data got moved in roughly 25 minutes. Slightly faster than NAS4Free but not quite as fast as OpenMediaVault. In the past, I’ve been able to get FreeNAS to fully saturate gigabit by running instances of the script on an additional machine.
The last two or three years, I’ve been incredibly impressed with FreeNAS. Each time I’ve given away the NAS built for the blog articles, I’ve been supremely confident that the winner will also be pleased with the NAS as well. About the only negative thing that I can say about my experience with FreeNAS is the FreeNAS community’s response to people who use non-ECC RAM. They have good intentions and ultimately ECC is the superior choice (assuming your budget allows it), but I believe it’s not anywhere near the “must-have” that it is made out to be within the forums.
Conclusion
After careful consideration, my initial NAS leaderboard is ultimately going to look like this:
OpenMediaVault’s most compelling feature seemed to be that it offered higher throughput than either FreeNAS or NAS4Free in my simple configuration. However, I’m wondering if I were willing to wade a little bit deeper into the configuration, if I could achieve that same throughput in either FreeNAS or NAS4Free (an idea for a future blog, perhaps). Ultimately, the ZFS file system is the feature that put FreeNAS in first place. Both OpenMediaVault and NAS4Free got weighed down a bit by the fact that there were some hardware issues with the equipment that I had picked out. However, those hardware issues were easy and inexpensive to work around, especially if you do your research prior to buying the hardware.
It was a pretty tight race, and depending on your use-case scenarion, I wouldn’t fault you at all for picking OpenMediaVault instead of FreeNAS. Especially if what you were interested in was a more multi purpose machine, instead of a dedicated NAS. If you’re interested in building a media streaming machine that also serves double-duty as a NAS, then I’d encourage you to go ahead and give OpenMediaVault some serious consideration. Despite finishing in second place, OpenMediaVault will remain a strong candidate for future EconoNAS build blogs.
There are other NAS packages out there and I plan to spend some time evaluating them in the very near feature. XPenology is probably the next one that I’ll be taking a look at. I’ve received a few suggestions of other NAS packages to evaluate. Do you have any suggestions? If so, please use the comments below or check out my DIY NAS roundup poll to make a suggestion.

