
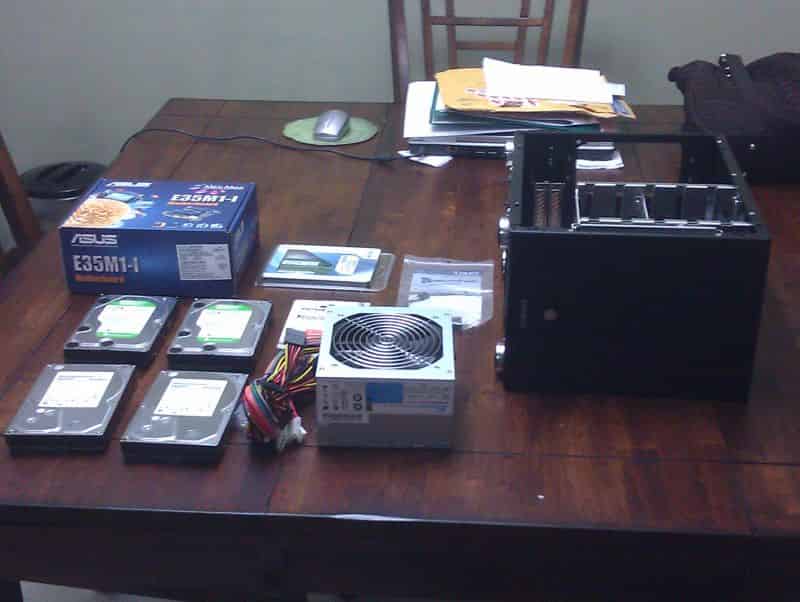
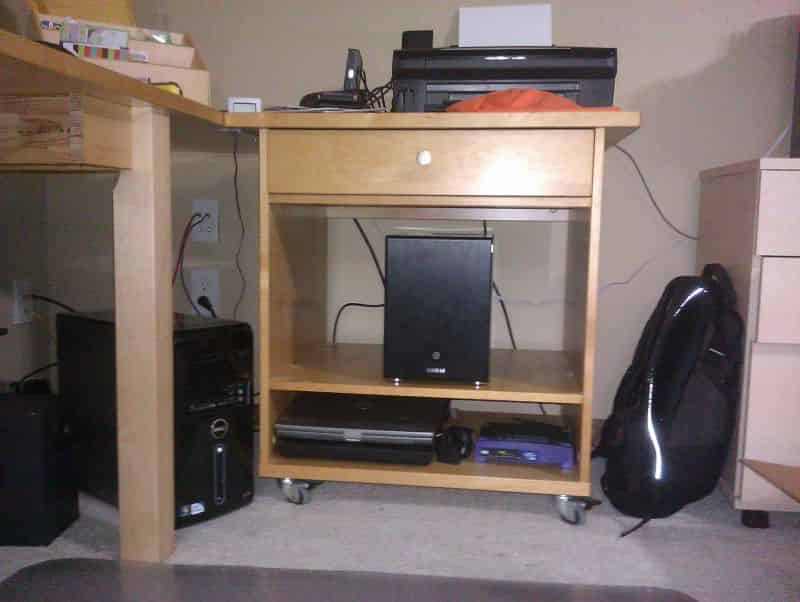
Previously, I blogged about planning to build my own Network attached Storage (NAS) for the storage of critical backups and a place to house media. This week all of my three boxes came in from Newegg and by the end of the weekend, I had a functional NAS.
Assembly
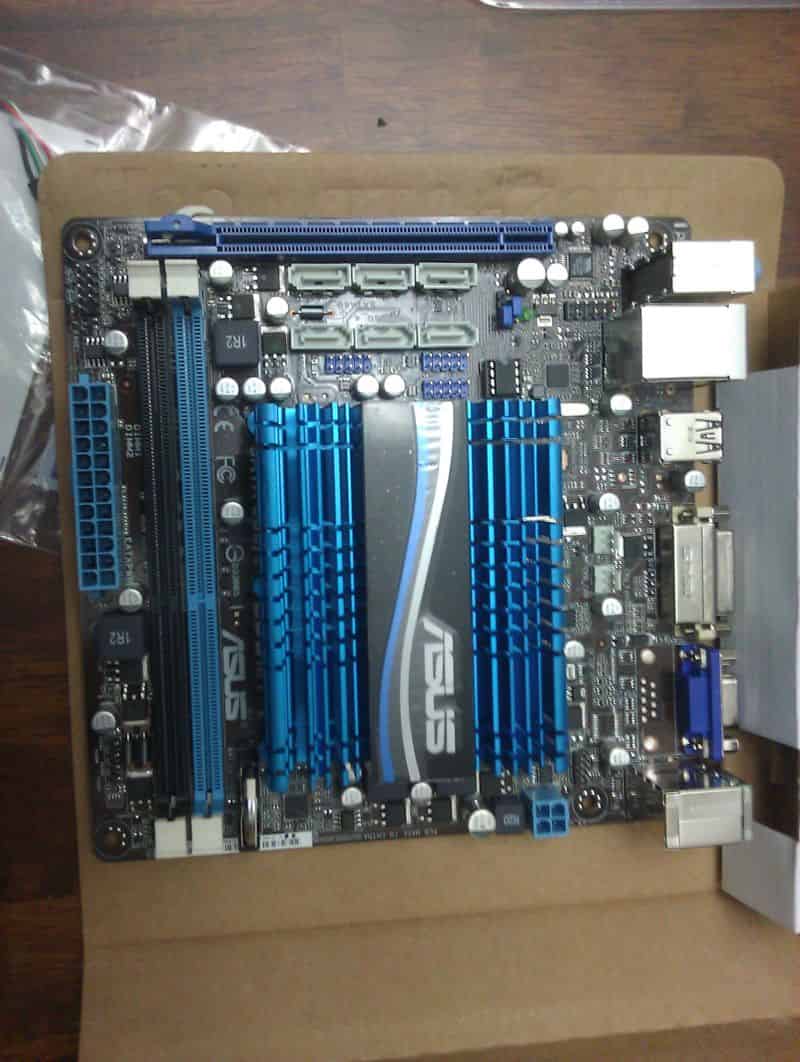
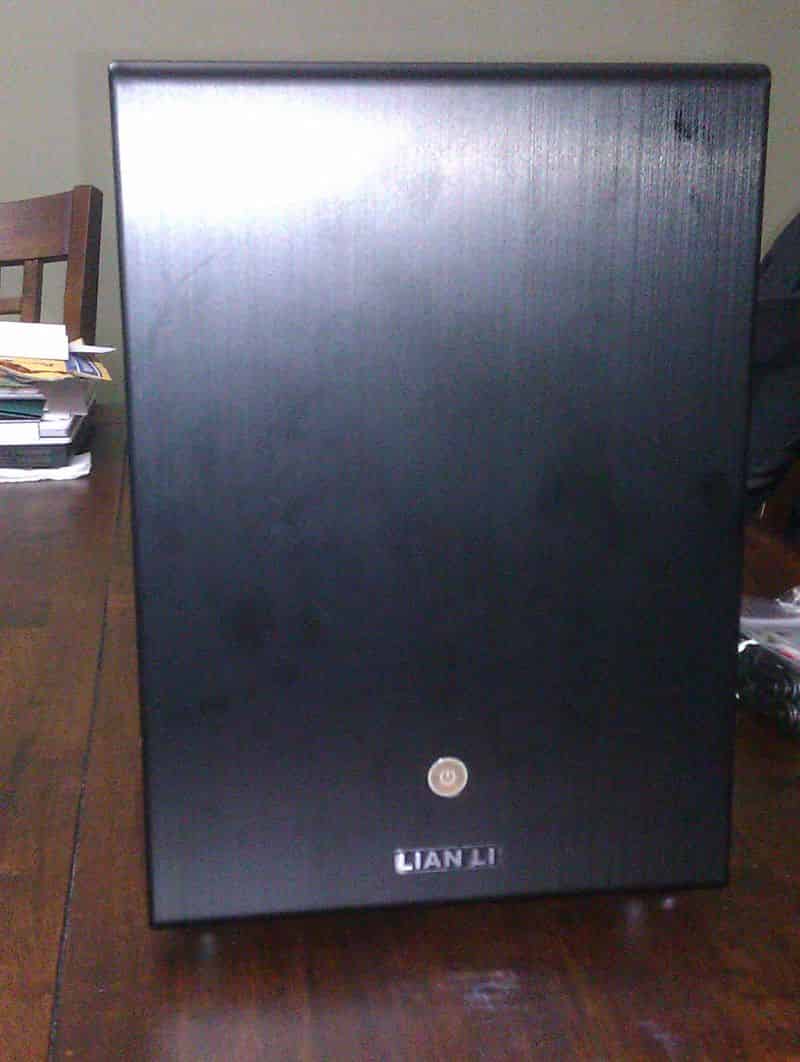
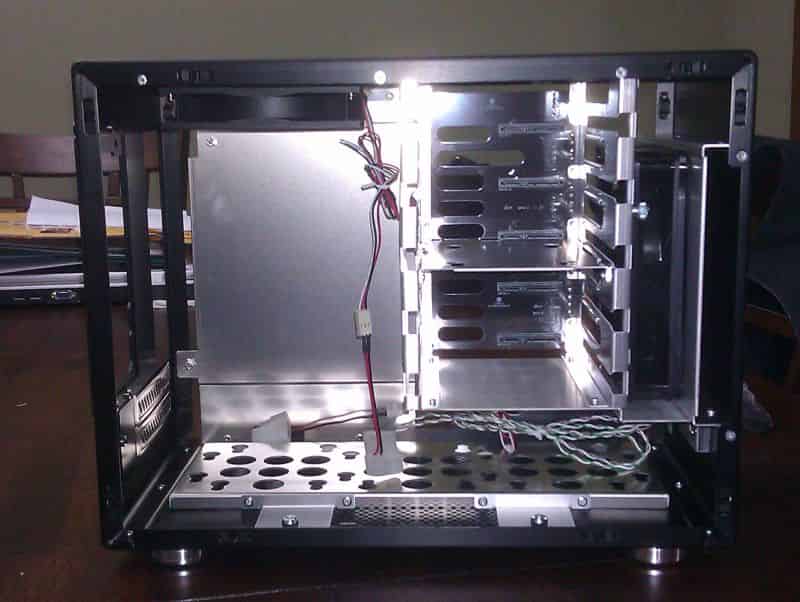
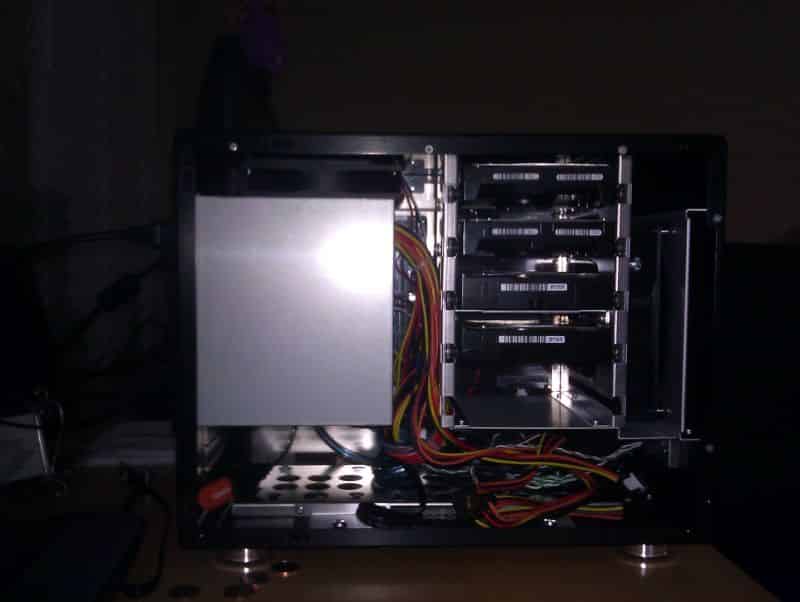
It had been years since I had last built any kind of PC, so there was a very minor amount of rust to shake off. The assembly went particularly well. The extra money that I spent on the Lian Li PC-Q25B was well worth the investment, I was especially happy with the drive cage in the case. The case came with two 120mm fans which installed nicely on the two fan headers from the ASUS E35M1-I Fusion motherboard I selected.
Naturally, things never go quite as you planned. I had dangerously assumed that because the motherboard had 6 SATA ports that it would come with a glut of SATA cables. Instead, it only came with two cables and because one end of the cables had a 90 degree bend, the bent end would either block one of the SATA ports on the motherboard or one of the power plugs on the drive cage’s backplane. This was remedied pretty easily, but it required a trip to the local computer store the next day.
There was one issue with the front case fan. Something was scraping on the fan, causing it to make a pretty annoying rubbing noise on each turn of the fan. It was simple to pull the fan out and find the issue. There was a piece of screen in a plastic frame in front of the fan. That piece was a little bit deformed and pushing in on the hub of the fan and causing the noise. It was a simple task to remove that plastic piece and put the fan back in.
I had an additional issue with getting the motherboard to detect all four of the drives we put in. After a bit of swapping of cables we determined either that one of the cheap SATA cables we bought the previous day at the computer store was either defective or had not been firmly attached.

FreeNAS Configuration
Before I could button up the case, first we needed to install FreeNAS on the USB flash drive. Using a guide on the FreeNAS website and some 3rd party utilities, I had a bootable FreeNAS USB drive. Beginning the installation meant installing the USB drive inside the case and powering on the computer.
When booting up FreeNAS for the first time, there are a few configuration options that you need to make via the Console Menu like network and DNS settings. Once the network interface is configured, the web interface on the FreeNAS machine is functioning and the remainder of the configuration can be done from a browser on the local network.
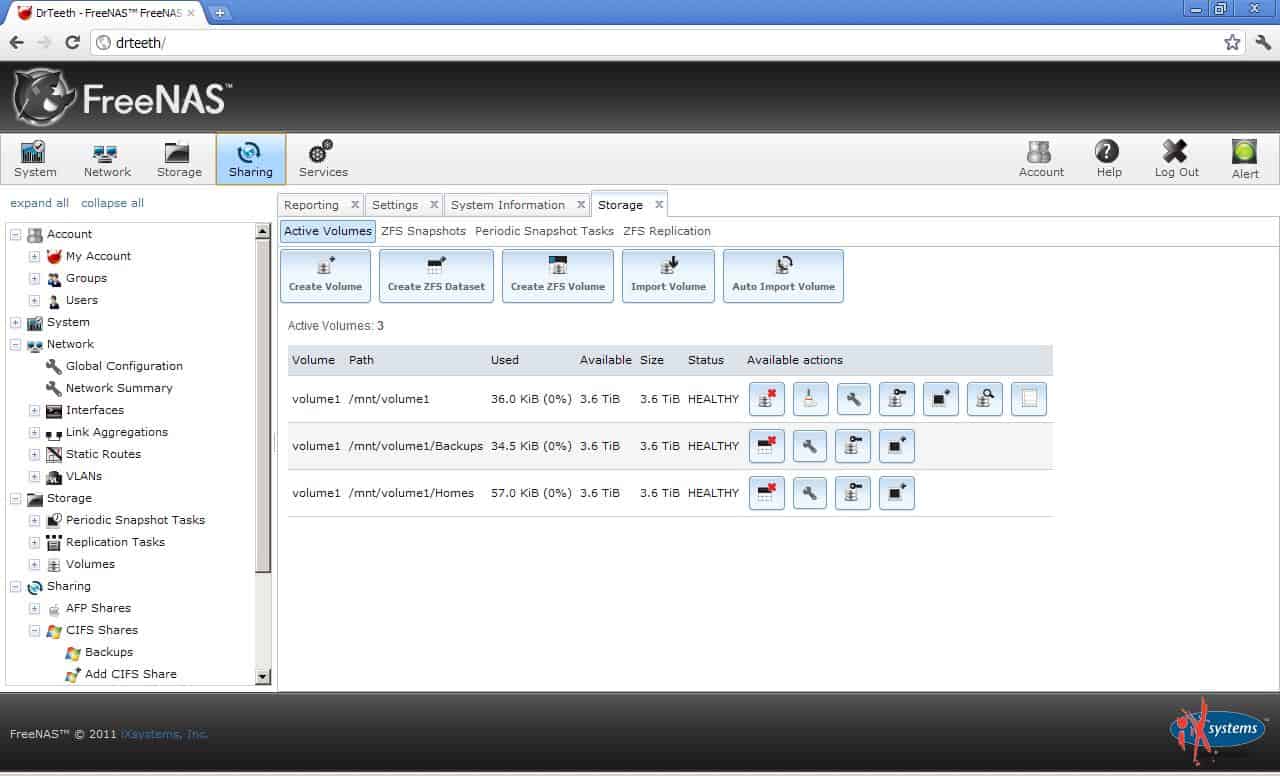
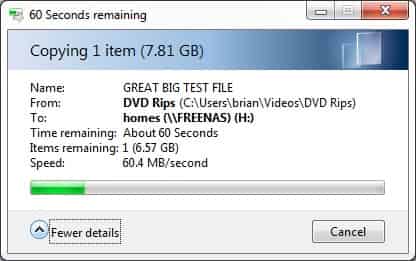
Firstly, we created a Volume, added all four disks to it and picked ZFS as the file system. Moving along, we selected the RAID option. Because we had selected ZFS and because I began the array with four drives, I decided to select RAID Z2 (roughly equivalent of RAID 6). Picking this option made the array fault tolerant enough to survive losing two drives at any one point. On the volume, we wound up creating two ZFS datasets; “Homes” and “Backups.” The Homes dataset would be used to house a folder for each of the individual users; the Backups dataset would be used for the backups of our PCs. For these items, we chose ZFS datasets because of the snapshot features available. After that, we created some users and home directories for the users. Because of the ever-nifty Samba server, those home drives were available from our Windows machines as well as the Backup share we created previously.
Hopefully, as time progresses I will be getting my teeth into FreeNAS doing some blog-worthy and possibly even noteworthy things with the NAS.
Wrap Up
All in all, the assembly and configuration of the FreeNAS server was exceptionally uncomplicated. The available FreeNAS documentation walked me through anything that I had questions on or that were not clear from the interface. I have a feeling that we only started to scratch the surface of what FreeNAS is capable of. Hopefully,the flooded hard drive factories are not damaged too badly and they can start pumping out some very inexpensive 2 terabyte hard drives. When that happens, I’ll be adding two more drives to the NAS.
The alternative NAS-in-a-box products are all very tempting choices and I would expect that more options will hit the market over the next couple years. Because of the availability of great (and free) software like NAS Building a PC today is clearly the best option. Had I been more motivated by cost, it would have been incredibly easy to build the same box using a cheap PC. Overall, I am very pleased and would recommend this to anyone thinking about adding some network attached storage to their home network.