

I recently reviewed the Ortur Aufero Laser 2 and had a lot of fun both engraving and cutting a variety of materials with the laser engraver.
But the Aufero Laser 2 wasn’t the only thing included in the package for me to review! Next to the laser engraver was the Ortur YRR 2.0 Rotary Roller. The rotary tool was so interesting to me, I felt it needed its own blog!
What is a rotary tool for?
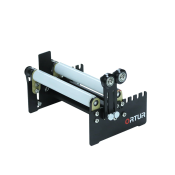 A rotary tool is an accessory to be used with a laser engraver. The accessory is comprised of a pair of rollers. This rotary tool is plugged into the laser engraver’s motherboard in place of the Y-axis stepper motors.
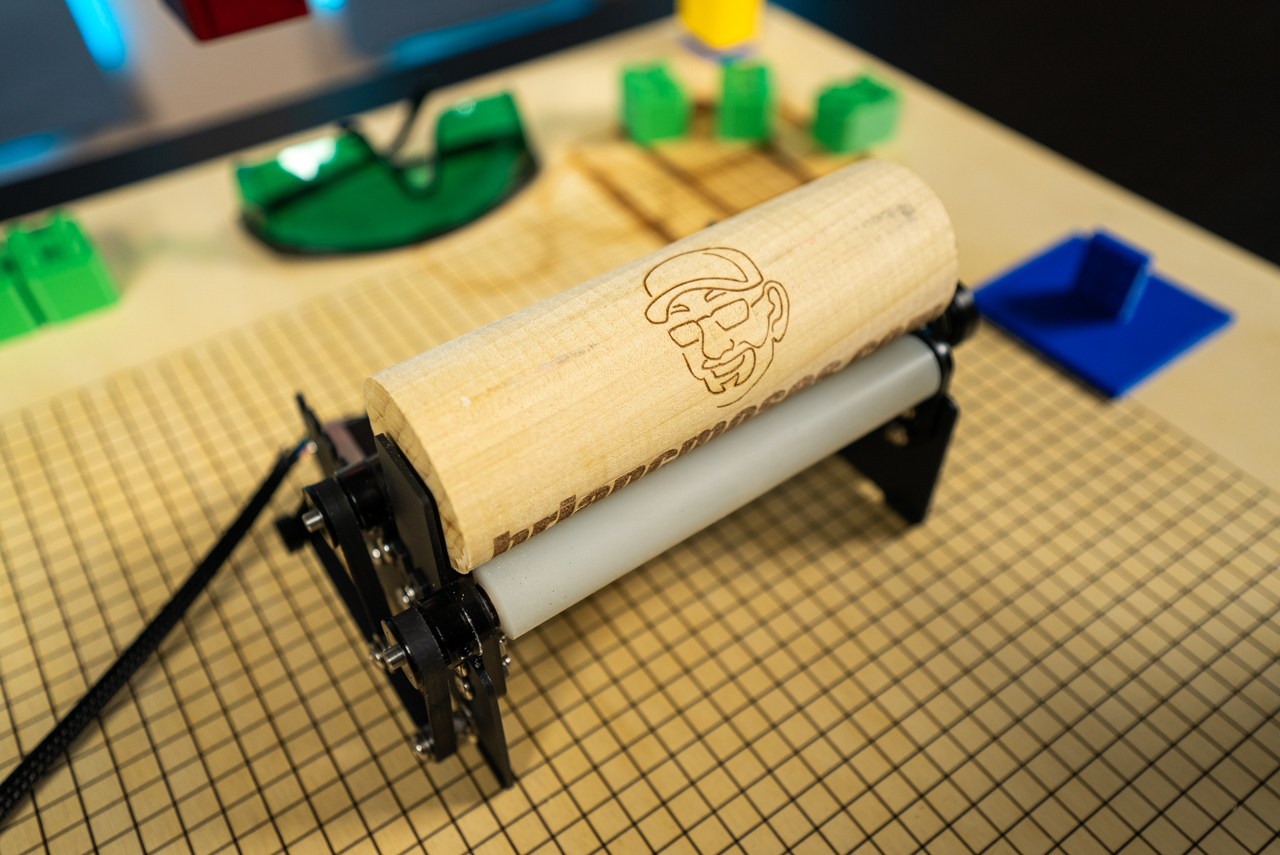
As the laser engraver sends commands to move the Y-axis, the rotary tool’s wheels spin and rotate your material while the laser moves back and forth the X-axis and engraves the material.
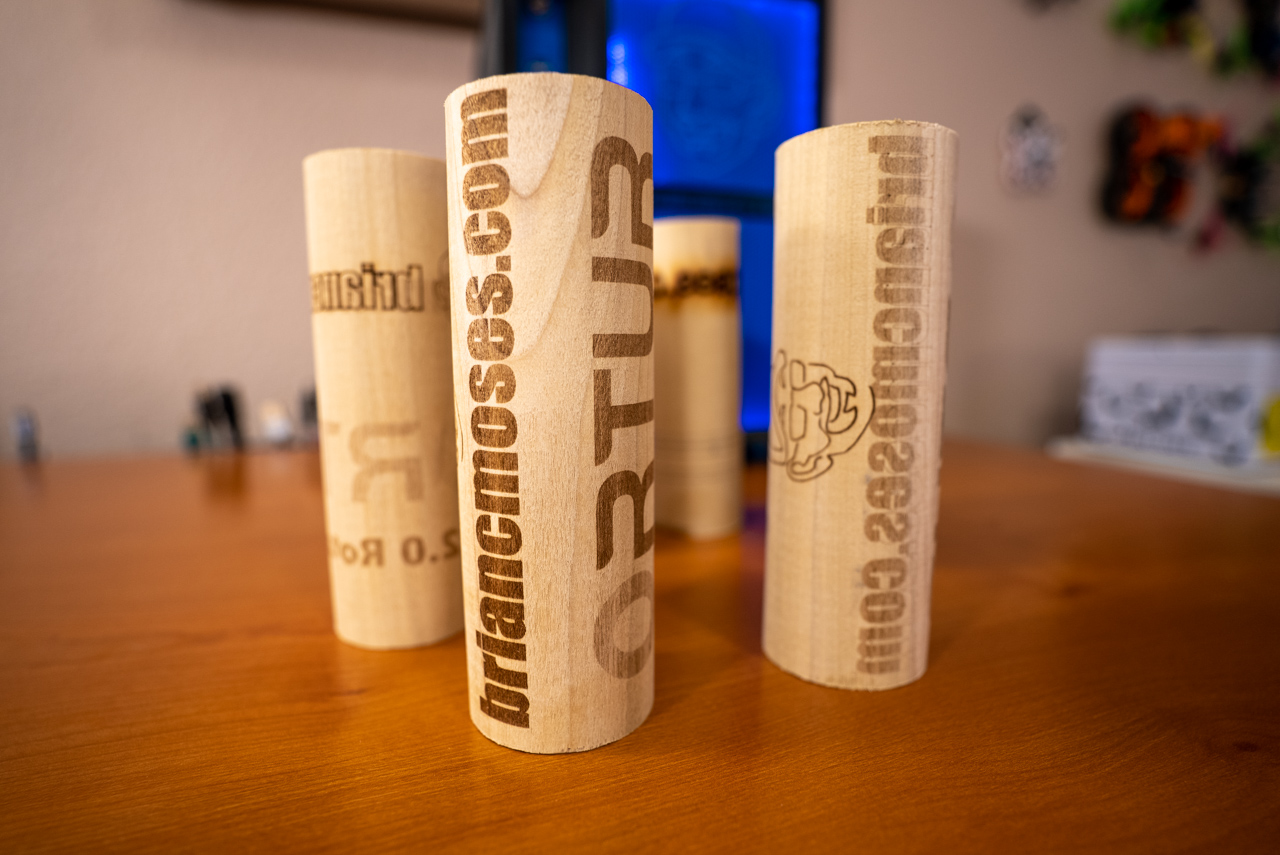
It takes some configuration and tweaking in the laser engraving software (LightBurn or LaserGRBL), but once that setup is done, the rotary tool enables users to engrave cylindrical objects like mugs, glasses, tumblers, baseball bats, etc.
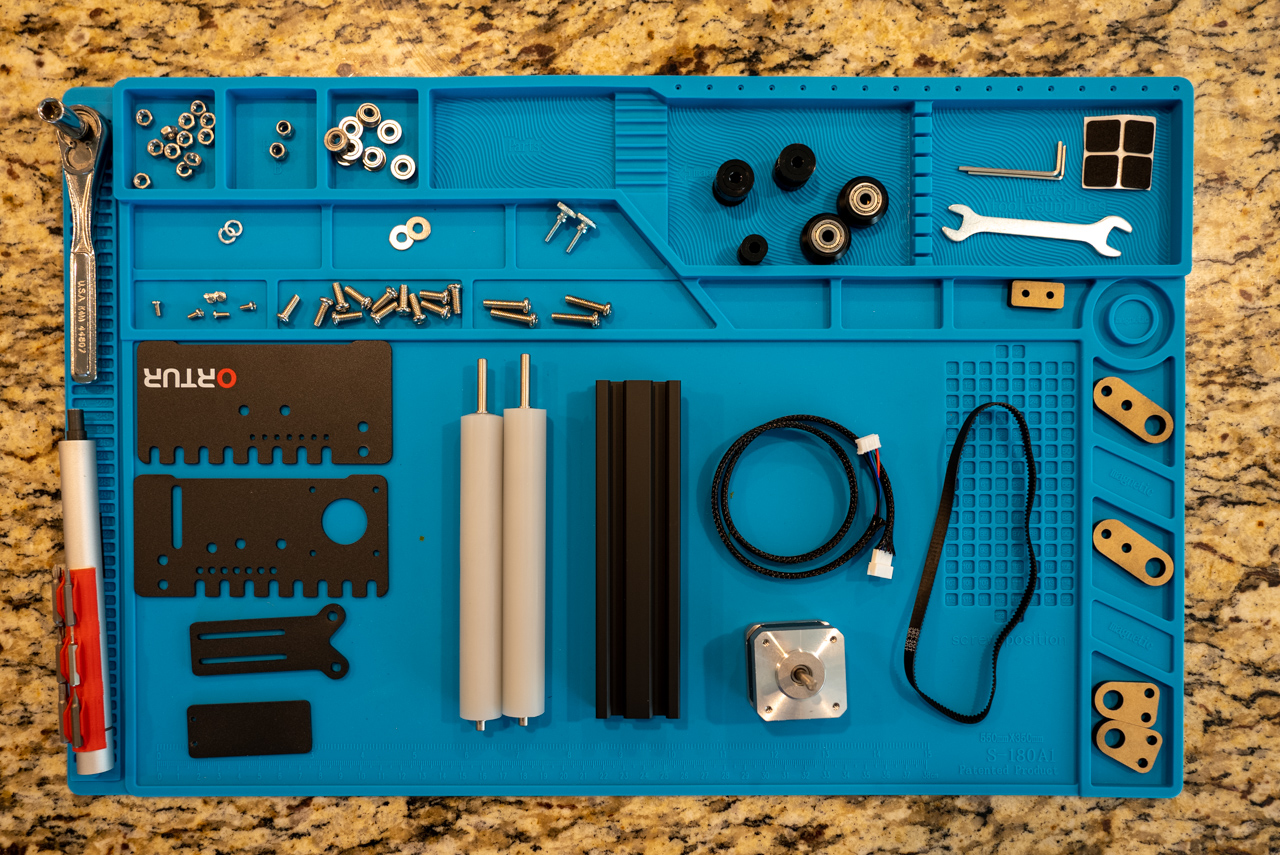
Assembly of the Ortur YRR 2.0 Rotary Roller
The Ortur YRR 2.0 Rotary Roller comes in a kit that comes completely disassembled. Assembling that kit is fairly straightforward thanks to the documentation, Ortur’s assembly video, and other various guides shared by content creators on the Internet.
I assembled the entire thing after breakfast one Saturday morning. The assembly was complete before I had finished my morning cup of coffee.
Configuration and Use
While assembling the Ortur YRR 2.0 Rotary Roller seems to be well-documented, hooking it up to your laser engraver, configuring your laser engraving software, and the positioning of the rotary tool aren’t part of what’s covered in any documentation from Ortur. This is my only complaint about the Ortur YRR 2.0.
Considering that both the laser engraver and the rotary tool are made by the same company, I expected that there would be a myriad of directions for using the Ortur YRR 2.0 with all of Ortur’s different laser engraving products. I was a tiny bit disappointed when I realized this, but in retrospect I’m a bit glad these directions weren’t included! I enjoyed tinkering with the engraver and gradually coming to an understanding of how it works.
Thankfully, there’s a bunch of content from other makers that have put in the work to help fill this documentation gap. In particular, The Louisiana Hobby Guy shared a guide setting up the Ortur YRR 2.0 which I found tremendously handy.
3D-designing and 3D-printing things specifically for the Ortur YRR 2.0 Rotary Roller
I enjoy when my interests overlap. I especially enjoy when they happen as blog topics. For example, 3D-printing parts for my quadcopters, using home automation to monitor my 3D printing, and most recently 3D-printing parts to use with my laser engraver as part of this blog!
I wound up encountering two challenges with the Ortur YRR 2.0 Rotary Roller that I knew right away I wanted to solve with 3D printing:
- Relocating the built-in roller guide to accommodate longer material.
- Raising the entire laser engraver up above the Ortur YRR 2.0 and the material being engraved.
I was able to conquer both of these challenges with my 3D printer; I even designed one of the solutions myself.
Firstly, I used these awesome Lego-like risers by Enduro512 on Printables.com. There were a variety of heights for the risers which make adjusting for different diameters of material a breeze. Secondly, I wound up 3D-designing a base that the Ortur YRR 2.0’s roller guide can attach to. This way the roller guide could be placed independently of the Ortur YRR 2.0 and support a much longer piece of material.
Other suggestions from Brian
Want to buy the Ortur YRR 2.0 Rotary Roller but you’re a little wary by the lack of documentation on configuring your software and using the YRR 2.0 for the first time? Don’t be. There’s information out there that fills this gap, and if you’re willing to tinker, then it’s not that difficult to get set up without that documentation.
I tinkered and muddled my way through getting the Ortur YRR 2.0 working and thought I’d share a few tips that I think might be helpful for you too:
- Have a set of digital calipers–even inexpensive digital calipers–handy.
- When using the Ortur YRR 2.0 with the Aufero Laser 2, unplug both the Y-axis stepper motors.
- Dial-in your rotary tool using a test job like The Louisiana Hobby Guy describes in his Ortur YRR 2.0 video.
- Have a bunch of material to practice on. I bought a couple closet rods at the nearby big box hardware store and then cut it down to quite a few different 6” pieces.
Complement these tips with others’ content, experiment with the Ortur YRR 2.0, and you will be well on your way to understanding how to get it to work best for you!
What’s Brian think about the Ortur YRR 2.0 Rotary Roller?
While I would’ve liked if there had been a bit more documentation to help me get started, I also enjoyed the extra tinkering with the Ortur YRR 2.0 that I needed to do in order to get it working. I wound up investing some of my raw material and time in the process, but I’m pretty happy with the returns from that investment.
Having an Ortur YRR 2.0 enables you to engrave an entirely different shape of material. It accomplishes this fairly inexpensively, without a tremendous amount of effort to assemble or effort dialing it in. I do not have a tremendous amount of experience with laser engraving, but I had it working fairly quickly.
If you own a laser engraver and you think it’d be fun to engrave mugs, drinking glasses, baseball bats, tumblers, stemware, etc., then I would encourage you to strongly consider the Ortur YRR 2.0 Rotary Roller!