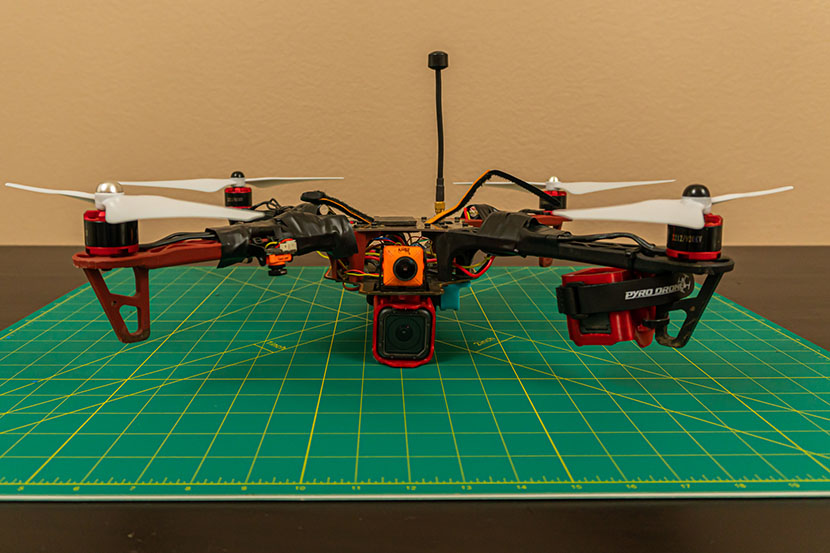
Back in 2017, a friend introduced me to the world of quadcopters. He even led a class and helped me build my very first quadcopter. Within the first couple flights, I was hooked! Very early on, I was very keen on building my own do-it-yourself photography quadcopter.
At the time, I wanted to build something comparable to the DJI Phantom 3 so that I could take some different kinds of videos and pictures for my blog. I wound up getting impatient and buying a DJI Spark to see if it would scratch my flying camera itch when I realized that I just wasn’t all that interested in the entire concept. I wasn’t producing the kind of content I wanted to with my drone and I didn’t really want to put the time into improving my skill.
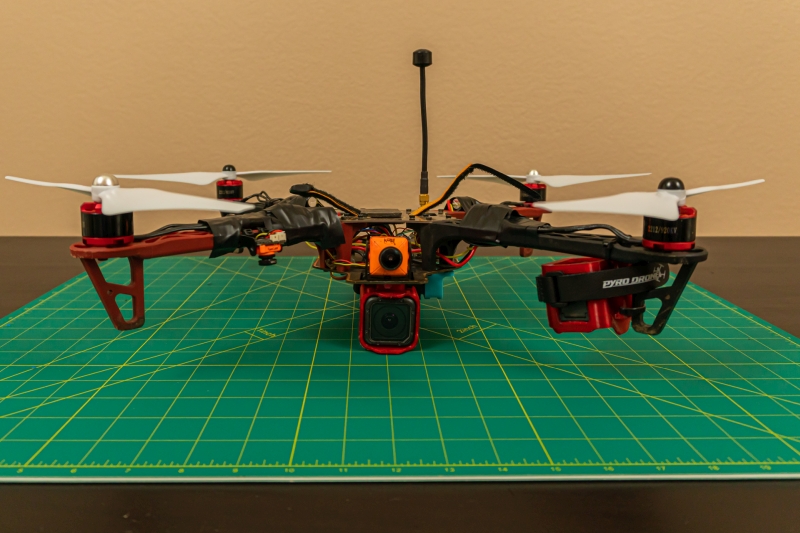
Undeterred, we found something fun to do with my DIY 450mm quadcopter: we made it able to drop things! We dropped parachute men, we dropped a water bottle, and we capped it all off when we dropped a wooden stake that we found lying around the park:
At this point, I’d just begun tinkering around with flying my FPV quadcopters and learning that what I really wanted to do was go fast and do tricks, crash, upgrade, and repeat this as many times as my family and my bank account would allow. One day, Pat and I were flying quadcopters and we almost simultaneously said the same thing, that we thought we enjoyed what we were doing because it appealed to the tinkering and upgrading we’d done over the years with both cars and computers.
Unfortunately, this meant my DIY 450mm quadcopter wound up in a closet and was completely ignored the past two years or so. In fact, it was left alone for so long that I nearly ended up throwing it away because it had become quite obsolete. But then one day, someone asked me if I thought that the quadcopter could lift a certain six-pound object that’d been a topic of recent interest. The question got the wheels turning in my head, and I asked myself, “What would it take to modernize and maximize the performance of my abandoned 450mm quadcopter?
Upgrading and Modernizing the 450mm Quadcopter
By the sheer neglect that the 450mm Quadcopter experienced, the flight controller had become ancient and the ESCs were too dainty to handle the batteries that I was carrying around in my quadcopter bag.
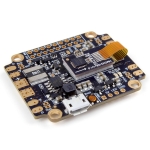 At the time we built it two years earlier, the Naze32 at the heart of my 450mm quadcopter was pretty advanced in its age already. It only made sense that the first thing I’d try and upgrade was the flight controller. Thankfully, I had access to a number of old F4-based flight controllers, like the HolyBro Kakute F4 AIO V2 Flight Controller, as a result of upgrades or repairs to my collection of freestyle quadcopters.
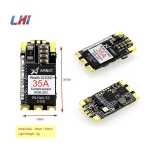 Similarly, the ESCs that I was using before were both older and less powerful than what I was currently using. Their rating of 30amps was ideal for the two-to-four cell batteries (2S-4S) that I had been using, but I’d long since graduated to using six-cell batteries (6S) in all of my quadcopters and had divested nearly all of my 4S batteries long ago. Using some old LHI Wraith 32 ESCs that I had lying around made perfect sense.
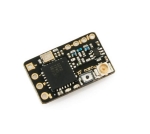 I’d long since moved away from the Spektrum transmitter and receiver that I originally had in the quadcopter and moved to a FrSky receiver. But I had also upgraded from FrSky to the Crossfire Nano in a subsequent upgrade. While I could’ve used the FrSky receiver that was on the 450mm quadcopter from a prior upgrade, I opted to upgrade to the Crossfire on the quadcopter in case I wanted to enjoy the longer range benefits that the Crossfire yields.
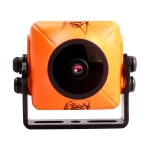 The quadcopter never had any kind of first-person-view (FPV) capabilities. Thankfully, I had a whole drawer full of full-size Runcam Eagle FPV cameras as well as an extra AKK X2 Ultimate video transmitter (VTX) that served as a spare for the others on my favorite quadcopters. Adding FPV capabilities to the 450mm quadcopter was going to completely change the experience of flying the quadcopter. Consequently, I was excited about all the new possibilities that it was going to open up.
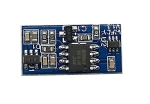
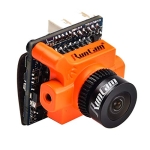 But wait, there’s more! I wanted a bird’s eye view of the payloads the 450mm quadcopter would be carrying! I had plenty FPV cameras just sitting unused in my drawer, including a spare Runcam Micro Swift. With the addition of a VIFLY dual FPV camera switcher, I would be able to toggle between a forward-facing camera or a camera facing down. Having that bird’s eye view of the payload being released was a feature that I couldn’t pass up.
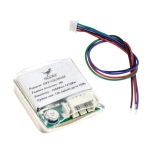 We’ve tinkered quite a bit with GPS lately, not for any specific reason, but more because we could. Testing out the Betaflight GPS rescue mode was hysterical the first time that we tried it. Mostly, we liked having some of the GPS data on our other quadcopters, especially being able to know our speeds and distances traveled. I had purchased a spare GPS module in case I damaged the ones in my other quadcopters, so I figured I’d use the spare in my 450mm quadcopter. And when (or if) I needed my spare, I’d cannibalize it from the 450mm quadcopter.
Rounding out the upgrades were a couple different kind(s) of 3D-printed GoPro Session mounts that I zip-tied to different parts of the quadcopter. One pointed straight out, and the other pointed straight down. The quality of the DVR footage isn’t that great. Wat I was really going to want was some nice high-definition video of whatever was being released from the quadcopter’s payload mechanism. Assuming that I’m brave enough to put my two GoPro Session 5 action cameras on this quadcopter, I should have some pretty awesome footage of its flights and drops!
Having modernized and upgraded the 450mm quadcopter, I realized that the only thing it was missing was a name. Having reused old parts, scrounged up other abandoned parts, 3D-printed some parts, and even bought a new part or two, only one name really made sense to me:
Frankenbomber
Yes, yes, I know Frankenstein was the doctor and not the Monster, but Frankenstein’s Monster was a natural correlation for this new quadcopter, and calling it Frankenstein’s Monster’s Inspired Bombing Quadcopter was a bit of a mouthful. Besides, then I could call it Frank for short.
We tested, tuned, and tweaked Frank quite a bit. At first, we found out that the Crossfire Nano RX I rescued from my spare parts bin was defective. Frank was hitting his failsafe all too often and becoming unresponsive. The next time out, we had great reception between my transmitter and the quadcopter, but for some reason the dual FPV camera switcher was randomly switching between the two cameras to the point where it was a bit terrifying in the goggles to try and fly the quadcopter.
Eventually, we decided that the likely culprit for the random camera switch was electrical noise getting output. We put a large capacitor right at the power source and then a smaller capacitor between each of the four motors and the ESCs. Those five capacitors did the trick, clearing up all the problems that I was having with electrical noise.
Frank’s First Two Payloads
Having straightened out Frank’s electric eccentricities, the quadcopter was flying pretty stable, wasn’t completely losing control at any point, and wasn’t awful to fly. His flight’s characteristics were nowhere similar to my other freestyle quadcopters, but it was acceptable to me and more than capable of what I wanted it to do. That night we went to Target and shopped specifically for things that we could drop from Frank the next day. I wound up buying a dodgeball-like ball that came in a mesh net that was perfect for a few tries at the dropping from the quadcopter (Note: skip to 3:09 to bypass all my talking):
Frank’s Ultimate Payload was going to be a Disappointment
Ultimately, I had an incredible payload in mind when I first started modernizing and upgrading Frank. I had been issued a very specific challenge and I was really excited about conquering that challenge. The payload weighed around six pounds, and as a test, we decided to fill some old milk jugs up with six pounds of water. If Frank could lift, maneuver, and drop them, it’d be an excellent test of delivering the ultimate payload I had in mind. Unfortunately, those tests were a failure as you see in Pat’s “chase” quad video on YouTube:
Pat talks about it in a bit more detail in his video, Failure to Lift. We’re not really certain why this didn’t work out. He was able to lift the same amount using one of his Freestyle Quadcopters with much smaller propellers and shorter motors. Between the longer propellers and taller motors that Frank had, we figured it wouldn’t be an issue at all to lift a six-pound payload. But for some reason, it could not handle the payload of our milky water jugs.
Make sure you check out these two videos from Pat. He did an awesome job in going over some of our tinkering, plus there’s some pretty awesome footage that he filmed as a chase quadcopter for our drops!
Final Thoughts
I’m still quite disappointed that we couldn’t drop the ultimate payload, but I’m optimistic enough in our failure that I’m still protecting what that payload is going to be. We established that Pat’s 5.5” freestyle quadcopter using 5s batteries can lift six pounds of water. My pretty-equivalent quadcopter can fit even bigger propellers (up to 6”) and is powered by 6S batteries. We still think it’s entirely possible that we’d be able to lift and release a six-pound payload, we just might not have all the dramatic video from the two cameras.
Pat and I have already been brainstorming the possibility of building a better payload-release mechanism. An entire module that we 3D-design, use Pat’s CNC mill to cut it out of carbon fiber, and include its own battery, servo, and receiver. If we design the module well enough, it’d be simple to swap it from Frank to one of our other quadcopters.
What do you all think? Are we out of our minds for trying to find a way to lift and drop more than six pounds from a quadcopter? Do you have any idea why we might not have been successful? Let me know in the comments, I’m interested if you can help me figure out why I failed!

