
I like the Yin and Yang for this article, today I plan to write about something I consider myself to be skilled at (demolition) and something I often think I need to do a little more of (planning).
Planning
Firstly, the planning. In prior articles, I decided that it’d be nearly the same cost for me to buy hardware and do Ethernet-over-Power when compared to actually cabling some network drops in each of the rooms I wanted in. Once I had made that determination, I thought it’d be best if I went ahead and did the cabling and added value to the house. In a number of ways, I probably either bought equipment I couldn’t fully utilize (48 port patch panel) and possibly over-spent on some new hardware (a new router/AP).
Here are my objectives:
- Place at least one network drop at the three locations in our den/office that have computers
- Create a network drop behind the TV, since it was centrally located in the floor plan and set up the new Router/AP near the TV to improve WiFi.
- For each and every phone jack in the house, run a network drop to that location.
- Add a network drop to any bedroom without a phone jack.
- Relocate the Verizon FiOS router hardware to the network cupboard.
Here are the parts that I bought for the project and their cost. I didn’t really go nuts trying to find the best deal, I did the majority of my shopping on Amazon, Newegg and eBay, all prices are my best approximation for my total out of pocket (shipping, taxes, etc…):
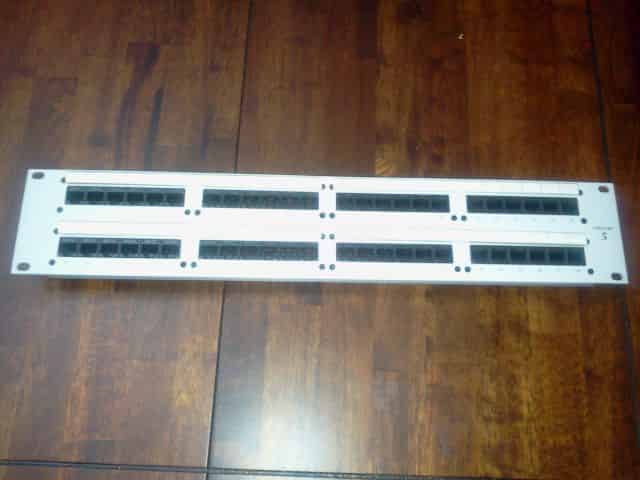
- 48 Port Patch Panel (eBay: $27.50)
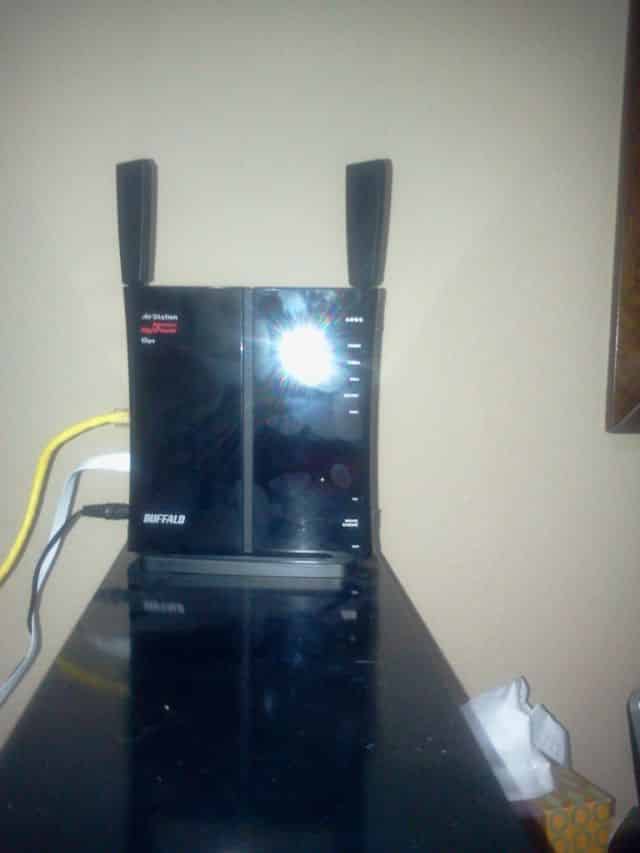
- BUFFALO WZR-HP-AG300H AirStation High Power N600 Gigabit Dual Band Wireless Router (Amazon: $71)
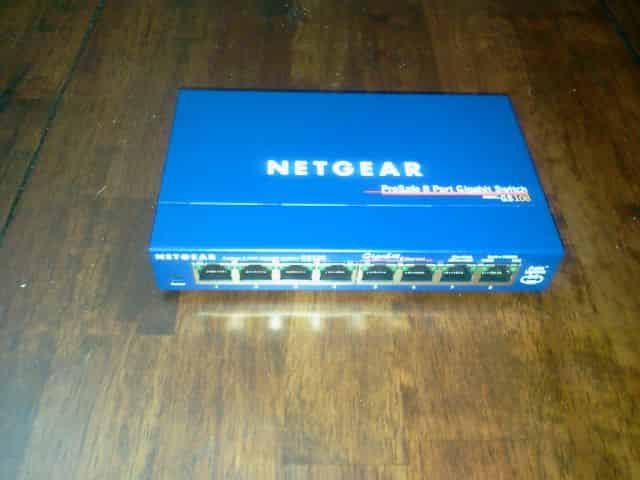
- 2x Netgear ProSafe Gigabit Switch GS108 (Amazon: $51 ea.)
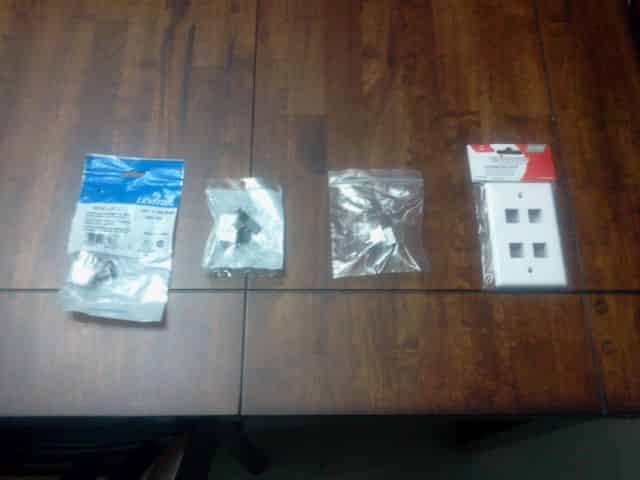
- Various electrical boxes, wall plates, coax/phone/cat5 keystones (Lowes, Amazon: $75)
- Miscellaneous lumber, pegboard cabinet hinges and magnets (Lowes: $20)
Edit: Adding a few items we bought after this post to keep it accurate.
- Five foot 2” PVC Pipe (Lowes: $5)
- 2” PVC clamp/brackets. (Lowes: $3)
- Spray-foam Insulation (Lowes: $11)
In my empty cupboard, the plan is to basically build a 19” vertically mounted server rack of sorts. Nothing tremendously fancy, we purchased a few feet of 1”×2” lumber. What we’d really like, is to build something hinged that can swing open towards us to allow easy access to the back of the patch panel. We’re going to cut some slits into the rack and screw in some peg board. On that peg board, we’ll mount the switches and FiOS router in such a way that everything looks nice and neat when you open the cupboard.
Demolition
Sadly, there was not a whole lot of demolition for me to get into. Perhaps it is because I watch too much HGTV, but I had envisioned a sledge hammer and carefully destroying something worthy of before and after pictures. This wasn’t the case. In fact hardly any demolition was needed at all, but we suspected a TV antenna built into the attic might be soaking up some of the WiFi and causing the coverage issues we’re seeing in the house. All it took to remove the antenna was to loosen some bolts that were finger-tightened. This simple removal was preceded by me wildly thrashing the antenna back and forth trying to knock it loose while wobbling precariously on top of the rafters. Sometimes, you just have to do things the most difficult way before you can appreciate the simple solutions. After removing the antenna, we thought we saw an improvement in the WiFi coverage throughout the house but nothing dramatic and it may even be wishful thinking on our parts.