

I’ve been building DIY NAS servers for over 12 years and 3D-printing for almost 8 years. Just over 5 years ago, these two hobbies overlapped when I reviewed the 3D-printed NAS case, the M735. In that review, I decided that I wanted to 3D-print my own MK735 case, and ultimately used it when I built the DIY NAS: 2022 Edition and retired my old NAS.
Sadly, though, the MK735 is no longer available. The creator’s website has gone dark, and it seems the plans are no longer obtainable, which is a huge disappointment. People have been showing up in our Discord server and asking me how they can obtain the MK735, and I’ve had relay this unfortunate news and couldn’t really point everyone in a direction where they could scratch their 3D-printing and DIY NAS itches simultaneously.
YouTube’s algorithm does a good job feeding me 3D-printed content, and I quickly subscribed to @makerunit’s channel on Youtube. The channel is chock-full of awesome 3D-printing content, but makerunit in particular has been designing all sorts of interesting small form factor cases that can be 3D-printed on many printers. With each new video makerunit released, I kept thinking to myself that I should suggest that he create something for DIY NAS builders. So I reached out to makerunit to make my suggestion, and to my delight, makerunit replied back that he thought I’d be excited about his next video. And he was right!
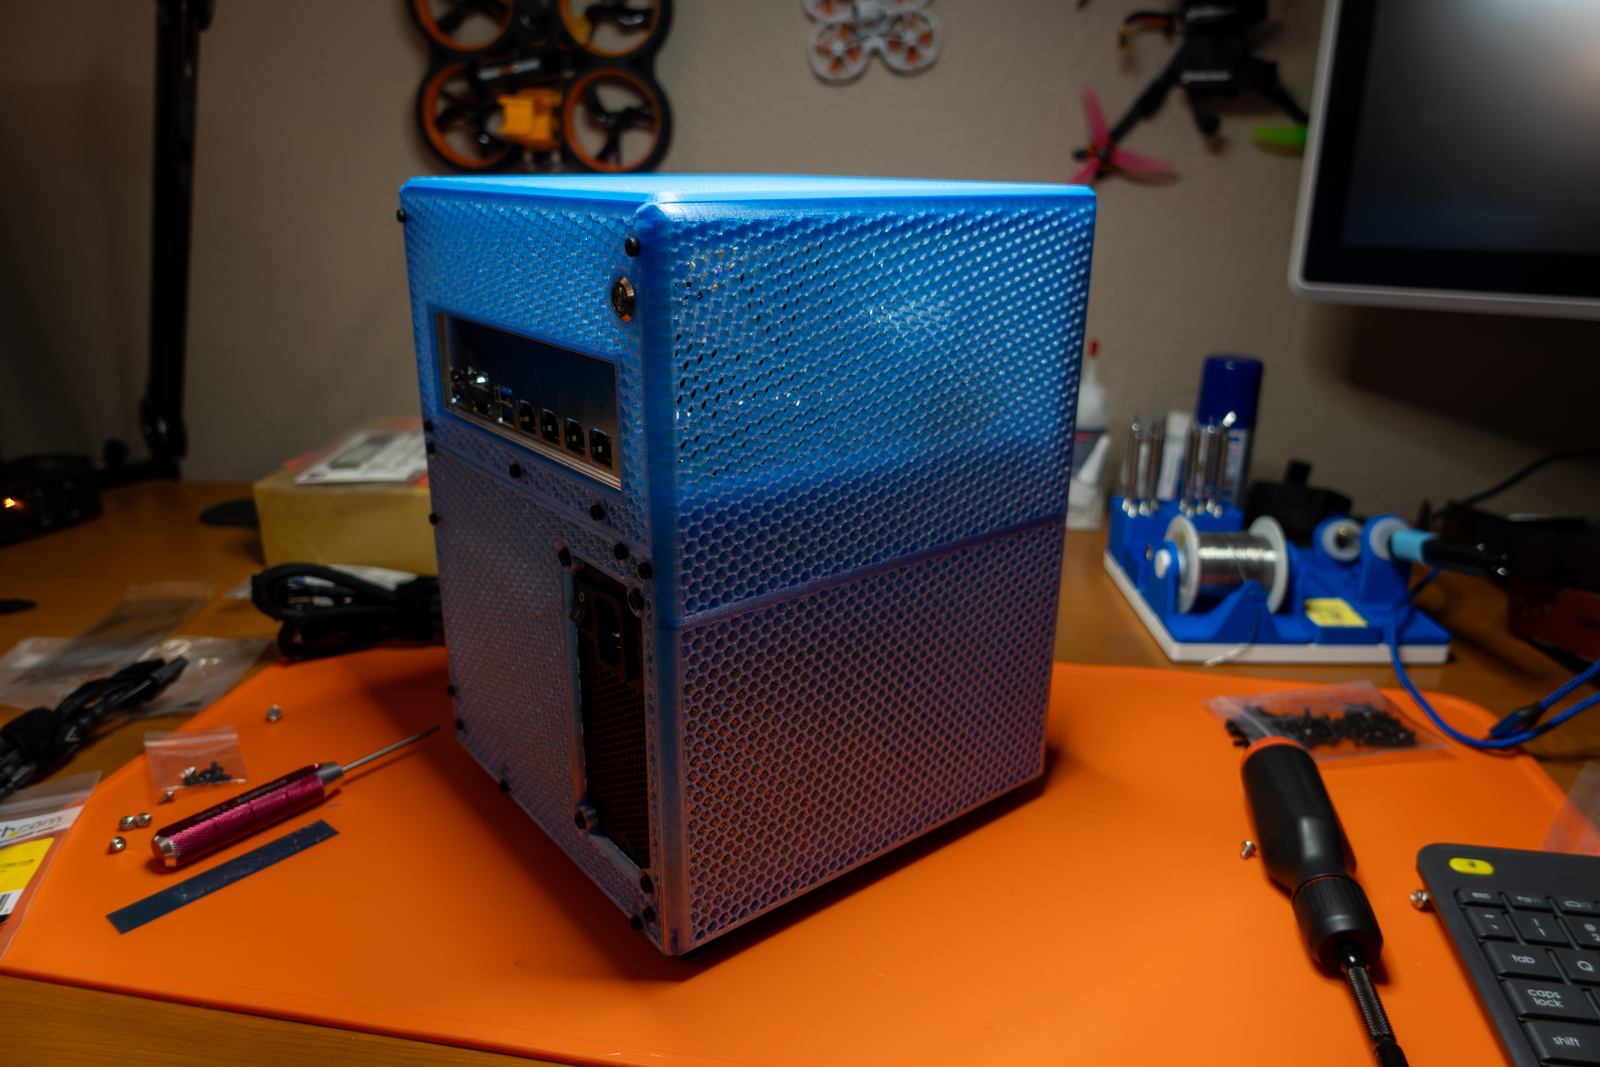
NAS / APU Case by makerunit
My initial impression was that I thought the NAS / APU Case looked fantastic. One of the things that I like the best about makerunit’s designs is that his designs are really well thought out in regard to minimizing how much print time it takes.
NAS / APU Case by makerunit features:
- Mini ITX form factor
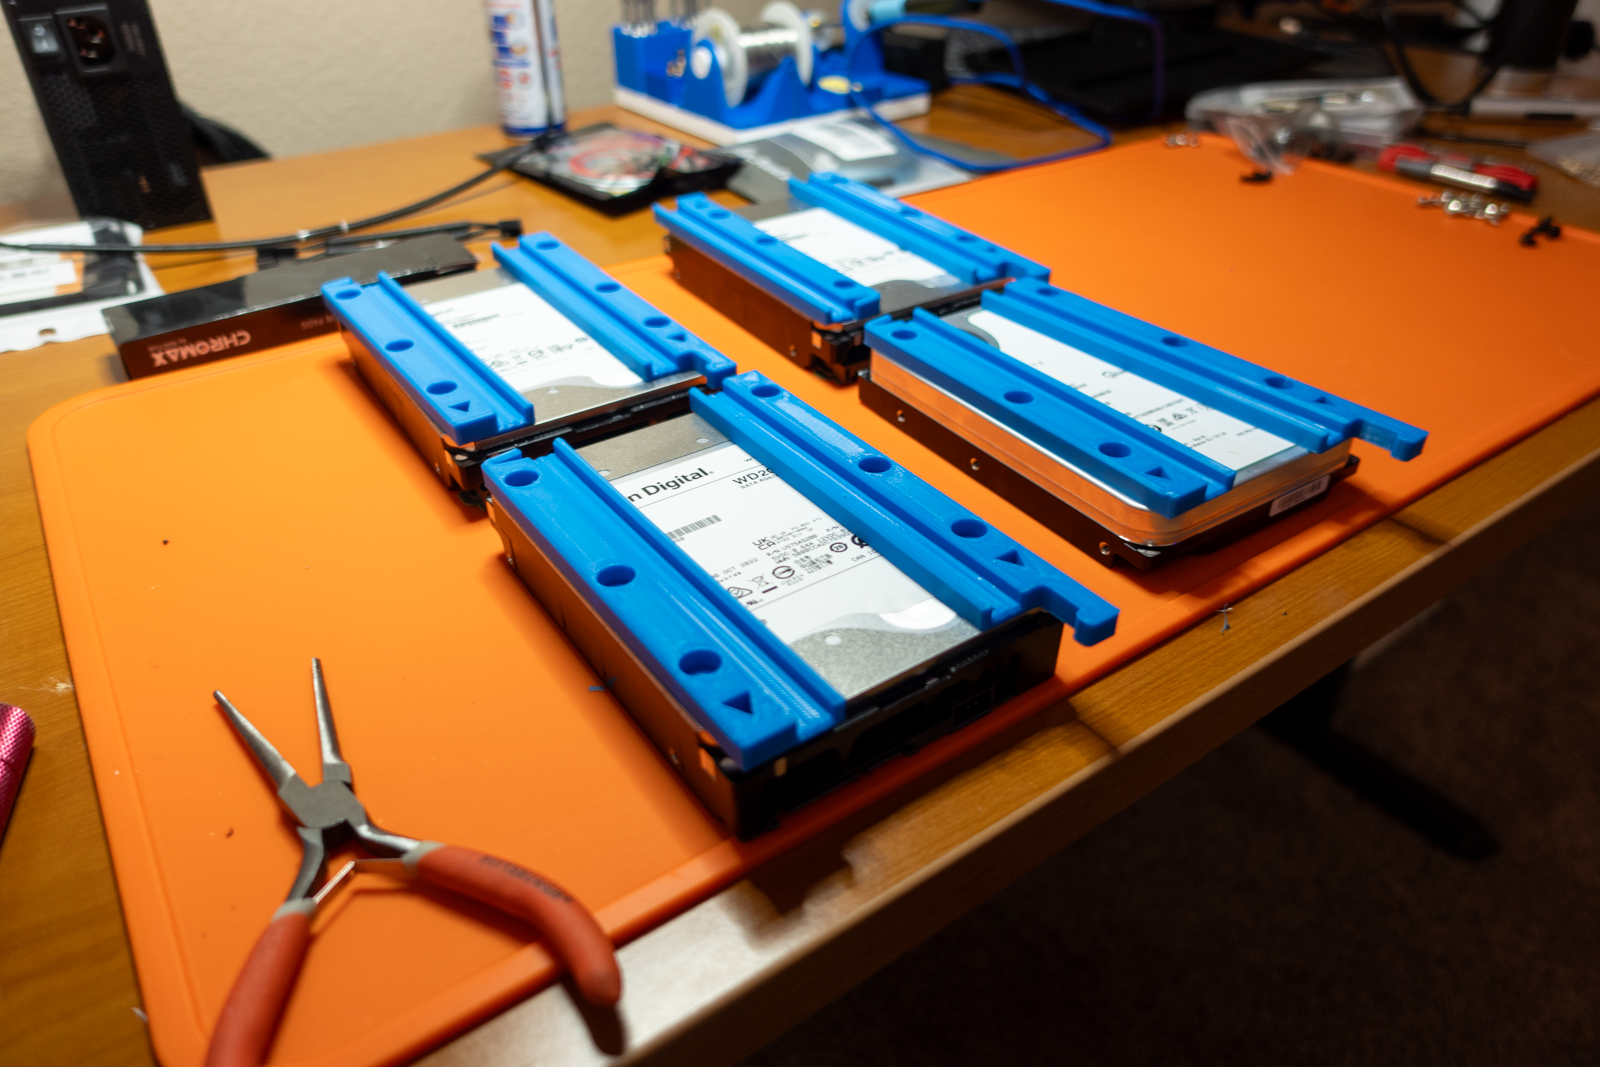
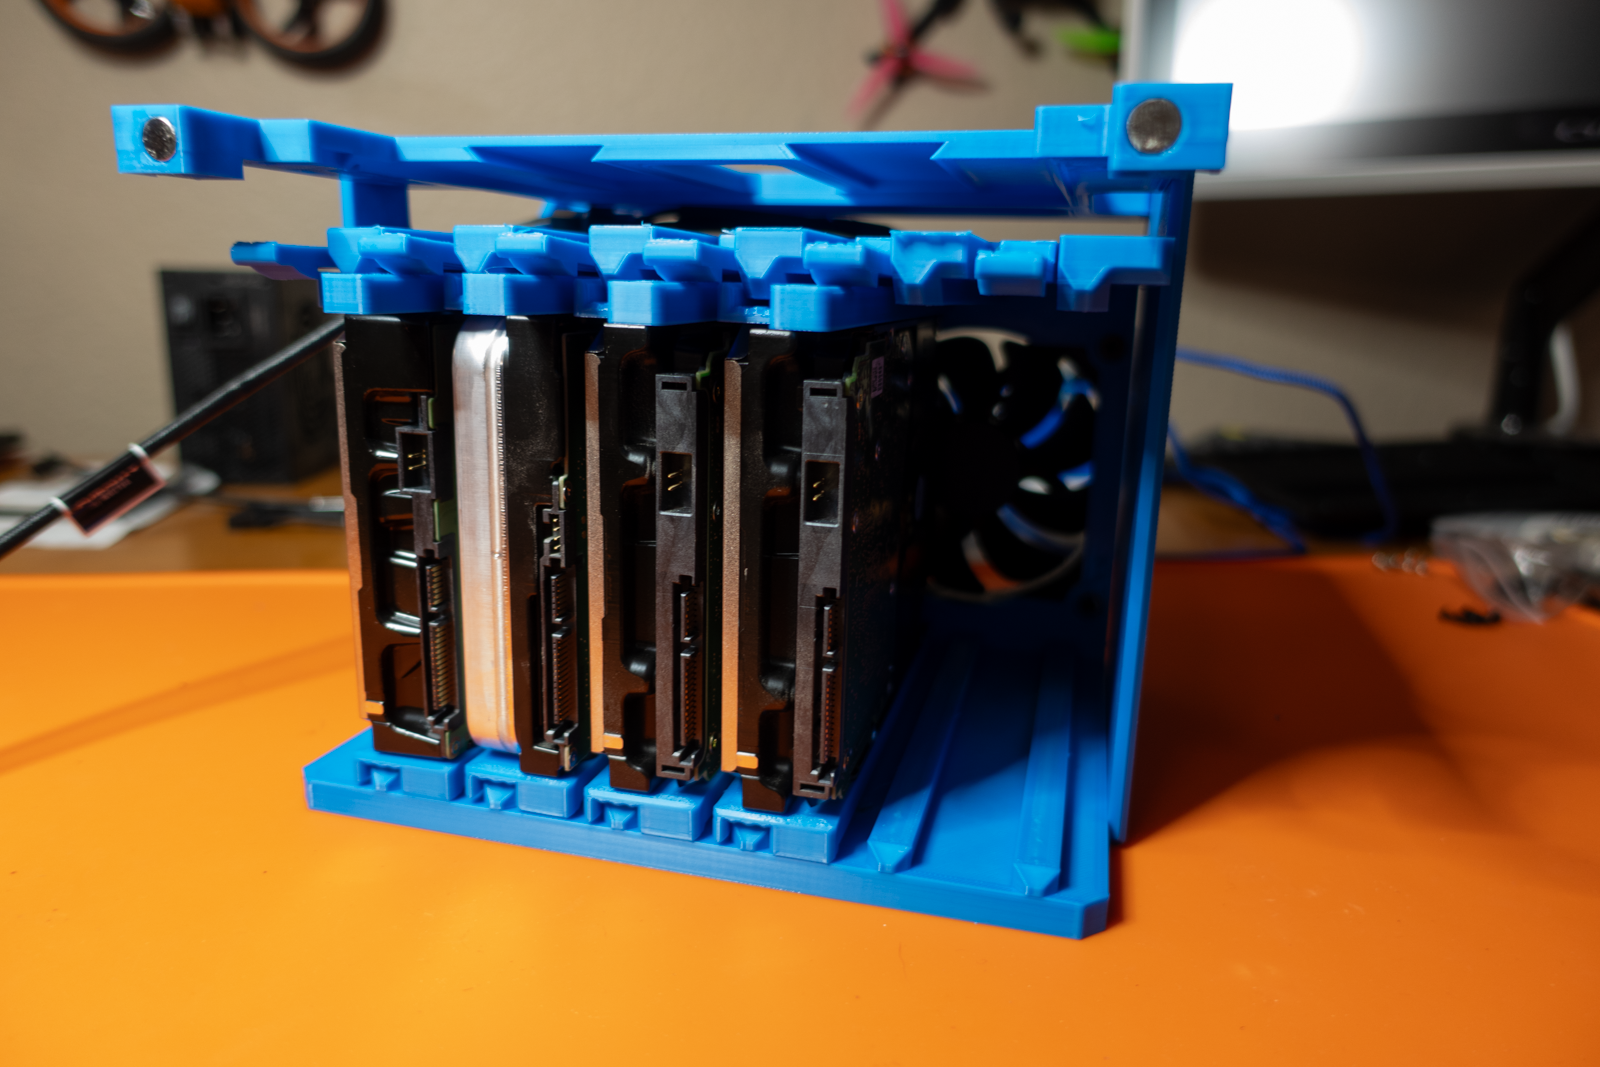
- Four 3.5” drive bays or six x 2.5” drive bays
- SFX Power Supply
- 210mm x 210mm x 275mm
- A single half-height PCI-e Slot
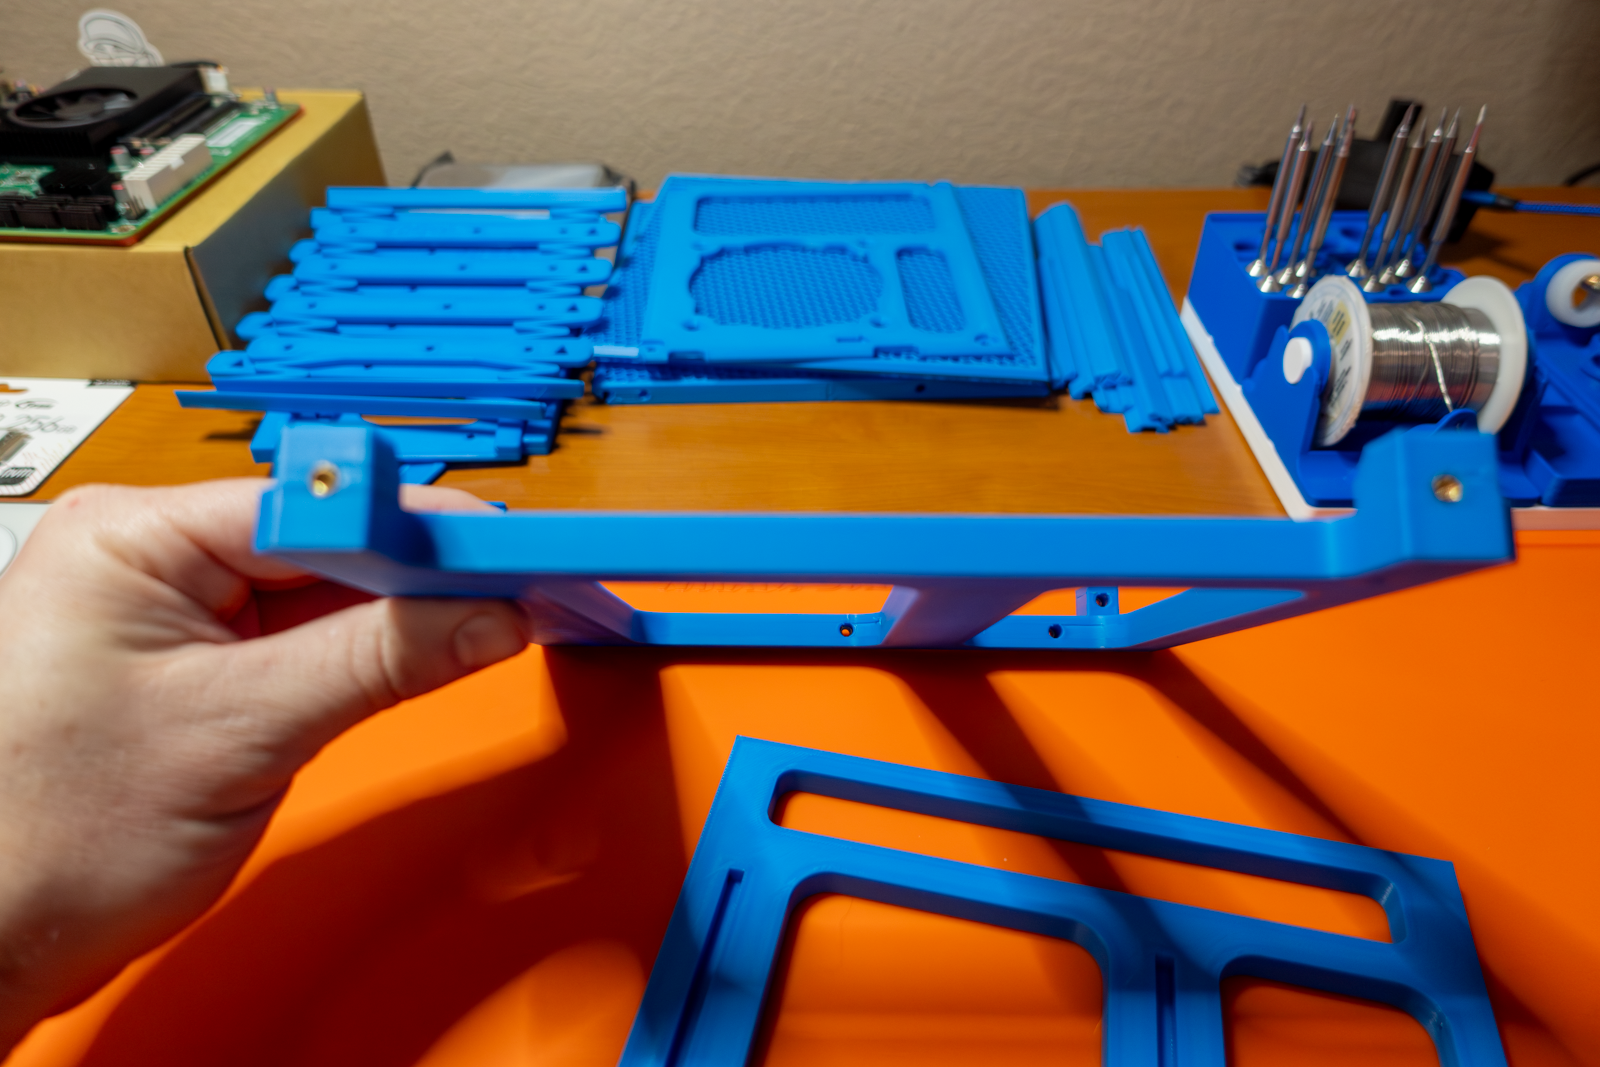
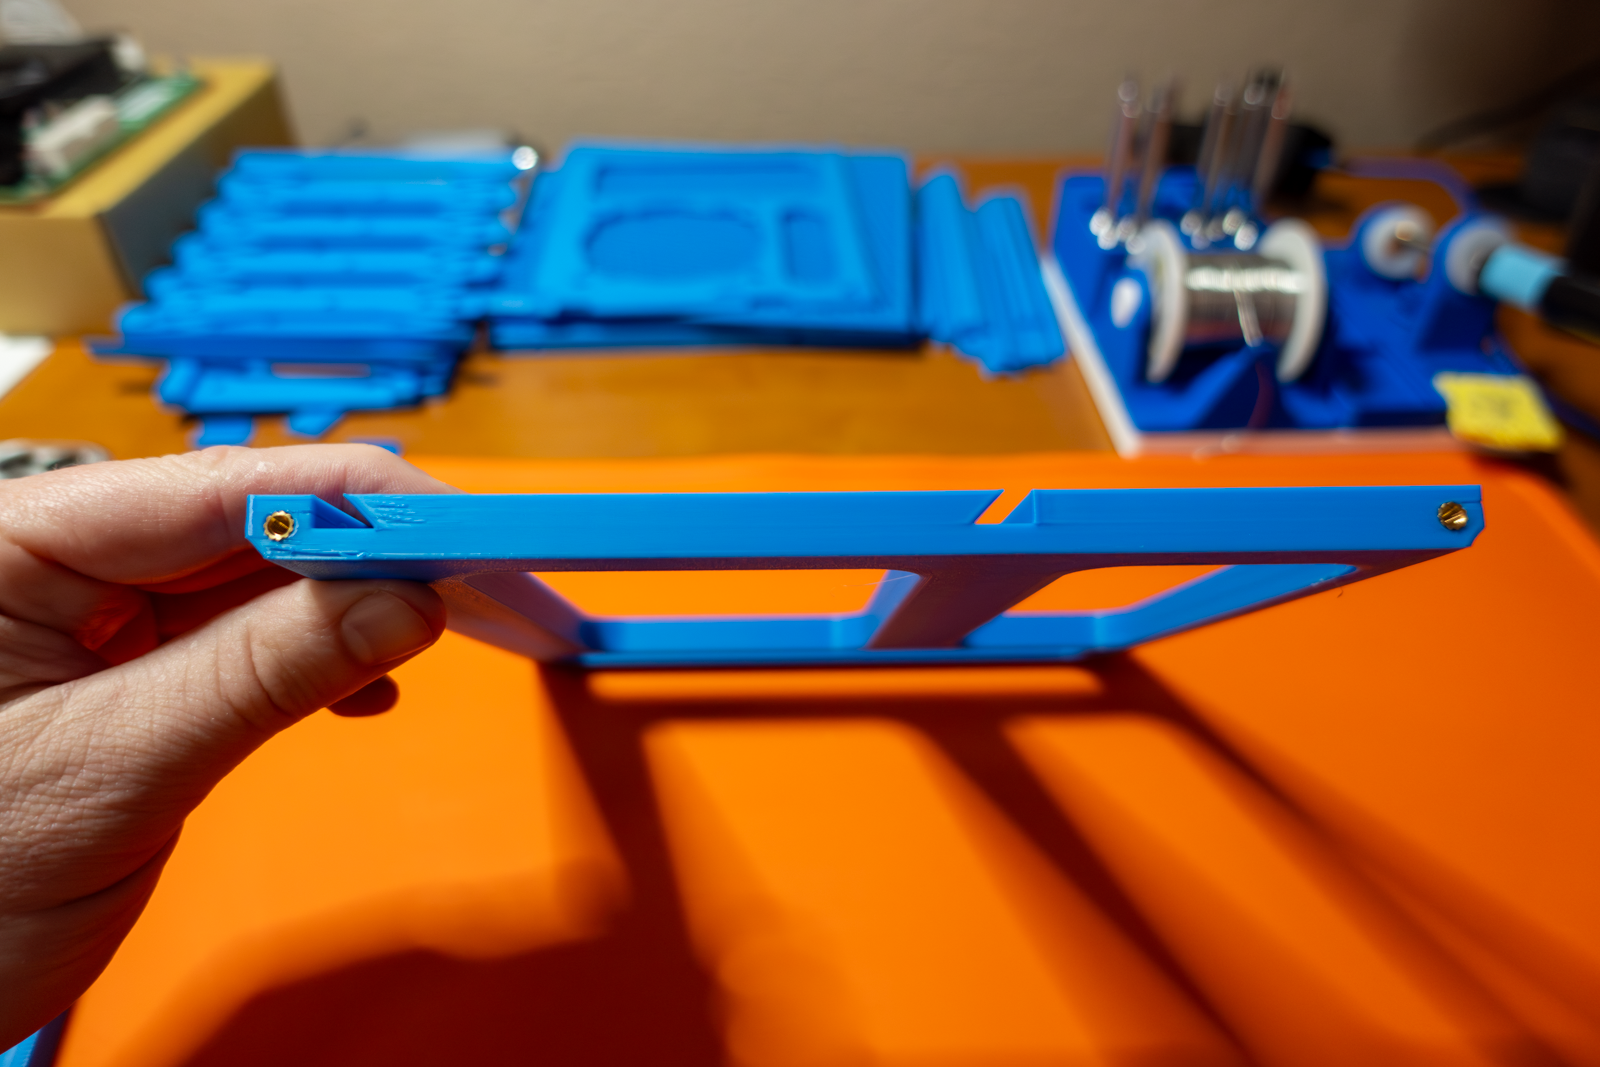
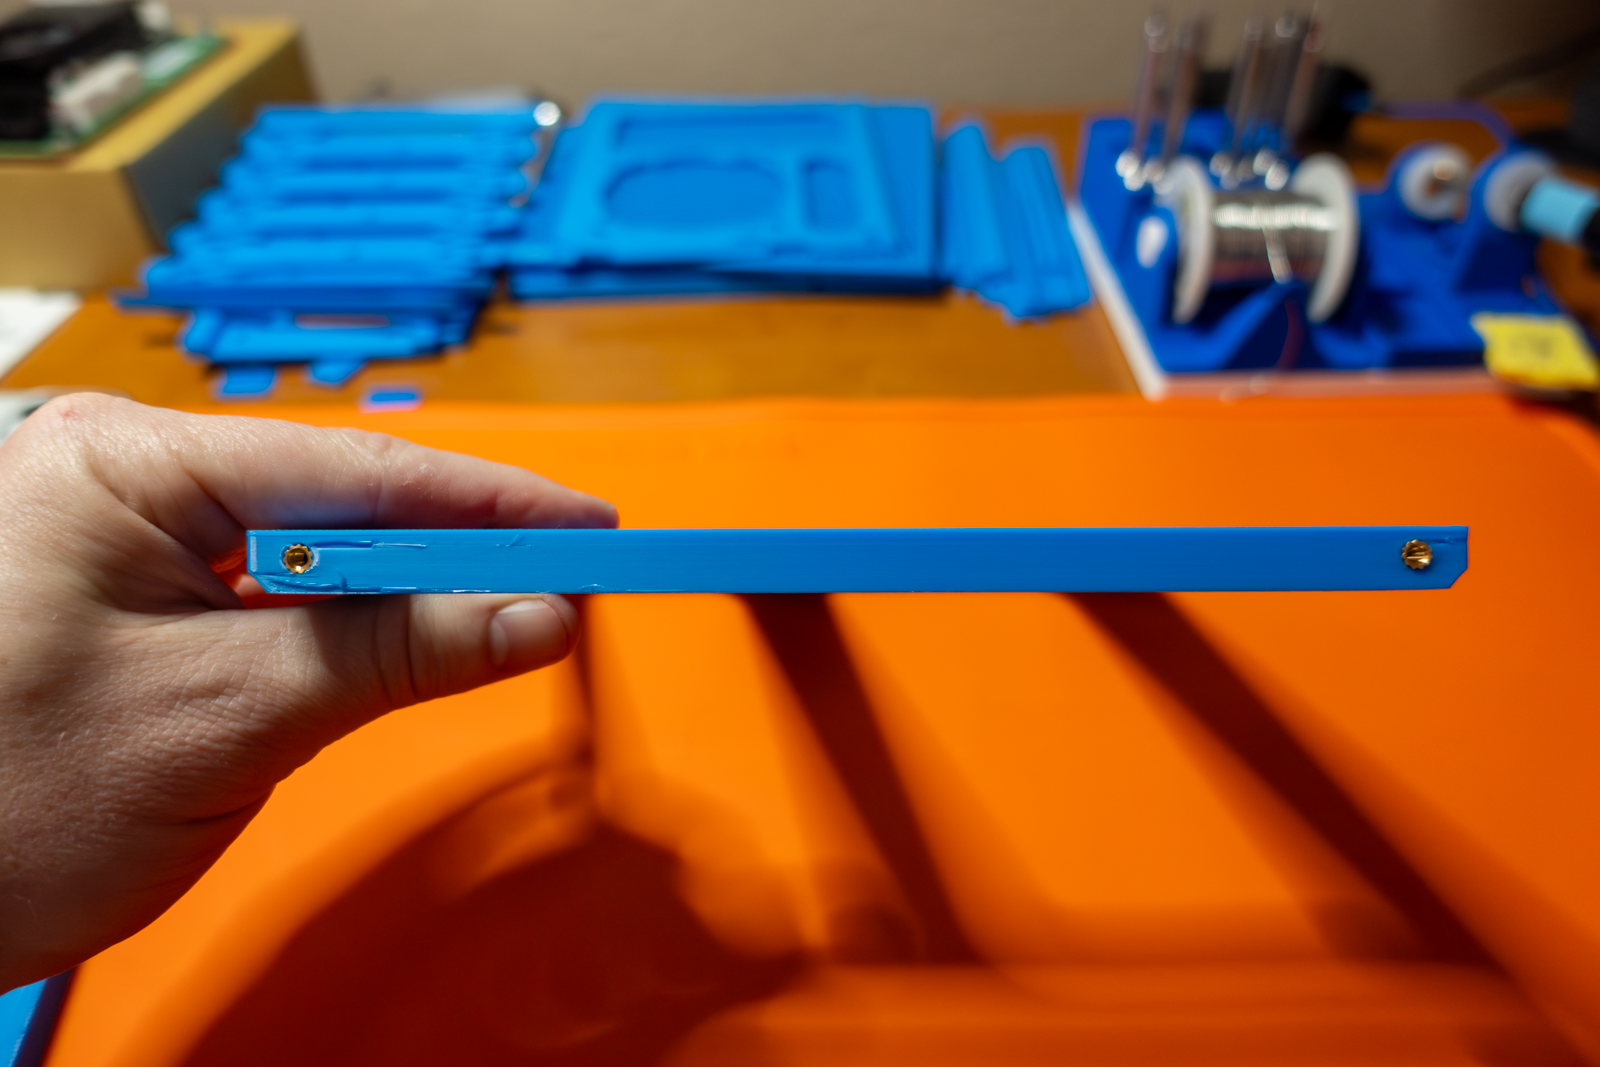
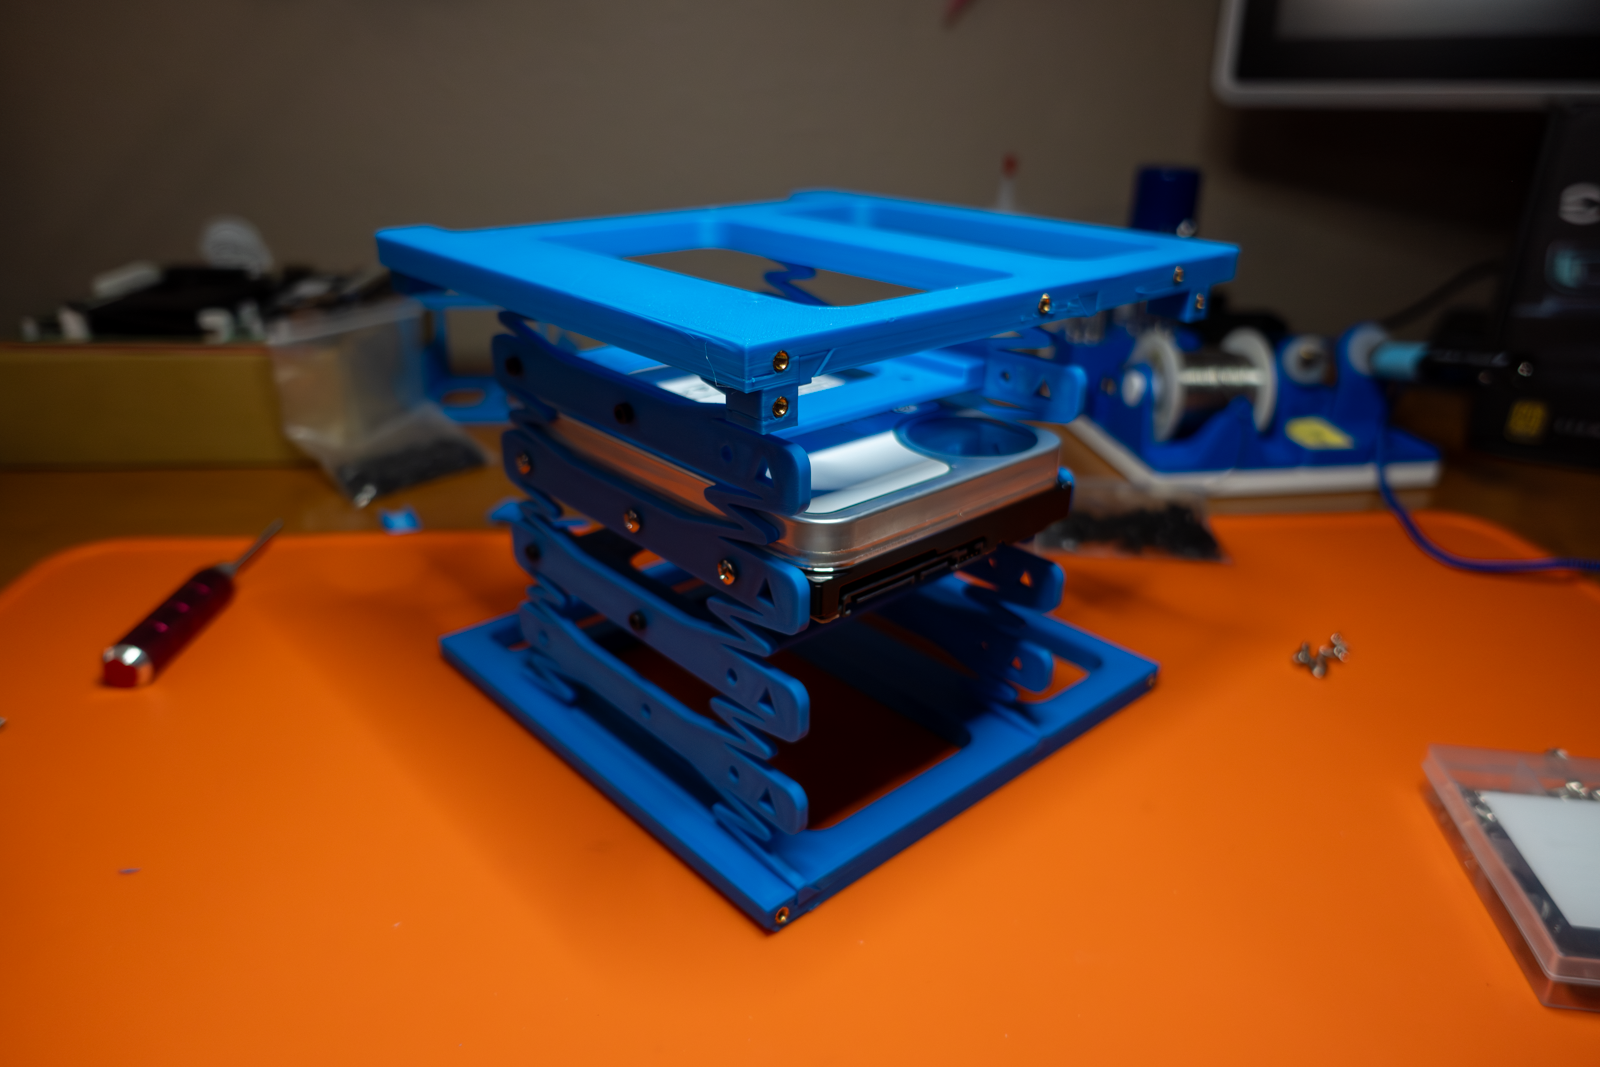
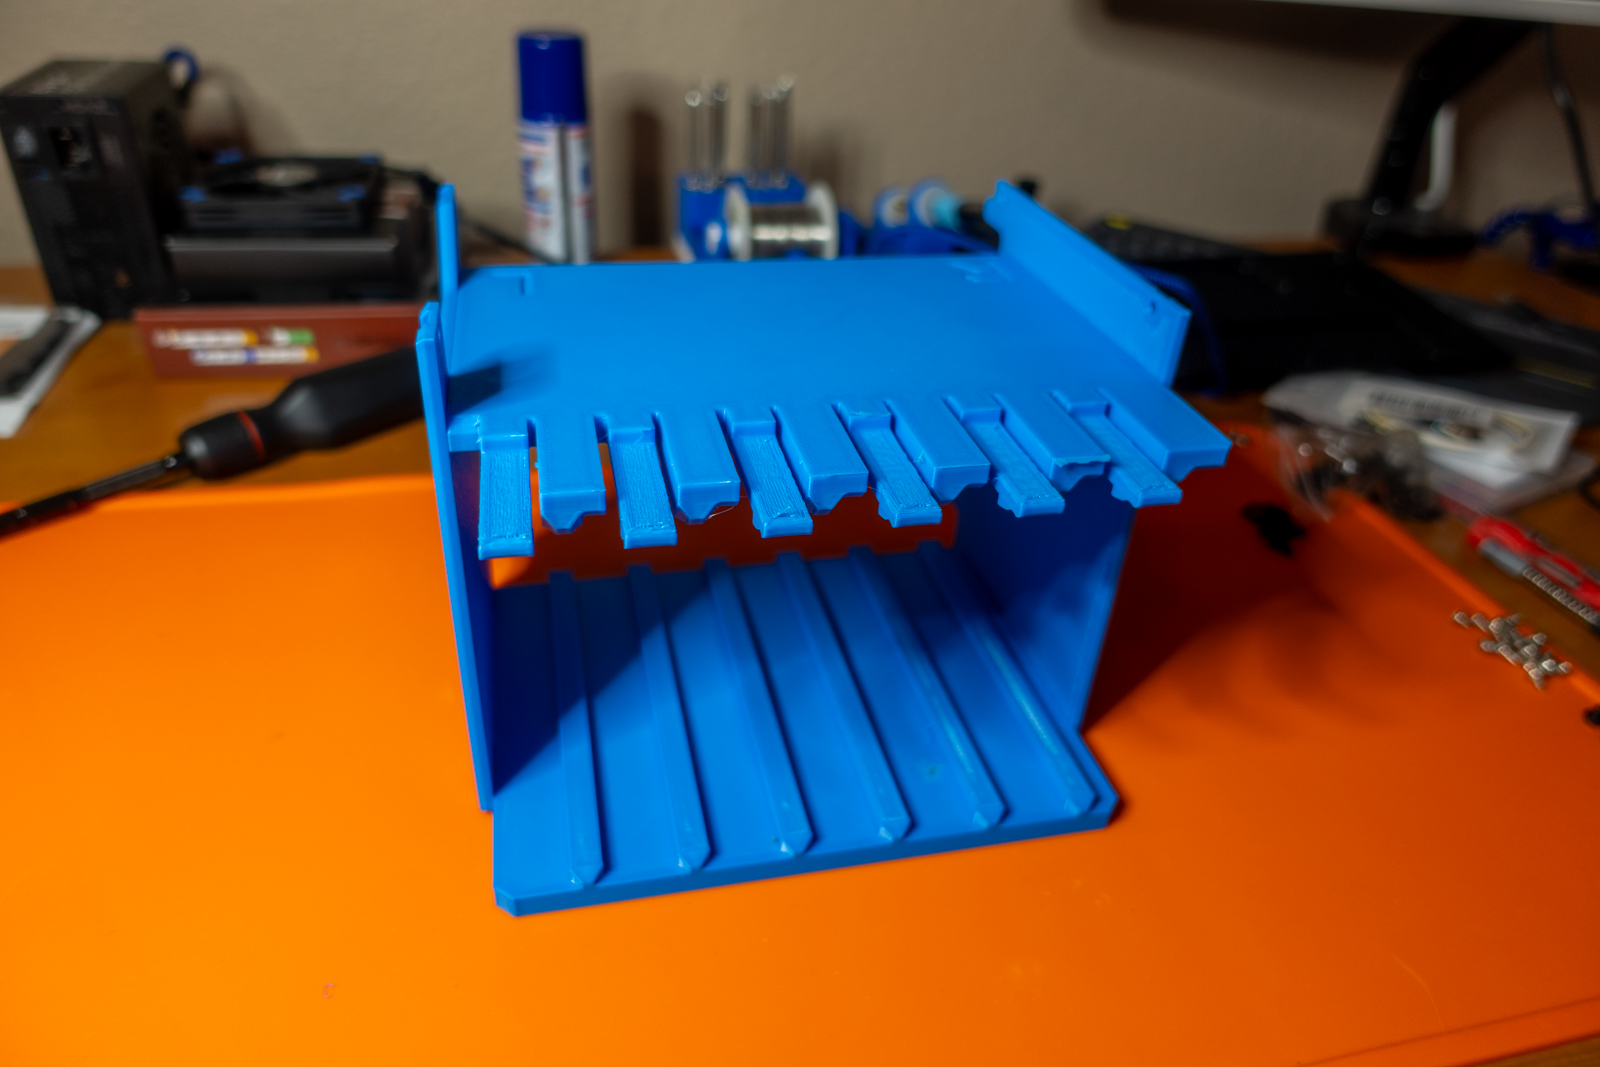
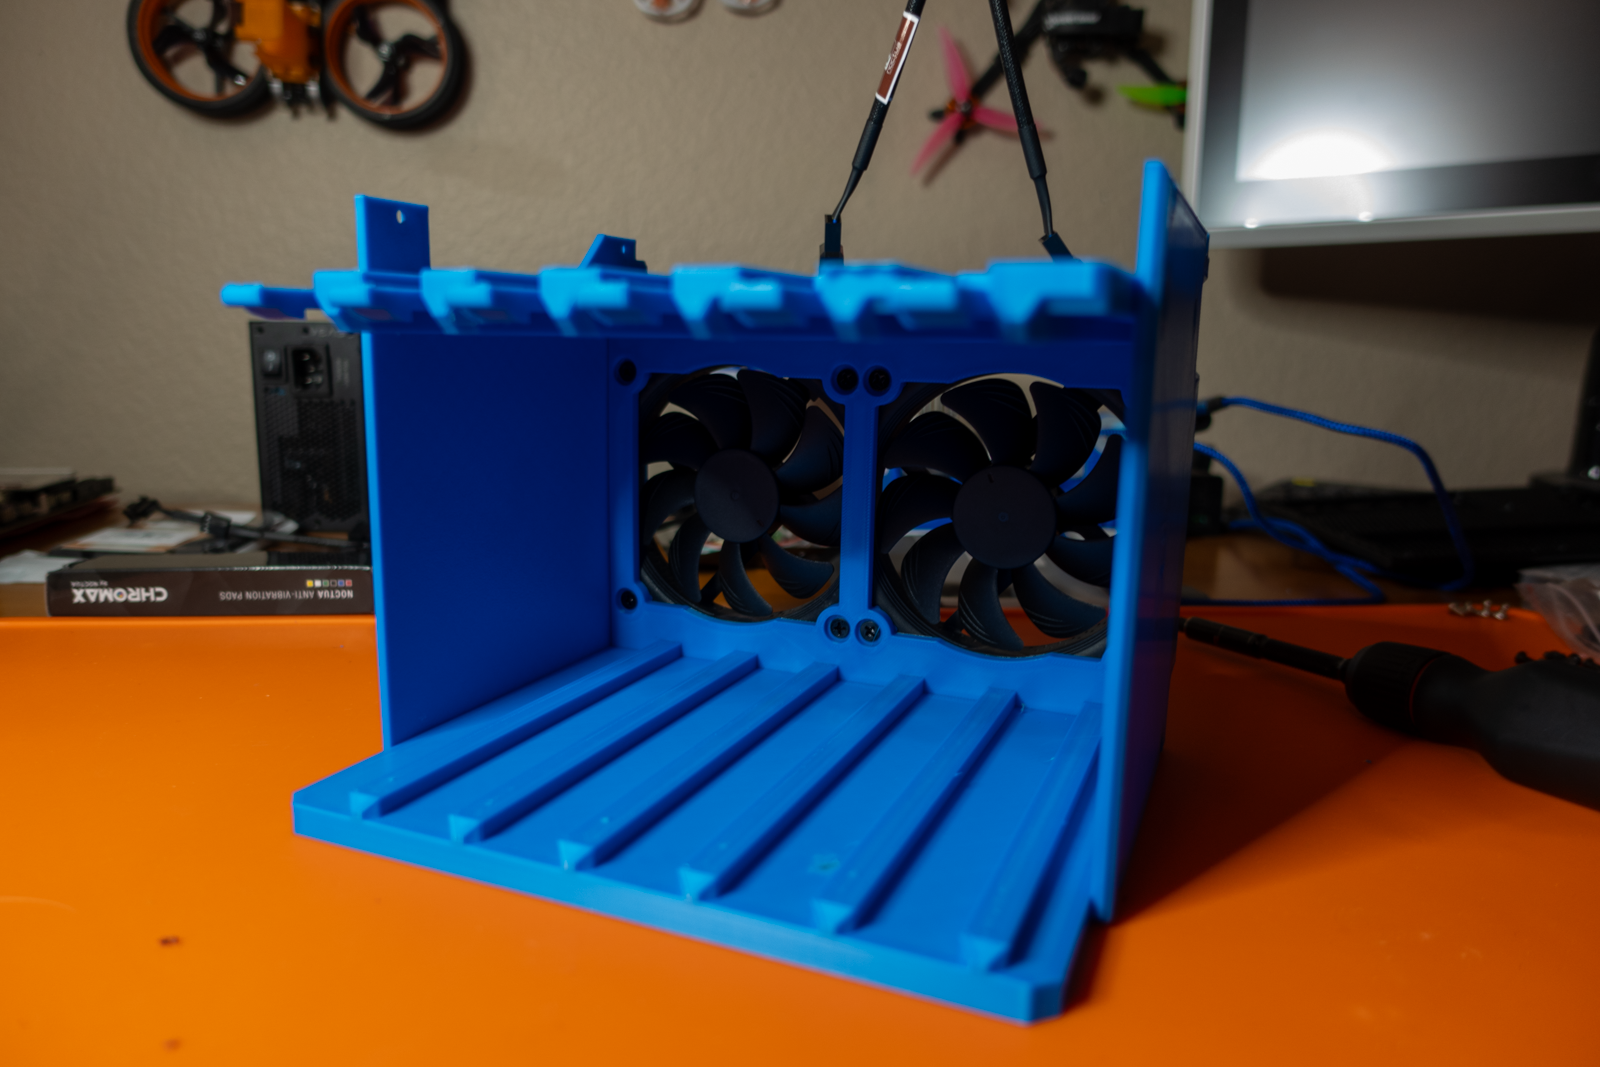
- A novel “suspension” for dampening vibration from hard drives.
My immediate reaction to makerunit’s NAS / APU case video was to immediately sign up for makerunit’s club membership on Printables.com. I initially started at the base tier to get the STLs files but very quickly ramped up to the “advanced” tier to get access to the source files, but more on that later!
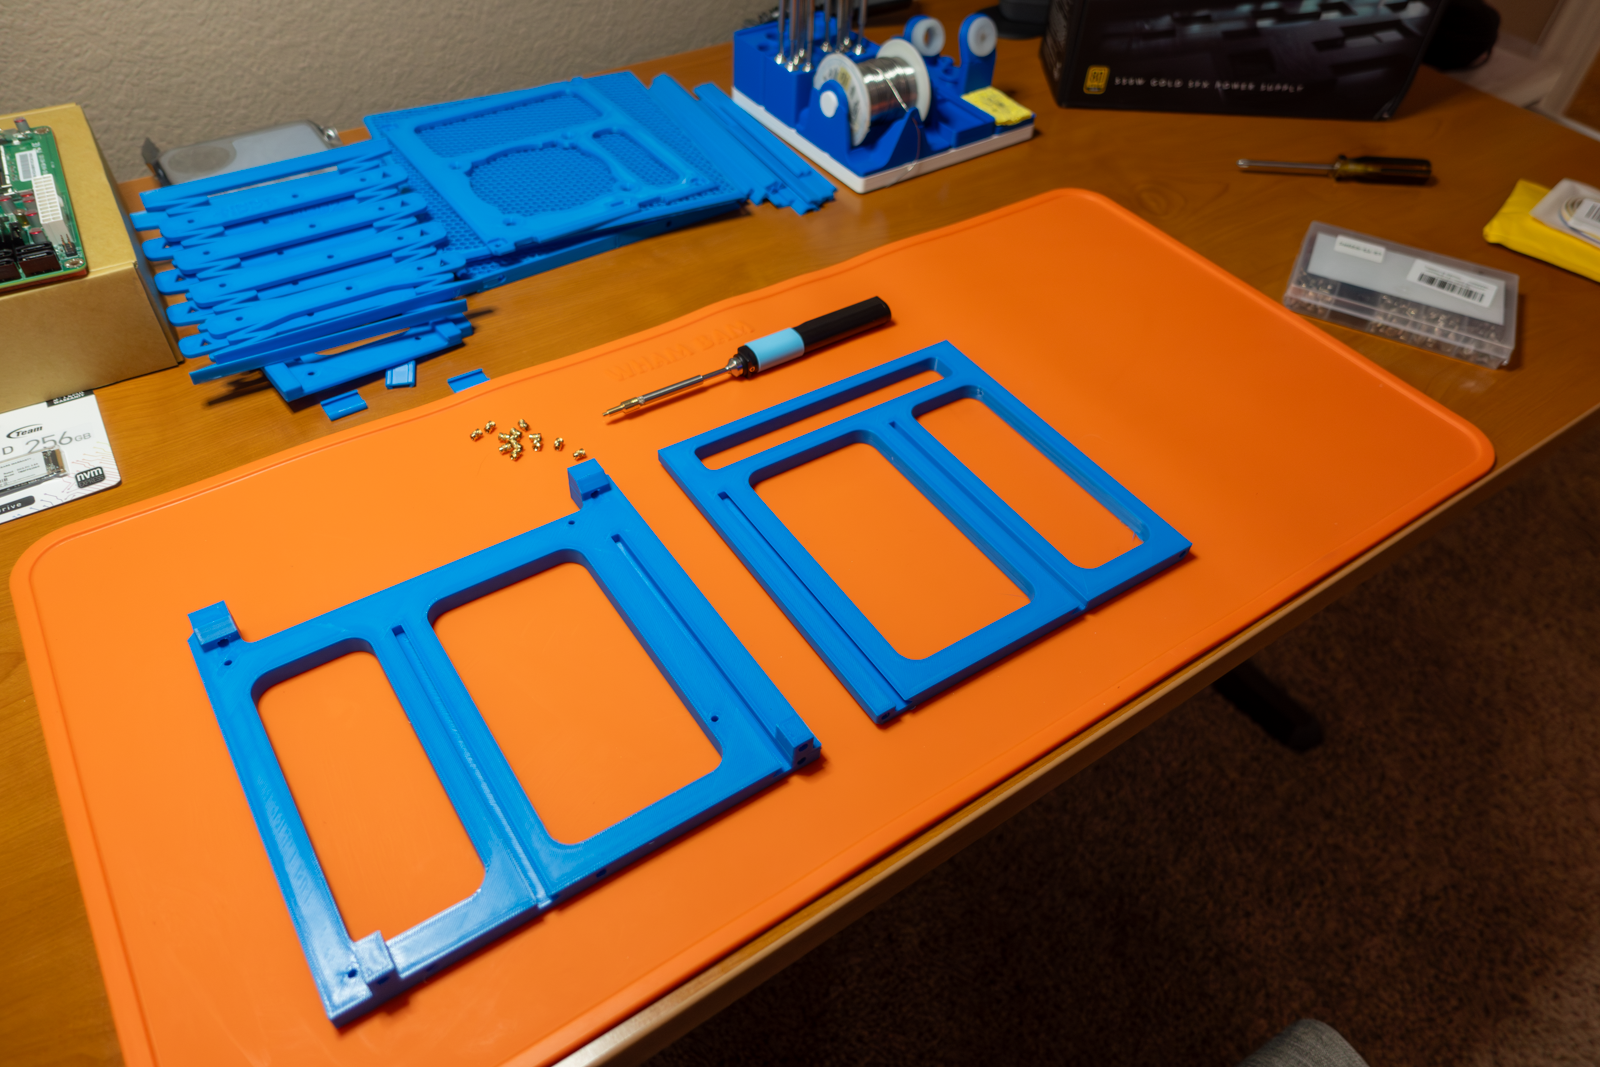
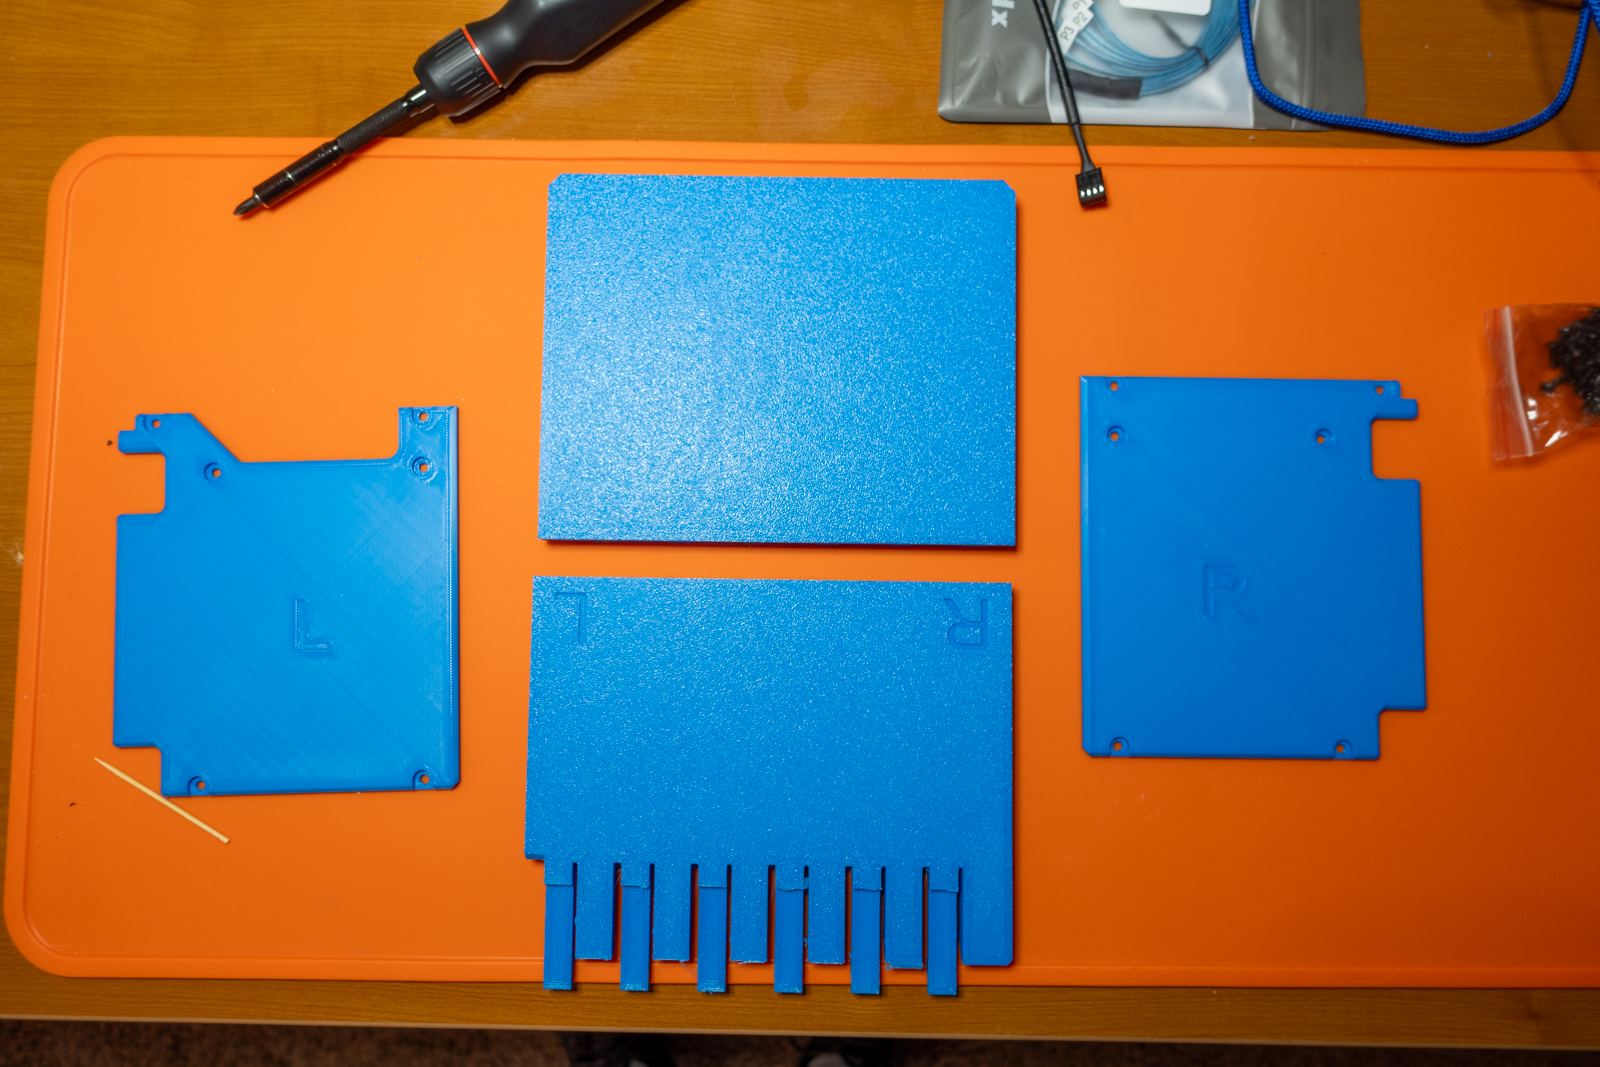
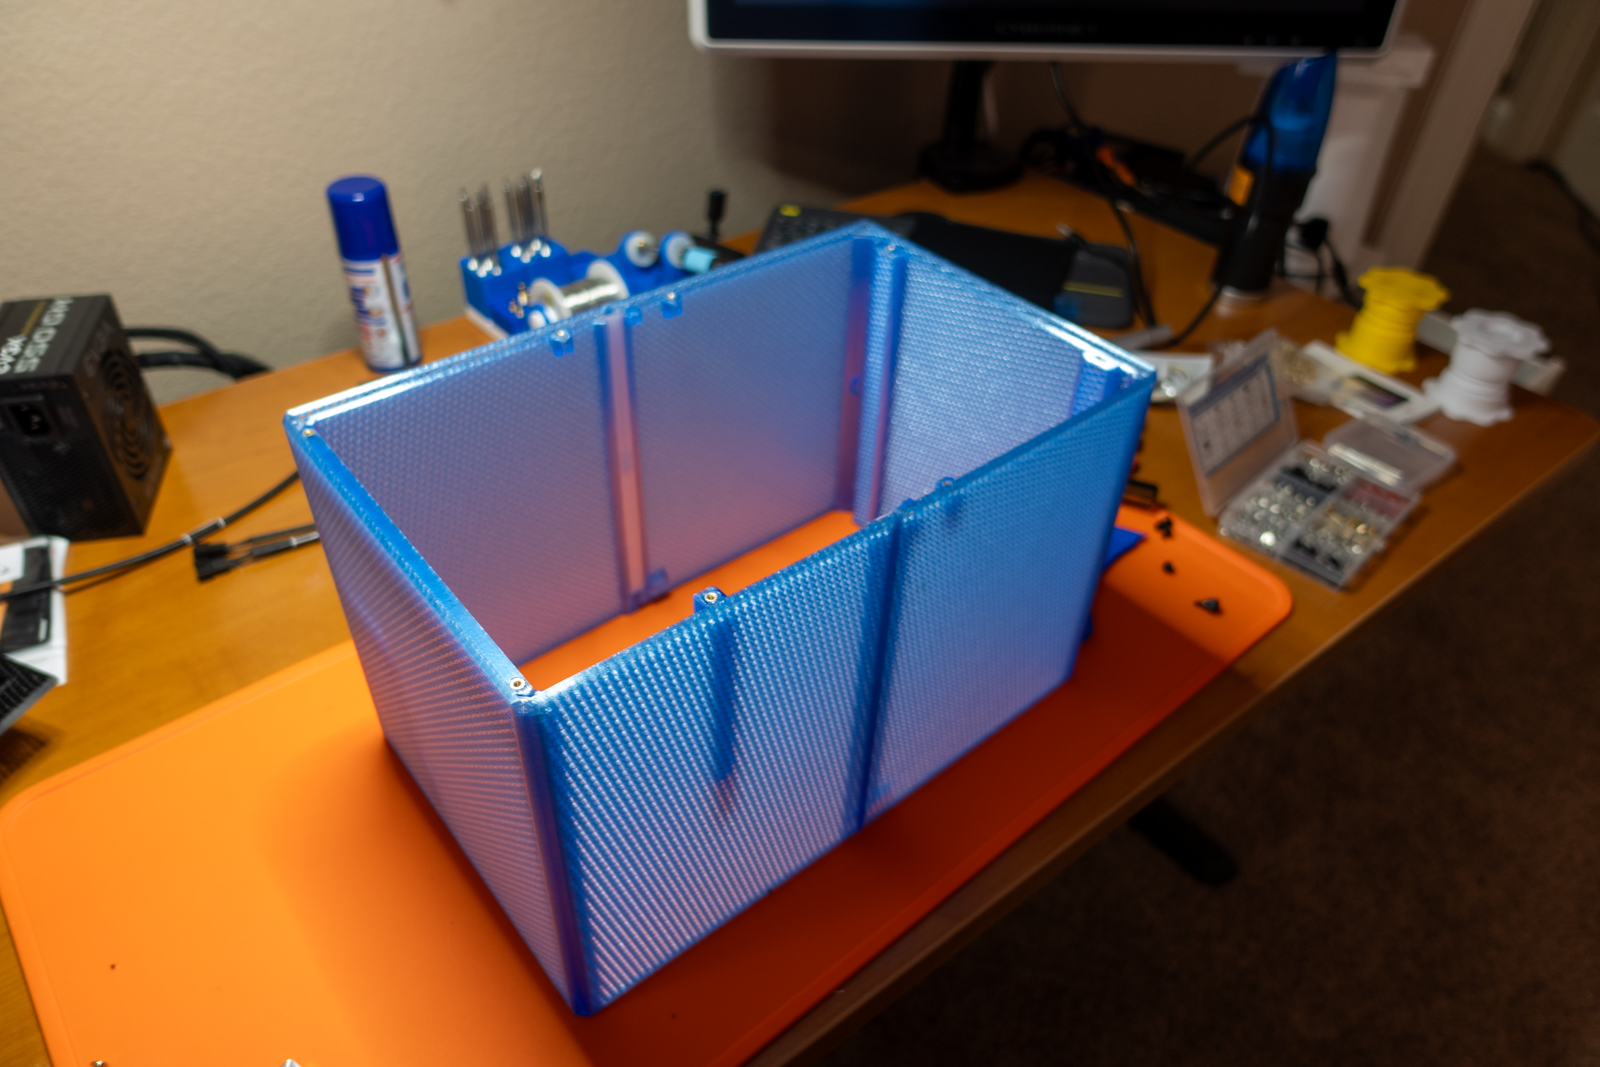
3D-printing the NAS / APU Case
A lot of things, especially the speed of my 3D printer, have changed since I printed my MK735. But I was amazed at how quickly I 3D-printed makerunit’s NAS / APU case. The MK735 took me nearly 227 hours of print time over 2 to 3 weeks, whereas makerunit’s NAS / APU case took so little time that I didn’t even keep track of it.
Part of what made the MK735 take so long to print was that several of its objects were quite tall. The NAS / APU is much different in that its objects aren’t particularly tall, so you’re able to churn through them more quickly. In total I spread 42 hours of print time across 3 to 4 days.
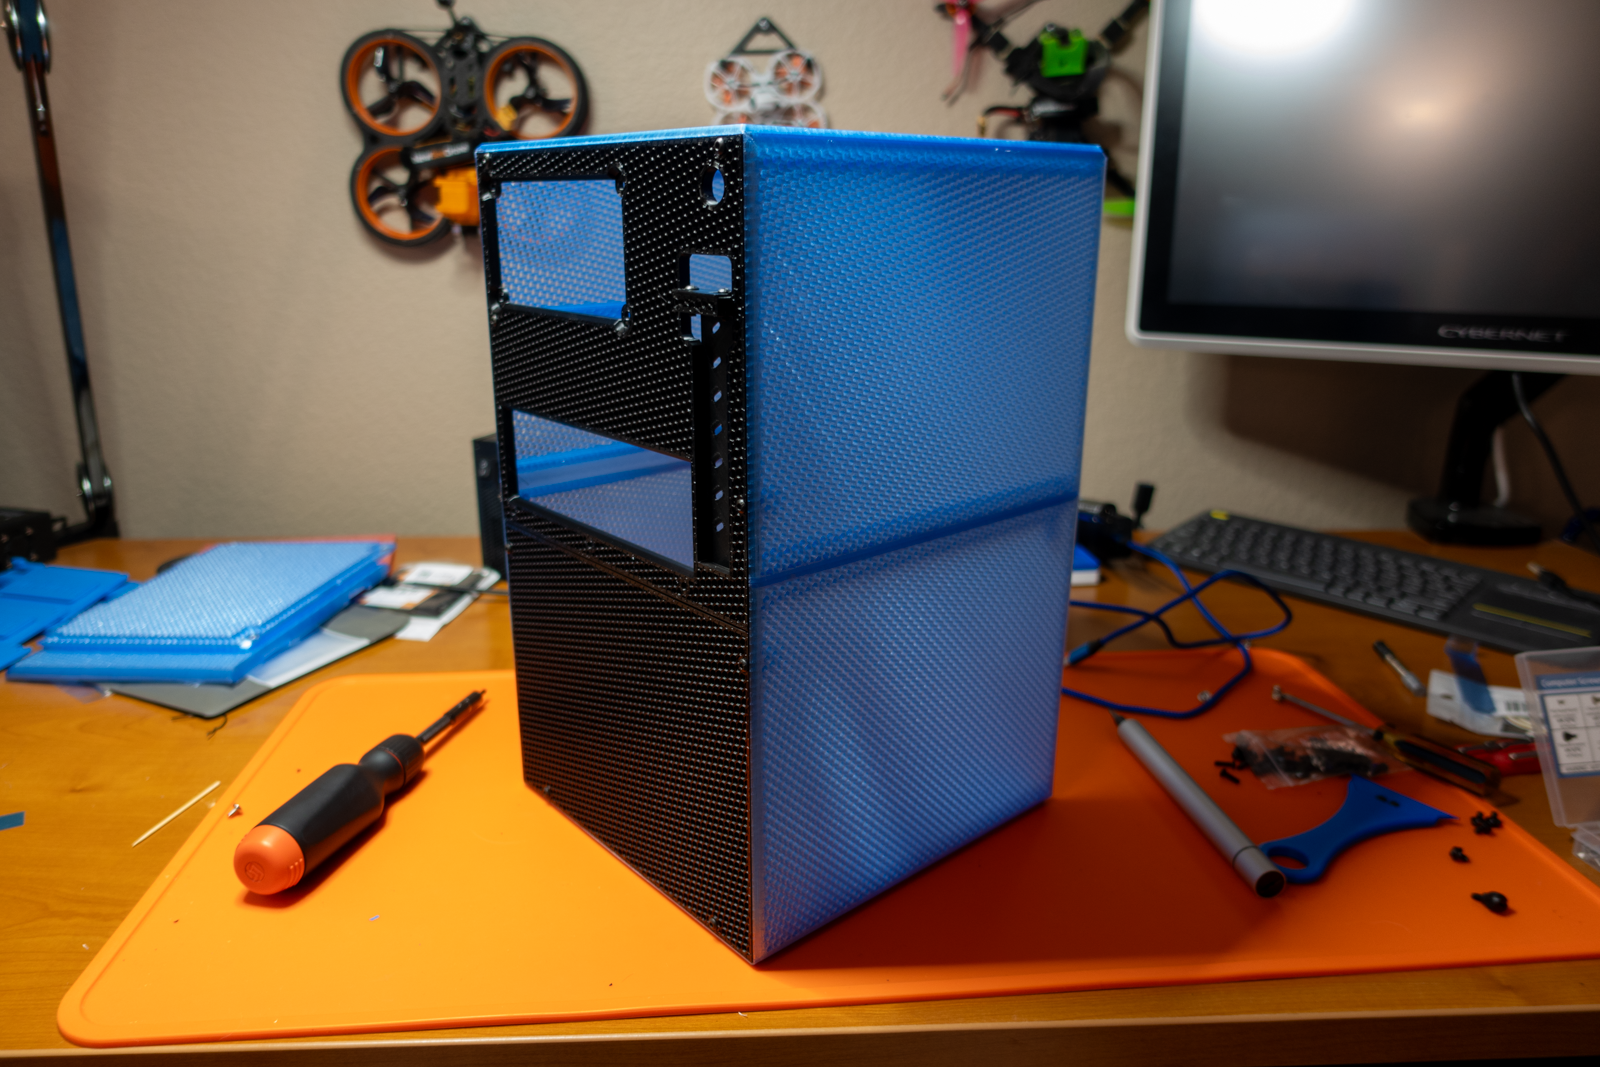
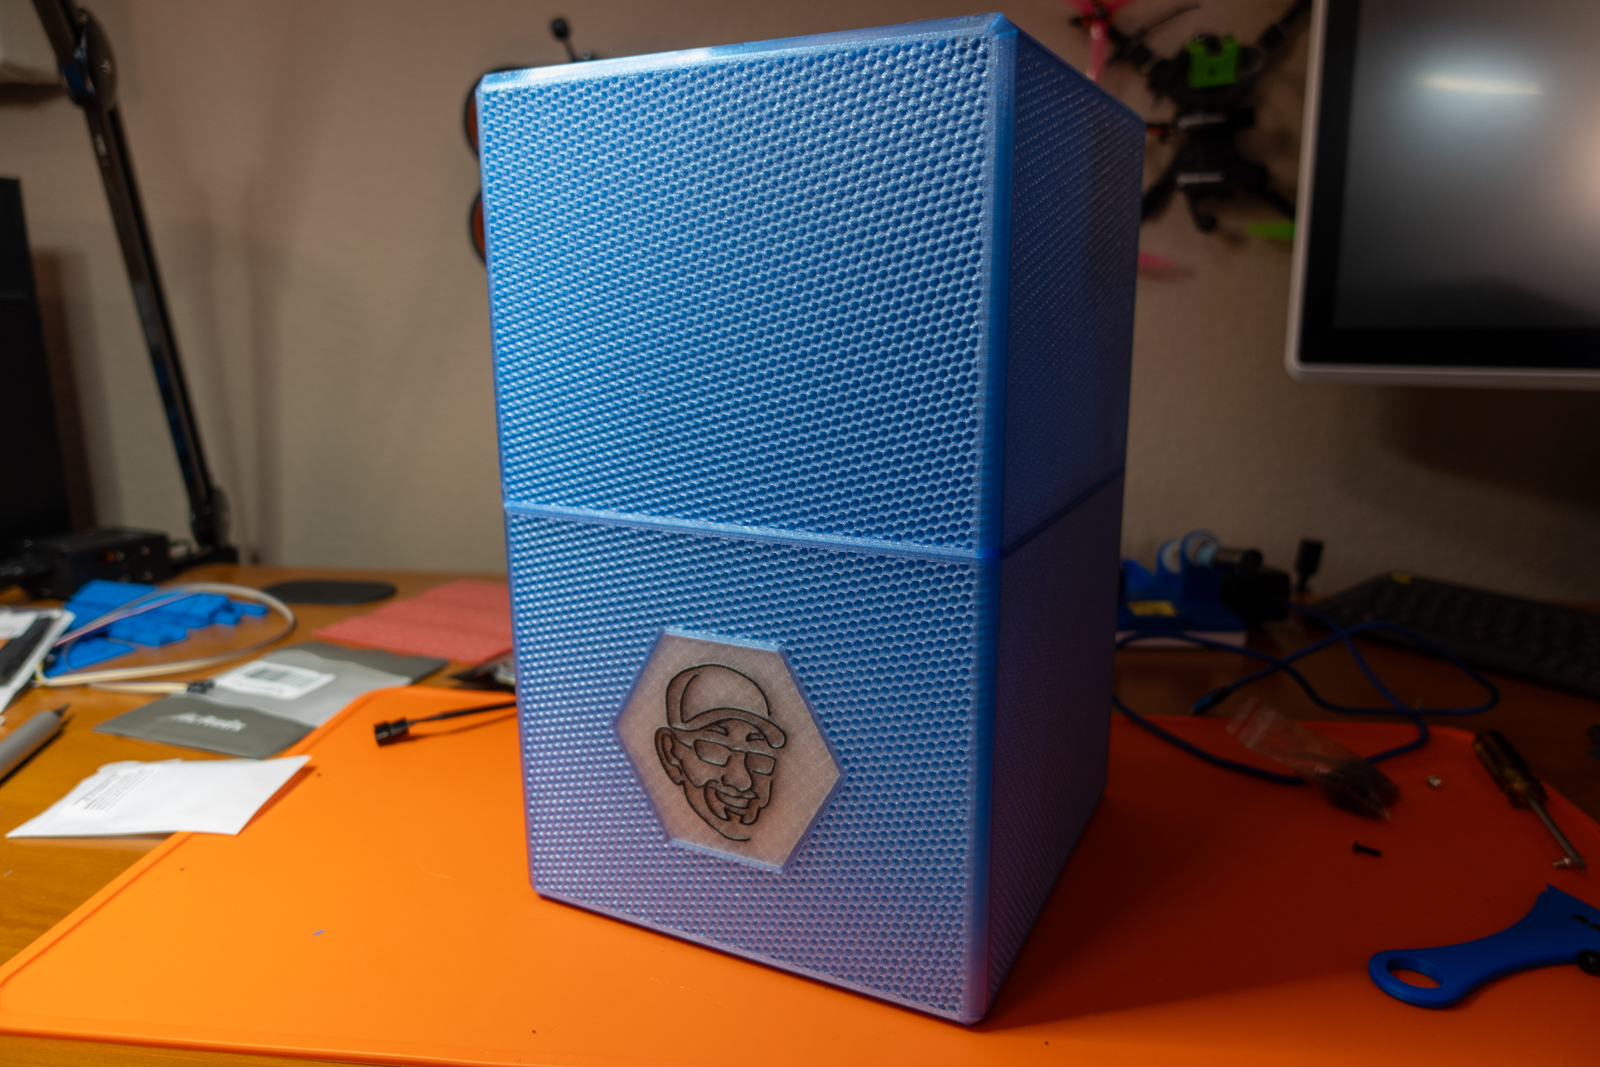
Between makerunit’s incredible design and the speed of my Bambu Lab X1 Carbon 3D printer, I had the entire NAS / APU case printed before I even figured out what I was going to do with it!
Upgrading my off-site NAS with the NAS / APU Case
Last summer, I built a very simple off-site NAS that I’ve been keeping a backup of my primary NAS on. This machine has served me very well, and I really didn’t have any plans to uprade it so quickly, but having this incredible new case inspired me to buy the parts for an entirely new off-site NAS.
| Component | Part Name | Qty | Cost | |
|---|---|---|---|---|
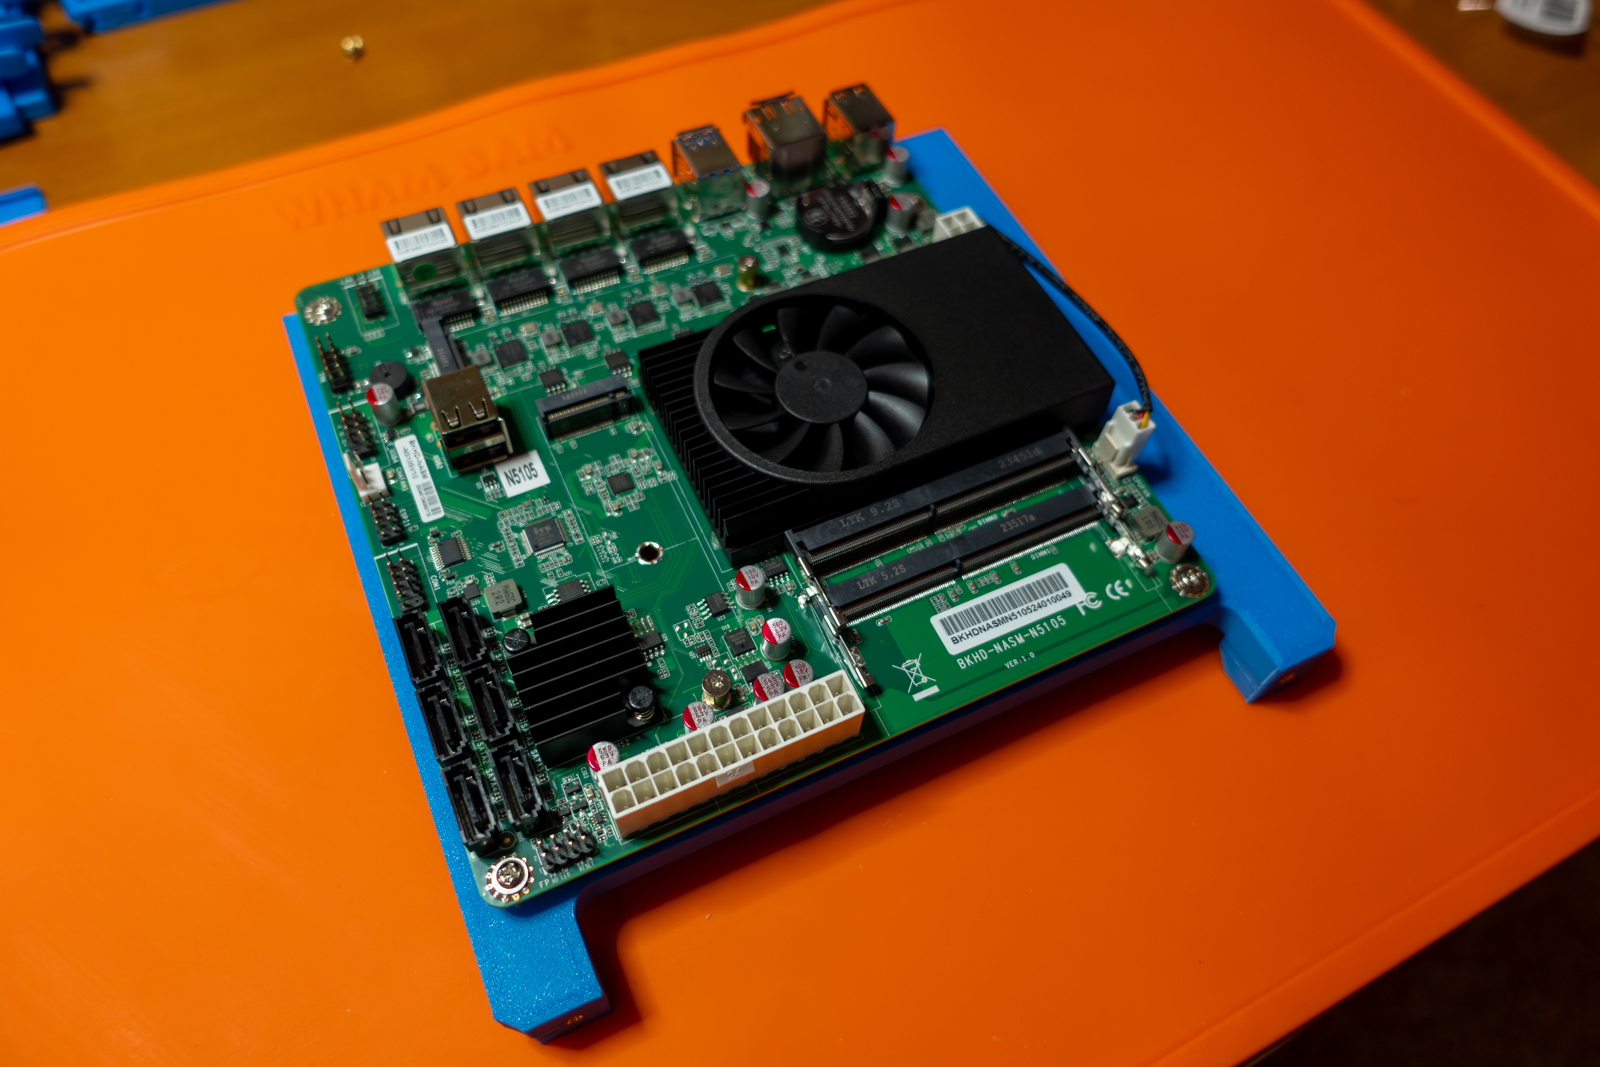
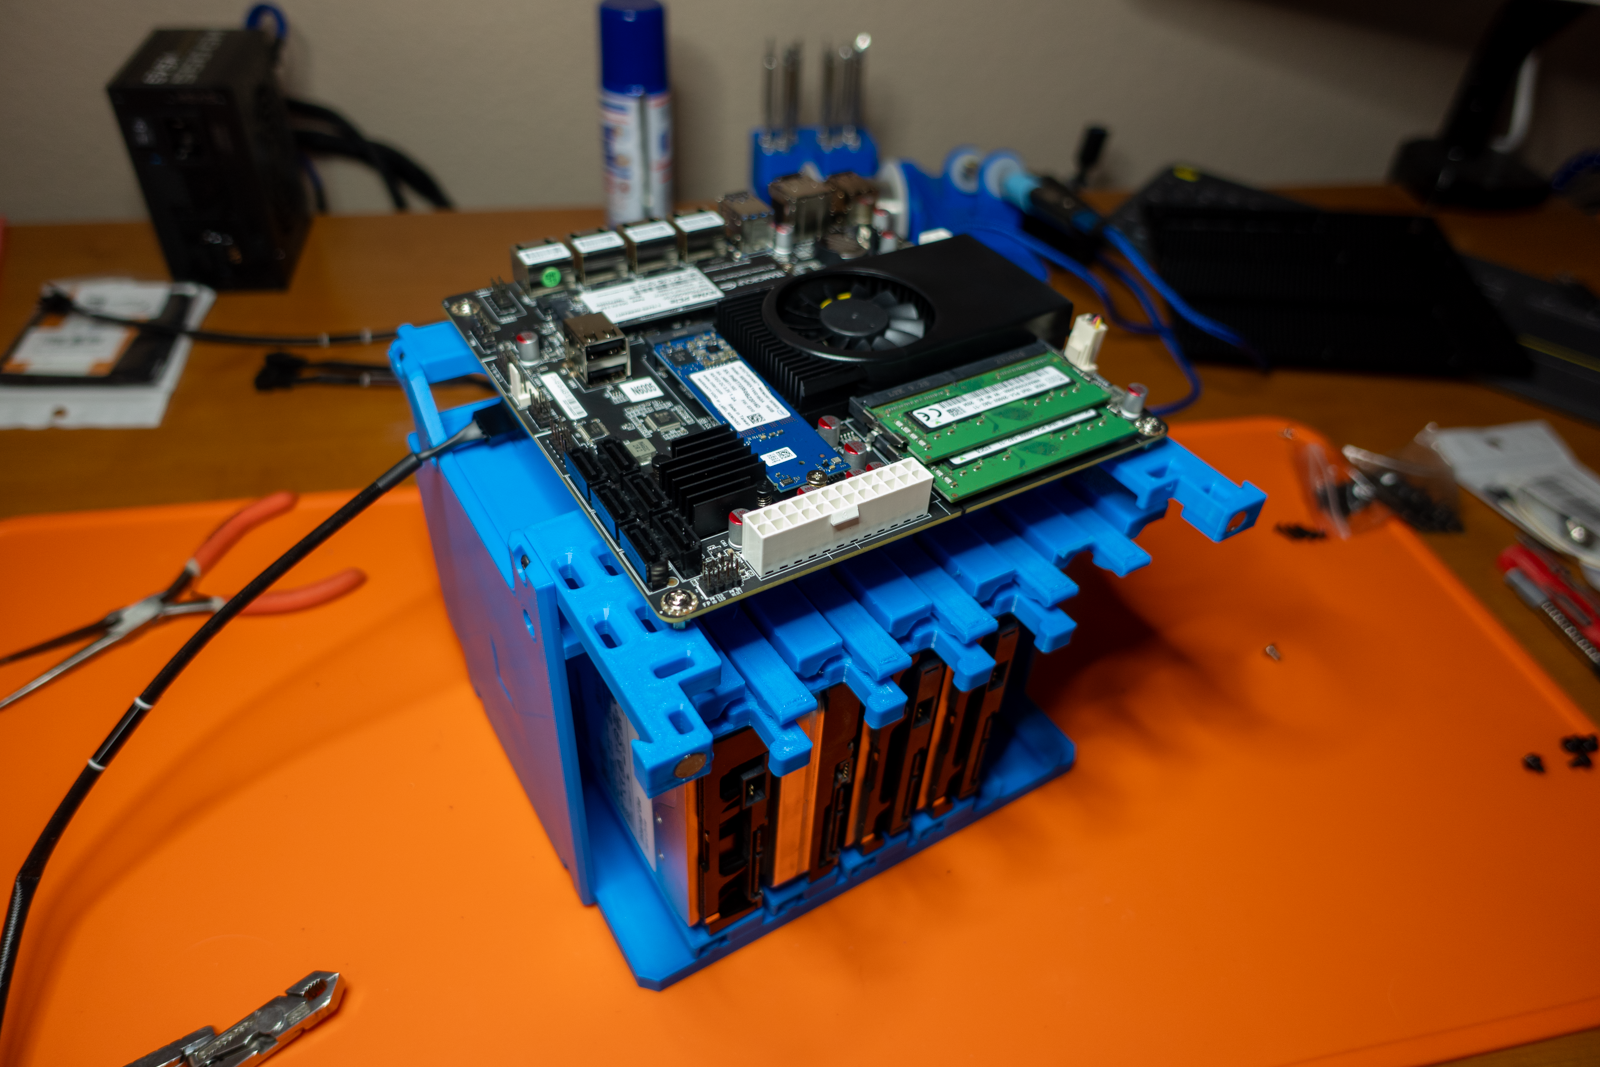
| Motherboard | Topton N3 N5105 NAS Motherboard | 1 | $204.99 | |
| CPU | Intel Celeron N5105 | specs | N/A | N/A |
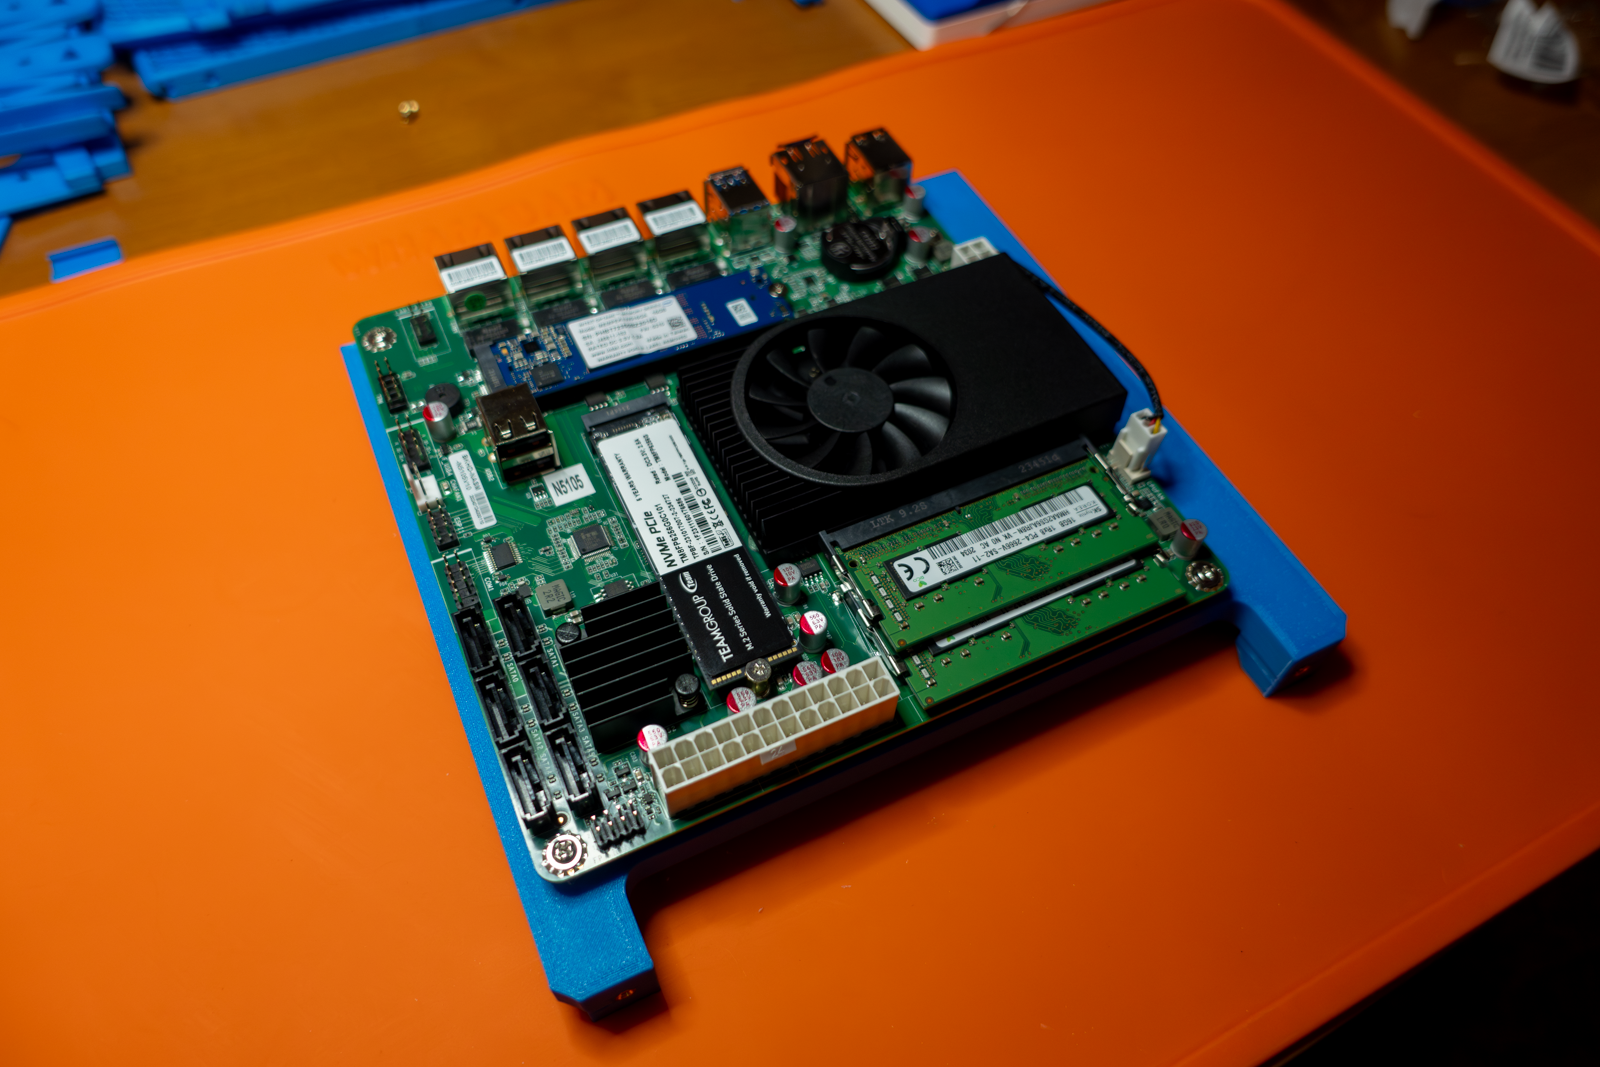
| Memory | Crucial RAM 16GB Kit (2x8GB) DDR4 3200MHz | specs | 1 | $40.46 |
| Case | makerunit NAS / APU Case | N/A | 1 | $10.00 |
| Power Supply | EVGA SuperNOVA 550 GM SFX Power Supply | specs | 1 | $80.26 |
| Boot Drive | Intel Optane 16GB NVMe SSD | specs | 1 | $6.99 |
| Storage Drive: Apps | Teamgroup MP33 256GB NVMe SSD | specs | 1 | $25.99 |
| Storage Drives | ||||
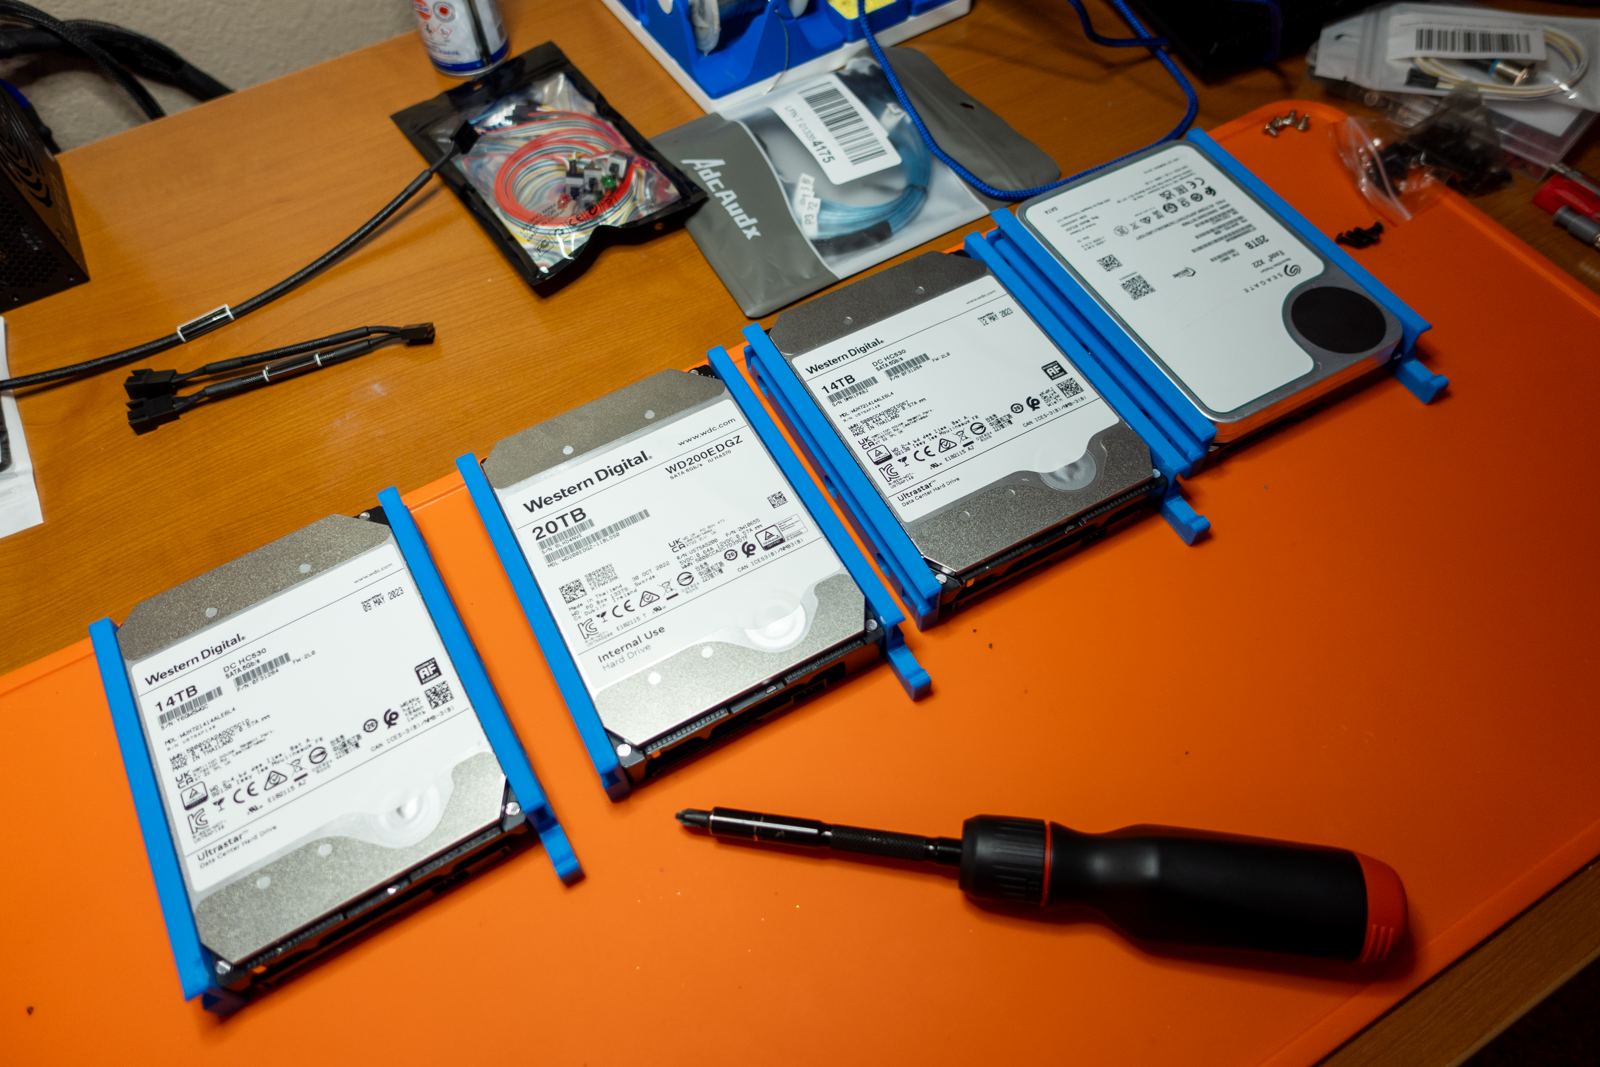
| Western Digital 20TB Elements Desktop External Hard Drive | specs | 1 | $279.99 | |
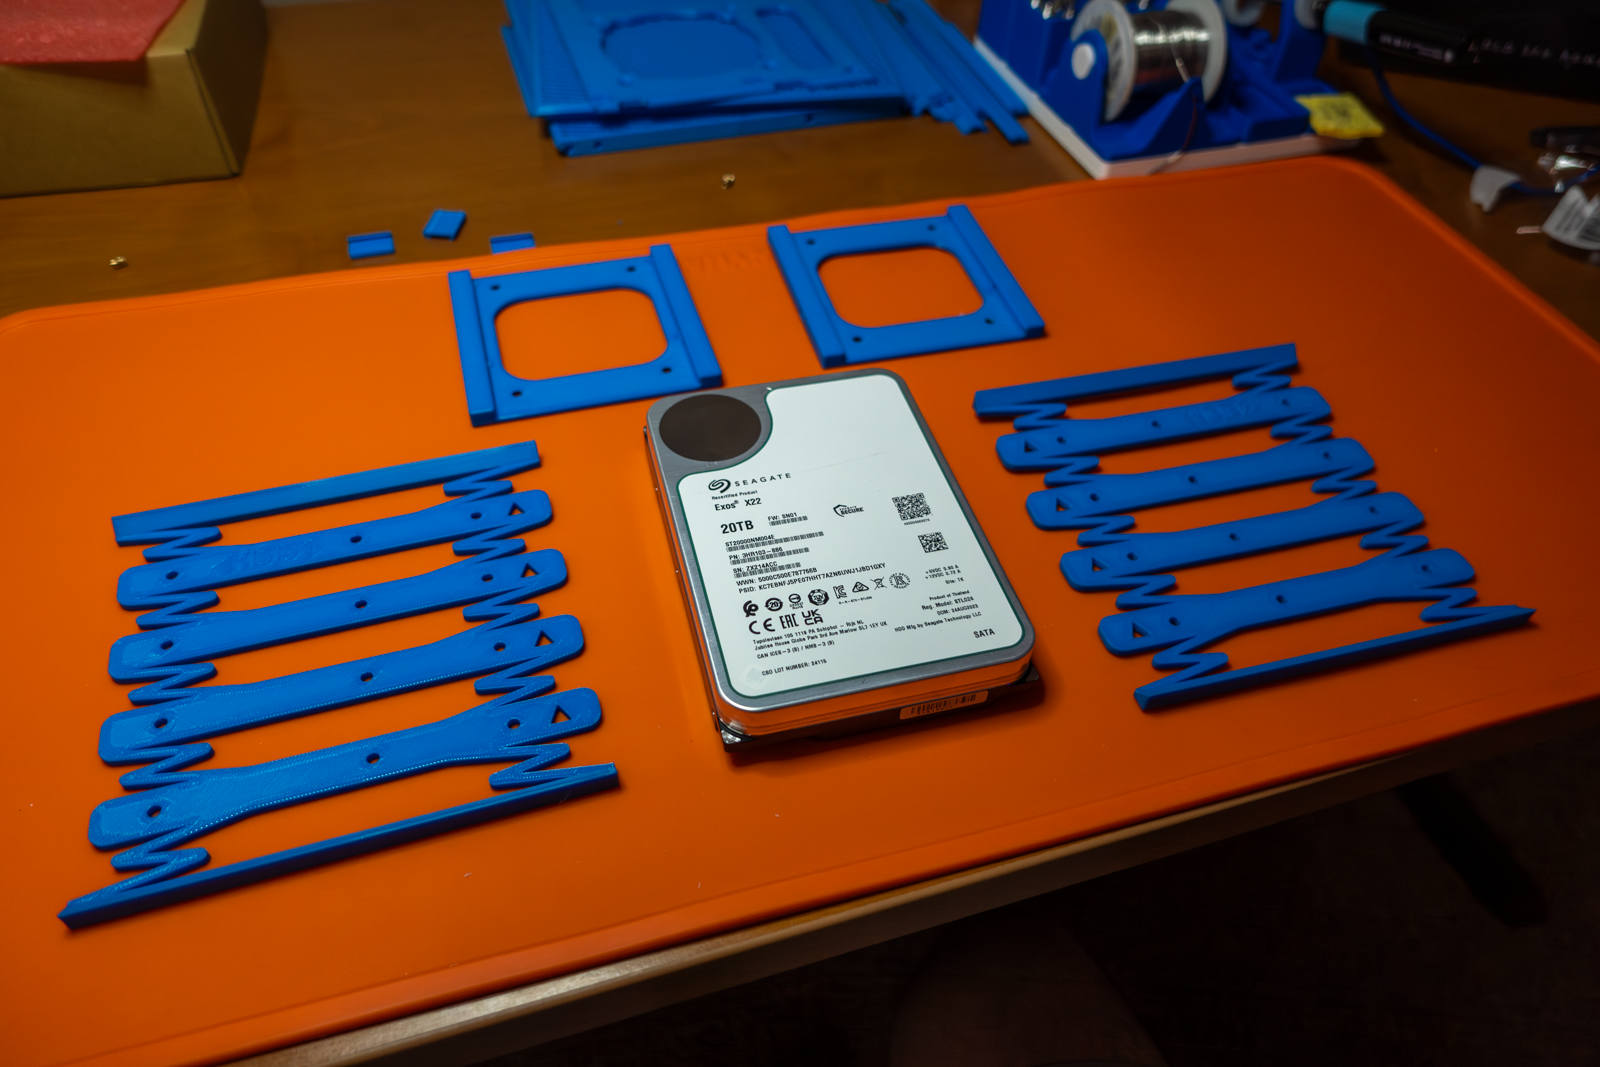
| Seagate Exos X22 ST20000NM004E 20TB Recertified | specs | 1 | $229.99 | |
| Western Digital Ultrastar DC HC530 14TB | specs | 2 | $114.99 | |
| TOTAL: | $1,108.71 | |||
Luckily for my bank balance, I had already purchased the motherboard, the boot drive, and 3 out of the 4 hard drives. All of this hardware was either already being used with my off-site NAS or lingering in my inventory of parts here at the house.
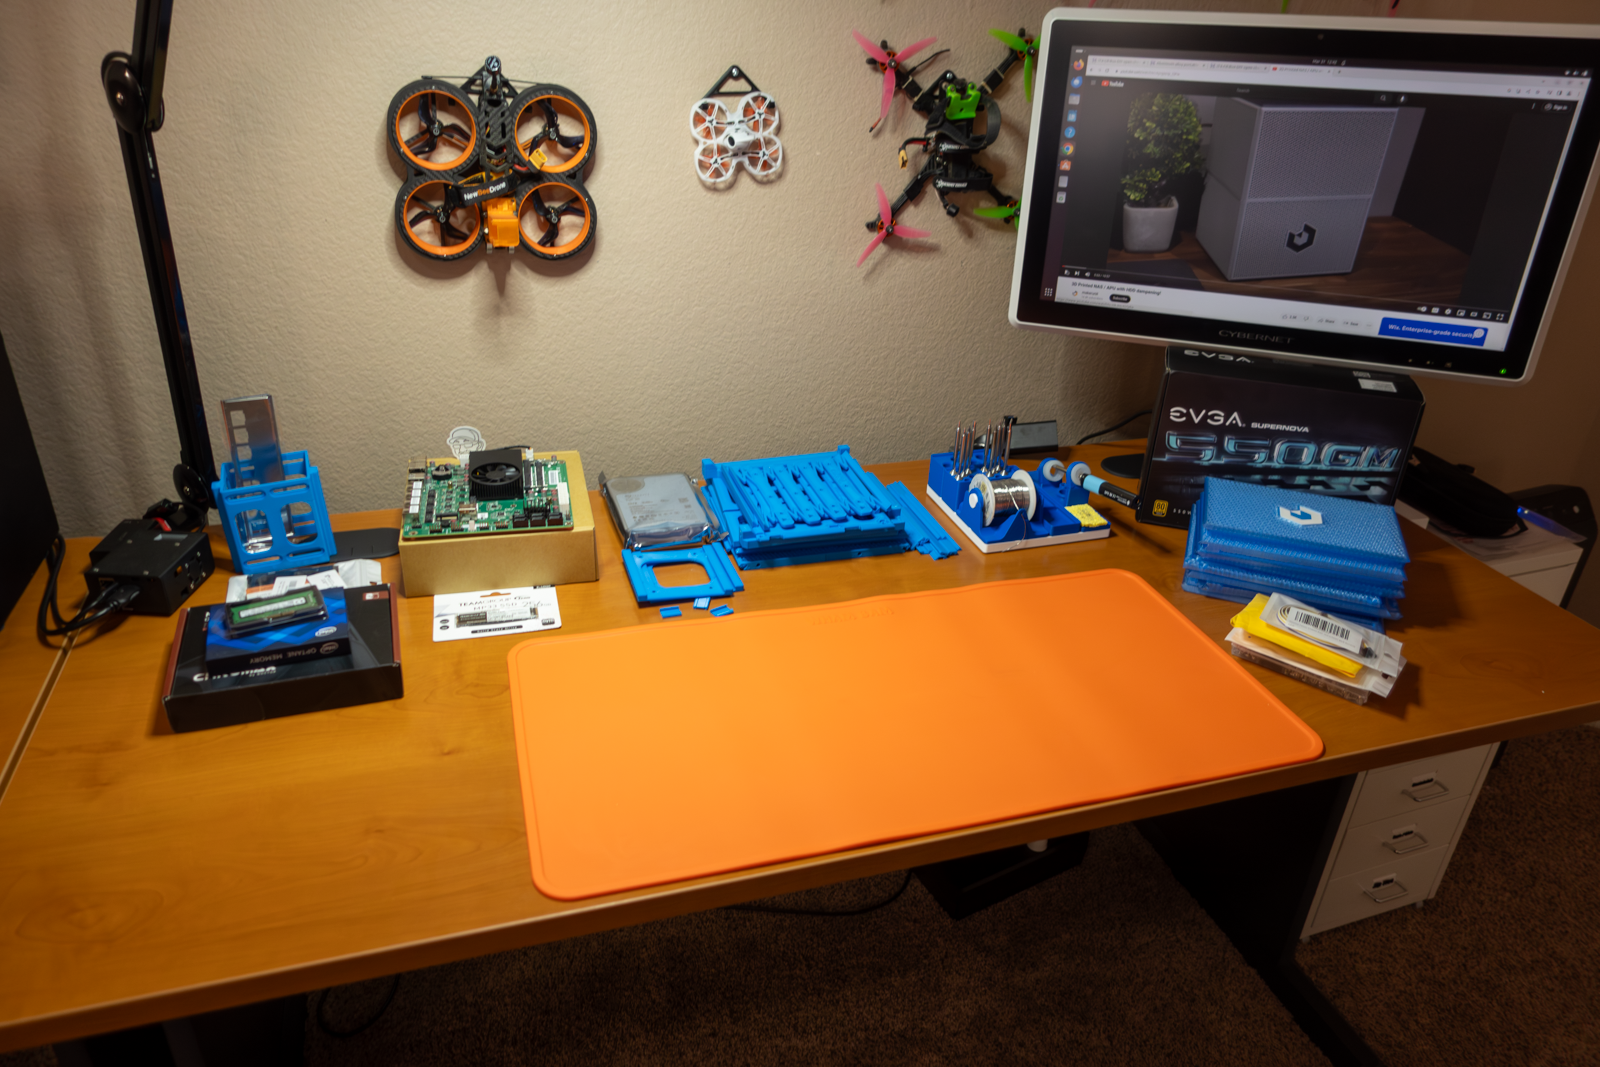
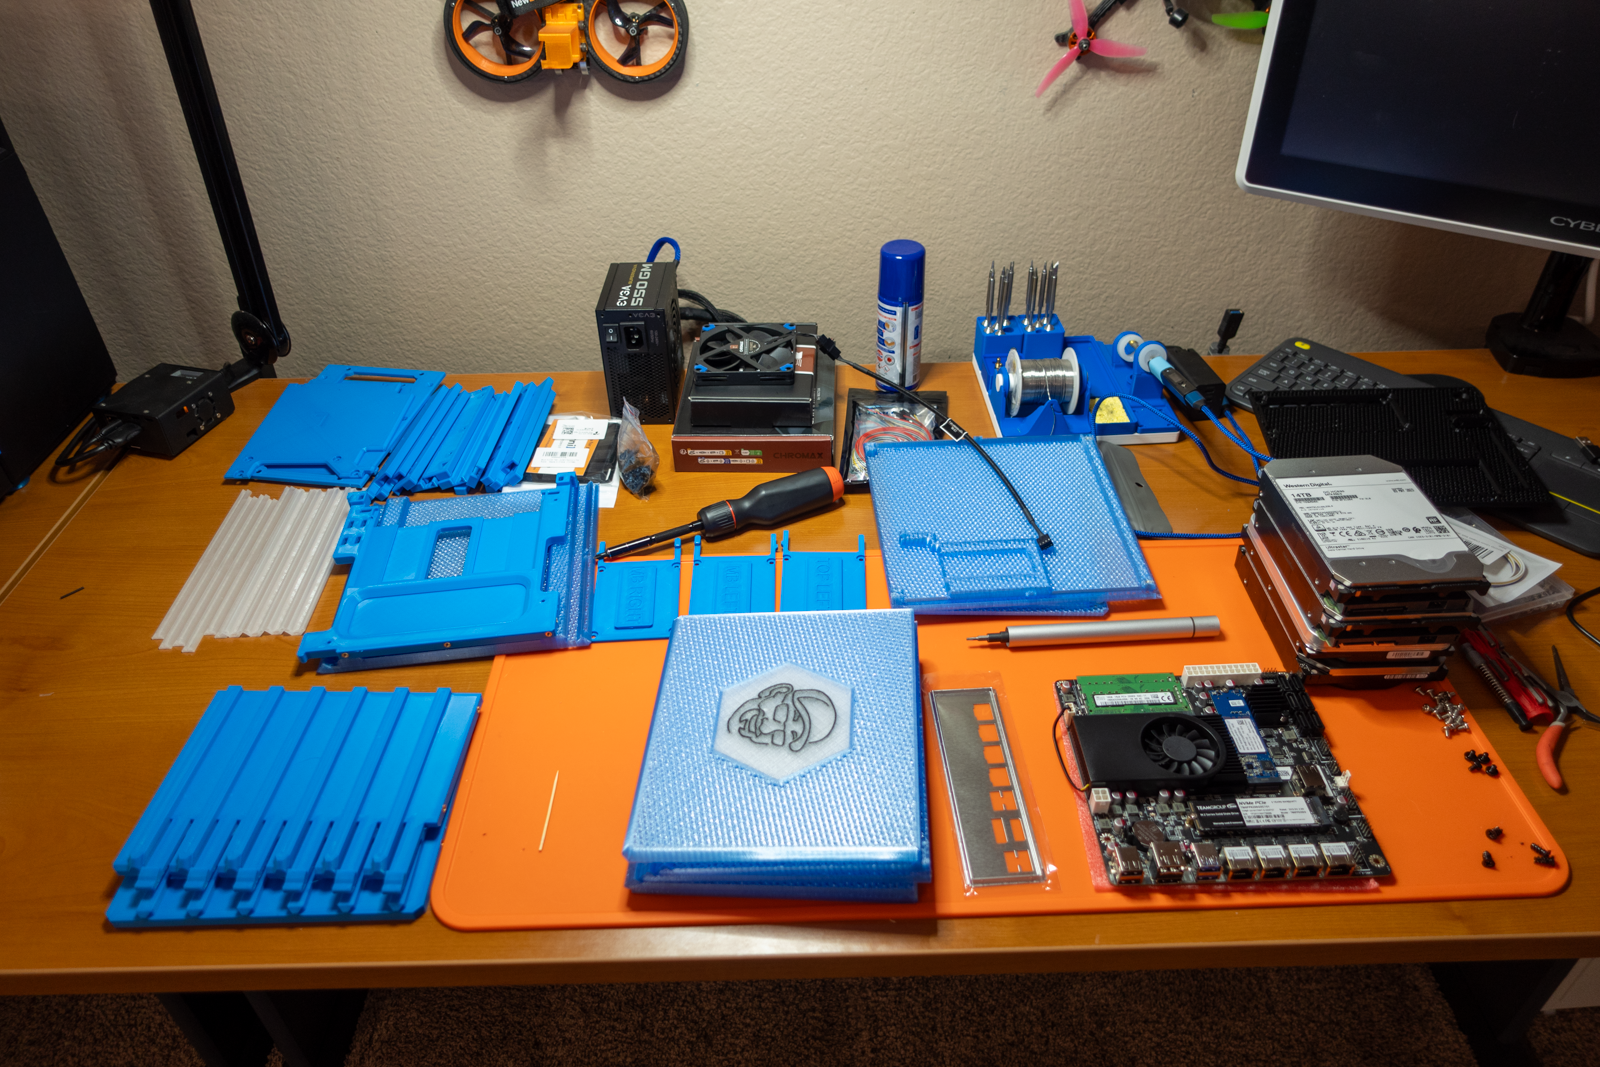
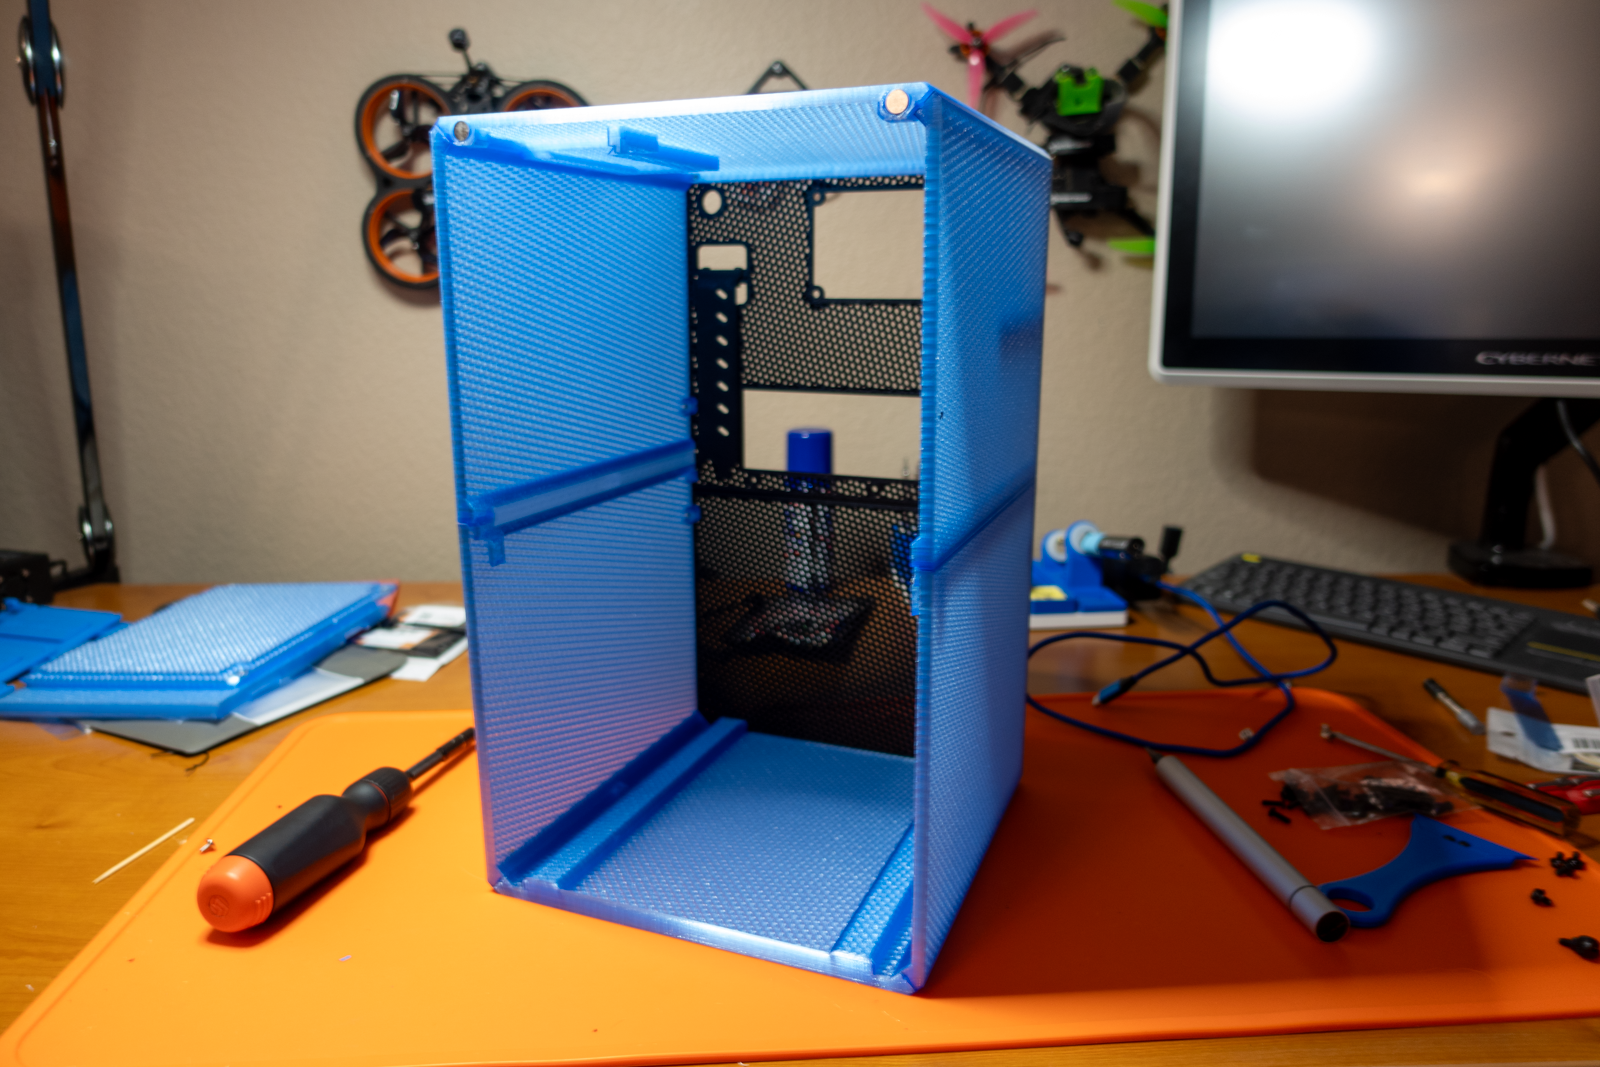
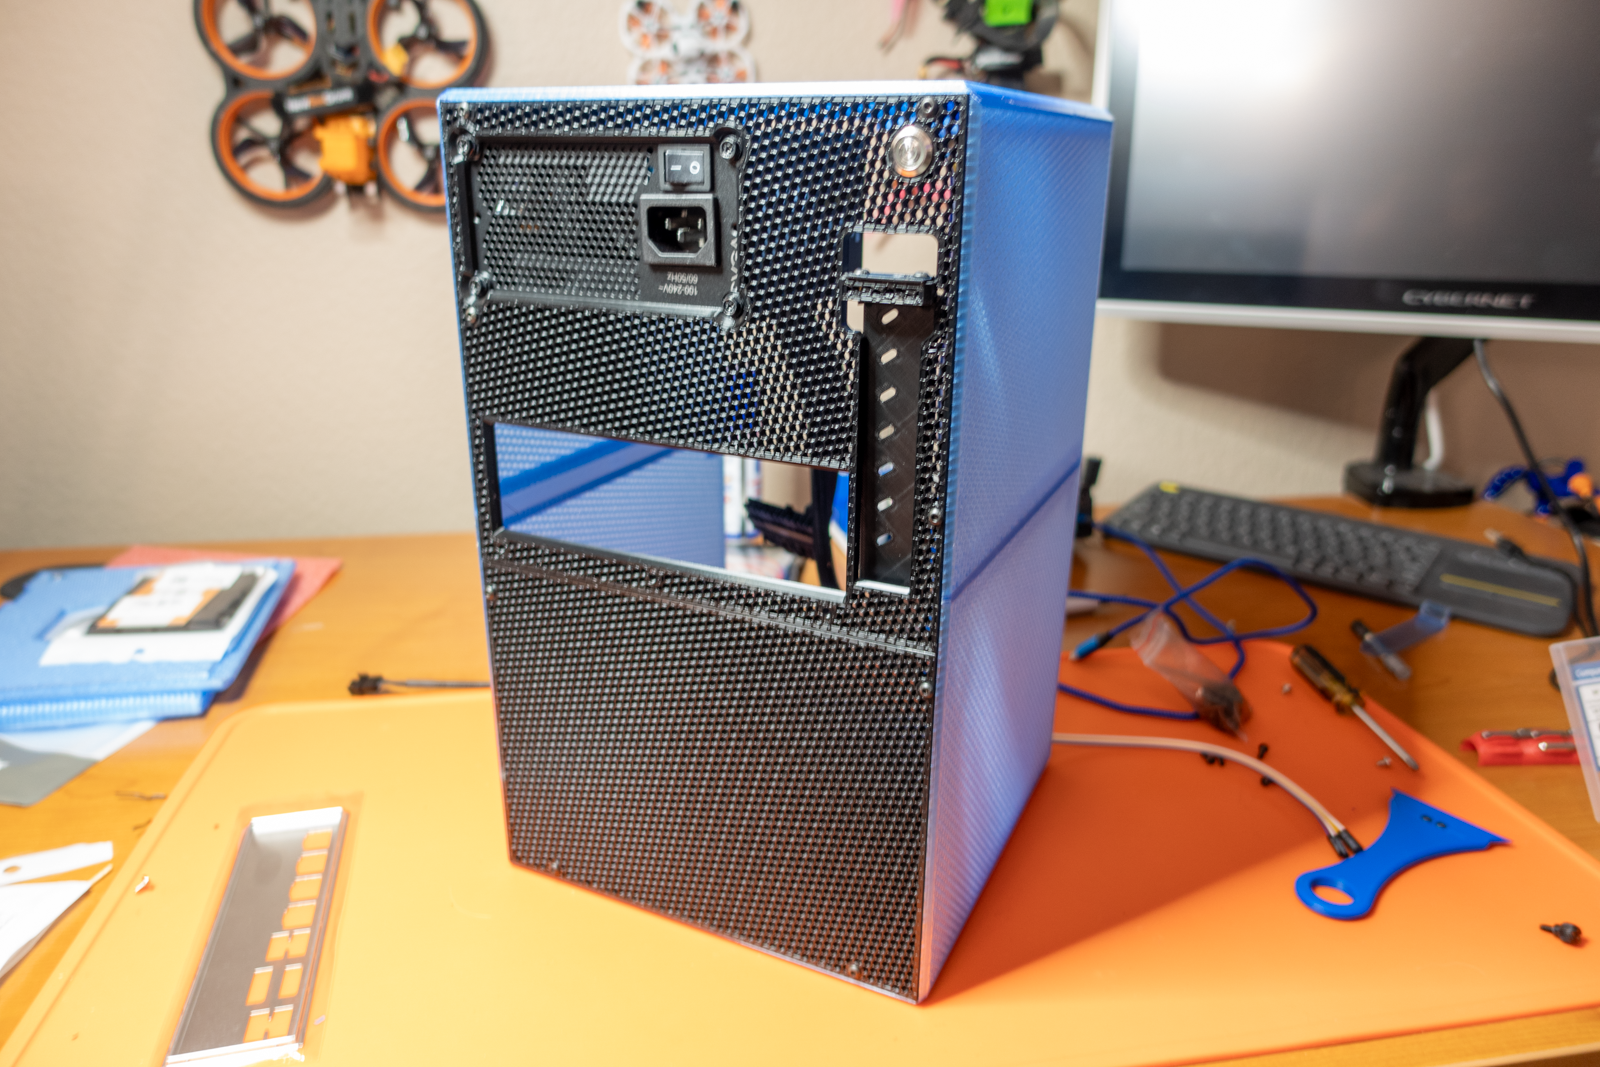
Assembling my new off-site NAS using the makerunit NAS / APU Case
To try and provide a thorough review, I was meticulous in working with makerunit’s NAS / APU case. I wanted to make sure I worked through each of the following scenarios:
- Assembling the NAS
- Adding a new 3.5” hard drive to an existing NAS
- Replacing a bad drive with a new drive
I was especially focused on the third option. Because this NAS would be off-site, I was curious about how and if I’d be able to quickly swap out a bad hard drive in a single quick visit to Pat’s house.
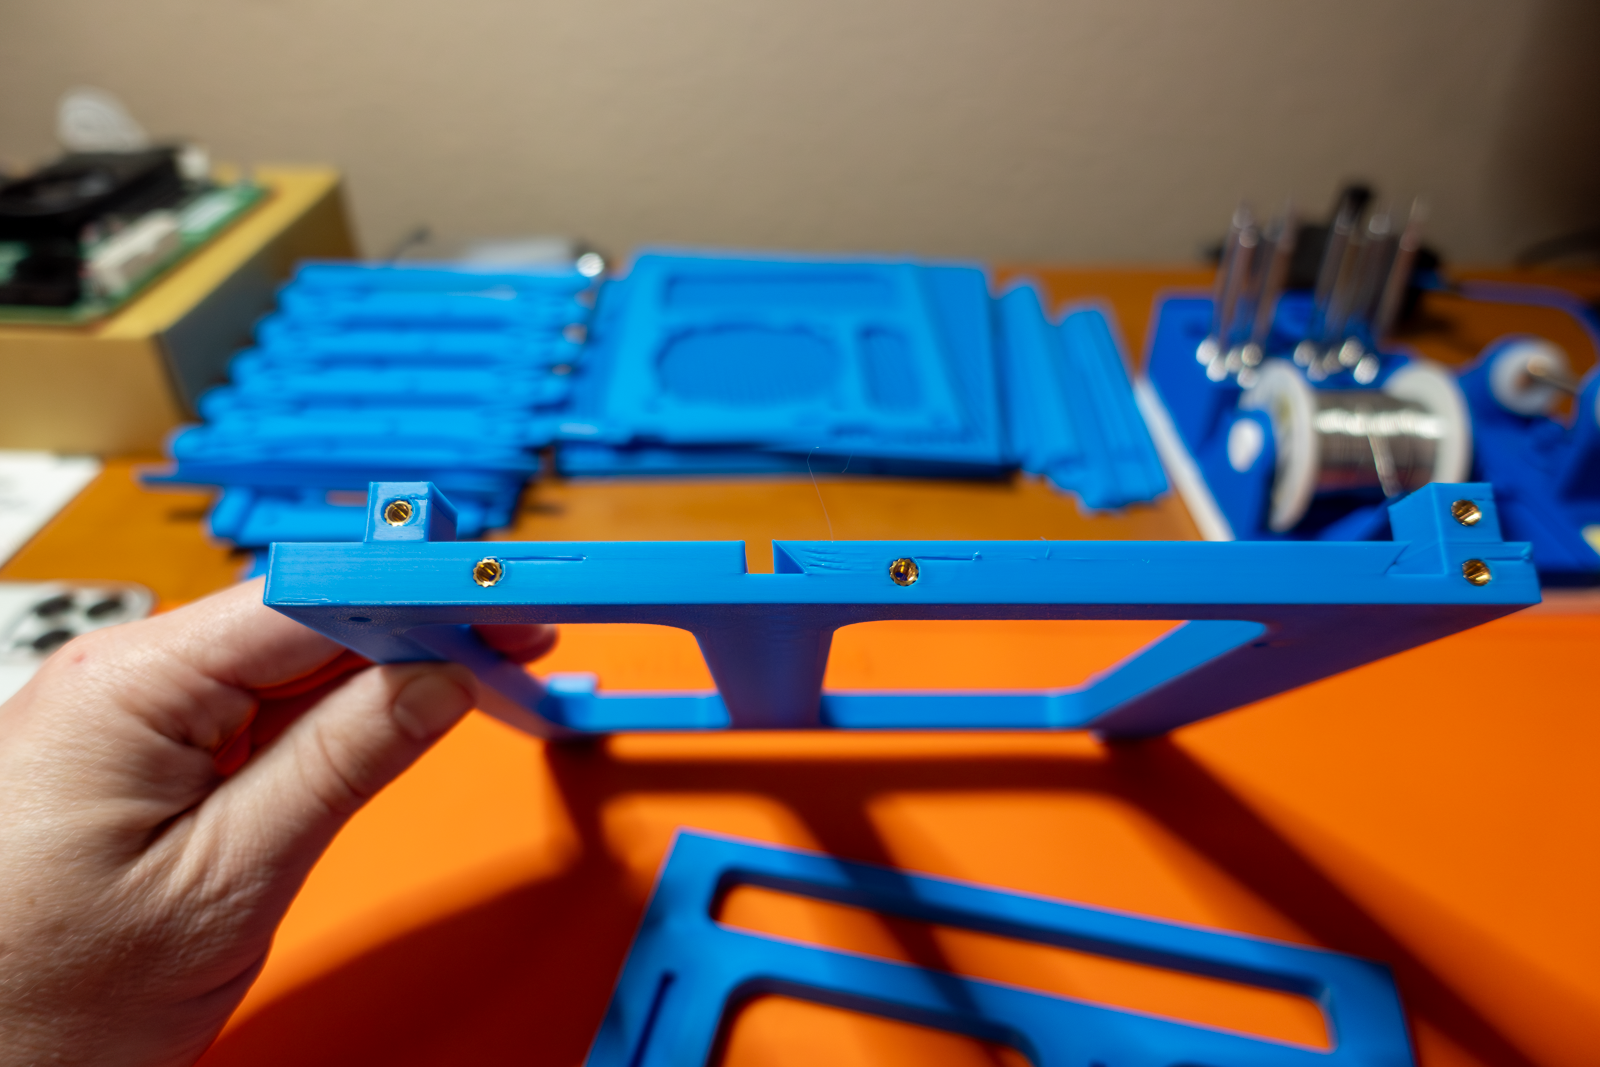
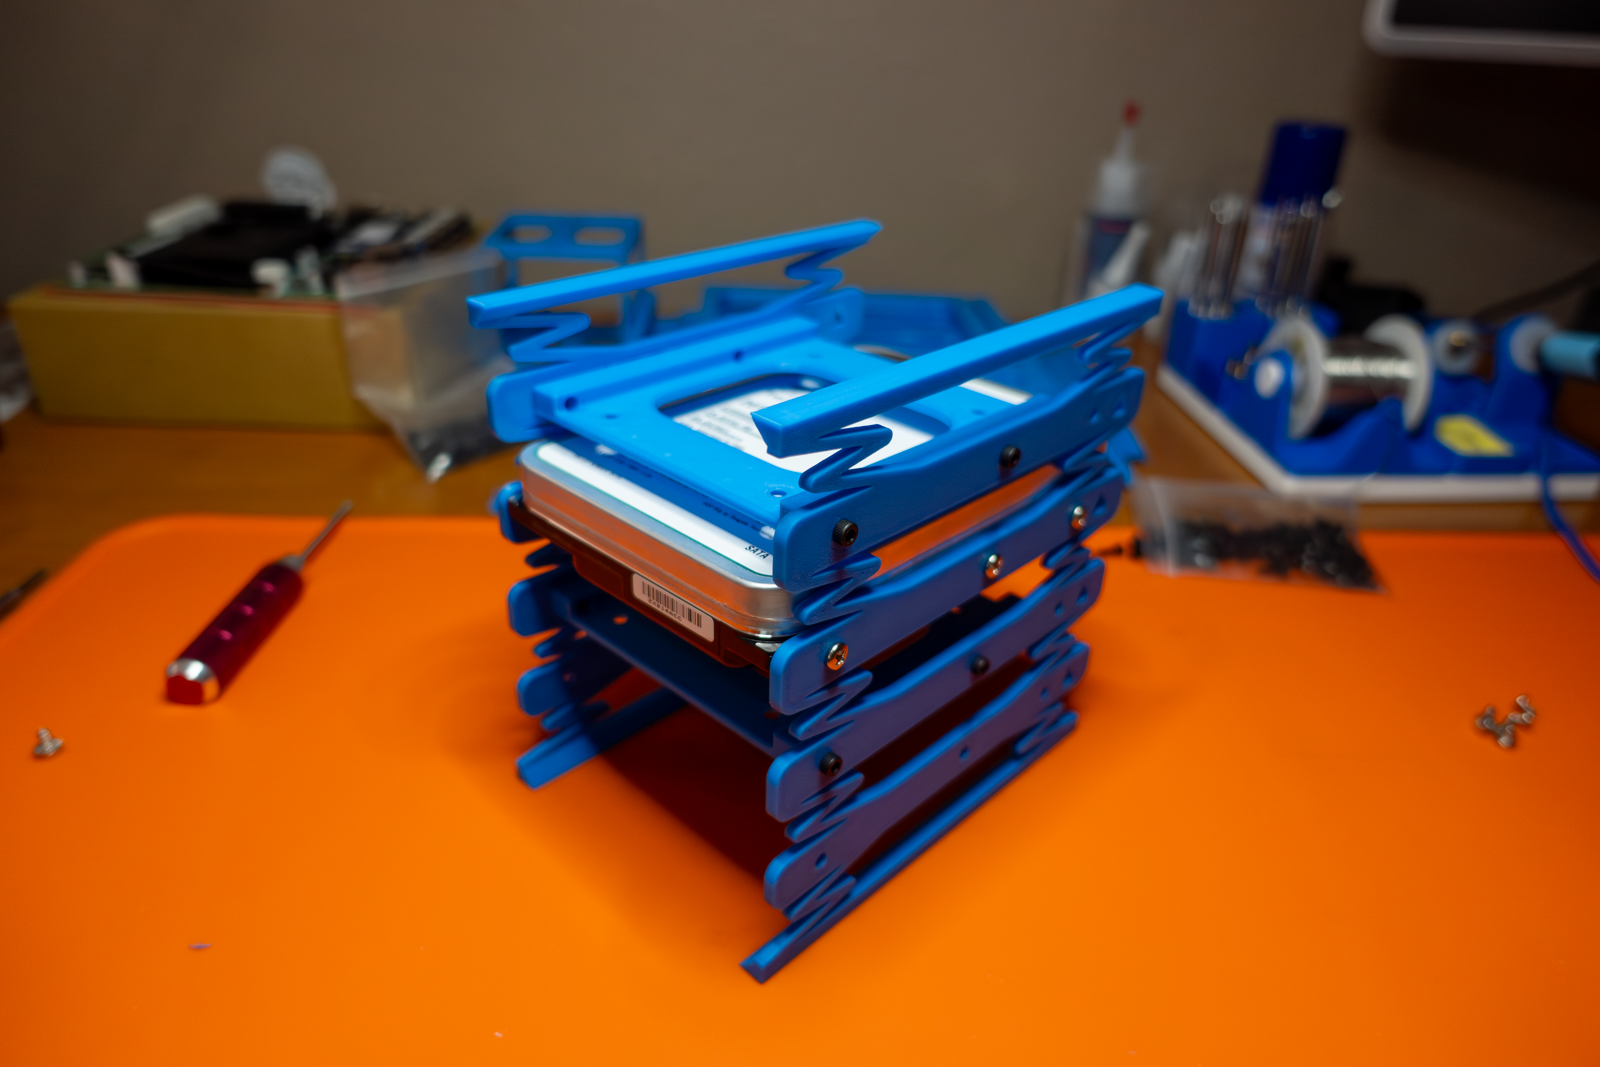
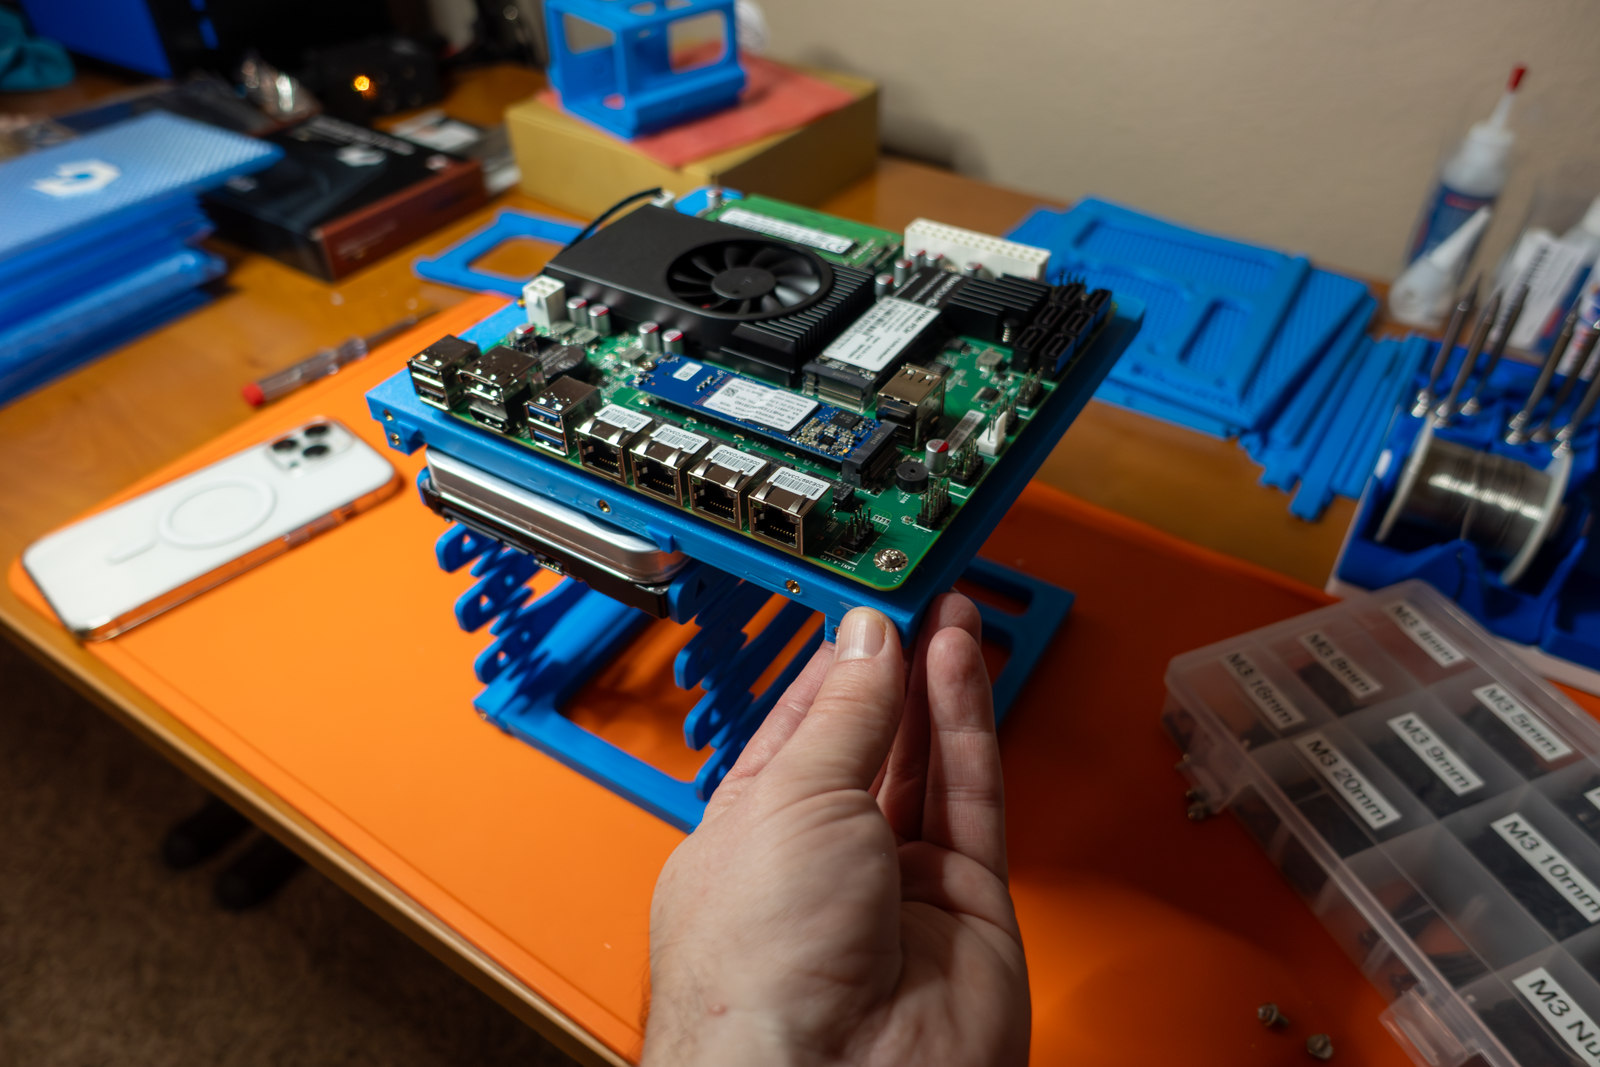
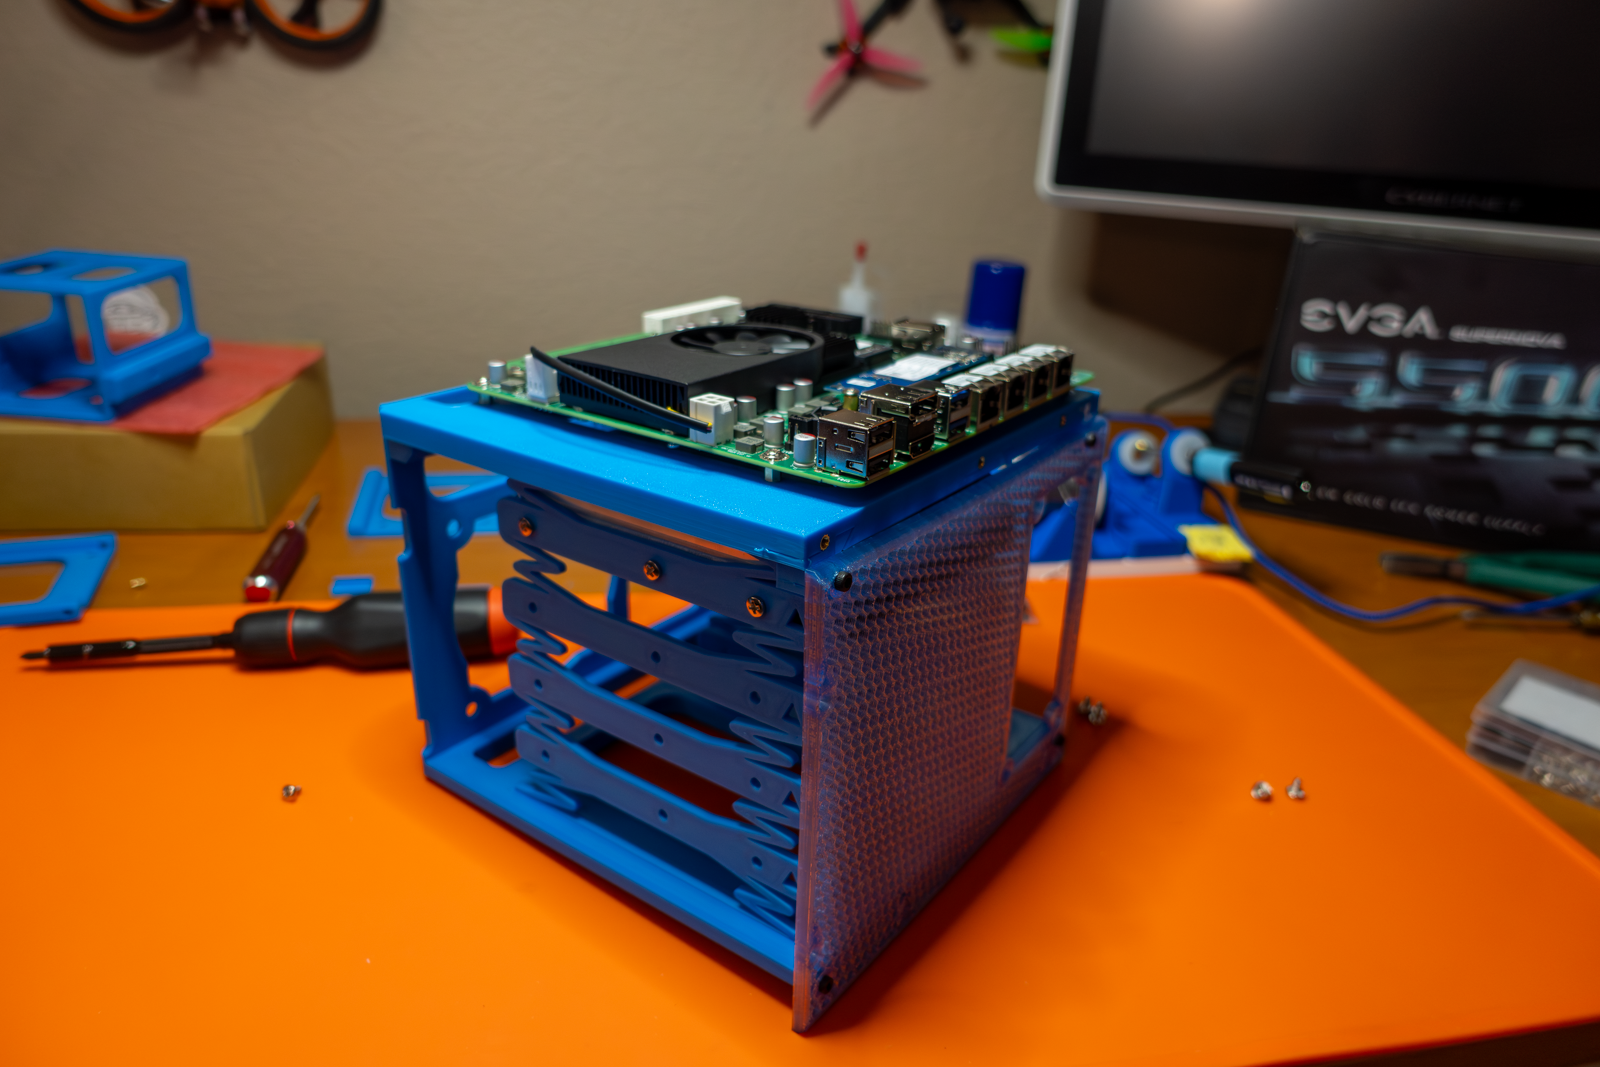
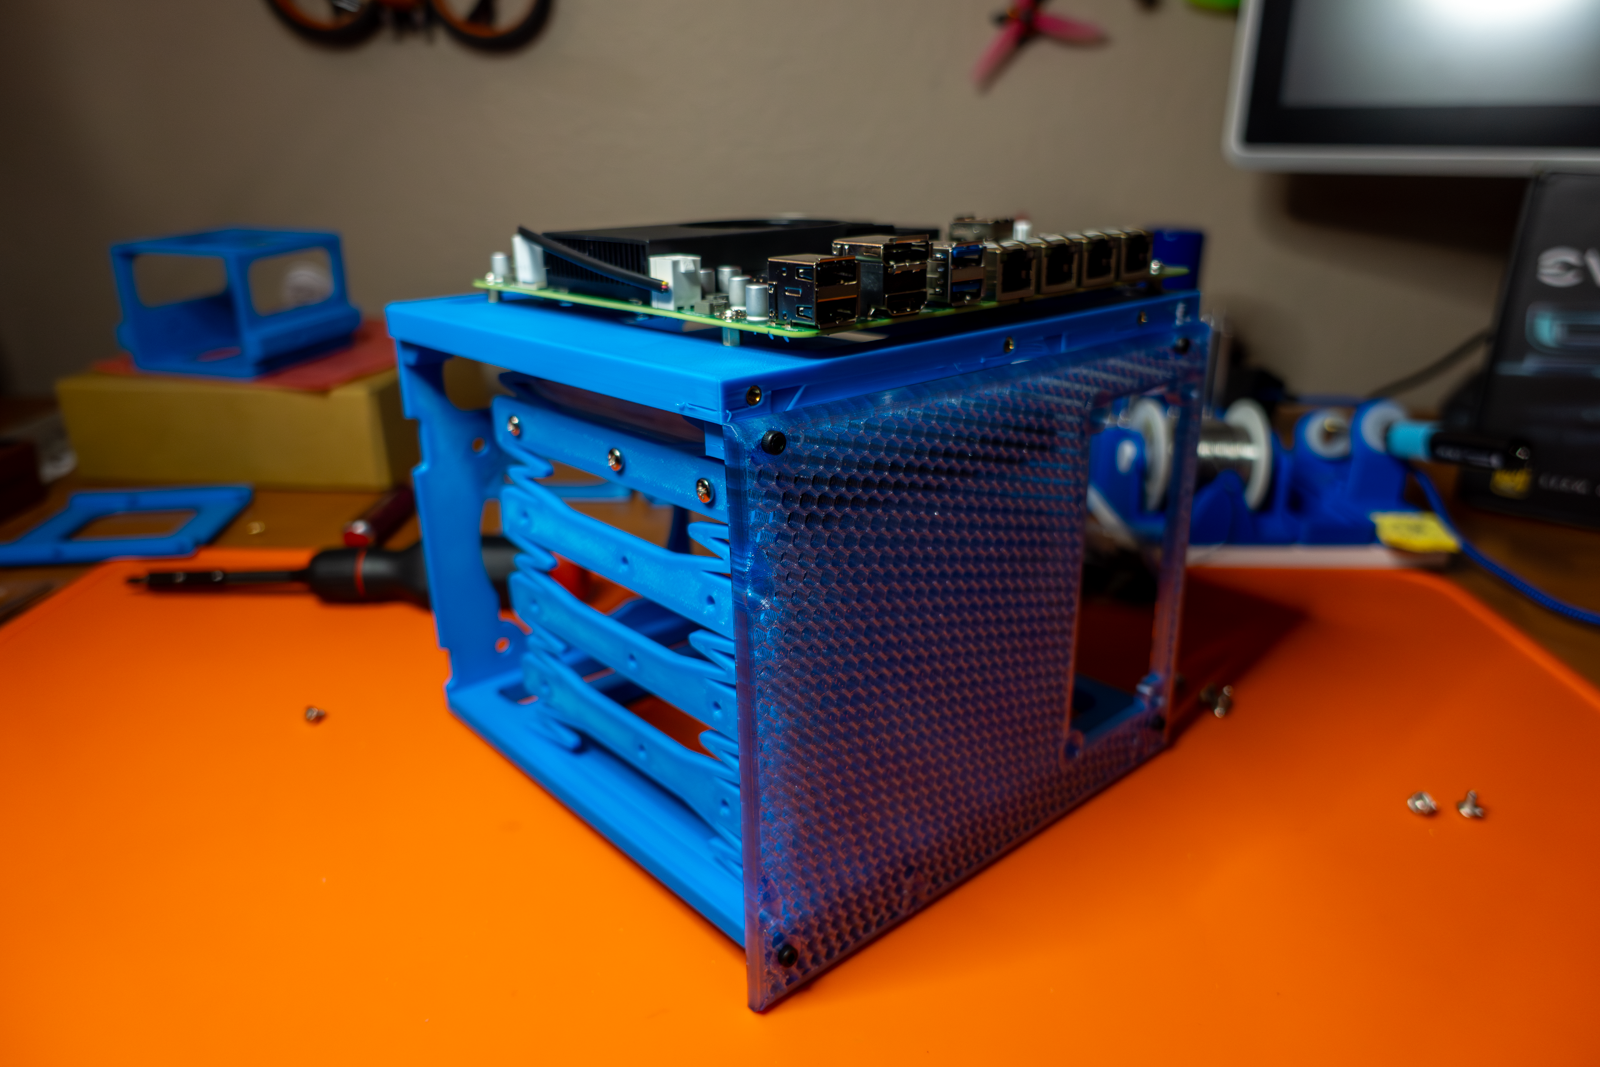
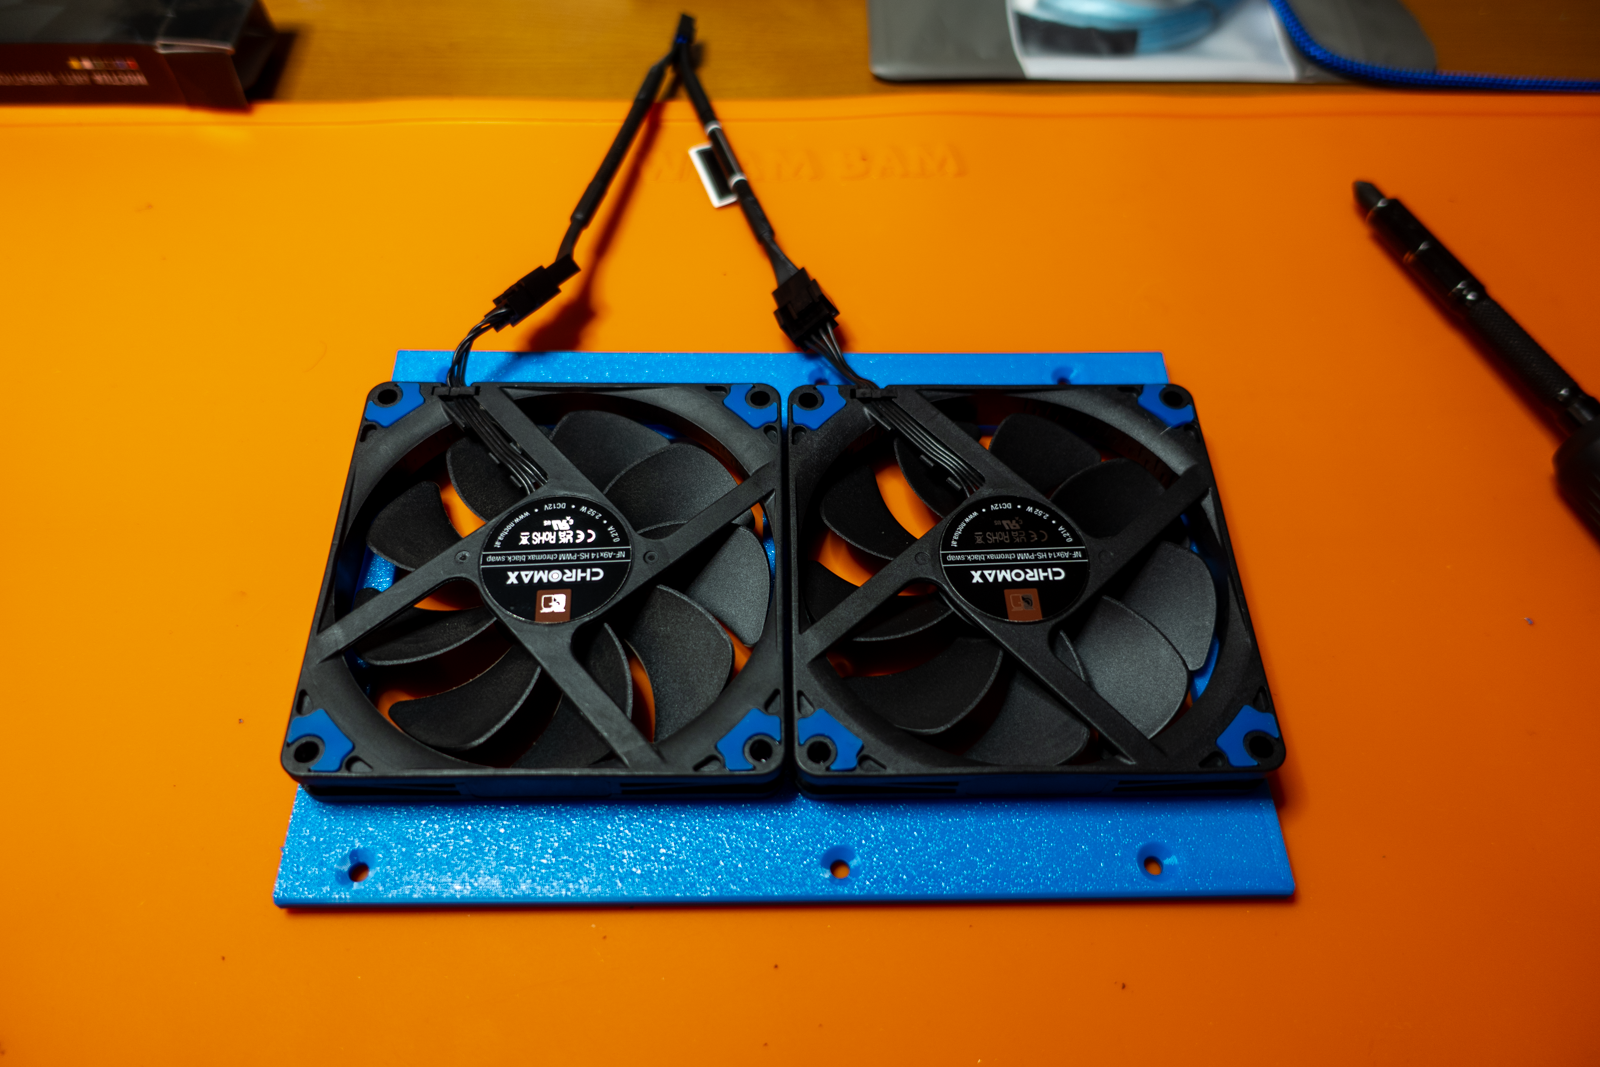
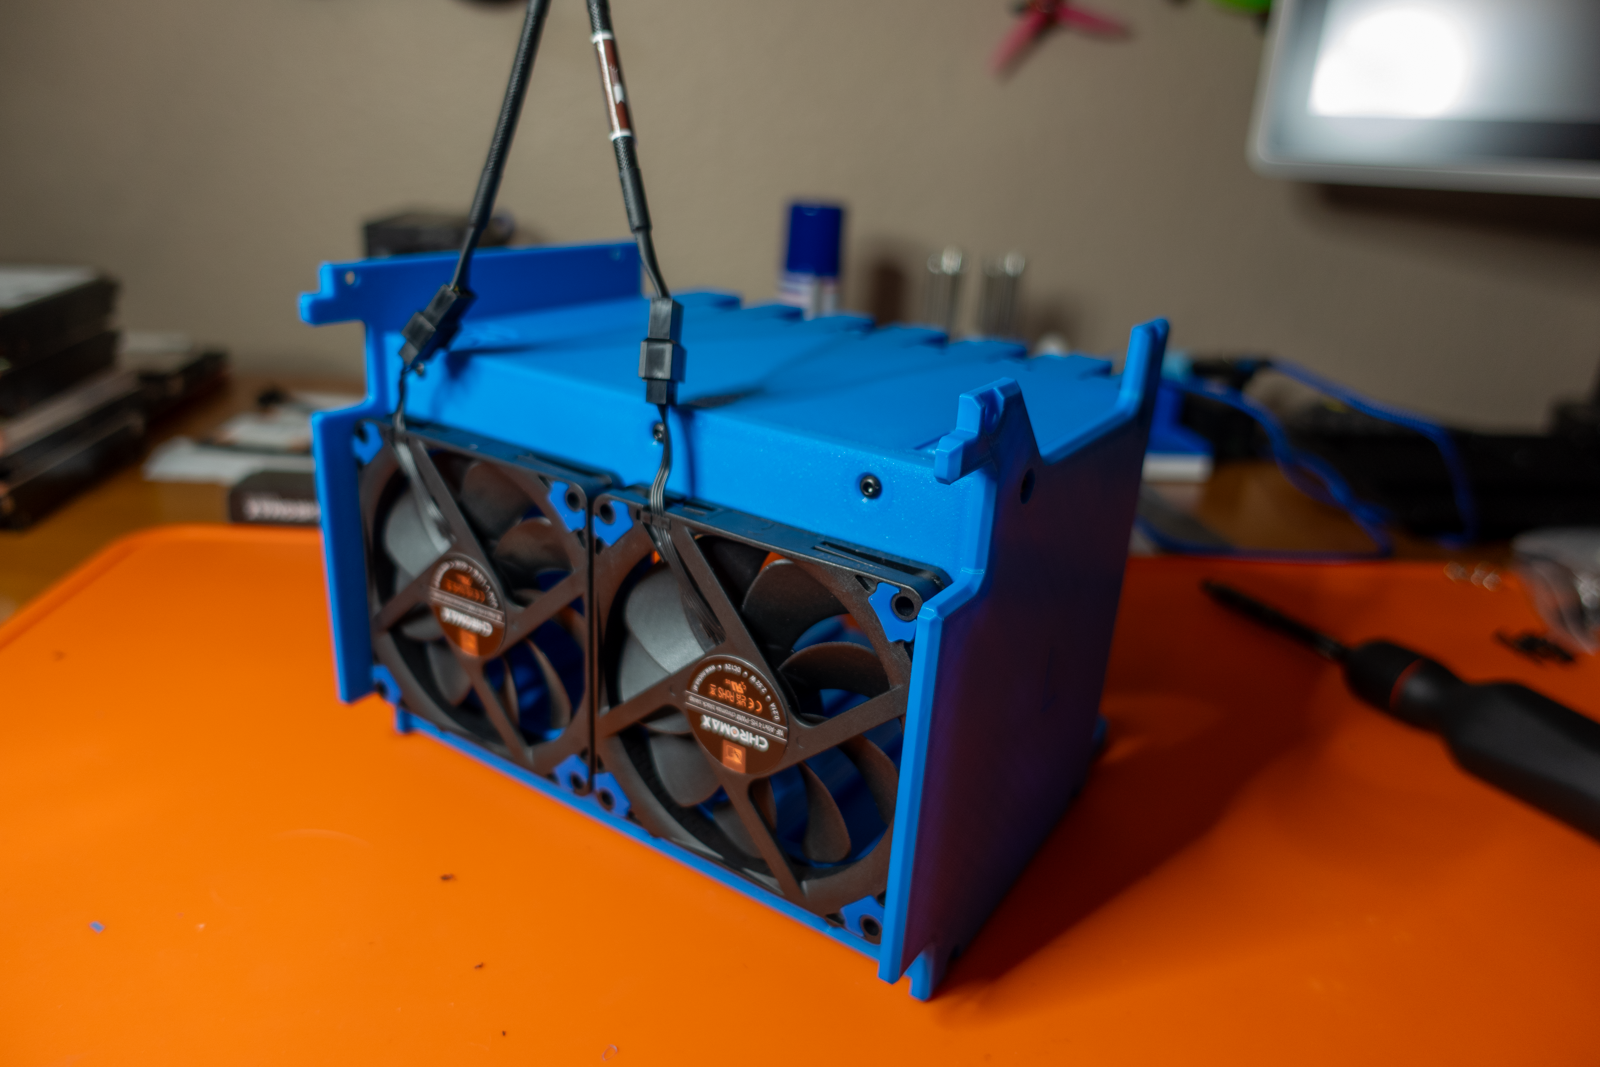
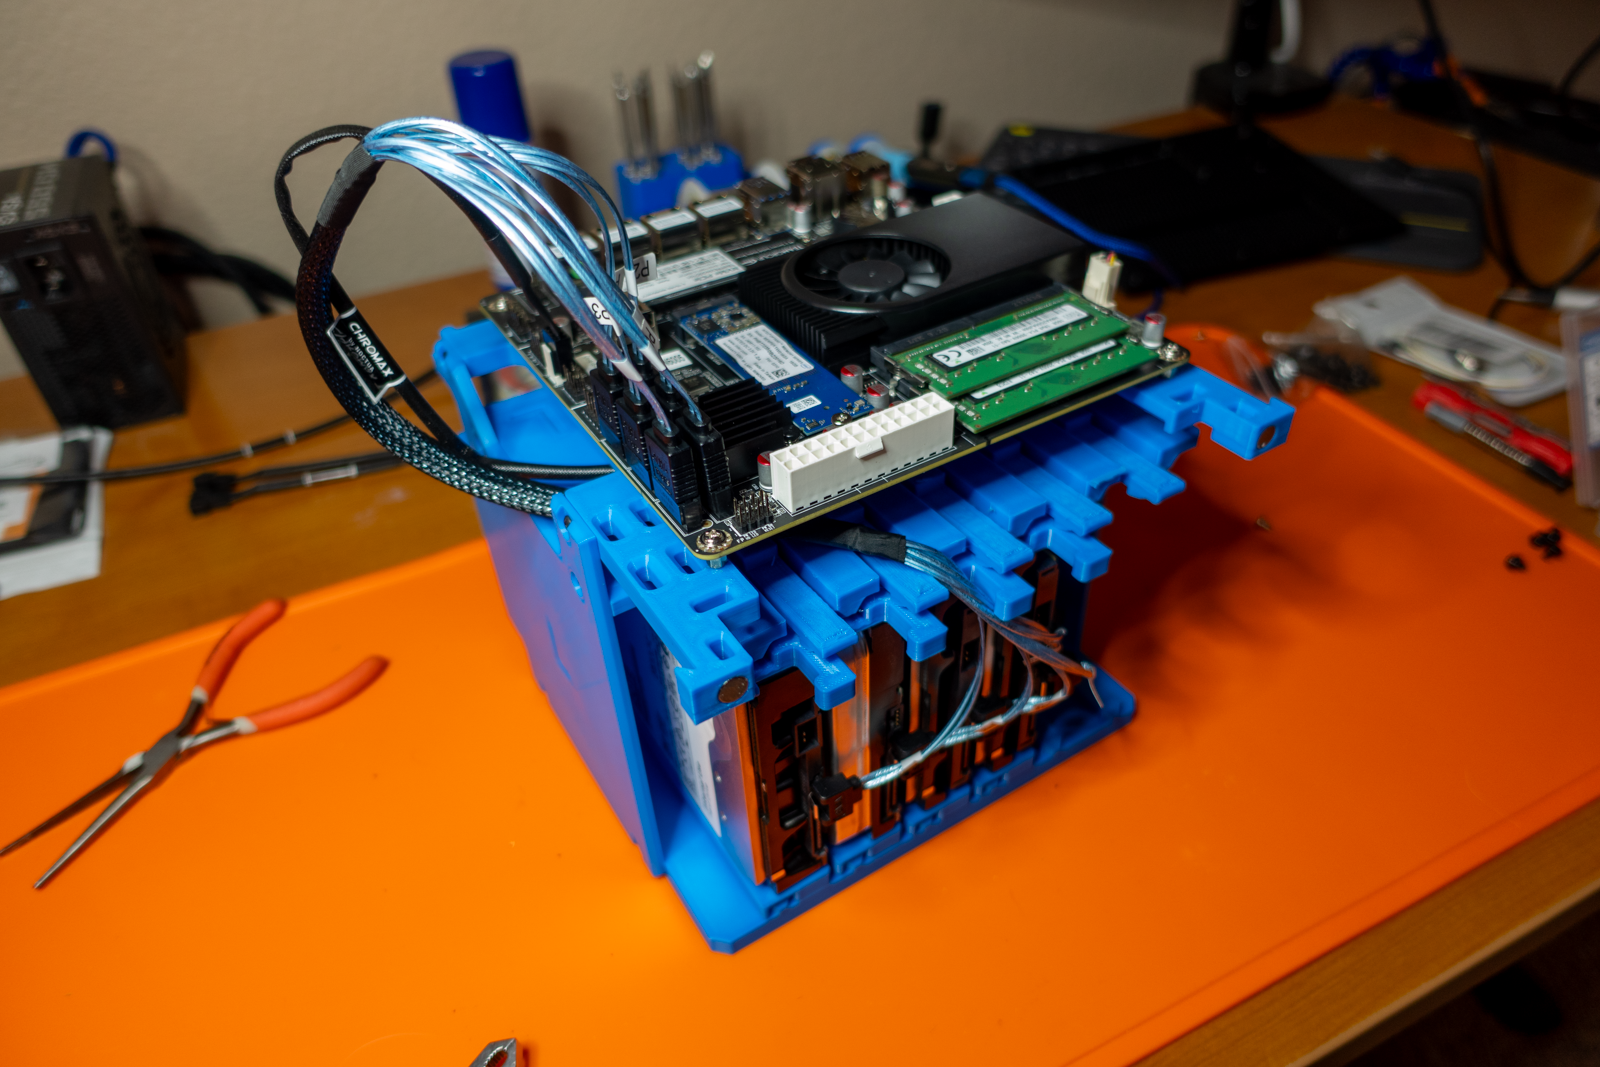
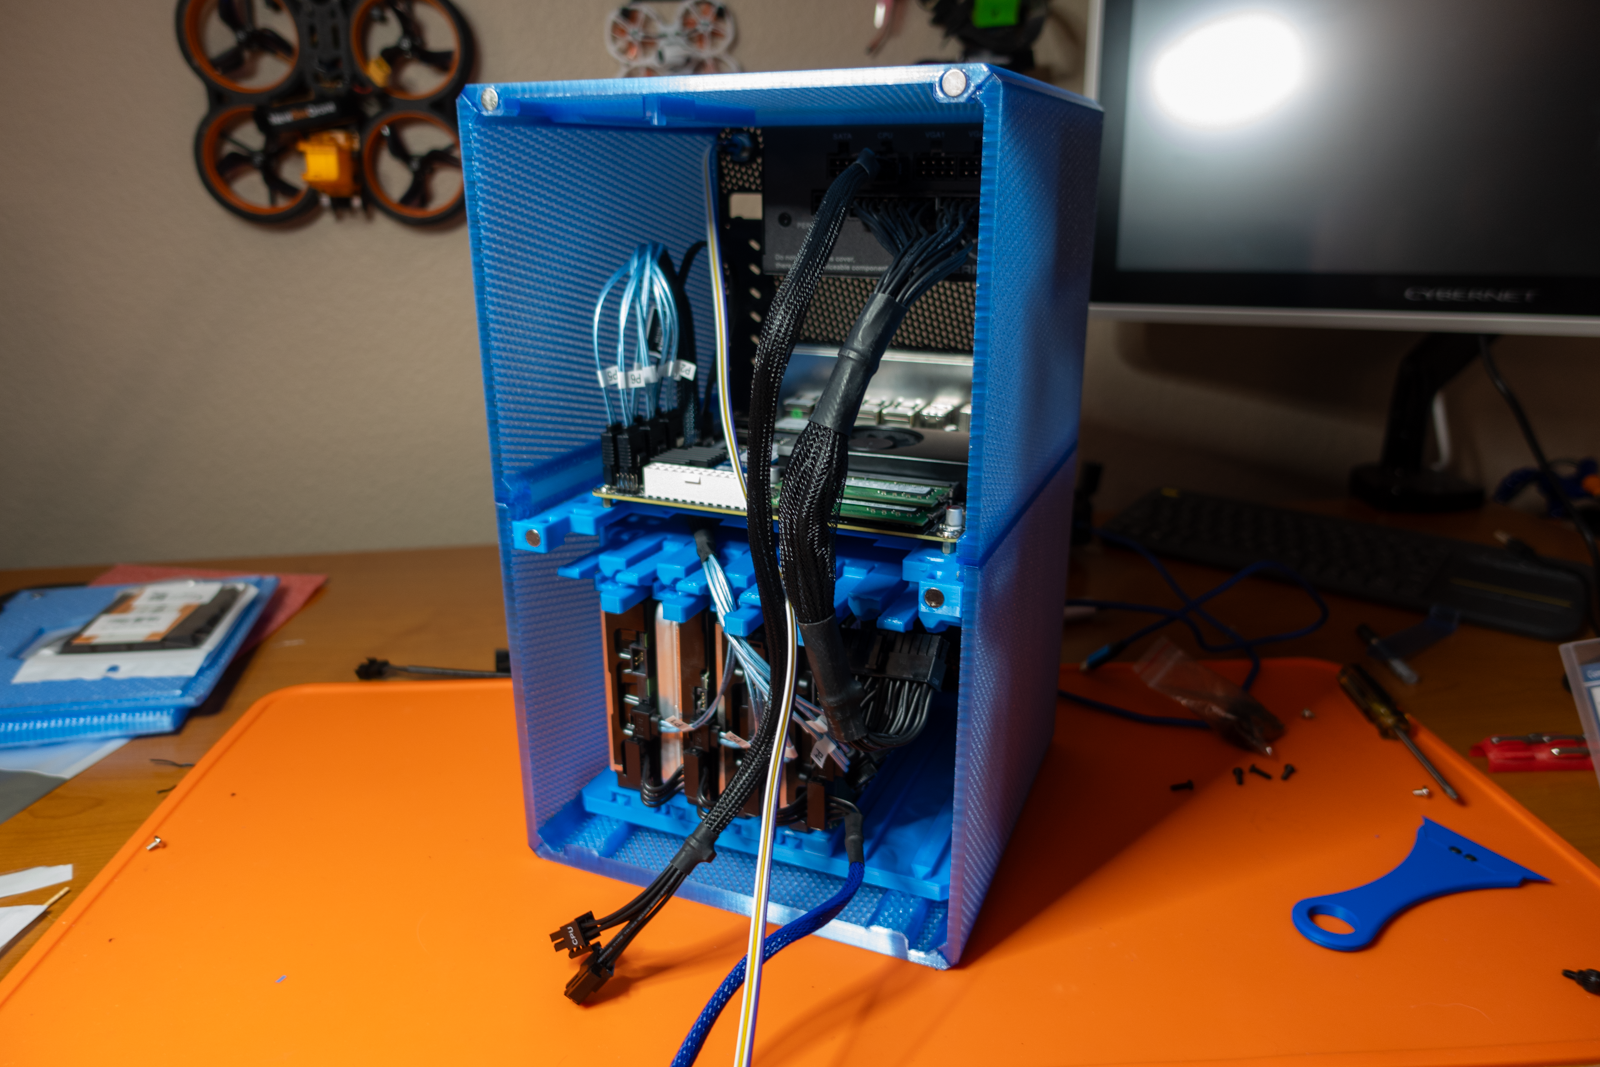
Over the course of a week or two, I worked through each of these scenarios as I upgraded and rebuilt a new off-site NAS. And overall, my impression is extremely positive for the NAS / APU case. It was very straightforward to assemble, and I found a little bit of joy in the motherboard wobbling as it swayed back and forth the vibration-dampening rails the hard drive mounted to before slowly becoming quite rigid as all the pieces came together.
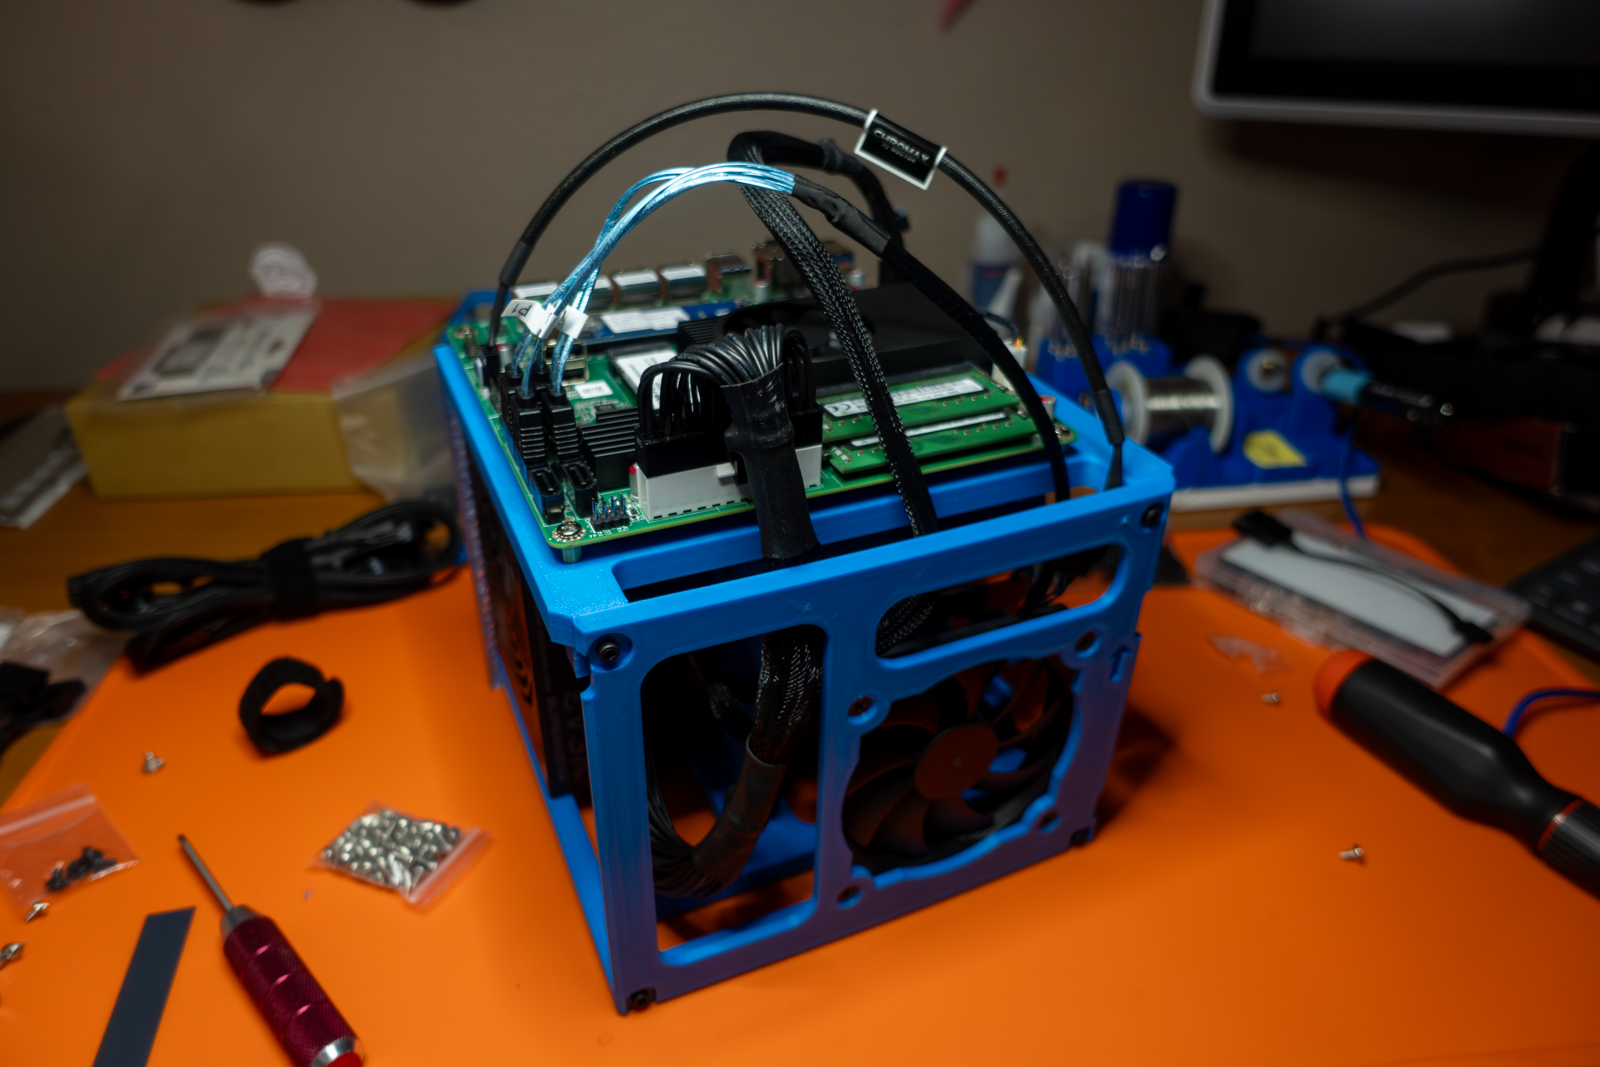
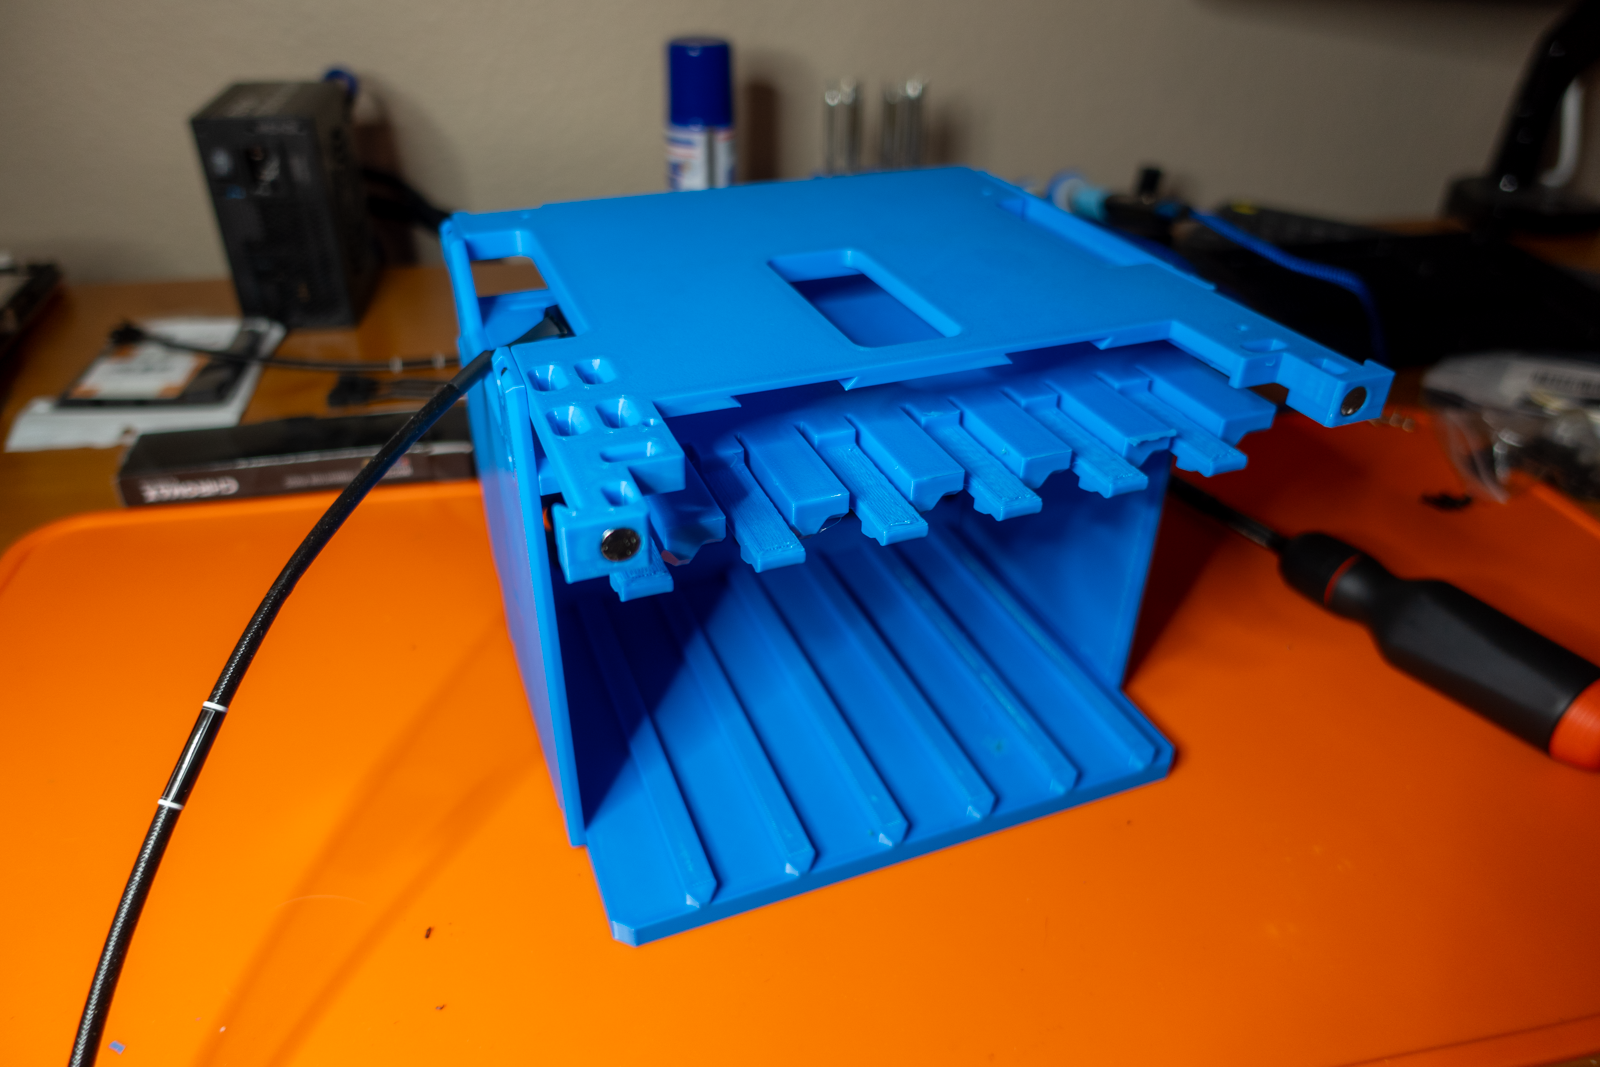
However, both adding a new hard drive after the initial assembly and simulating replacing a failed hard drive were a bit of a letdown. The case requires quite a bit of disassembly to get enough access to the hard drives. While I’m confident that I could do it during a visit to Pat’s house, it’s also something that would take more time than you might expect of a case designed for a NAS.
Swapping hard drives is my only point of criticism of the NAS / APU case. And if you’ve been following me for any amount of time, please also remember that I think hot-swap bays in NAS cases are quite overrated.


Final Thoughts on the NAS / APU Case
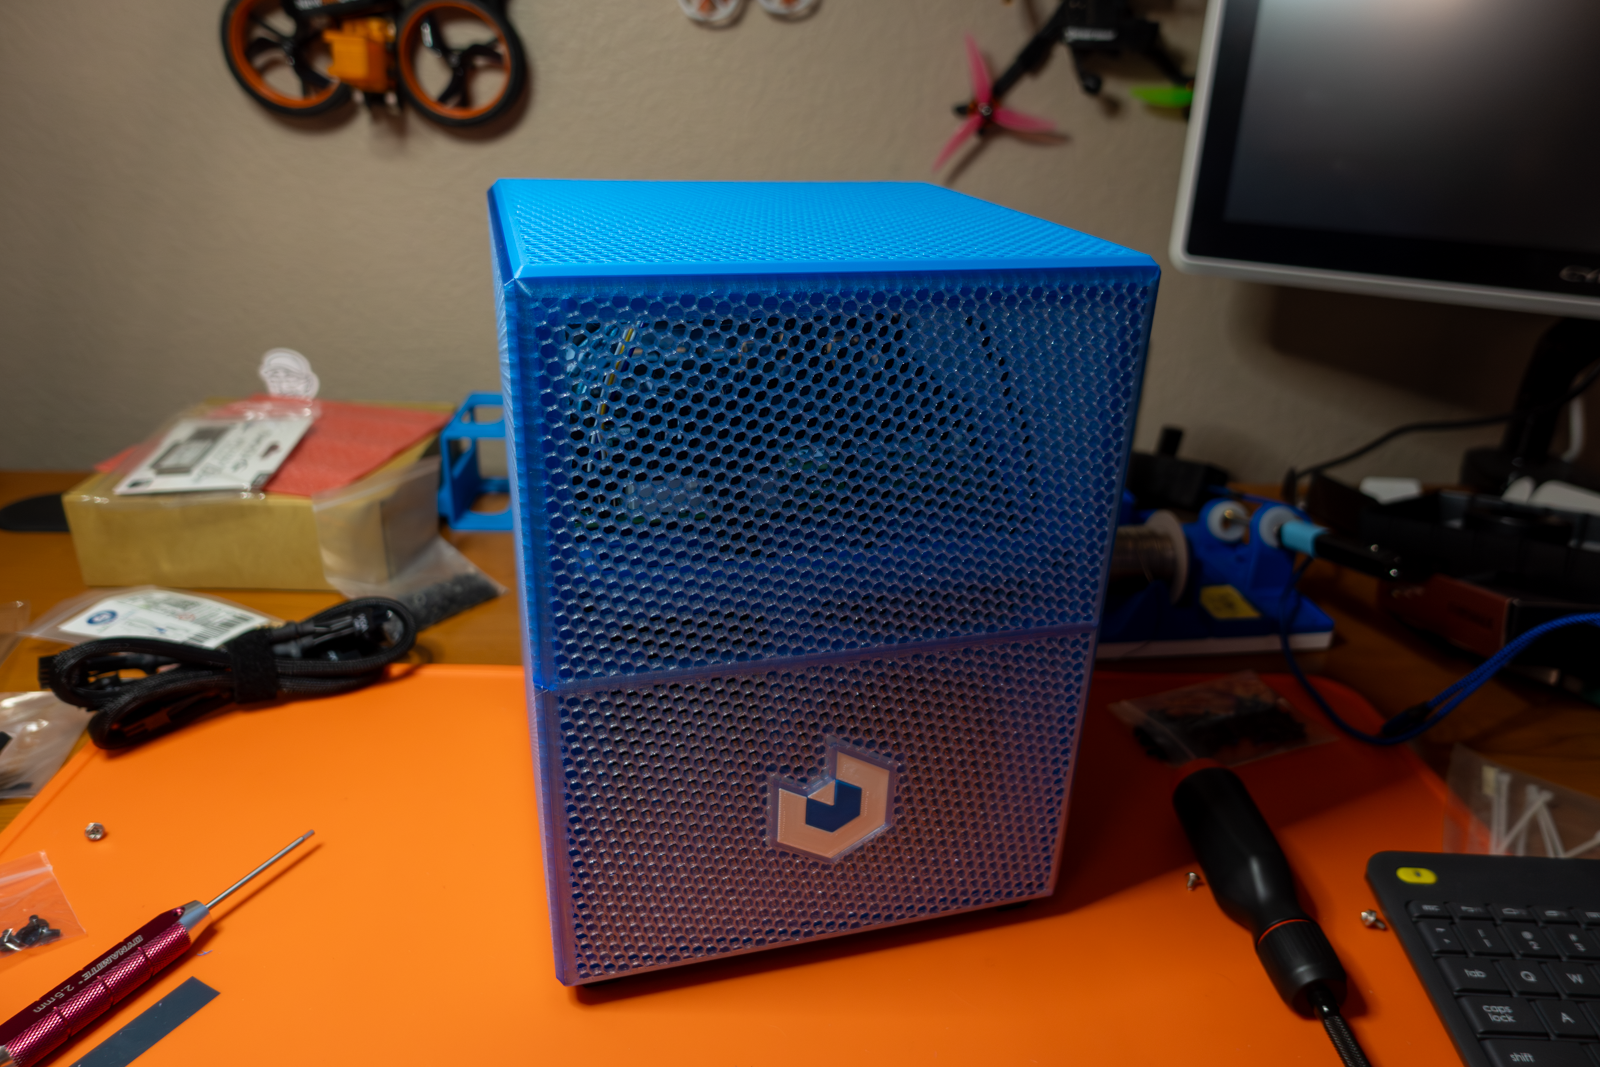
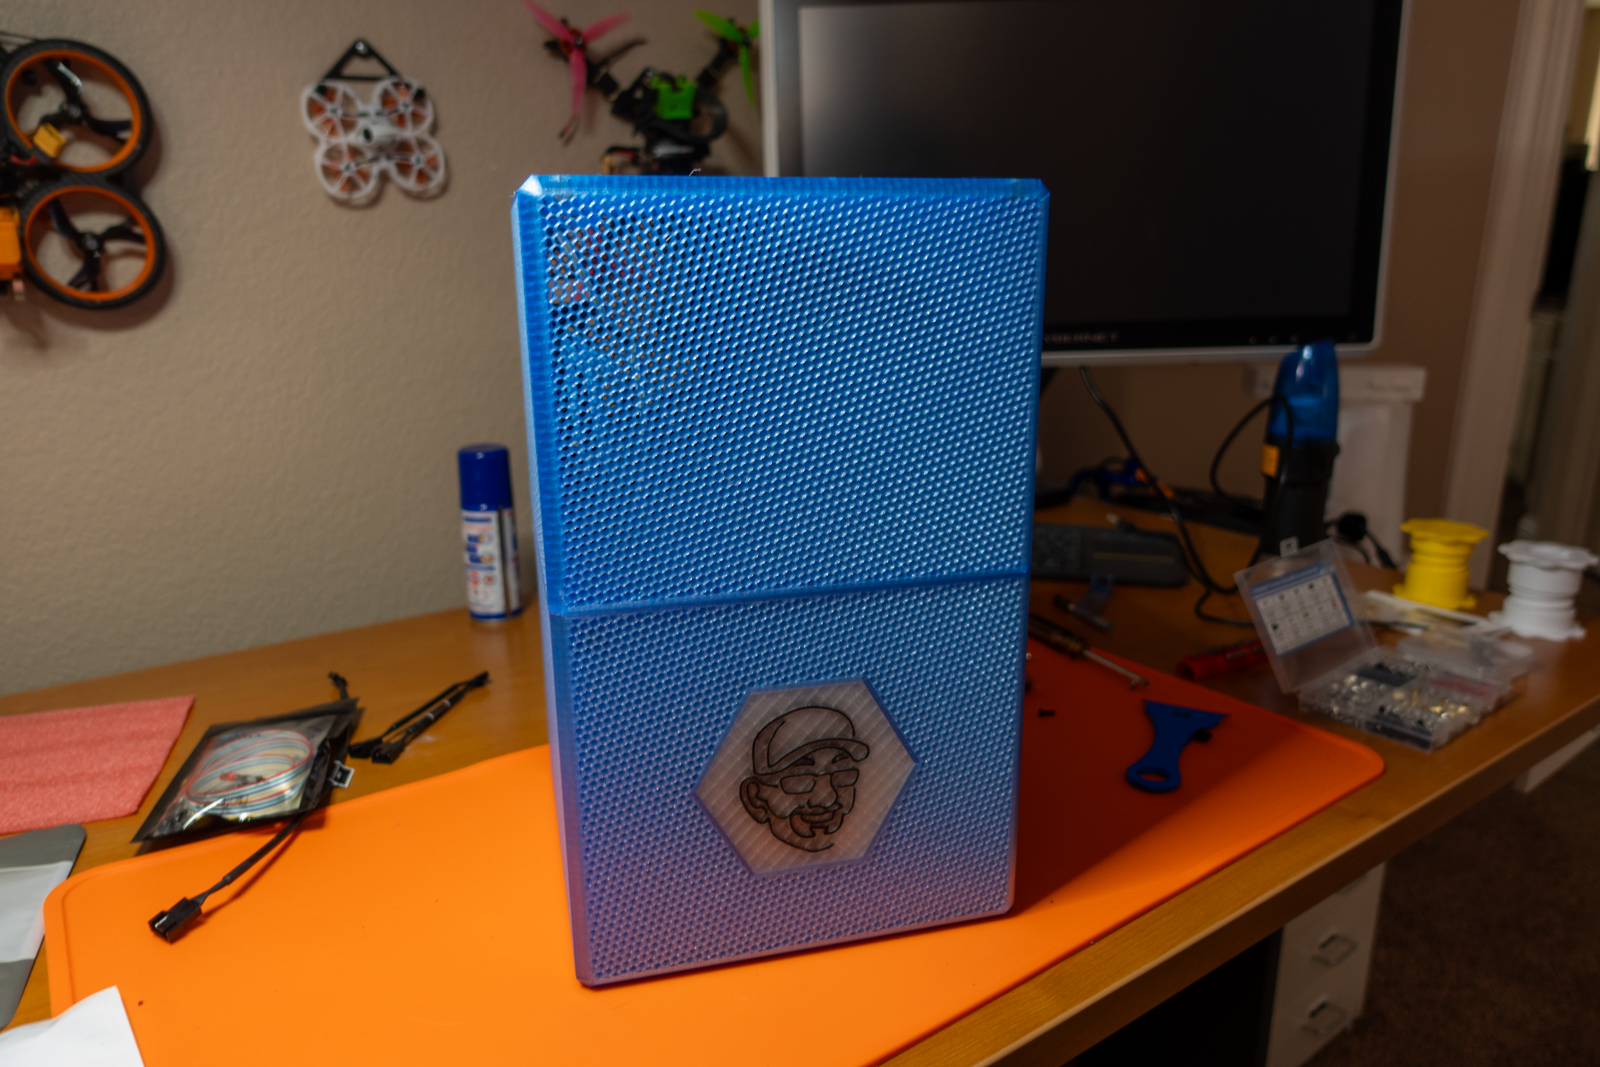
Five years ago, the MK735 set a high bar for 3D-printed NAS cases. In those five years, I’ve seen other 3D-printed NAS cases that try and measure up, but makerunit’s NAS / APU case is the first case that I feel cleared that bar. The benefits of the smaller size, better airflow, simpler design, faster printing, and simpler assembly of the NAS / APU case far outweigh the advantages that the MK735 has. Plus, the NAS / APU case is obtainable today, and its creator has done a great job of revising it to address feedback from the people who print it.
It is a bit more difficult to swap a hard drive than I prefer, but this is a very minor complaint. In the grand scheme of things, the simple assembly and the time saved waiting on the 3D printer will more than cover any extra time that you wind up spending when you do need to add or swap a hard drive.
But wait, there’s more! Another 3D-printed NAS case from makerunit!
I was printing the very last part of my new 3D-printed NAS case when makerunit DMed me about something new he was already designing: a slightly taller NAS case with six 3.5” drive bays and three 2.5” drive bays. The new design is fantastic and addresses all of the feedback that I had about makerunit’s first NAS case—especially the difficulty in swapping hard drives.
By the time I started writing this blog, I was already customizing and 3D-printing makerunit’s 6-bay NAS. I picked up my off-site NAS back from Pat’s house, upgraded its motherboard to the N6005 variation of the Topton N2 motherboard, and burned it in here at home.
This new 6-bay NAS from makerunit is absolutely in the same class as the MK735. In comparison to the MK735, it has two deficiencies. Firstly, it holds one fewer 3.5” drive than the MK735 did, and secondly, it requires a pricy SFX power supply. In exchange, you get all of these bonus features not found in the MK735:
- An additional 2.5” drive bay
- Much easier assembly
- Requires less hardware
- Uses less filament
- Has a more compact footprint


If you’re looking to build a DIY NAS in a 3D-printed case today, then you should definitelybe building it inside makerunit’s 6-bay NAS! I’m tremendously excited with how my own NAS turned out, and I am a tiny bit disappointed that this NAS is going to wind up living somewhere else.
If you’re interested in 3D-printing and building your own PCs, you need to be subscribing to, following, and becoming a member of makerunit’s club!